Learning how to photograph sunsets is an art that many of us strive to master. The vibrant colors, the tranquility, and the fleeting moments make sunset photography a favorite among many photographers.
With the right techniques, you can transform a simple sunset into a breathtaking masterpiece. This guide will provide you with the tools and insights needed to elevate your sunset photography game.
You’ll learn about the best settings, composition tips, and post-processing tricks to ensure that your images evoke the same awe and wonder that you feel when witnessing a sunset in person.
Join me on this journey, and let’s create stunning sunset photos together!
Table of Contents
What is Sunset Photography?
Sunset photography captures the beauty of the setting sun as it paints the sky.
This art form uses creative techniques to produce breathtaking images of sunsets. Photographers rely on their skills and tools, such as different types of lenses, to freeze the moment when daylight fades into night.
These vibrant colors make sunset photography a popular choice for both amateurs and professionals.
Why Capture Sunset Photos?
Capturing sunset photos allows us to freeze a fleeting natural spectacle.
The colorful transition between day and night creates stunning scenes. It’s also therapeutic to watch a beautiful sunset, giving us time to reflect and admire nature.
Plus, these photos can be a source of creativity and calm for anyone who sees them.
Essential Tips for Sunset Photography
- Camera Settings Matter - Adjust your camera settings to capture the best sunset pictures. Experiment with different shutter speeds for varied effects. Slow shutter speed can produce a dreamy look, while faster speeds might preserve details more sharply. Try a few test shots for perfect results.
- Choosing the Right Equipment - A wide angle lens can help you capture the vastness of the sky. Pay attention to the focal length to ensure you're getting the parts of the sunset scene you want to highlight.
- Using Natural Elements - Incorporate elements like a dark foreground to create contrast. The horizon line can guide the viewer's eye through the photograph.
- Understanding Light - During the golden hour, colors become warm and soft. The sky takes on hues that seem otherworldly. A darker sky can add depth, creating a more compelling image.
- Handling Challenges - Camera shake is a common issue in low-light conditions. Use a tripod to keep your shot steady. To combat bright skies, try using graduated neutral density filters.
- Post Processing Practices - Refine your sunset photo during post-processing to enhance its look. Adjust shadows and highlights to bring forward hidden details. This step ensures that your final image is as impactful as you envisioned. Consider using Lightroom shortcuts to streamline your editing process.
Pro Tip: Learn how to edit sky photos in Photoshop and how to replace the sky completely to be able to make your photos look stunning!
Pro Tip: When editing, blend different exposures for a full range of colors and details. This technique can deliver a perfect sunset photography result, balancing different tones seamlessly.
Essential Gear for Sunset Shots
Capturing sunset photographs is an art. It’s both thrilling and challenging.
With a few right tools, anyone can improve their sunset photography experience.
Here’s a guide to help you gear up.
Camera and Lenses for Sunset Photography
Most modern cameras offer excellent capabilities for sunset photography. Changing your camera settings is vital.
Adjust the aperture and use suitable shutter speed to capture incredible sunset images.
Consider using longer focal length lenses for a dramatic effect. This helps capture the horizon line clearly.
Testing different focal lengths can unveil new perspectives. It sounds technical, but it’s also creative.
Each sunset photograph feels unique with slight tweaks to the settings. If you’re wondering which camera to choose, consider models that excel in low-light conditions for the best results.
Pro Tip: Check out these tips on photography lighting for an even better understanding.
Tripods and Stabilization
Why does stabilization matter? To prevent blurry shots, of course!
Using tripods is essential when you’re experimenting with slower shutter speed for capturing the light trails of a setting sun.
Sunset photographs come out crisper and sharp with a tripod.
It’s like having your personal assistant hold the camera steady while you perfect the shot.
And trust me, once you get the hang of it, you’ll never go without.
Filters and Accessories
Filters play a major role in landscape photography, especially during sunsets.
Neutral density and polarizing filters help manage the bright sky and control lens flare.
Avoid washing out your sunset pictures by filtering excess light.
Make experimenting with filters part of your routine during the golden hour. A well-applied filter can transform an ordinary image into a remarkable sunset capture.
Pro Tip: Shoot during the blue hour. The soft light after sunset offers a palette of colors. Experiment with different exposures. It enhances depth and mood, giving you a great sunset photo opportunity.
Check out the best landscape photography cameras and the best landscape lenses to make the most out of the opportunity.
Additionally, learn how long exposure photography at night works to be able to take photos even when the moon is out.
Techniques for Capturing Stunning Sunset Photos
Now, let’s look at some techniques you need to understand when it comes to sunset photography.
Understanding Light and Color
Understanding light is essential in sunset photography. The sun offers varied intensities and colors as it sets, creating beautiful scenes.
To capture these hues accurately, observe the bright sky and how its colors evolve over time. The colors change quickly, so remain attentive.
This way, you can anticipate and capture the most intense golden light, offering unique opportunities for landscape photographers.
Pro Tip: Check out these urban landscape photography tips to make editing landscape photos even easier!
Composition Tips for Sunset Photographs
Framing is another critical aspect of capturing great sunset photos.
Pay close attention to your composition.
- Use the rule of thirds to place elements effectively.
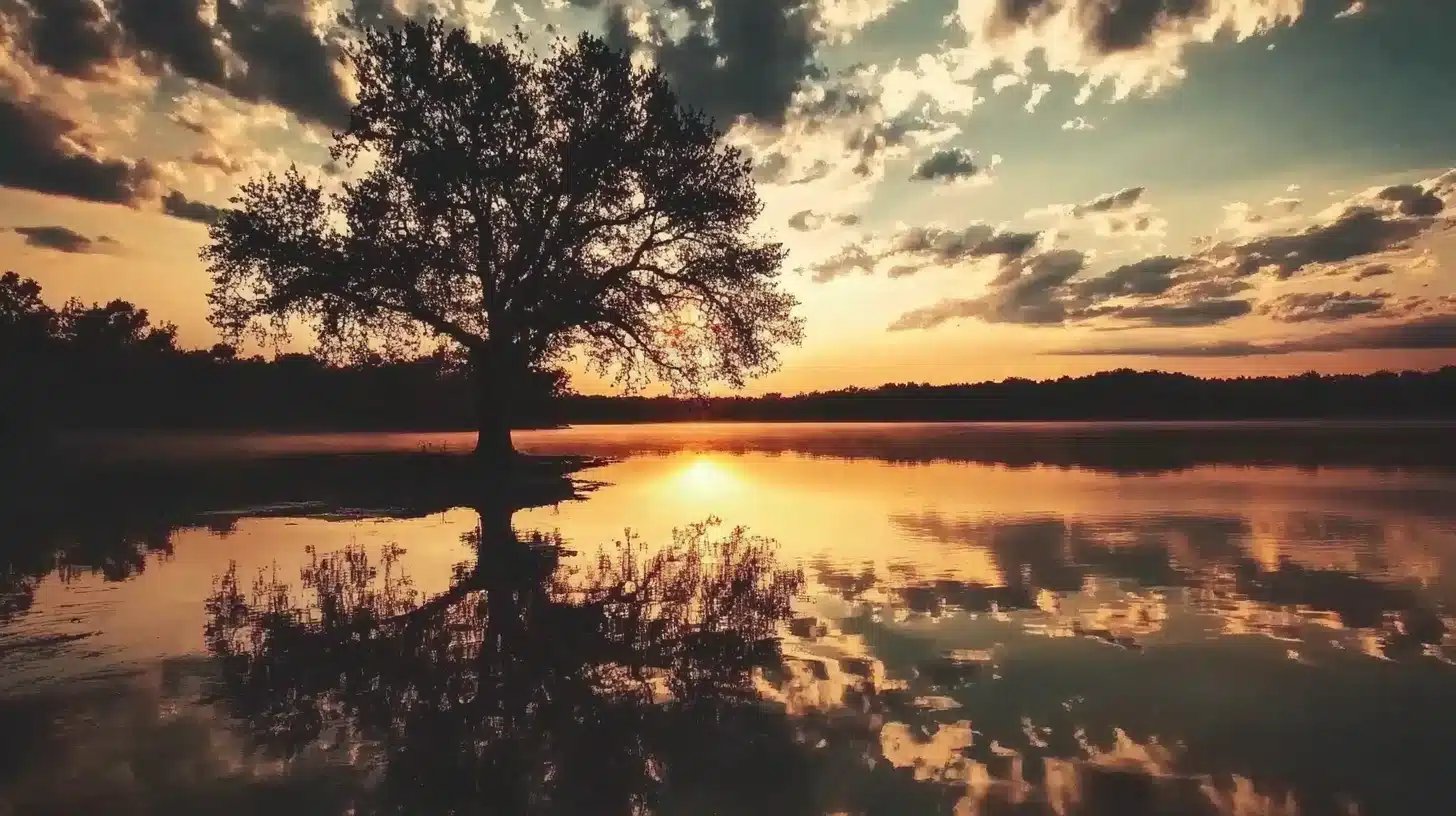
- Consider natural elements like trees or water bodies to add dimension.
Pro Tip: Learn what composition in photography means to master your craft even further.
Camera Settings for Perfect Sunset Photographs
Getting your camera settings right is key. Start by tweaking the aperture setting.
A low aperture, around f/8 to f/16, is often ideal. It ensures clarity across the frame.
- Adjust the shutter speed to control light exposure. A fast shutter minimizes movement blur, while a slower shutter might enhance detail in low light. Be mindful of shutter speeds; they dramatically change exposure.
- Using a longer focal length helps isolate subjects against the sky. Wider focal lengths can include more scene.
- Set ISO low, around 100-400, to reduce noise in your image. However, sometimes adjusting ISO in low light is necessary. If necessary, slightly increase it but watch for noise in the final pictures.
- To prevent lens flare, use a lens hood. It can block extraneous light and preserve image clarity.
Finally, post-production is where you bring out your photo’s potential.
In post processing, you can adjust exposure, balance hues, and enhance details. A gentle tweak can shift a photo from good to outstanding.
Remember, less is often more during post-treatment. Prioritize natural representation over excessive adjustments.
In Lightroom and Photoshop, experiment with color sliders to fine-tune your photo. Play with contrast and highlight settings to bring out details, especially in the sky.
Consider using the spot healing brush tool in Photoshop to remove any unwanted elements that might distract from the beauty of the sunset.
Pro Tip: Invest time in learning your camera. Mastering each function and camera settings will empower you to adapt to any photographic situation effortlessly.
Additionally, understanding the difference between Photoshop and Lightroom can significantly enhance your editing workflow, allowing you to choose the right tool for specific tasks.
Planning Your Sunset Shot
As a journalist with a diligent streak, I love a well-planned sunset photography session. Nothing beats the satisfaction of capturing that moment when the sky transitions from bright to a palette of colors.
Let’s dive into planning this unforgettable experience.
Choosing the Right Location
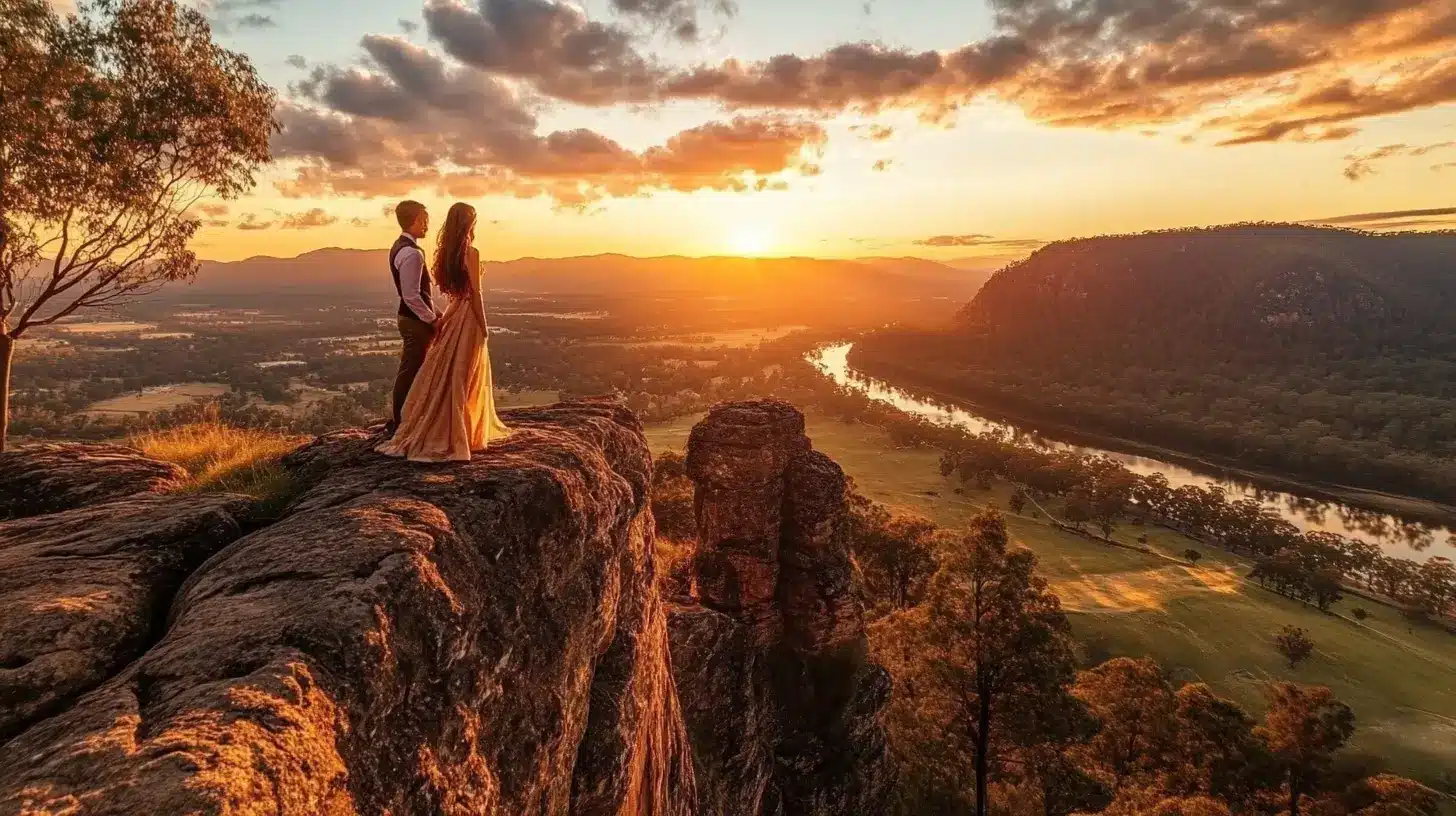
Finding a perfect spot for your sunset picture is crucial. You want a place with an unobstructed view of the sky.
Look for interesting foregrounds, like trees or water bodies, to add depth to your photos. Always scout your location during the day to identify the best vantage points.
Landscape photographers often spend hours picking their spots. Knowing I have a good location makes me less lazy about setting up.
For those interested in experimenting, consider using different types of lenses to see how they affect your composition and depth of field.
Pro Tip: For an even better understanding, learn these rules of composition in photography.
Timing Your Sunset Photography Session
Timing is everything in sunset photography. Aim to arrive at your chosen spot about an hour before sunset.
This gives you ample time to set up and adjust your camera settings. It also lets you chronicle the changing light conditions leading up to the main event.
Remember, a consistent focal length ensures uniformity in your shots; it’s all about capturing the bright sky just before it dims.
Play with the time between each shot to pack your series with variety.
Always bracket your exposures by taking three photos:
- One underexposed
- One correctly exposed
- One overexposed
This method will give you more flexibility during post-processing, especially if you’re using tools like Photoshop or Lightroom.
Plus, it saves you from the horror of realizing too late that your favorite shot was too dark or washed out.
Pro Tip: To enhance your editing process, familiarize yourself with the essential tools in Photoshop and the essential tools in Lightroom, which can significantly improve the quality of your sunset images.
Post-Processing Sunset Photographs
Sunset photography captures vivid hues and dramatic skies. Processing these photos enhances the natural beauty of the scene.
Now, let’s dive into the essentials and a few tricks to give your pictures that extra pop.
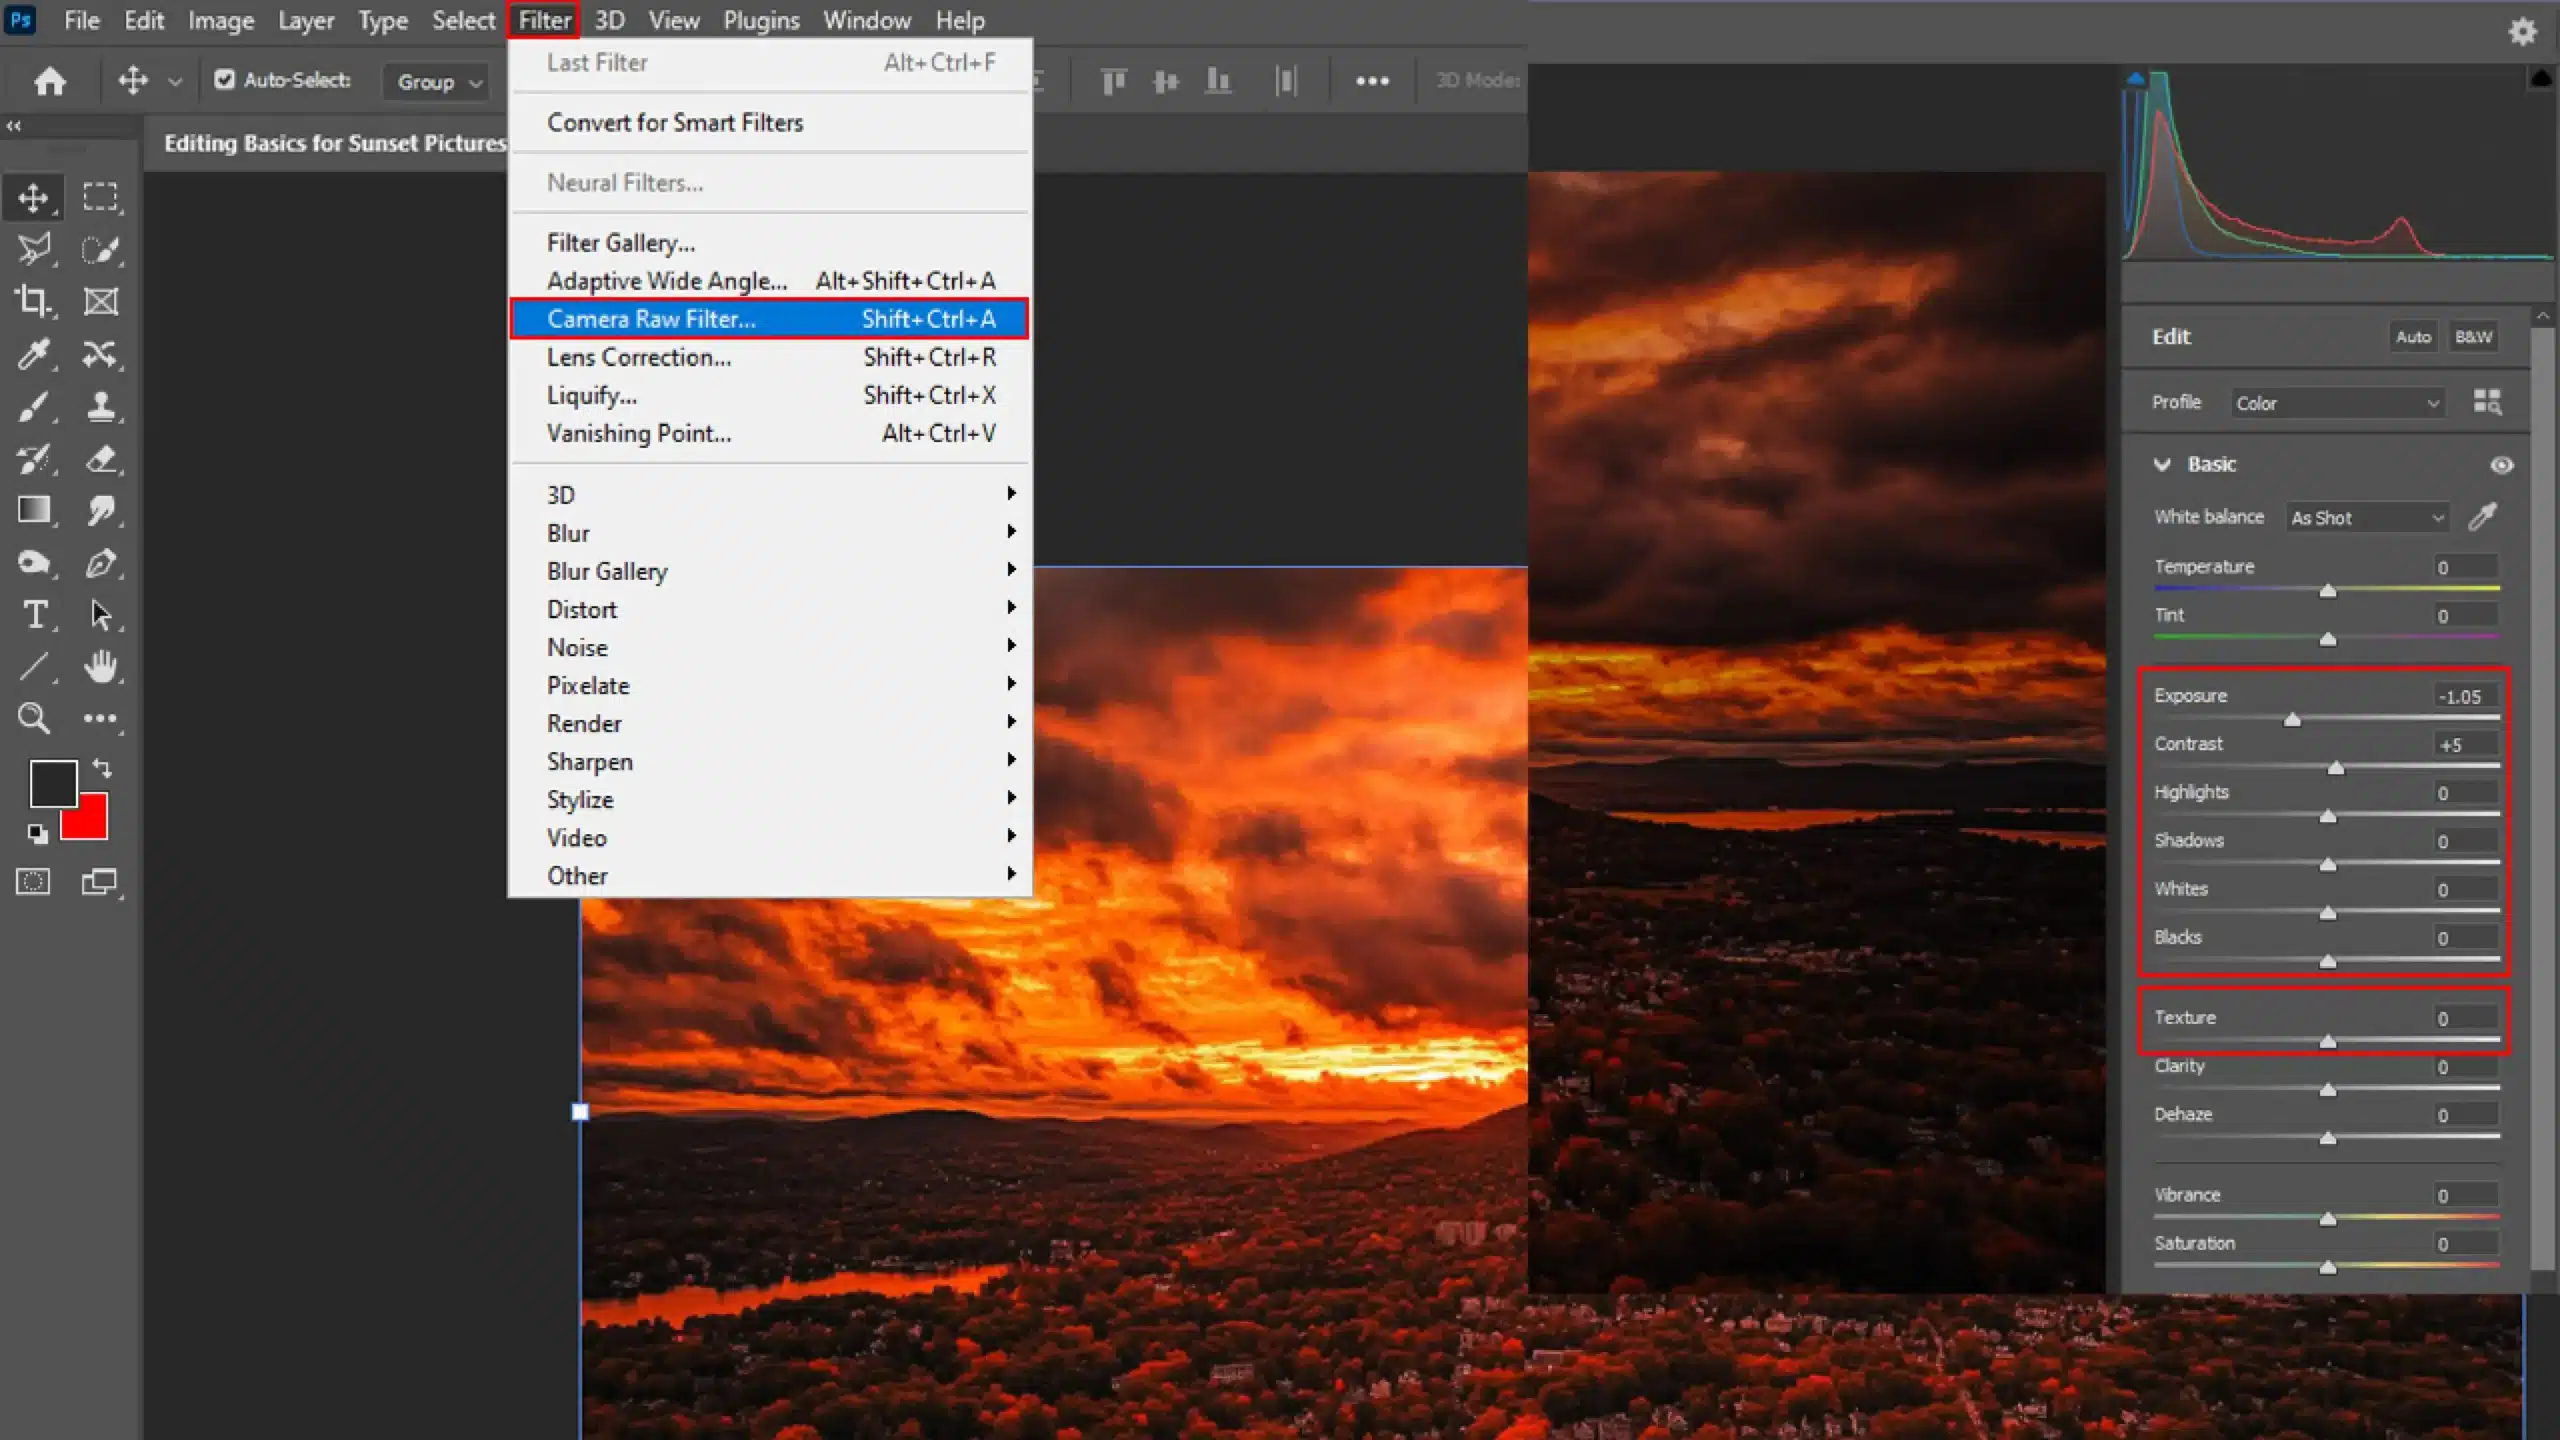
Editing Basics for Sunset Pictures
Let’s kick things off with the essentials:
- Organize Your Photos: Start by organizing your photos using folders. This makes it easier to find your best shots. Labeling is crucial.
- Adjust Exposure: Open your photo in Photoshop or Lightroom. Adjust the exposure to ensure your sunset's not too bright or too dark. Use the histogram as your guide; it's like your photo's health monitor.
- Tweak Contrast: Enhancing contrast highlights the sunset's vibrant hues and deep shadows. You feel like a magician here.
- Color Balance: Warm up those colors by adjusting the temperature slider for that golden, dreamy effect. Subtlety is key; a pinch of warmth goes a long way.
- Focal Length and Cropping: Cropping can change the focal length effectively, helping to create stronger compositions. An altered crop can refresh your entire photo's story.
- Sharpness: Ever zoom in and notice blur? Rectify it with the sharpening tool. Remember, less is more. Sharpening should be like salt; a little enhancement goes miles, but too much ruins flavor.
Advanced Techniques for Sunset Photo Enhancement
We dial it up here with advanced techniques that can turn great photos into outstanding ones:
- Understand Layers: They are like a cake; each layer is a building block for better images. Add a layer, and try blending modes to increase vibrancy or tone down glare. Voilà, instant drama!
- Camera Settings and Focal Length: Camera settings initially determine your focal length. This impacts your final image quality and post-edit flexibility. If you used a longer focal length, adjust with the crop tool to maintain composition.
- Masks and Gradients: Masks target specific areas without affecting the entire photo. Want to brighten just the sky? A mask does the trick! Gradients add smooth transitions and can enhance sunrise clouds effortlessly.
- Dodge and Burn: Play with light by lightening sunlit areas or intensifying shadows, adding depth. It’s as if you’re an artist and the sunset canvas is yours to create.
- Lens Correction: Revisit the focal length with the lens correction tool. Correct any distortion and ensure straight horizons. Achieving this helps your landscape photography maintain its natural allure.
Pro Tip: Once you find a style, stick to it. It makes your portfolio unique and recognizable.
Common Mistakes in Sunset Photography
Capturing sunsets with a camera feels rewarding.
The colors glow, the skies seem alive, and everyone wants to snap that perfect shot. Yet, errors are common.
Let’s guide you through some pitfalls.
Avoiding Overexposure
Sunsets can easily overexpose images if not careful. The bright sun competes with the dimming sky.
Use your camera’s histogram to balance this out. Setting the exposure manually helps.
Try photographing right before the sun dips below the horizon. This way, you capture colors without washing them out.
Additionally, understanding the exposure triangle can be beneficial in managing light effectively.
Dealing with Lens Flare
Lens flare is tricky. Pretty at times, often annoying. To reduce it, consider the following tips:
- Use a lens hood to block stray light.
- Tilt the camera slightly or change your position.
- Post-process to remove unwanted flares if necessary. Tools like the Clone Stamp Tool in Photoshop can be useful for this.
Pro Tip: Learn the selection tools in Photoshop and the Lightroom selection tool. You will use these tools in post-processing to remove any unwanted nuances.
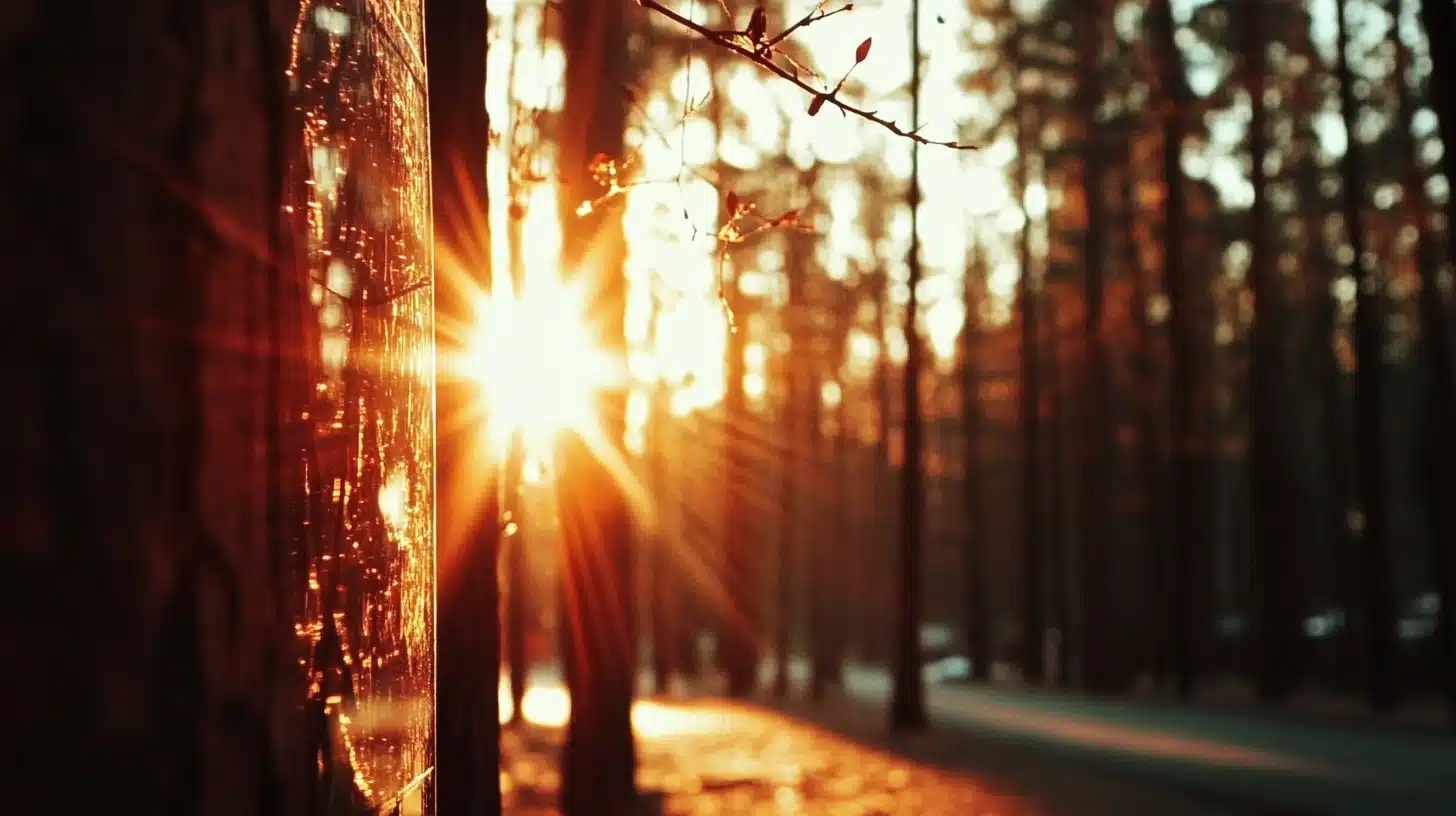
Remember, less flare means clearer images.
Pro Tip: When editing, ensure your post-processing enhances the natural scene, not altering its essence.
Frequently Asked Questions
What is the best setting for sunset photography?
- ISO: For sunset photography, it’s best to use a low ISO setting, typically around 100 to 200, to minimize noise in your images. This allows you to capture the beautiful colors of the sunset without grain, ensuring a cleaner and more vibrant photograph.
- Aperture: Set your aperture between f/16 and f/22 to achieve a greater depth of field, which helps keep both the foreground and background sharp and in focus. This is particularly important in landscape photography where you want to capture the vastness of the scene.
- Shutter Speed: Adjust your shutter speed according to the light conditions, as the intensity of the sunset can change rapidly. If the light is low, consider using a tripod to prevent your camera from shaking, which can cause blur in your images, especially during longer exposures.
How many minutes before sunset is best for pictures?
- The optimal time for capturing incredible sunset photographs is usually 20 to 30 minutes before the actual sunset. This period, known as the "golden hour," provides soft, diffused light that enhances the warm colors in your images, creating a magical atmosphere perfect for photography.
What is sunset photography called?
- Sunset photography is commonly referred to as "golden hour photography," named after the specific time of day when this beautiful light occurs. During this hour, the sun’s position and light quality create a warm, golden hue that can dramatically improve the overall mood and aesthetic of your images.
What is the best direction to take sunset photos?
- Aim your camera west to capture the setting sun directly.
- Positioning yourself with the sun slightly off to one side can also create stunning silhouettes and highlight clouds.

Conclusion
Sunset photography has always been a passion of mine, capturing the vibrant hues as the sun dips below the horizon. Through my journey, I discovered that the key to breathtaking sunset pics lies in mastering the tools at my disposal.
By honing my skills in both Photoshop and Lightroom, I was able to transform ordinary photographs into extraordinary pieces of art. These tools allowed me to enhance the natural beauty of sunsets, bringing out colors and details that are often missed by the naked eye.
If you’re looking to elevate your own sunset photography, I highly recommend exploring my Photoshop course and Lightroom course. These courses offer comprehensive insights into editing techniques that can truly make your sunset photographs stand out.
Embracing the magic of sunset photography has enriched my creative journey, and with the right guidance, it can do the same for you.
Read more about Photoshop:


