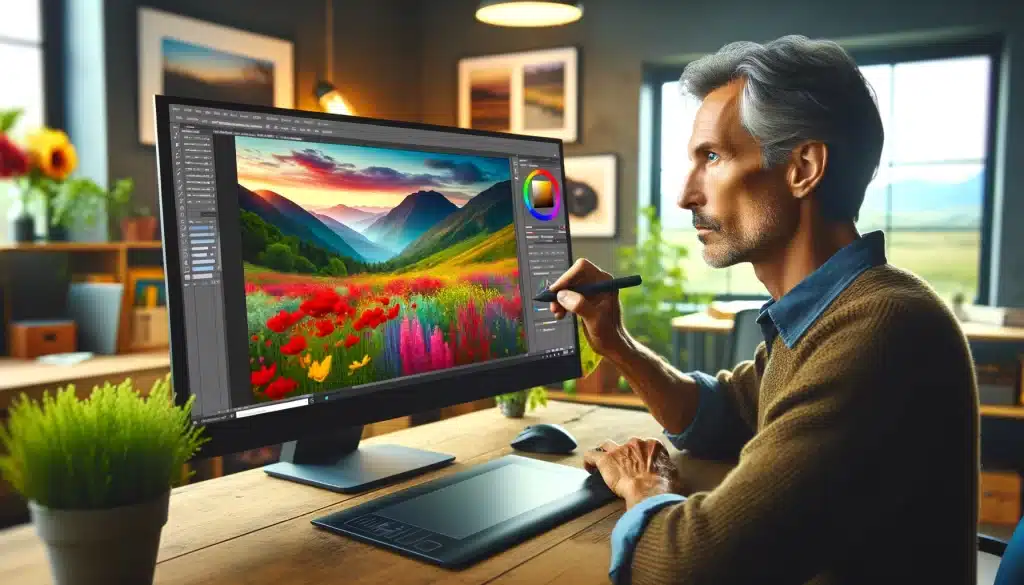
Mastering the Art of Blur: A Deep Dive into Photoshop’s Blur Gallery

Welcome to a journey of creativity and mastery in digital imaging! In this comprehensive guide, we delve into the fascinating world of the Blur Gallery in Photoshop. Whether you’re a learner exploring the possibilities or a seasoned artist seeking advanced techniques, this article is your gateway to unlocking the full potential of the Blur Gallery in Photoshop. Additionally, it offers comprehensive insights and practical tips to help you elevate your editing skills.

Through practical examples, step-by-step instructions, and insider tips, we’ll navigate through various blur filters, and strategies to enhance your images, elevate your skills, and enable you to work professionally. Join us as we uncover the artistry behind creating captivating images with the Blur Gallery. Let’s build a community where no creative idea goes missing, and where quick experimentation leads to stunning results.

Table of Contents

Understanding Different Types of Blur Filters: Blur Gallery in Photoshop

Here’s a table outlining the differences between various types of these filters in Photoshop, their purposes, key features, and unique characteristics. Understand and choose the right methods for editing needs.

Type Purpose Key Features Unique Characteristics
Depth Create depth-of-field effects Adjust depth range, customize blur intensity Emphasizes foreground/background separation
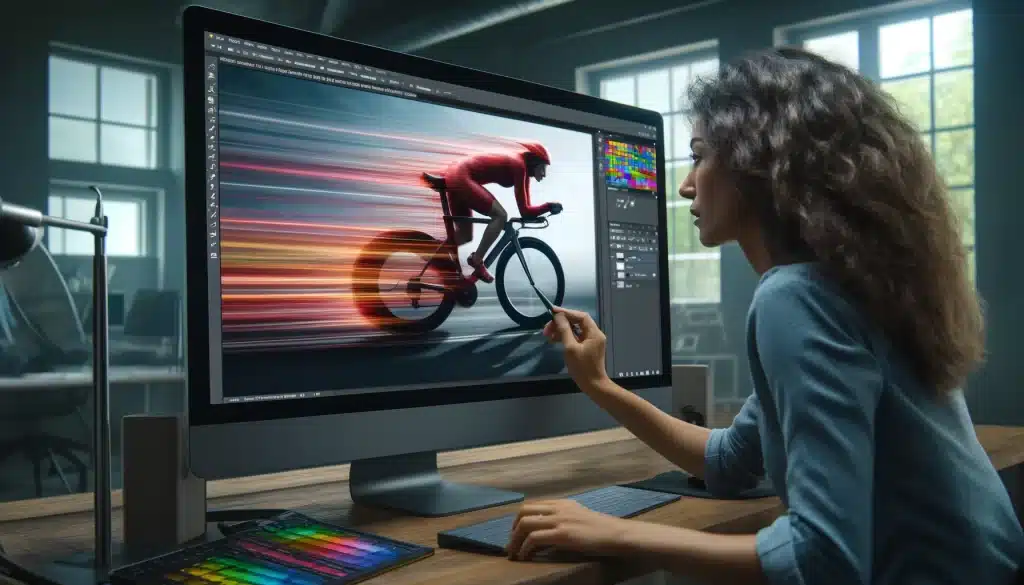
Motion Simulate wave effects Control blur direction, adjust speed Ideal for conveying motion in static images
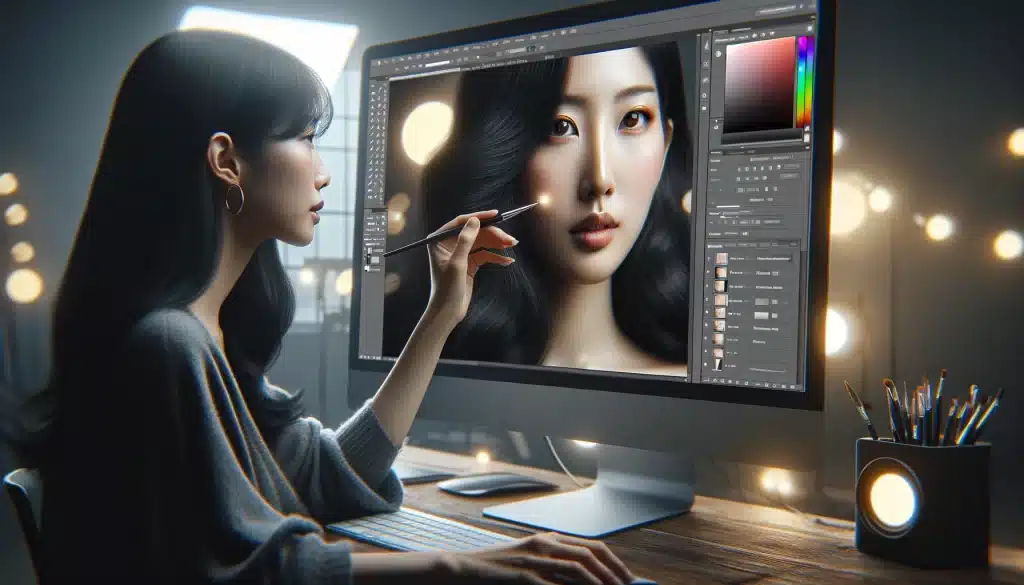
Focus Add selective focus Define focal point, adjust blur transition Highlights specific elements in the image
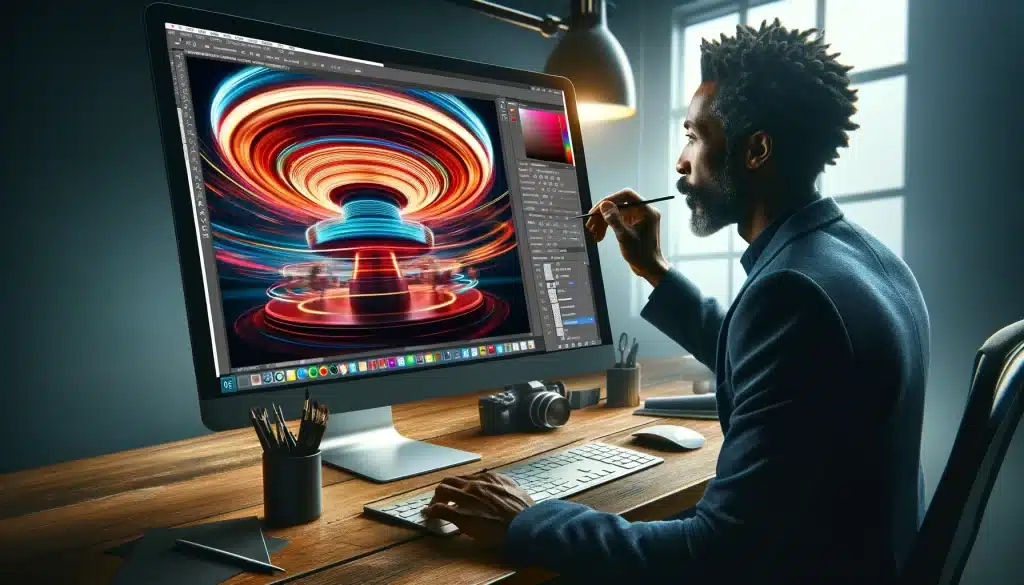
Dynamic Create dynamic motion blur Customize blur path, adjust intensity Suitable for including energy and action effects
Artistic Enhance artistic and creative effects Explore various artistic presets, adjust the style Offers a range of artistic blur styles
Realistic Mimic real-world blur Simulate lens blur, adjust bokeh characteristics Replicates natural blur seen in photography

This table provides a clear overview of the different types of filters available in Photoshop. Let’s explore this in detail:

Field Blur: Mastering Depth of Field

Man using Photoshop's Field Blur tool on a landscape photo, highlighting sharp foreground flowers and blurred distant mountains.

It’s a robust tool within Photoshop’s Blur Gallery, offering precise control over the depth of field in your photos.

Step-by-Step Process:

Practical Tips for Using

Practical Example:

Imagine a landscape photo where you want to emphasize the foreground flowers. Meanwhile, you aim to softly smudge the distant mountains, thereby creating a sense of depth and dimension that enhances the overall composition. With Photoshop’s drag feature, you can achieve this artistic depth effect effortlessly, enhancing the visual impact of your composition. Additionally, this technique draws the viewer’s focus towards the main subject, resulting in a captivating visual experience.

Enhance Creativity

Iris Blur: Creating Depth and Focus(Blur Gallery in Photoshop)

Photographer enhance portrait in a studio, highlighting sharp focus on the subject with a blurred background.

It’s perfect for simulating a shallow depth of field, guiding the viewer’s attention to specific areas of the image, and creating a professional, polished look.

Step-by-Step Process:

Practical Tips for Using

Practical Example:

Utilize Iris Blur in Photoshop to maintain sharpness on a subject’s face. Moreover, softly smudge the background, creating a visually pleasing effect that draws attention to the main subject. This technique, accessible through the panel, adds a professional depth effect to portraits, ensuring a polished and visually appealing result. 

Enhance Creativity

Tilt-Shift Blur: Mimicking Tilt-Shift Lenses

Photographer create a miniature effect on a cityscape, focusing on a specific building.

It mimics the distinctive blur effect of tilt-shift lenses, producing a miniature or selective focus appearance that replicates the unique visual style of professional photography.

Step-by-Step Process:

Practical Tips for Using Blur Gallery in Photoshop

Practical Example:

Imagine a cityscape photograph where you want to highlight a precise building. Additionally, you aim to cloud the surrounding buildings to create a miniature city effect, emphasizing the architectural details of the focal building. Tilt-Shift Blur lets you achieve this creative visual style.

Enhance Creativity

Path Blur: Adding Motion and Direction

Hispanic female photographer applying Path Blur to a dynamic sports photo of a moving cyclist, enhancing the sense of motion.

It is a dynamic tool within Photoshop’s Blur Gallery, designed to translate and infuse images with a sense of movement, amount flow, and direction.

Step-by-Step Process:

Practical Tips for Using

Practical Example:

Consider a sports photo capturing a moving athlete. Path Blur, an integral area of Photoshop’s ecosystem, can enhance the sense of speed and action by adding realistic drag and movement blur along the athlete’s trajectory.

Enhance Creativity

Spin Blur: Creating Dynamic Spin Effects

This technique not only adds dynamic spin around a central point in your images but also offers versatility for creative expression, making it ideal for showcasing movement or creating artistic flourishes with flash.

Photographer applying Spin Blur in Photoshop to a carousel image, creating a dynamic sense of movement with a clear central focus and blurred surroundings.

Step-by-Step Process:

Practical Tips for Using

Practical Example:

A photograph of a spinning carousel can click rotational motion, adding a dynamic and visually engaging element to the image. Enhancing color and layers can further click reply to the viewer, creating a captivating visual experience because it adds depth and richness to the image, drawing the viewer’s attention and enhancing their overall perception of the scene.

Enhance Creativity

It is a versatile tool for creating depth and focus impact in your images. By learning its features and techniques, you can enhance your photography and storytelling, conveying visual narrative impactfully.

Enhancing Blur Effects in Photoshop: Blur Gallery in Photoshop

These effects can translate and elevate your images by adding depth, focus, artistic flair, and original effects to the photography efficiently. Let’s quickly explore practical tips and techniques to create visually stunning compositions:

Utilize Layer Masks:

Apply blur selectively using layer masks to target specific areas of your image. This technique allows you to control where the effect is applied, maintaining sharpness in desired regions.

Experiment with Blend Modes:

Explore different blend modes for blurred layers to achieve unique blending effects. Click modes like Soft Light or Overlay can enhance the overall look, and feel of your blur enhancement, including depth and richness to your photos.

Adjust Blur Intensity: Blur Gallery in Photoshop

Fine-tune the intensity of blur filters to strike the right balance between artistic blur and retaining image detail. Use slider controls or input definite values to achieve the desired effect.

Combine Multiple Blur Filters:

Layering different filters can produce complex and nuanced enhancements. Experiment with stacking, Iris, and Motion Blur effects to create depth and dynamic movements in your photos.

Enhance Color and Contrast: Blur Gallery in Photoshop

After applying blur outcome, fine-tune color vibrancy and contrast to enhance the appeal of blurred expanses. This crucial step maintains balance and harmony, ensuring your overall image achieves a visually pleasing and professional look.

Implementing these regulates, panels, and original techniques enhances your blur outcome in the images. This way you can learn and elevate your ability to make captivating and professional-quality images that leave a lasting impression on viewers.

Frequently Asked Questions: Blur Gallery in Photoshop

Photoshop-Masterclass-Advanced-Editing-Layer-Manipulation

Here are original insights and answers from the community that will enhance your understanding and proficiency in utilizing the tools in Blur Gallery in Photoshop.

What does blur gallery do in Photoshop?

It provides a range of advanced blur filters that allow you to create various blur outcomes like motion blur, flash, and selective focus. It enables precise control over blurring elements in your images, enhancing their visual appeal.

How do I blur certain areas in Photoshop?

To blur a definite amount of areas in Photoshop, you can use tools like the blur tool. Select the desired filter and apply it to the area you want. It alters the brush size and strength to blur definite regions manually.

How do you blur gallery in Photoshop tilt shift?

To apply tilt-shift blur in the Blur Gallery in Photoshop, select this filter. Position the central pin to mark the area of sharp focus, fine-tune the blur intensity and transition, and customize the blur angle to create the desired tilt-shift effect.

Which type of blur can be applied in the Blur Gallery?

Photoshop offers a variety of filters, including Field, Iris, Tilt-Shift, and Spin Blur. Each one serves different purposes, such as simulating motion blur, adding selective focus, or generating dynamic spin. You can choose the appropriate type based on your creative vision, the amount of intensity required, and the effect you want to achieve.

Conclusion

Middle Eastern female photographer reviewing a collage of images with various Photoshop Blur Gallery effects in a professional editing studio.

As we conclude this exploration of the Blur Gallery in Photoshop and its diverse refiner, I reflect on how these techniques and tools have enhanced my approach and learning about digital artistry. From mastering and learning about field Blur to creating dynamic spin effects with Spin Blur. Each filter within the Blur Galleria has expanded my creative horizons and allowed me to craft visually captivating compositions. For instance, I recently used the Tilt-Shift Blur for a unique tilt-shift effect in a cityscape photograph, creating a miniature-like scene that garnered praise and attention.

The versatility and precision offered by the field Blur Gallery have enhanced the aesthetics of work, streamlined my workflow, and achieved professional-quality results efficiently. As digital artists and photographers, it’s crucial to continuously explore the potential and learn to stay ahead in the ever-evolving digital ecosystem.

If you’re eager to master Photoshop’s Blur Gallery and other advanced techniques, I recommend quickly exploring our comprehensive courses to fill in any missing gaps and reduce noise in your learning journey.Our courses cover a wide range of topics, including layer manipulation, color correction, and optimizing and translating workflows, and reports, and help you create stunning visual reports. Explore practical tips for enhancing smudging effects, from layer masks to blend modes. Join our growing community of digital artists for quick replies and elevate your skills!

Don’t miss out on unlocking the full potential of Adobe Photoshop and Lightroom. Enroll in our comprehensive Photoshop Course and Lightroom Course today to master Adobe’s powerful tools and elevate your digital editing skills.

If the “Blur Gallery in Photoshop” article has helped you, then Like and Share it with your friends!

Facebook
Twitter
LinkedIn
Pinterest

Have a nice photoshoot! 

Read more about: Photo Editing with Lightroom and Photoshop

Download Your Free Guide Now!

Discover the secrets of photography with our printable guide! Master essential techniques like aperture, shutter speed, and ISO to create stunning images. Get your free printable PDF now and start turning your snapshots into masterpieces!