| Setting or mode | Indoor Christmas Photography | Outdoor Christmas Photography |
|---|
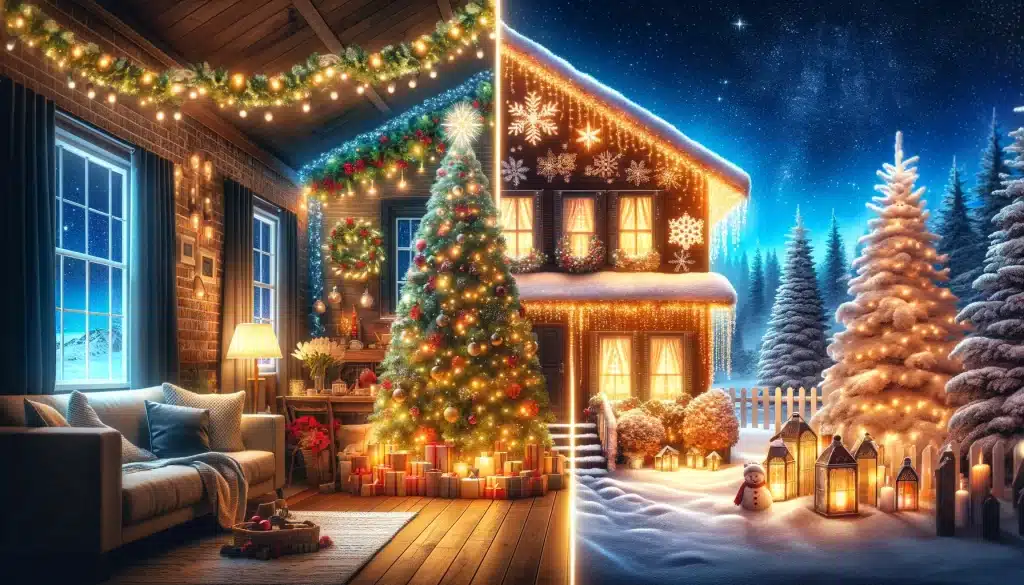
| Lighting | Mix of artificial lights and ambient room lighting. Use usual functions to balance the brightness. | Primarily ambient and street lighting. Longer exposures may be needed for full glow of lights. |
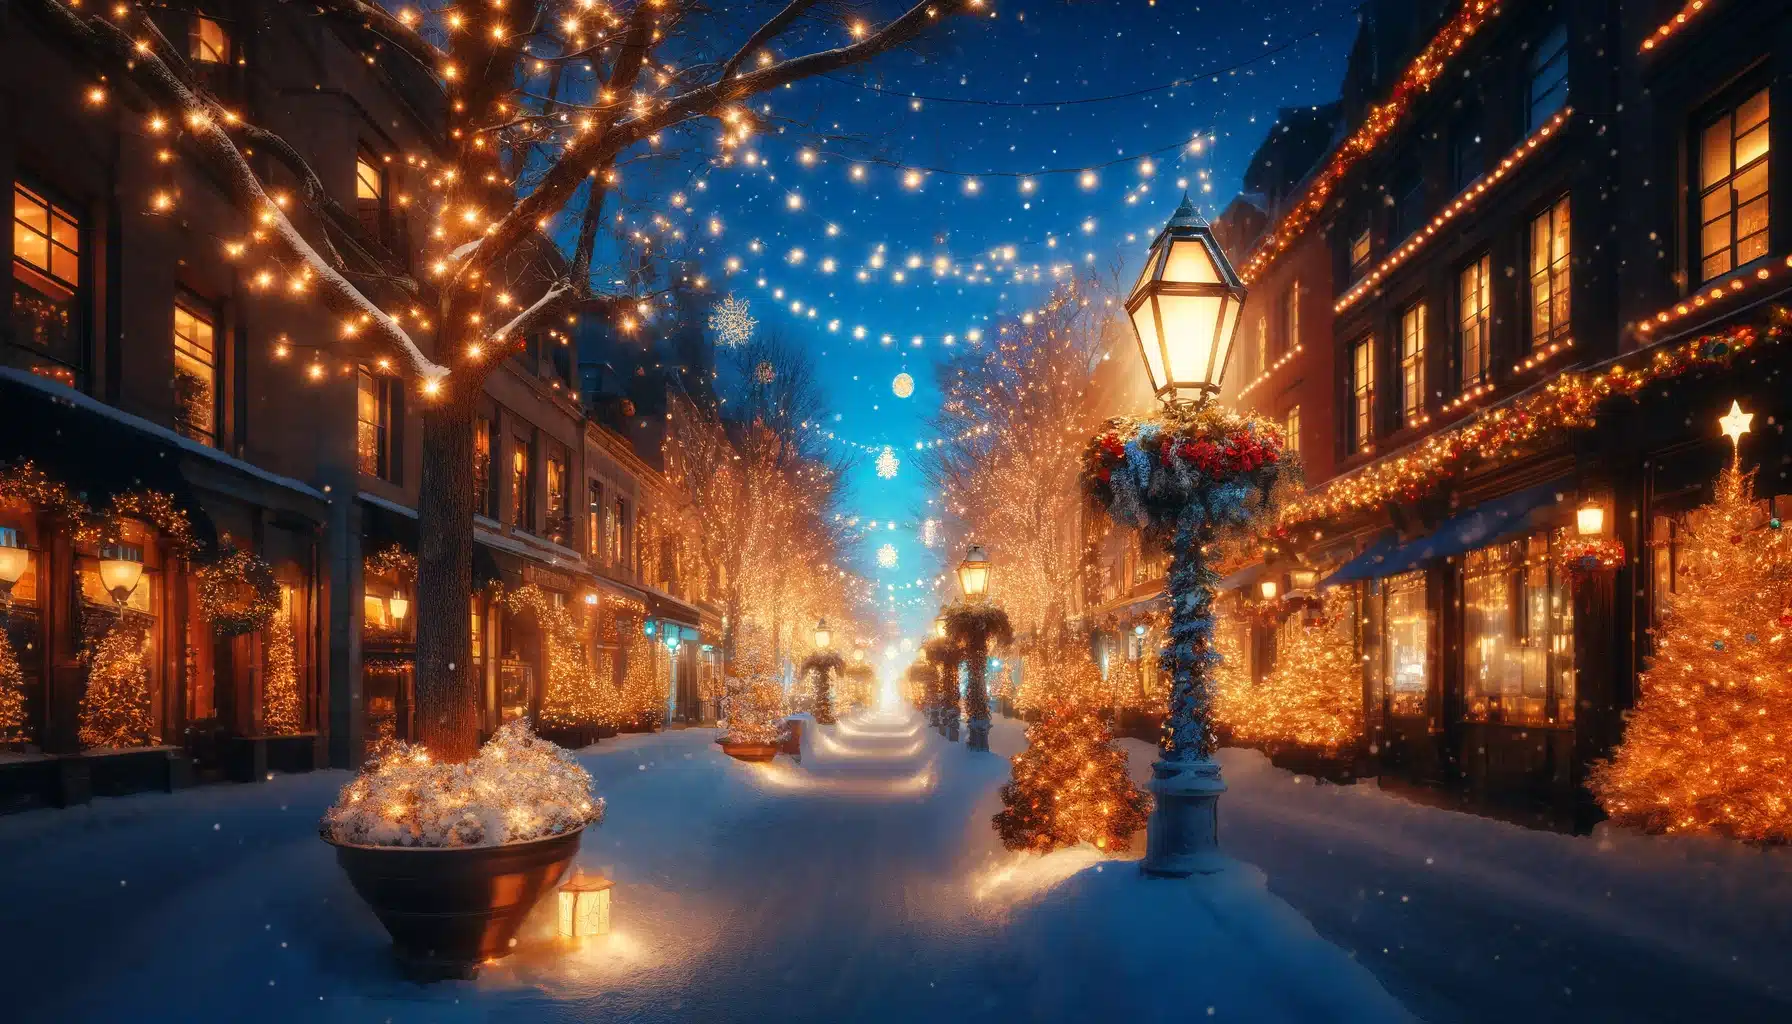
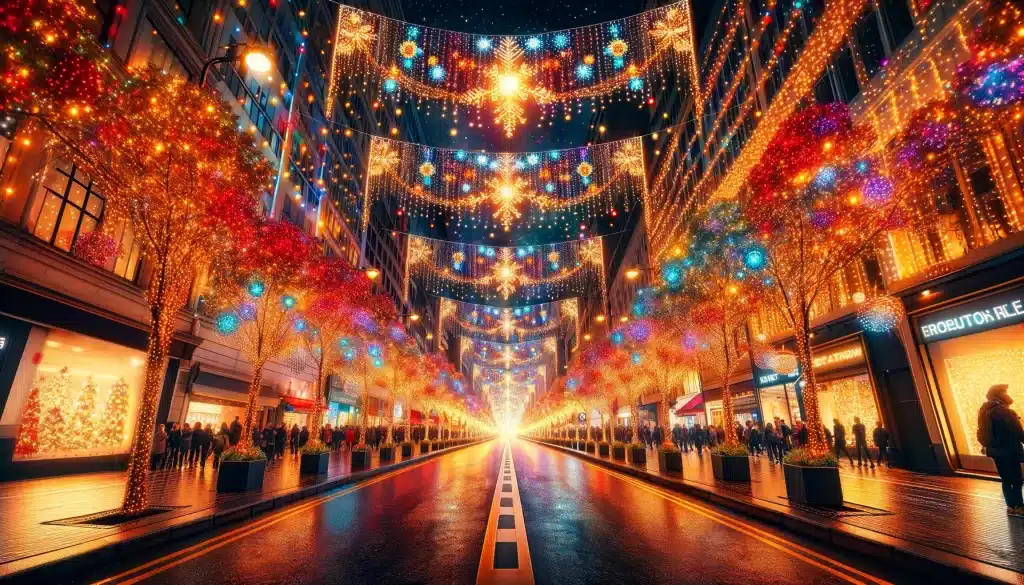
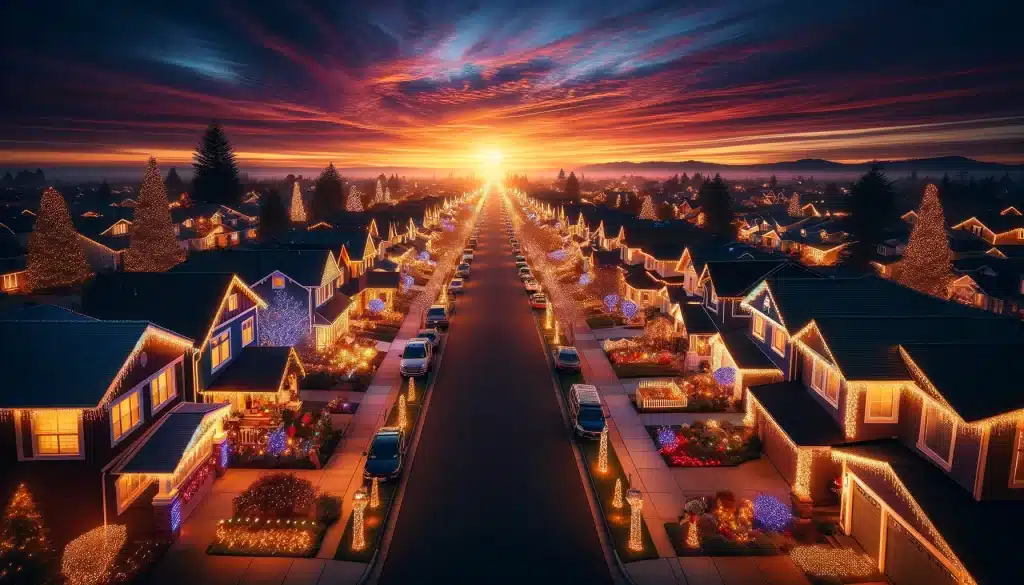
| Composition | Consider details like ornaments. Frame shots to include cozy room elements. | Take the greatness of displays. Include landscape elements like buildings or trees to add context. |
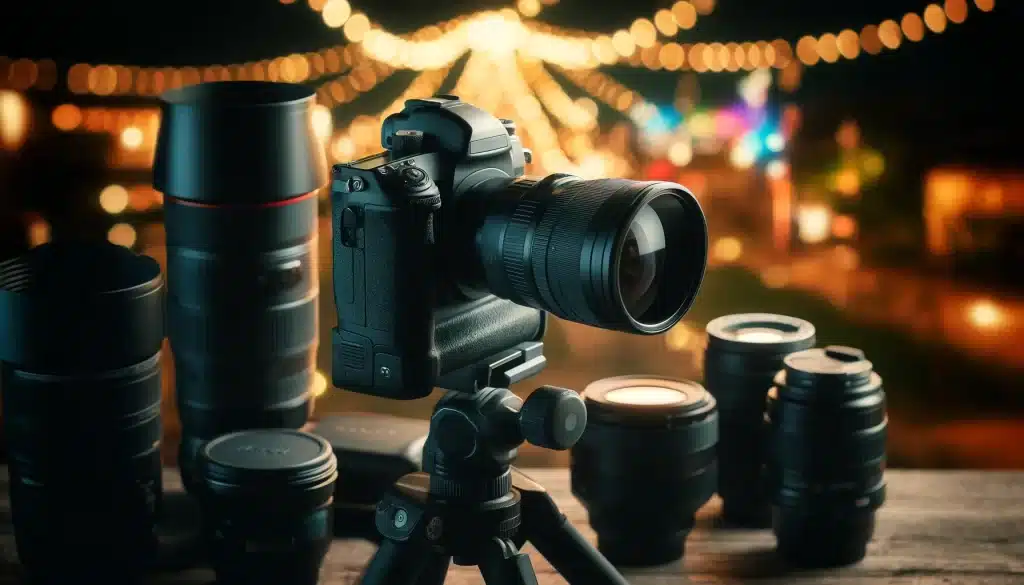
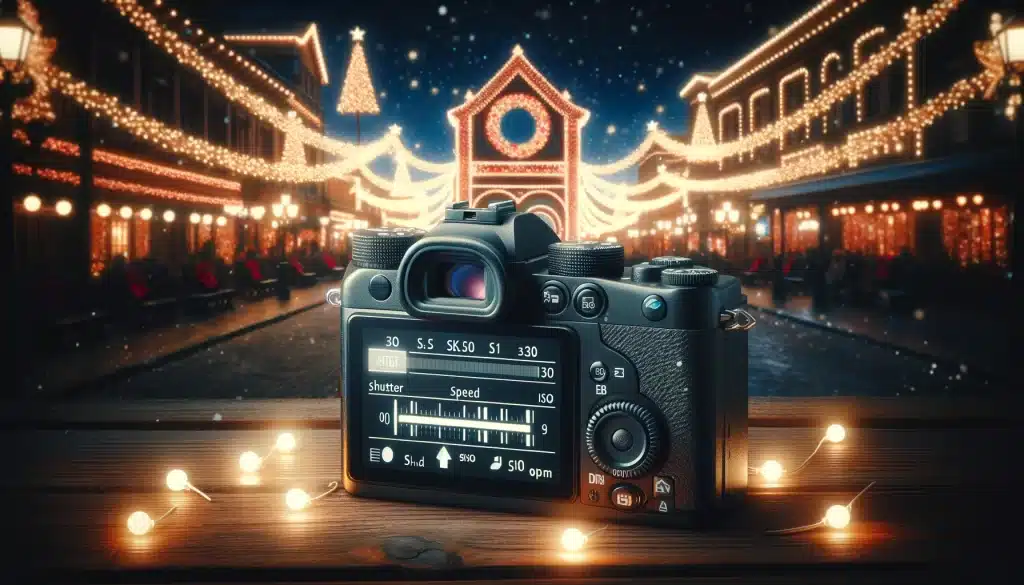
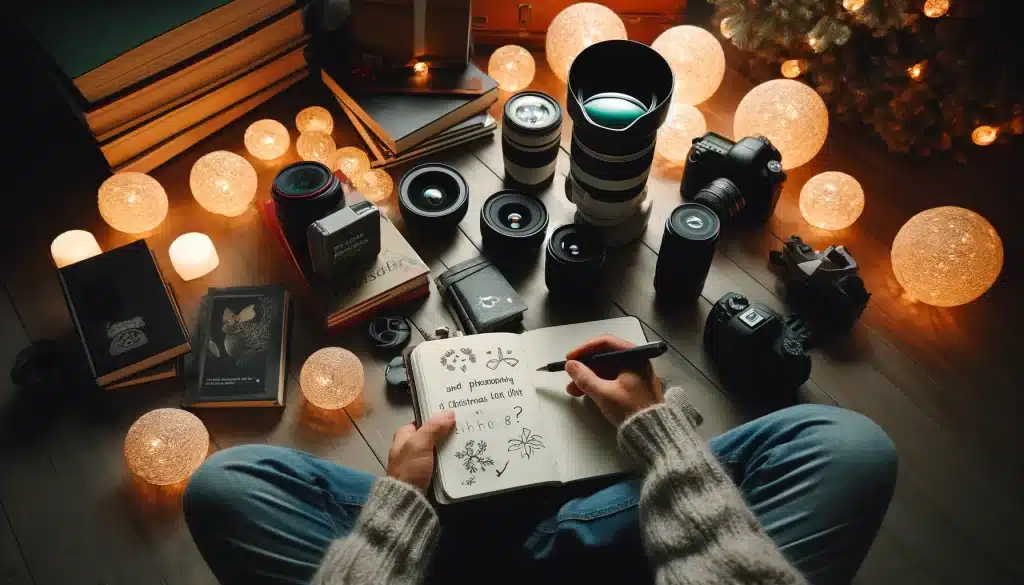
| Camera Settings | Use a tripod to stabilize. Lower ISO to reduce grain. Aperture can vary based on desired depth of field. | Sturdy tool essential for long exposures. Use a lower ISO for less noise. |
| Time of Day | Anytime, but Evening enhances the lights’ effect. Control room lighting to avoid overexposure. | Best after sunset during the blue hour for a natural balance between light and dark. |
| Weather Considerations | Indoor conditions are controlled, so no need to worry about weather. | Outdoor shoots are weather-dependent. Clear nights are ideal, but mist or snow can add interesting effects. |