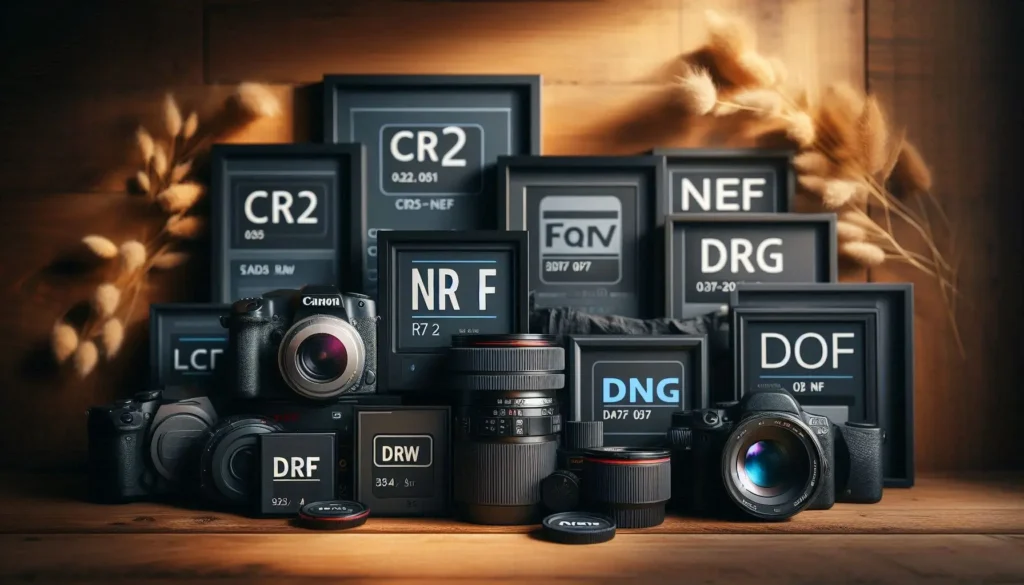
Ever feel like your photos could be more? Like there’s hidden potential locked away? That’s where Camera Raw comes in. As a photographer, it’s been a game-changer for my photo editing. Unlike JPEGs, which undergo compression and processing in-camera, Camera Raw files retain the maximum detail and dynamic range. This gives you extensive control during post-processing.
In this article, I’ll dive deep into the advantages of using Camera Raw, show you how to effectively utilize it in Adobe applications, and answer the most common questions about this powerful format.
Table of Contents
Advantages of Shooting in Camera Raw
Higher Image Quality
- Maximum Data Capture: Shooting in RAW captures all the data from the camera sensor without any compression, resulting in the highest quality images. This includes a greater dynamic range and finer gradation of tones, which JPEGs cannot match due to their compression process.
Greater Flexibility in Post-Processing
- White Balance Adjustments: RAW files allow you to adjust the white balance after the raw photo is taken, offering more accurate color correction than JPEG files, which are limited by in-camera processing.
- Exposure Adjustments: You can recover details from overexposed or underexposed areas more effectively with RAW files, as they contain more data compared to JPEGs.
- Non-Destructive Editing: Editing RAW files is non-destructive, meaning the original data remains untouched. Any edits are saved separately, allowing you to revisit and re-edit without losing quality.
Enhanced Detail and Sharpness
- Higher Bit Depth: RAW images typically offer 12 or 14 bits of data per channel, compared to the 8 bits of JPEGs. This results in images with more detailed color and less banding.
- Better Noise Reduction and Sharpening: You can apply selective sharpening and noise reduction more effectively in post-processing, resulting in cleaner, sharper images.
Better Print Quality
- Improved Prints: The finer gradation of tones and colors in RAW files leads to better print quality. There’s less risk of banding, which can occur in prints made from JPEGs.
Versatility and Control
- Adjustable Color Space: RAW files allow you to choose the appropriate color space during export, whether it's sRGB for web use or Adobe RGB for print. This flexibility ensures optimal color representation for different mediums.
- HDR and Bracketing Capabilities: One RAW file can be processed multiple times to create HDR images, simulating the effect of multiple bracketed exposures from a single shot.
Practical Applications and Scenarios
- Professional Use: Professional photographers often prefer RAW for its superior quality and flexibility, especially in commercial and artistic work where post-processing is crucial.
- Error Correction: RAW is particularly useful in situations where perfect exposure and white balance are challenging, such as weddings or events, where you can’t afford to miss a shot.
Shooting in RAW provides significant advantages in terms of image quality, editing flexibility, and overall control, making it the preferred choice for many serious photographers. By capturing the maximum amount of data from your camera sensor, RAW files allow you to achieve the best possible results in your photography.
How to Use Camera Raw in Adobe Applications
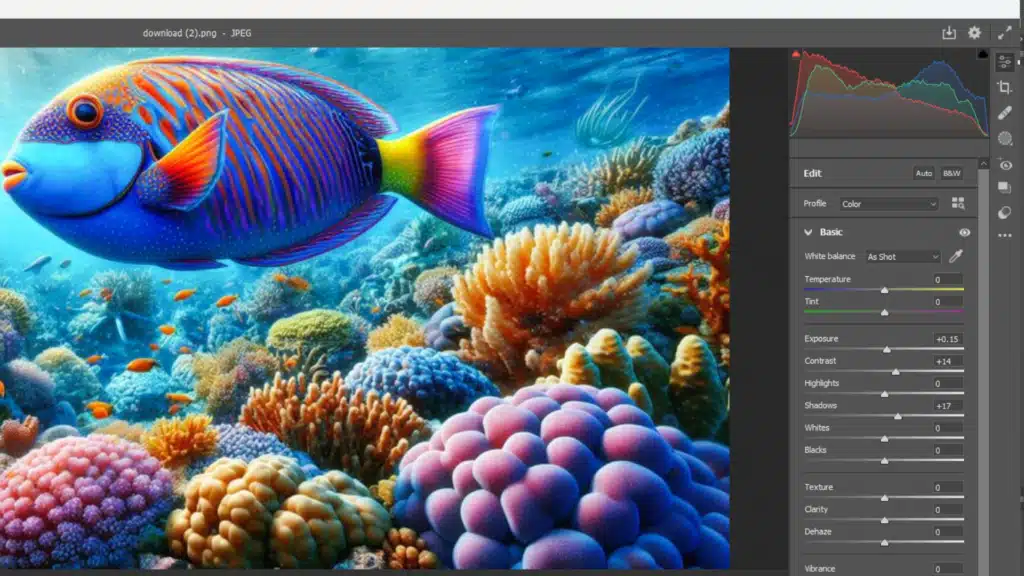
Opening and Processing Images in Adobe Camera Raw
Opening Images in Adobe Camera Raw
Using Adobe Bridge
- Open Adobe Bridge and navigate to the folder containing your images.
- Select one or multiple images by clicking on the thumbnails.
- Right-click on the selected images and choose "Open in Camera Raw" or press Ctrl+R (Windows) or Command+R (Mac).
- The Camera Raw interface will open, allowing you to start editing.
Utilizing Adobe Photoshop
- Open Photoshop and go to File > Open.
- Navigate to your image and select it. If the image is in a compatible raw format, Camera Raw will open automatically.
- Alternatively, you can drag and drop the image in Photoshop, and it will launch Camera Raw if the format is supported.
Using Adobe Lightroom
- Import your images into Lightroom by clicking Import and selecting the desired files.
- Once imported, you can switch to the Develop module where the Camera Raw engine is integrated, offering similar tools and functionalities.
Editing Images in Camera Raw
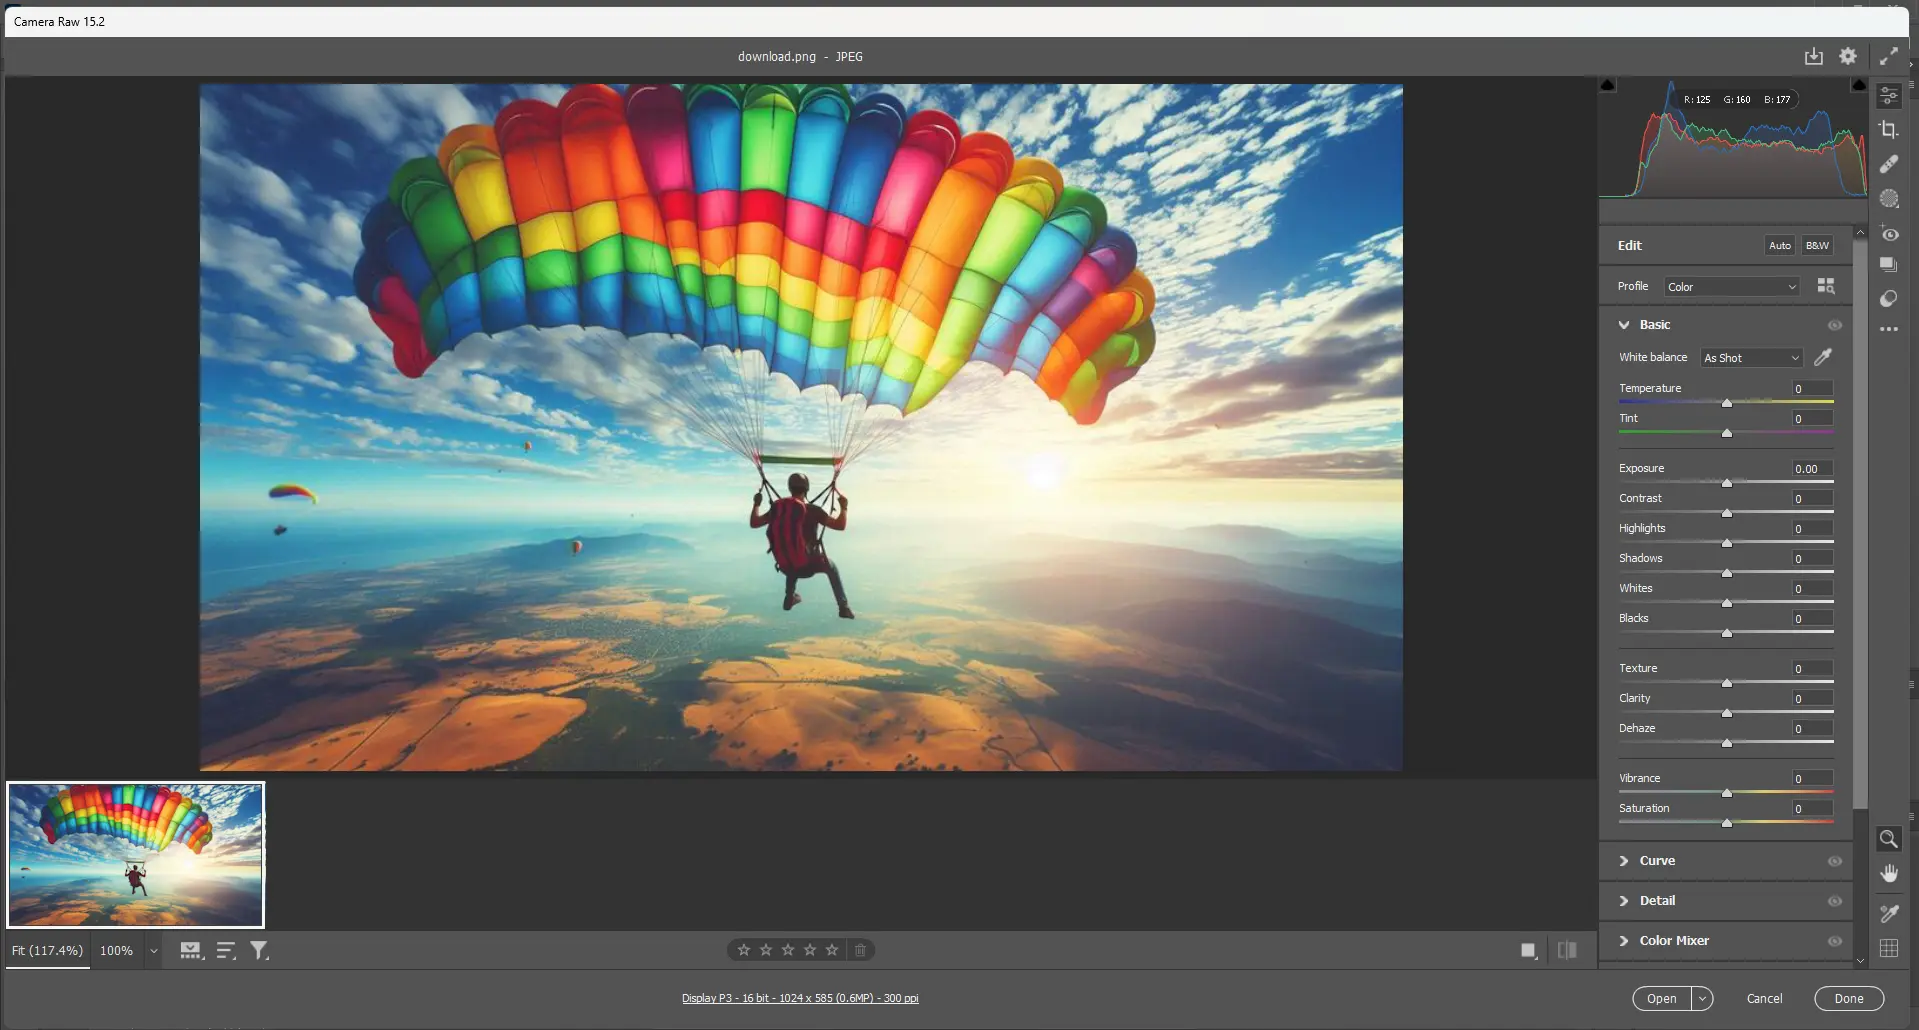
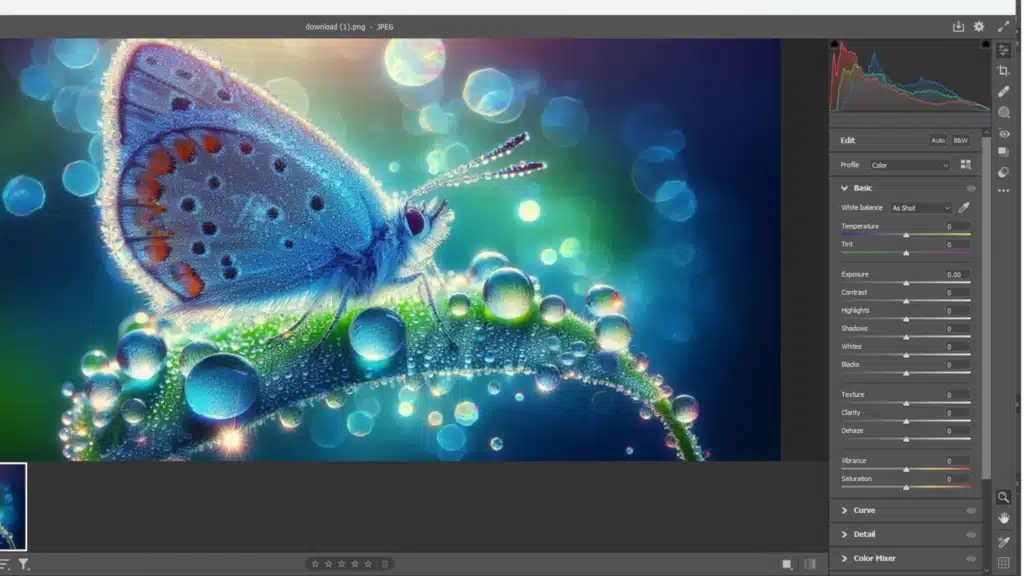
The Camera Raw interface provides a comprehensive set of tools to enhance your images. Here are some key features and steps to effectively use Camera Raw:
Basic Adjustments
- White Balance: Adjust the color temperature and tint to correct any color casts. This is especially useful for images taken in mixed lighting conditions.
- Exposure: Modify the overall brightness of your image. Use the exposure slider to make the image brighter or darker.
- Contrast: Increase or decrease the contrast to add depth and dimension to your photo.
Color Adjustments
- Color Mixer: Adjust the hue, saturation, and luminance of individual colors. This tool allows you to fine-tune specific colors in your different image to achieve the desired look.
- Color Grading: Apply color tints to the shadows, midtones, and highlights using the color grading wheels. This is useful for creating a specific mood or artistic effect.
Detail Enhancements
- Sharpening: Increase the sharpness of your image to enhance details. Be careful not to over-sharpen, as this can introduce noise.
- Noise Reduction: Reduce the appearance of noise in your image, particularly useful for high ISO sensitivity shots or images taken in low light.
Synchronizing Edits across Multiple Images
If you have a batch of images that require similar adjustments, you can synchronize your edits to save time.
- Select multiple images in the Camera Raw filmstrip.
- Make your adjustments to one of the images.
- Click the Synchronize button at the top of the filmstrip and choose which settings to apply to all selected images.
Advanced Features
- Local Adjustments: Use the adjustment brush, graduated filter, and radial filter in photoshop to apply edits to specific areas of your image. This allows for precise control over localized enhancements.
- Geometry Adjustments: Correct lens distortions, perspective issues, and straighten horizons using the transform tools.
Saving and Exporting
After making your edits, you can save and export your images in various formats:
- Click done to save the changes and return to Adobe Bridge or Photoshop.
- Click Open Image to open the edited image in Photoshop further editing.
- Use the Export options to save your image in formats such as JPEG, TIFF, or PSD, depending on your workflow needs.
Using Adobe Camera Raw effectively can significantly enhance your post-processing workflow, providing greater control and higher quality results for your images. By mastering these tools and techniques, you can ensure your photos achieve their full potential.
Comparing Camera Raw to JPEG
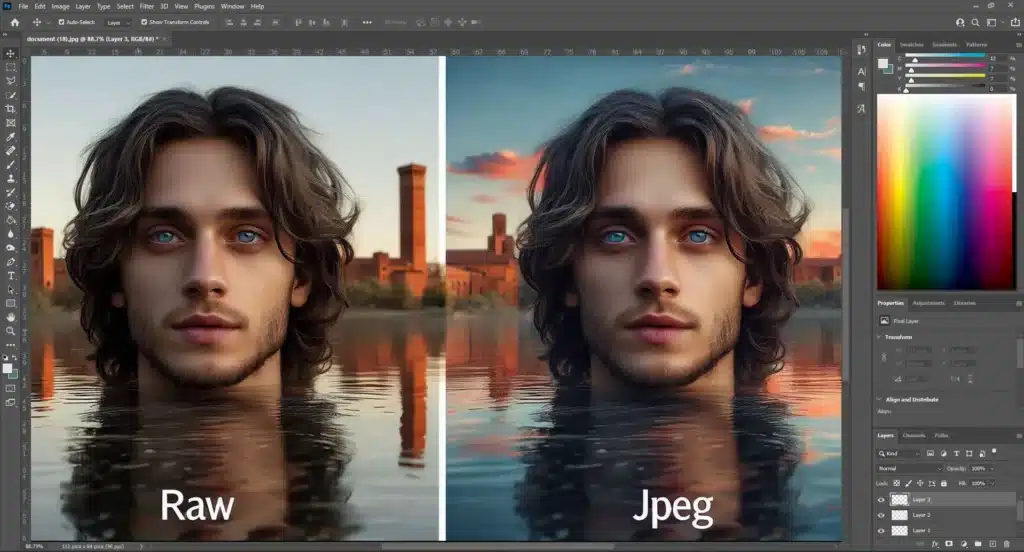
Here’s a detailed comparison to help you understand about Camera Raw and JPEG.
| Aspect | Camera Raw | JPEG |
|---|---|---|
| Image Quality | Captures all data from the camera’s sensor for higher dynamic range and color depth. | Processed in-camera, potentially lower dynamic range and color depth. |
| Dynamic Range | Can recover more details in shadows and highlights without noise. | May suffer from banding or pasteurization when adjusting exposure. |
| Color Depth | Supports higher bit depths (12-bit or 14-bit) for a wider range of colors. | Limited to 8-bit, offering fewer colors and less smooth gradations. |
| Editing Flexibility | Provides more flexibility for post-processing adjustments without degrading quality. | Limited adjustment capabilities, as processing is done in-camera. |
| White Balance | Adjustable after shooting for accurate color representation. | White balance is locked during capture, harder to correct later. |
| Non-Destructive Editing | Original image remains unchanged; adjustments saved as metadata. | Edits are baked into the file, risking quality loss with multiple edits. |
| Convenience | Larger file size, requires post-processing and conversion. | Smaller file size, ready to use straight out of the camera. |

