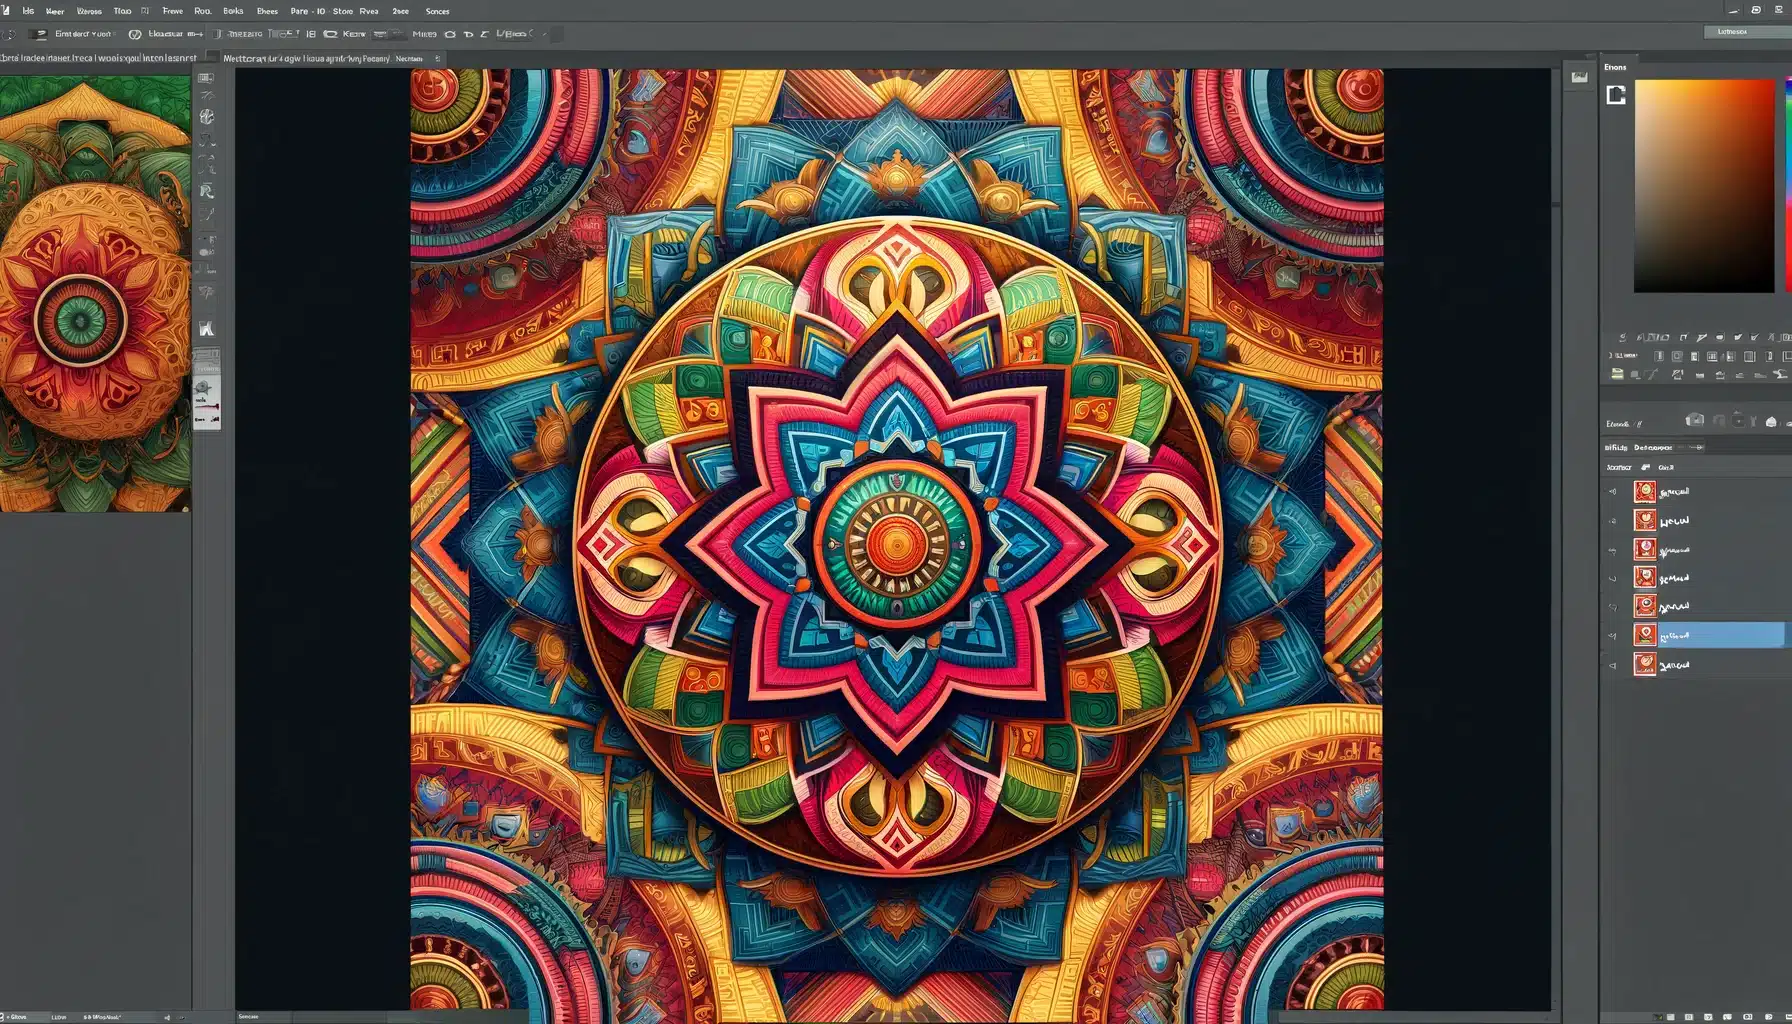
Have you ever wanted to know how to improve your projects by creating a repeating pattern in Photoshop?
In this tutorial, I’ll walk you through everything you need to know.
Let’s dive in and see how these techniques can transform your work.
Table of Contents
Creating a Seamless Photoshop Using the Pattern Preview tool

Creating a seamless pattern preview in Photoshop can truly enhance any design project.
Learning how to create repeat patterns is an invaluable skill for designing fabrics, web backgrounds, or stationary painted elements.
Setting Up Your Document for Repeating Patterns
The first step in designing patterns is setting up your document properly.
You’ll want to open a new blank document, typically a perfect square, that defines the dimensions of your unit.
It’s crucial to ensure your canvas size aligns with the desired scale of your Photoshop pattern preview with the Pattern Preview Tool.
Additionally, understanding essential tools in Photoshop, such as the Content-Aware Fill Tool, can significantly streamline the process of pattern creation.
Selecting and Preparing Your Base Image
Once your document is ready, select the base image or artwork to use as a pattern preview.
This could be anything from a simple geometric shape to complex paint elements.
Importantly, place each element on its own layer.
This will give you more control over adjusting any aspect individually later on.
Utilizing smart objects when placing images allows for non-destructive edits, which can be crucial when refining your pattern preview.
Setting up your document correctly is crucial for seamless patterns in Photoshop and with photography lightning.
Here’s a more detailed explanation:
- Resolution: The resolution of your document should be set according to the final output. For web use, 72 pixels/inch is standard, while for print, you'll want a higher resolution, typically 300 pixels/inch, to ensure a crisp image.
- Color Mode: Choose the appropriate colour mode for your project. RGB colour mode is standard for web use, while CMYK is recommended for print. This choice ensures that the colours in your pattern preview will be accurately represented in the final output.
- Background: Consider the background colour of your document. A neutral or white background can help you see your pattern preview more clearly as you work. You can always change the background colour later to match your design.
- Gridlines and Guides: Photoshop allows you to set up gridlines and guides to help you align your painted elements. These can be especially useful for symmetrical patterns or aligning elements along a specific axis.
Testing to Define Pattern
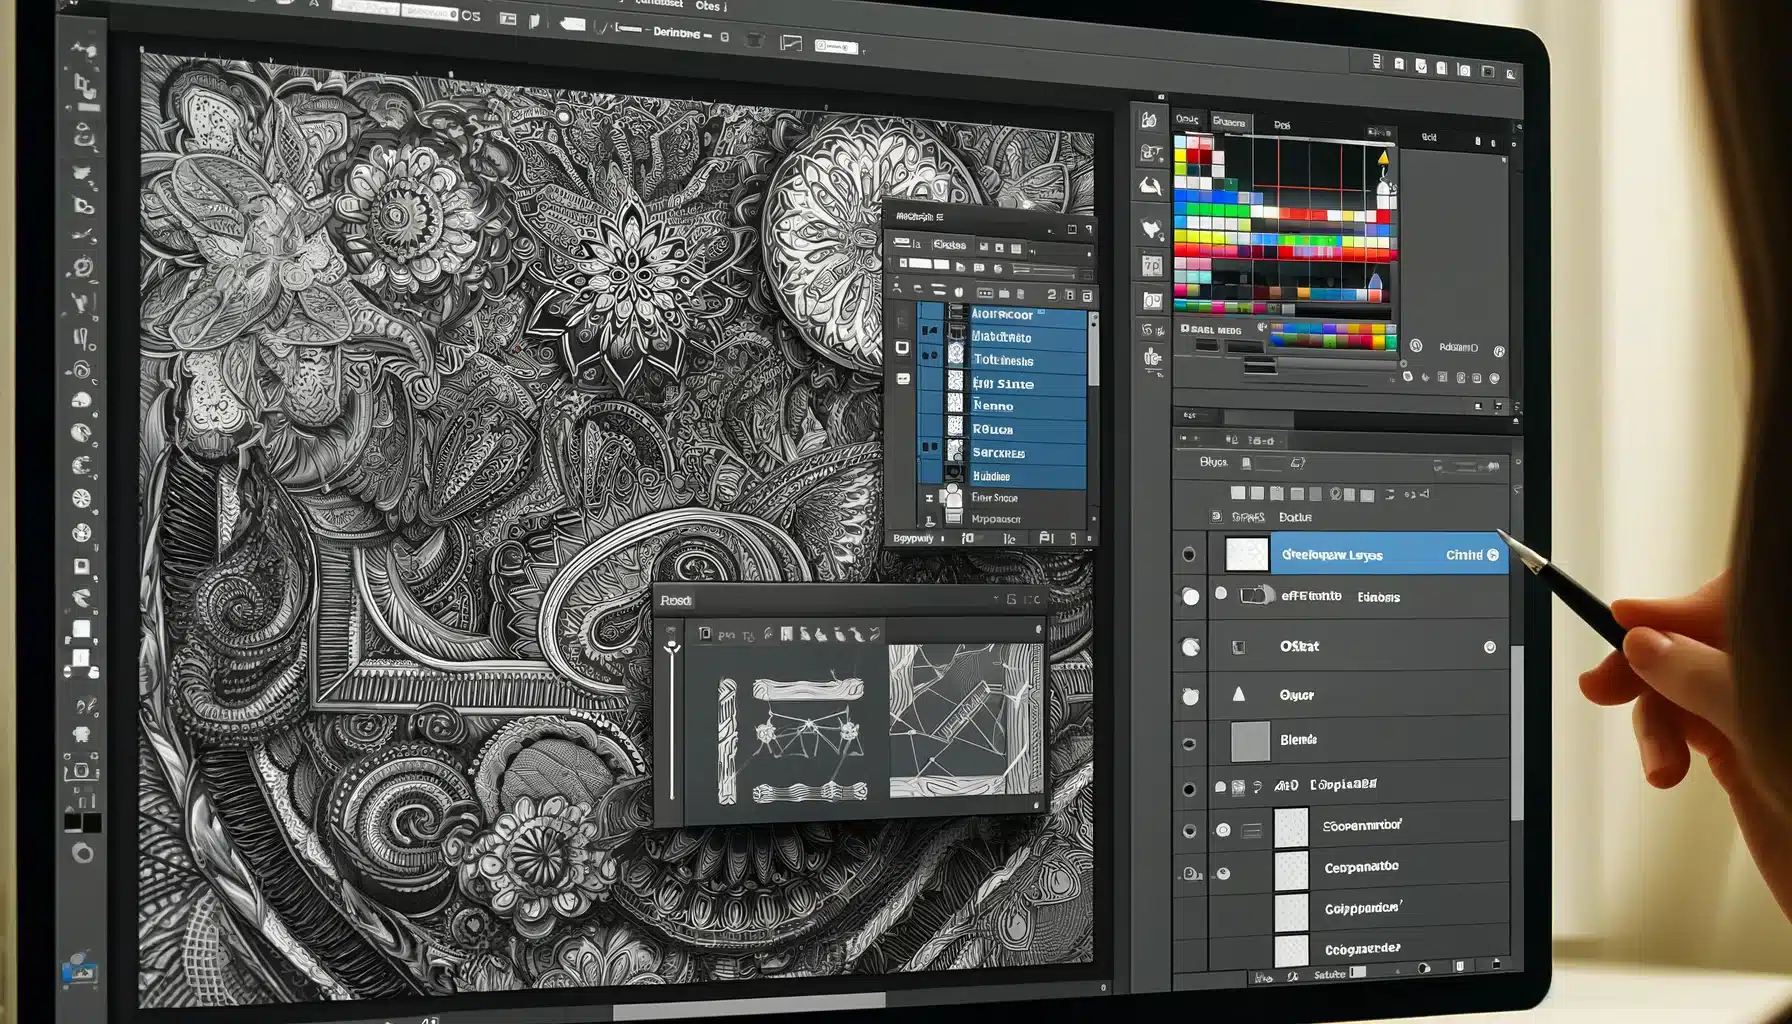
Using the Offset Filter to Check for Seams
Select the Clone Stamp tool and hold the Option key (on Mac) or the Alt key (on Windows) to bring up the crosshairs.
Click the area with your cursor that you want to serve as the sample point for your brush when you do your touch-up.
This tool helps spot any visible seams where the edges of the image meet, proving vital in finding the true seamless patterns.
Resizing Images in Photoshop for Pattern Block Creation
Resizing images is a fundamental skill in digital design, especially when creating intricate patterns in Photoshop.
Whether you’re looking to define a pattern block that can seamlessly tile across a surface or preparing graphics for web and print, understanding how to effectively resize your images is crucial.
Basics of Image Resizing
Image resizing in Photoshop allows designers to alter an image’s dimensions, which is essential when adjusting the scale of pattern elements before creating a repeat pattern block.
It’s important to start with high-resolution images to maintain quality after resizing. You can access resizing options by selecting’ Image Size’ from the ‘Image Layer’ menu.
Additionally, utilizing tools like the Photoshop shape tool and polygon tool can help in precisely defining the elements within your pattern, ensuring a seamless repeat.
Maintaining Image Quality During Resizing
When resizing an image intended for pattern making, maintaining high image quality is paramount.
This ensures that the details necessary for a compelling pattern block aren’t lost.
Choosing the Right Resampling Option
Photoshop shortcuts offer several resampling options within the dialogue box that are designed to help preserve quality.
‘Bicubic Smoother’ is excellent for enlargement, maintaining sharp edges, and reducing pixelation.
For reduction, ‘Bicubic Sharper’ might be more appropriate, aiming to retain as much detail as possible.
Using Smart Object for Non-destructive Editing
Converting your own layer to a Smart Object before resizing can be beneficial.
- Convert your layer to a smart object for non-destructive editing.
- Smart object allow for easy resizing without losing image quality.
This method allows non-destructive editing, meaning you can scale up or down without permanently altering the original data.
This flexibility is invaluable when working with complex patterns where frequent adjustments might be required..
Advanced Techniques for Enhancing Photoshop Repeating Patterns
By integrating advanced techniques, you can create more dynamic and interesting graphics.
Additionally, mastering tools like the Dodge and Burn in Photoshop will provide even more versatility in your pattern designs.
| Method | Description | |
|---|---|---|
| Textures and Effects | Create a new layer above the pattern layer, use brushes or import textures, adjust opacity, and use masking for subtlety. Enhances pattern layout without disrupting its seamless flow. | |
| Blending Modes |
|
This approach allows designers to diversify just one base element into numerous variations without needing multiple assets.
Creating depth and dimension patterns
Perceived depth within a pattern is essential for more complex designs:
- Apply shadow effects using distance and size controls found inside layers' style options.
- This feature transforms flat patterns into more tangible-looking elements.
To conclude on enhancing repeating patterns:
- Seamless pattern requires careful alignment of elements to ensure a smooth transition across the design.
- The artist skillfully crafted a seamless pattern that repeated flawlessly across the fabric, enhancing its visual appeal.
- Using Photoshop's tools and layers panel, I created a seamless pattern that seamlessly repeated across the digital canvas, achieving a professional look.
By mastering these advanced techniques, such as replacing the sky or utilizing the mirror layer in Photoshop, designers can substantially upgrade their proficiency in developing more appealing graphical outputs in Photoshop.
These skills improve aesthetics and enhance overall quality according to the composition rules in Photoshop.
Optimizing Photoshop Patterns for Different Media
When working with patterns in Photoshop, it’s critical to tailor your designs for the intended medium.
Optimizing a pattern can drastically affect its visual outcome on different platforms, such as print versus digital screens.
Using Color Management for Different Outputs
Implementing color range management strategies is crucial.
Engaging Photoshop’s built-in tools and layers panel, like the turn pattern preview tool, helps visualize how your design will appear on other devices and printers.
Frequently Asked Questions

How do you auto repeat in Photoshop?
To auto-repeat in Photoshop and create a repeating pattern:
- Open Your Image: Start by opening the image you want to repeat.
- Define Pattern:
- Go to Edit > Define Pattern.
- Name your pattern and click OK.
- Create New Document:
- Fill with Pattern:
- Go to Edit > Fill.
- In the Fill dialog box, set Contents to Pattern.
- Choose your defined pattern from the Custom Pattern drop-down menu.
- Click OK to fill the document with the repeating pattern.
How do I loop a pattern in Photoshop?
Looping a pattern in Photoshop involves pattern that can be repeated without visible seams.
Once you are satisfied with your pattern, you can save it for future use on larger canvases or different projects using the Define Pattern option from the Edit menu.
What is the shortcut for repeat pattern in Photoshop?
The keyboard shortcut to directly duplicate any selected layer or pattern element in Photoshop is Ctrl+J (for Windows) or Command+J (for Mac).
While there’s no one-step keyboard shortcut for a pattern across an entire project, combining manual placement with the Define Pattern functionality simplifies mass duplication.
How to repeat texture in Photoshop?
To create a repeating texture:
- Open a 2D file: Select one or more layers.
- Convert to tiled painting: Go to 3D > New Tiled Painting. The file converts to a 3D plane with nine identical tiles.
- Edit and save: Edit the texture as needed. Save one tile as a 2D image by selecting Open Texture from the Diffuse menu in the 3D panel, then go to File > Save As.
Conclusion
As a graphic designer, I’ve seen how mastering the art of repeating patterns in Adobe can transform a simple pattern into a captivating work of art.
Don’t miss this opportunity to unleash your creativity and elevate your graphic design skills!
Enrol in our Photoshop Course and Lightroom Course to further enrich your knowledge.
Get started today!
Read more about Photoshop:


