In the vibrant world of photography and digital media, color images are a game-changer. As an expert photographer, I know that mastering color can elevate your work from ordinary to extraordinary. Whether you’re selecting the perfect color palette or fine-tuning your edits, understanding color nuances is crucial.Â
In this guide, I’ll share insights and techniques that will help you enhance the visual impact of your images, making them more aesthetically pleasing and emotionally resonant. Dive in, and let’s transform your approach to color in photography together.
Table of Contents
Understanding Color Temperature
Color temperature is a fundamental concept in photography, describing the warmth or coolness of light. Measured in Kelvin (K), it affects the mood, tone, and visual impact of your photos.
What is Color Temperature?
Color temperature refers to the hue of light emitted by a source. It ranges from warm (yellow/red) to cool (blue), and it’s measured in Kelvin:
- Lower Kelvin values (2000-3500K) produce warm, yellowish light.
- Higher Kelvin values (5000-6500K) result in cooler, bluish light.
Understanding this concept allows photographers to manipulate the ambiance and mood of their images. For instance, a photo taken at sunrise or sunset will have a warm glow (around 2500-3500K), while a picture taken under a clear blue sky at noon will have a cooler tone (around 5500-6500K).
Adjusting Color Temperature in Photography
Below is a table summarizing different methods for adjusting color temperature in photography, highlighting their key aspects and benefits.
Method | Description | Pros | Cons |
---|---|---|---|
In-Camera Presets | Use of predefined settings like daylight, shade, tungsten, etc. | Quick and easy to use, suitable for common scenarios | Limited to preset options, not always accurate |
Custom White Balance | Manually set the white balance using a neutral reference card (e.g., gray card). | Highly accurate, tailored to specific lighting | Requires additional equipment (neutral reference card) |
Manual Kelvin Setting | Directly input the Kelvin value to match the ambient light. | Precise control over temperature settings | Requires knowledge of Kelvin values and lighting |
Shooting in RAW | Capture images in RAW format for more flexibility in post-processing adjustments. | Maximum flexibility, non-destructive adjustments | Larger file sizes, requires post-processing |
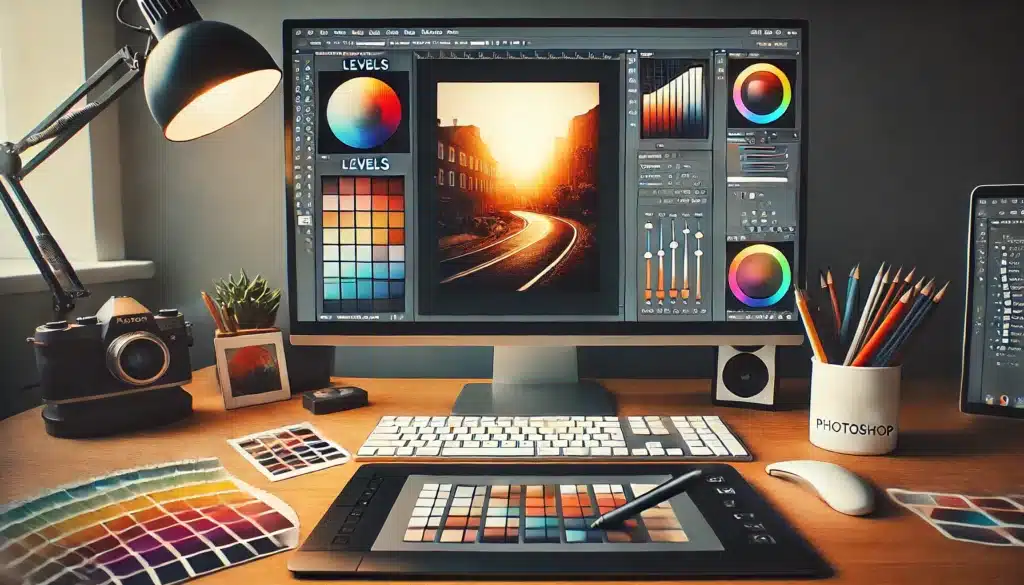
Post-Processing Software | Use tools like Adobe Lightroom or Photoshop to adjust temperature after the shot. | Fine-tuned control, can correct errors from the shoot | Time-consuming, relies on software proficiency |
Using Filters | Apply warming or cooling filters on the camera lens to adjust the temperature during shooting. | Real-time adjustment, enhances creative control | Can be cumbersome, adds another element to manage |
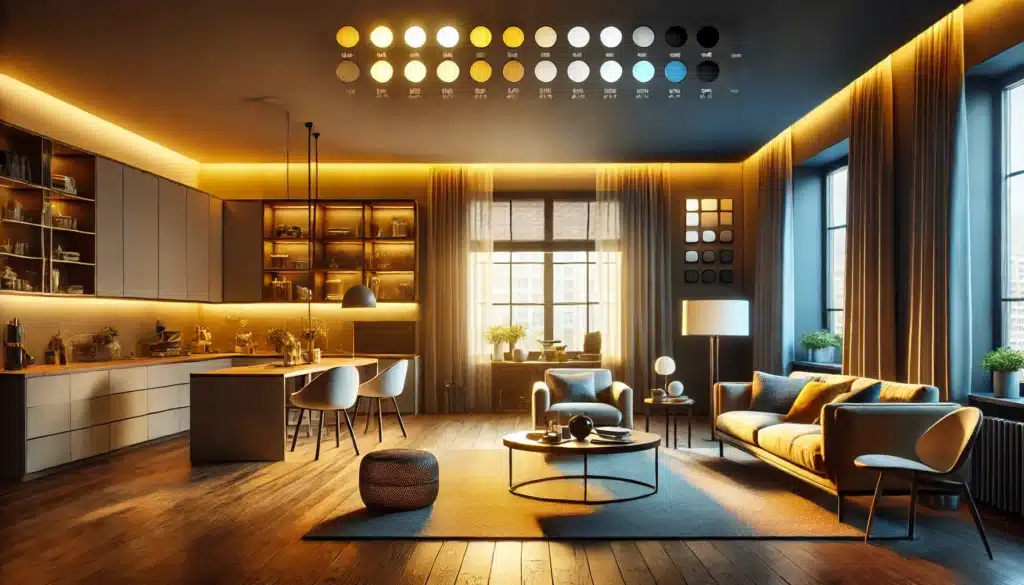
Observe Natural Light | Plan shoots based on the natural light conditions throughout the day. | Utilizes natural light, no additional equipment needed | Requires planning and flexibility |
Let’s explain this in detail:
Shoot in RAW:
Shooting in RAW format gives you more flexibility to adjust the color temperature during post-processing without losing image quality.
Use Custom White Balance:
Set a custom white balance for your specific lighting situation using a white or gray card. This ensures that colors in your photos are balanced and true to life.
Experiment with White Balance Presets:
Modern cameras come with white balance presets tailored for specific lighting conditions (e.g., daylight, shade, tungsten). Experiment with these to see how they affect your photos and choose the one that best suits your scene.
Adjust in Post-Processing:
Use photo editing software like Adobe Photoshop or Lightroom to manually adjust the color temperature. These tools offer sliders to shift the colors towards cooler or warmer tones, giving you precise control over the image’s mood and feel.
Observe Natural Light:
Pay attention to the natural light sources around you and how they change throughout the day. Morning light is usually warmer, while midday light is cooler. Use this knowledge to plan your shoots according to the type of light that will complement your subject.
Use Filters:
Consider using warming or cooling filters on your camera lens. These can alter the color temperature at the time of shooting, adding a specific mood or correcting undesirable color tints directly in-camera.
By understanding and adjusting color temperature, photographers can significantly improve the quality and emotional impact of their images. This knowledge is essential for creating visually compelling photographs that accurately reflect the scene’s colors and mood.
Editing Color in Photoshop
Editing hues in Photoshop is an essential skill for enhancing and transforming your images. Here are some advanced techniques to help you get the best results.
Using the Levels Tool
The Levels tool adjusts the tonal range and balance of an image. It allows you to modify the shadows, midtones, and highlights. To access it, go to Image > Adjustments > Levels. Use the histogram to move the sliders and adjust the tonal balance:
- Shadows: Adjust the left slider.
- Midtones: Adjust the middle slider.
- Highlights: Adjust the right slider
The Curves Tool
The Curves tool offers more precise control over tones compared to the Levels tool. Access it via Image > Adjustments > Curves. You can adjust the entire tonal range or target specific areas by adding points on the curve and dragging them to the desired position.
This tool is especially useful when you need to draw a curved line in Photoshop.
Selective Color Tool
Selective Color is used for adjusting the colors of individual color ranges without affecting others. Go to Image > Adjustments > Selective Color. This tool is particularly effective for fine-tuning specific hues in an image, such as making reds more vibrant or blues more subdued.
Using Masks
Editing with masks allows you to apply adjustments to specific parts of an image without affecting the entire picture. Create a new adjustment layer and use the mask to paint over areas where you want the effect to be applied. This method ensures precise control over your edits and maintains the integrity of the original image.
Advanced Techniques
- Using Blend: If this technique allows you to blend layers based on their tonal values. You can access it in the Blending Options of a layer.
- Channel Mixer: Adjust the mix of the color channels to create dramatic effects or correct color issues.
- Color Lookup Tables (LUTs): Apply predefined color grades to your images for a consistent look. Go to Image > Adjustments > Color Lookup to access this feature.
By mastering these essential tools and techniques, you can achieve stunning results in your images. Practice and experimentation are key to understanding how each tool affects your work. For more detailed instructions and advanced tutorials, consider exploring our comprehensive.
Common Questions about Color Image
What is a color image?
A color image is a visual representation featuring a spectrum of hues, created from red, green, and blue (RGB) channels. This combination produces a wide range of colors, offering a more realistic and vibrant depiction than black-and-white images.
What is color imaging?
Color imaging captures, processes, and displays full-color images using devices like cameras, scanners, and monitors. It is essential in photography, digital art, and medical imaging for its ability to enhance detail and visual information.
How can I pick a color from an image?
You can use various tools available in graphic design and photo editing software:
- Eyedropper Tool: Most software like Adobe Photoshop and GIMP have an eyedropper tool that allows you to click on any part of the image to select the color.
- Online Tools: Websites like ImageColorPicker.com let you upload an image and click on any part to get the color code.
What is one color image?
A monochromatic image uses variations of a single hue, employing different shades and tints to create contrast and detail. Common in art, it emphasizes texture and composition over the complexity of multiple colors.
By addressing these questions clearly and accurately, users can better understand the concepts and techniques related to color images and their applications.
Conclusion
Mastering color adjustments in photography and digital editing can transform your work. I once struggled to capture a vibrant sunset, but by adjusting the white balance, using Levels and Curves in Photoshop, and fine-tuning with the Selective Color tool, I brought the scene to life. The final images were visually stunning and emotionally evocative, just like the real sunset.
These techniques are invaluable for enhancing your photography. To take your skills further, explore our comprehensive Photoshop Course and Lightroom Course  for in-depth tutorials and practical insights. Join us and transform your photography today!
If this article has helped you, then Like and Share it with your friends!
Have a nice photoshoot!
Course
Light Effect Photoshop
Lightroom Course 2025
Adobe Photoshop Course 2025
Photo Editing Course
Get the latest version of Photoshop & Lightroom