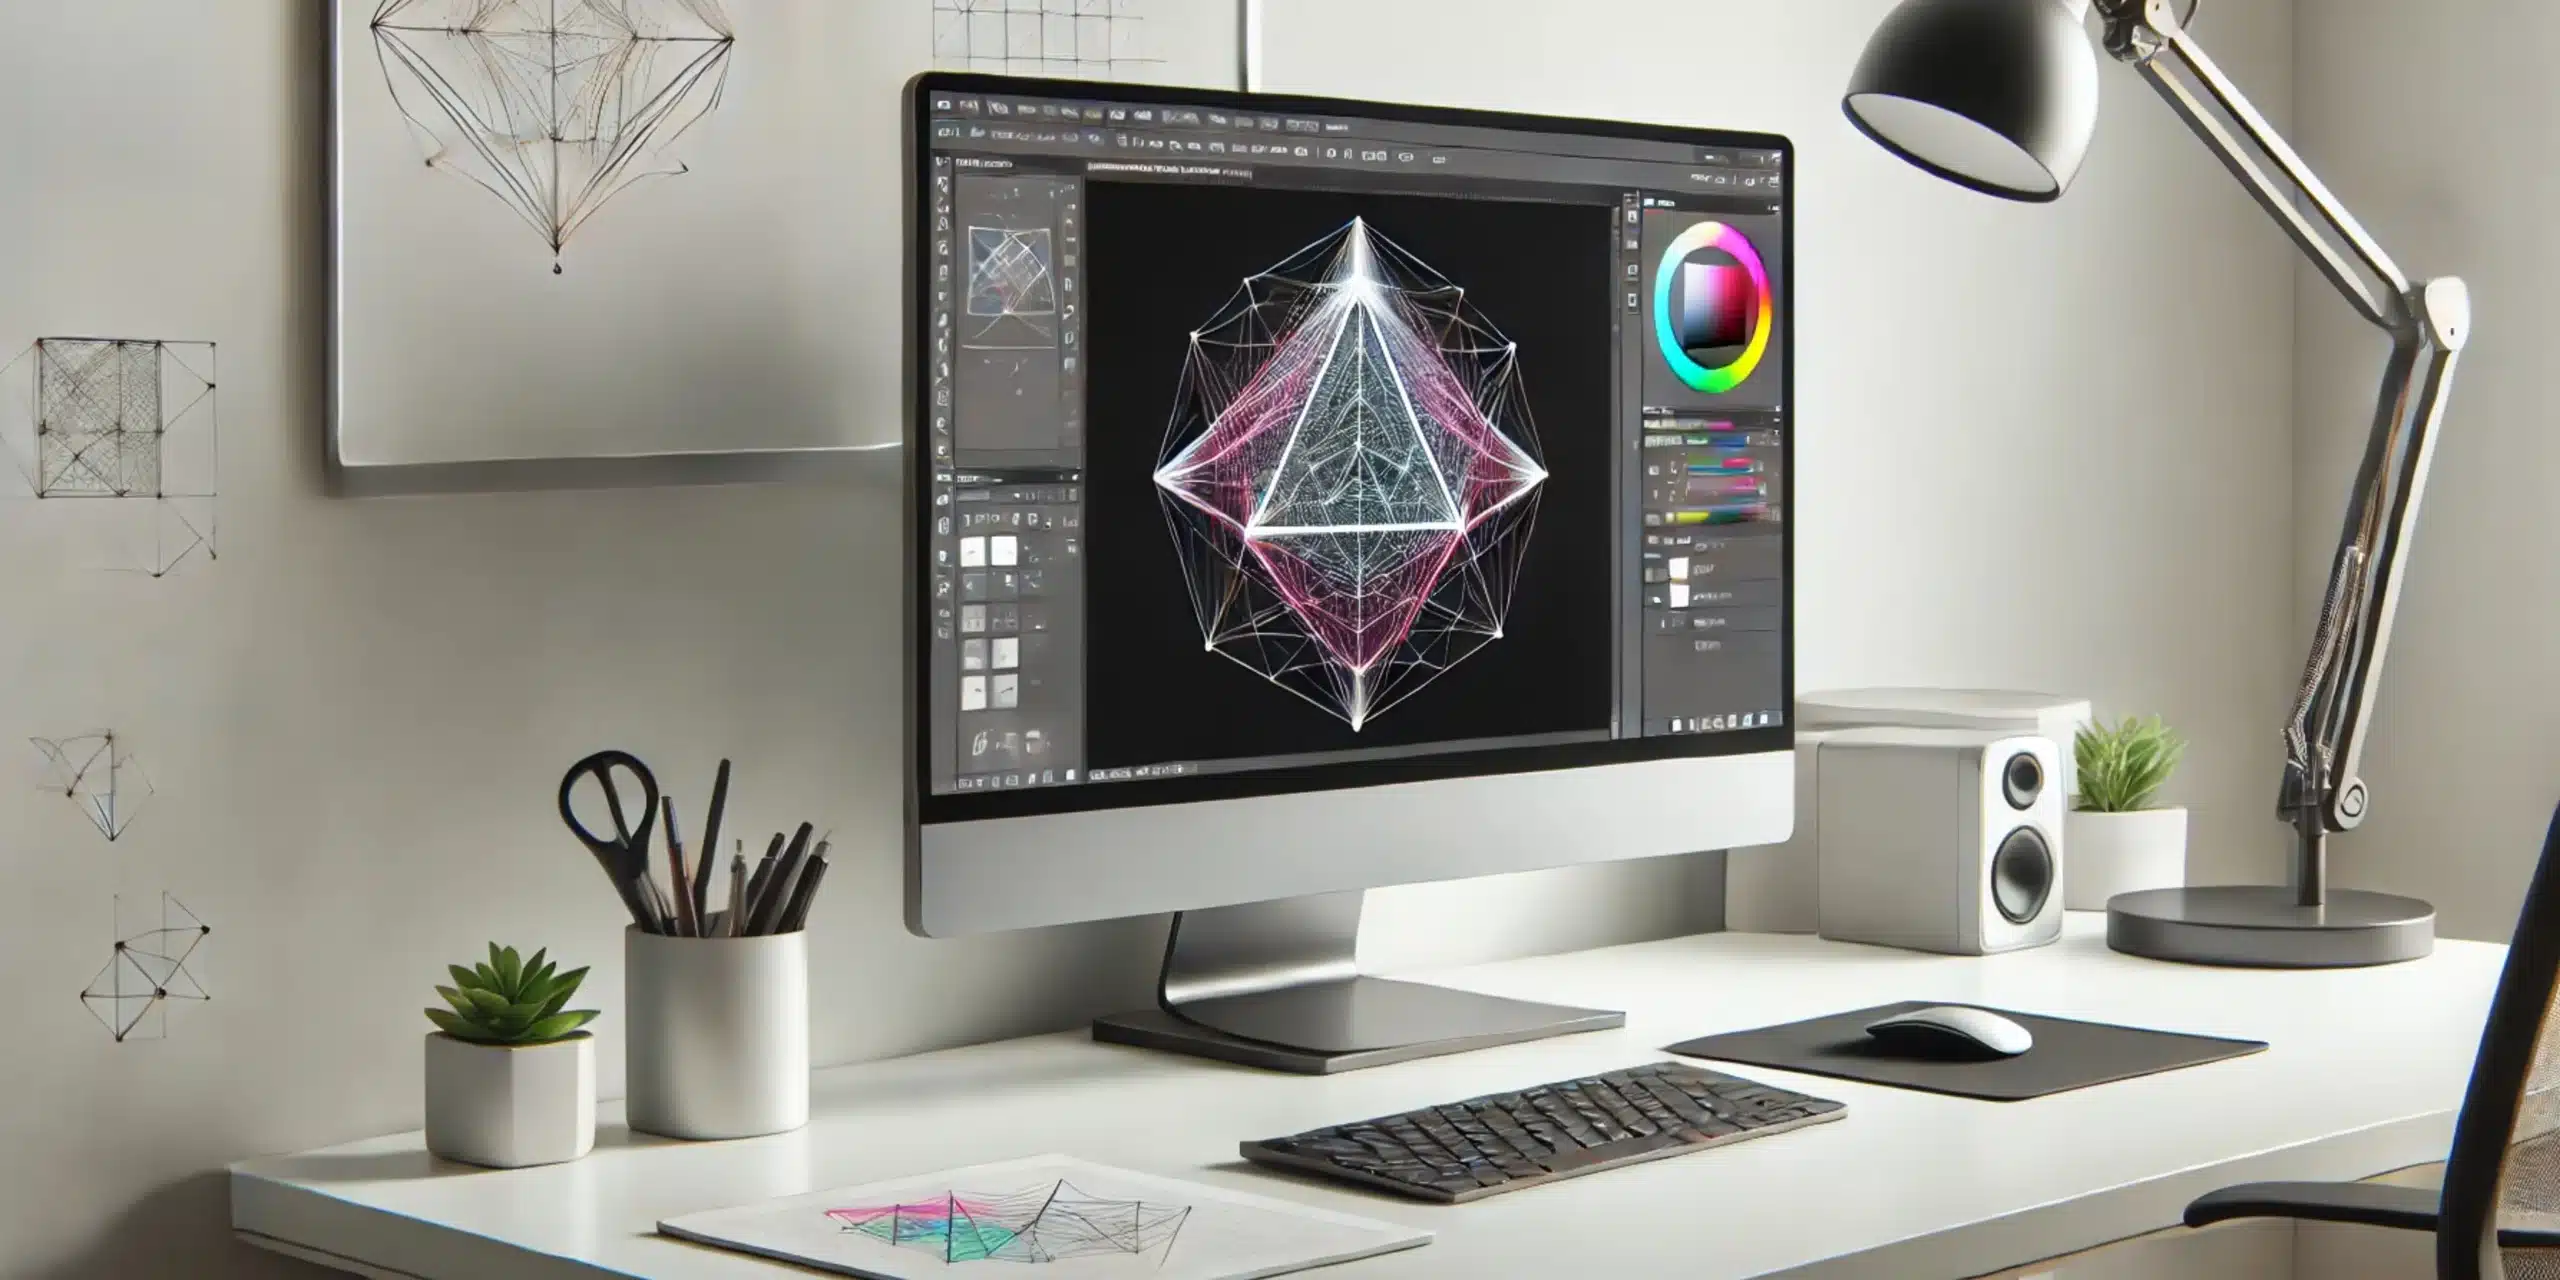
Polygon Tool in Photoshop: Practical Tips and Techniques

Welcome to our in-depth guide on using the Polygon Tool in Photoshop! Whether you’re a design enthusiast eager to expand your skills or a seasoned professional looking to refine your techniques, mastering the Polygon Tool is pivotal. This powerful feature in photoshop allows you to effortlessly create precise shapes with multiple sides, making it ideal for a wide range of design applications, from intricate patterns to striking geometric compositions. Throughout this guide, we’ll explore the tool’s functionalities, offering practical insights and creative strategies to help you maximize its potential.

Table of Contents

Understanding the Polygon Tool Interface

Plain screenshot of Adobe Photoshop interface with the Polygon Tool selected, showing the toolbar with Shape Tool options highlighted. The Options Bar displays settings for the Polygon Tool in Photoshop, including sides, mode, fill, stroke, and dimensions. The canvas features a polygon being drawn with adjustment handles, and the Properties Panel on the right shows additional customization options.

In Adobe Photoshop, it is a versatile and essential feature for creating multi-sided forms, which are crucial in various craft projects. This section will guide you through its interface, helping you to master its use and integrate it effectively into your workflow.

Accessing the Polygon Tool

To access this tool in Photoshop, follow these steps:

Select the Tool

Polygon Tool Options Bar

The Options Bar at the top of the screen provides several tips to customize:

Sides

Mode

Fill

Stroke

W&H (Width and Height)

Additional Options

Drawing Shapes

Drawing shape in photoshop involves several straightforward steps:

Draw a Shape

Edit it

Customizing Shapes

Customizing shape in photoshop allows for precise adjustments and efficient layer management:

Transforming Shapes

Layer Management

Practical Applications

It is particularly useful for various tasks:

Understanding its interface and mastering its raw settings will significantly boost your Photoshop skills, enabling you to create detailed and professional blueprints with ease. Next, we’ll delve into the basic steps to add shape with this device.

Basic Steps to Create Shapes with the Polygon Tool

Photoshop interface showing the Polygon Tool in use, with a young man in glasses and a blue shirt outlined for editing.

Creating shapes using it in Adobe Photoshop is a straightforward process that allows you to shape precise geometric shapes with ease. This table outlines the basic steps to create forms, highlighting their descriptions and benefits.

Step Description Benefits
Selecting the Tool Choose the multi-sided form tool from the toolbar by clicking and holding the Shape Tool icon. Easy access and selection for quick design work
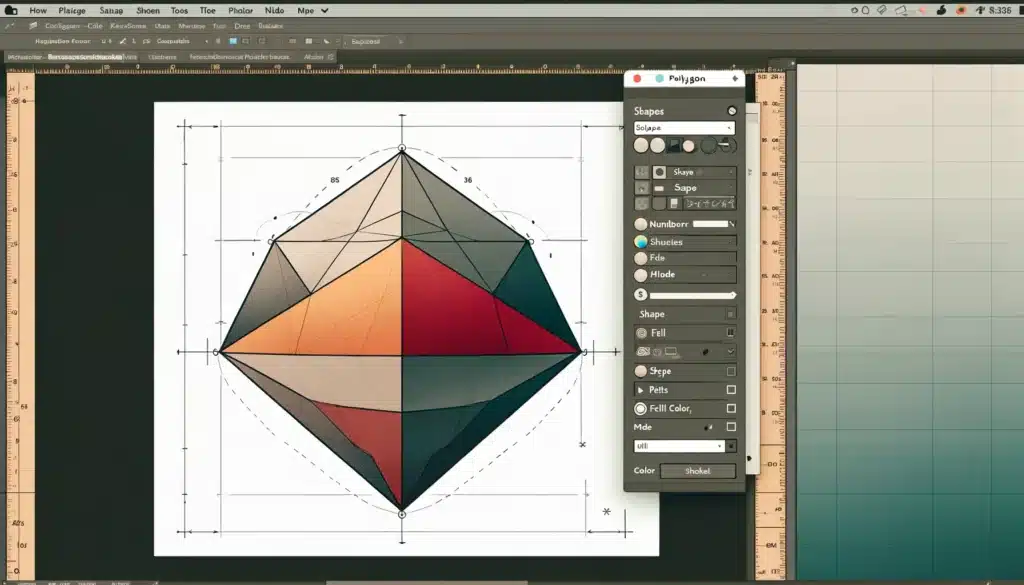
Setting Options Adjust the number of sides, fill color, stroke properties, and other settings in the Options Bar. Customizable settings for precise design needs
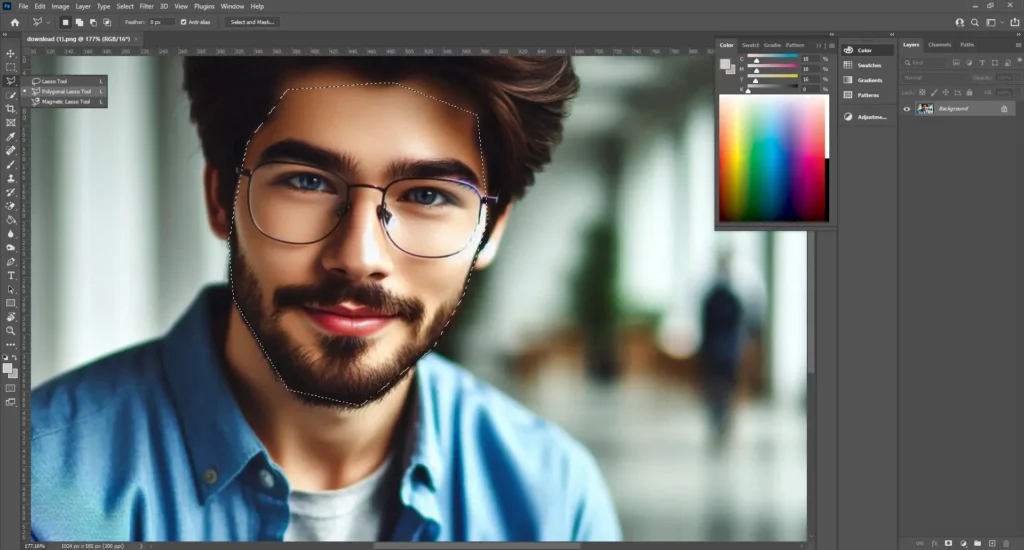
Drawing Click and drag on the canvas to create the form, holding the Shift key to maintain proportions. Allows for quick creation of proportionate and accurate forms
Customizing Use the Properties Panel and on-canvas controls to modify size, rotation, and corner radii. Provides flexibility to adjust forms according to shape requirements
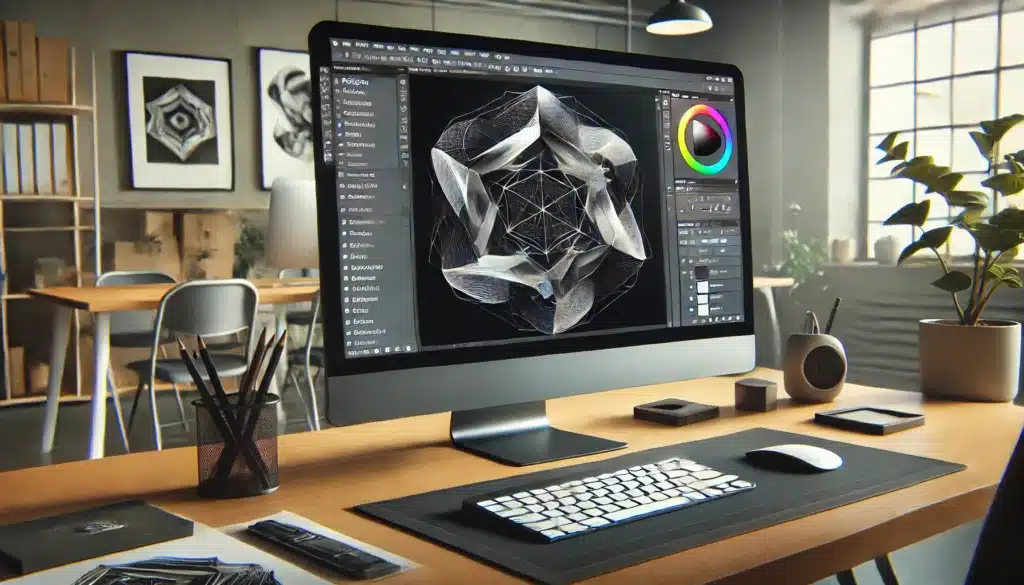
Combining Combine multiple forms using path operations like Add to Shape Area and Subtract from Shape Area. Enables the creation of complex and intricate graphics by merging multiple forms
Advanced Adjustments Apply advanced layer styles, blending modes, and use keyboard shortcuts for efficient adjustments. Enhances the visual appeal and efficiency in the design process through advanced techniques

Here are detailed descriptions:

Access the Polygon Tool

Select the Polygon Tool

Configure the Tool Options

The Options Bar at the top of the screen provides several settings to customize your shapes:

Sides

Mode

Fill

Stroke

W&H (Width and Height)

Additional Options

Draw the Shape

Click and Drag

Move and Transform

Edit Shape Properties

Photoshop provides tools to further customize edit and save your shapes:

On-Canvas Controls

Properties Panel

Mastering these basic steps will enable you to create detailed and professional crafts with Adobe Photoshop’s Polygon Tool, enhancing your graphic blueprint projects with precision and creativity.

Advanced Techniques for Using the Polygon Tool in Photoshop

Modern workspace featuring a computer displaying an advanced multi-sided form with complex geometric shapes.

Mastering this tool in Photoshop opens up a plethora of creative possibilities for your construct projects. Beyond the basics, there are several advanced techniques that can enhance your use of this versatile tool. Here are some key techniques and links to elevate your design work.

Creating Custom Patterns

One advanced technique involves creating intricate geometric patterns, such as the repeating pattern. Follow these steps to build a dynamic pattern grid:

Using Advanced Layer Styles

Enhance your designs by applying various layer styles to your vector elements:

Combining Multiple Shapes

Combining multiple vector elements can create complex and visually appealing designs:

Pro Tip: Mastering side by side editing can make this process a whole lot easier.

Creating Star Shapes

It can also be used to save and create star shapes, which are useful for various design elements like badges or icons:

Utilizing Keyboard Shortcuts for Efficiency

Improving your workflow efficiency with keyboard shortcuts can significantly speed up your design process:

Advanced Color Management

Managing colors effectively can dramatically enhance the visual appeal of your designs:

By integrating these advanced techniques and essential tools into your workflow, you can unlock new creative potentials and produce an object in photoshop with more polished, professional designs.

Frequently Asked Questions about Polygon Tool in Photoshop

Photoshop-Masterclass-Advanced-Editing-Layer-Manipulation

What is the Polygon Tool in Photoshop?

The Multi-Sided Form Tool in Adobe Photoshop is a versatile feature designed for crafting geometric shapes with multiple sides, including triangles, pentagons and hexagons. These tools enhance precision in creating structured elements for digital artwork, offering flexibility in customizing shapes within the panel. It seamlessly integrates with layers, enabling users to incorporate these forms into images, transparent text, and documents with ease and accuracy.

What is the Polygon Tool ?

The Multi-Sided Form Tool, a feature in Adobe Photoshop and similar software, empowers users to create accurate geometric shapes with a chosen number of sides. This tool offers customization options for color, line style, and dimensions, making it ideal for crafting detailed images in digital designs. Its functionality extends to custom layers, seamlessly integrating these shapes into images, web graphics, and other visual projects with precision and ease.

How do you get the Polygon tool?

What is the use of the polygonal tool in Photoshop?

In Adobe Photoshop, the Polygonal Tool serves to craft precise and structured geometric layers. This tool proves invaluable for incorporating intricate elements into your image designs, be it logos, backgrounds, or other graphical components needing uniform angles and sides. Its versatility extends to creating custom layers and integrating these shapes seamlessly into images or web graphics, enhancing visual precision in digital artwork.

How do you insert a Polygon Tool in Photoshop?

To insert a multi-sided form in Photoshop:

These answers provide clear and concise information tailored to the user’s search intent, helping them understand and effectively use the Multi-Sided Form Tool in Photoshop to create intricate geometries and elevate the quality of their digital artwork.

Conclusion

Modern workspace featuring a computer displaying a completed project with multiple layers and final customization options using the multi-sided form.

Mastering the Multi-Sided Form Tool in Photoshop has transformed my workflow and creativity. I recently tackled a project requiring a complex geometric logo. Initially challenging, the tool’s precision helped me effortlessly, saving time and frustration. Customizable aspects allowed me to realize creative visions with ease and accuracy.

Explore advanced Photoshop skills with our comprehensive courses. Whether you’re starting or refining, our Photoshop and Lightroom Courses offer in-depth learning and practical experience. Visit the Photoshop Course and Lightroom Course to start your learning journey today and unlock your full creative potential.

If this article has helped you, then Like and Share it with your friends
Facebook
Twitter
LinkedIn
Pinterest

Have a nice photoshoot!

Read more about: Photo Editing with Lightroom and Photoshop

Download Your Free Guide Now!

Discover the secrets of photography with our printable guide! Master essential techniques like aperture, shutter speed, and ISO to create stunning images. Get your free printable PDF now and start turning your snapshots into masterpieces!