Elevate Your Photography: The Art of Perspective Mastery in Photoshop
Elevate Your Photography: The Art of Perspective Mastery in Photoshop
Are you struggling to perfect your images’ perspective in Photoshop?
Look no further! I’m here to help you master the art of perspective Photoshop. With easy-to-follow techniques and tips, you’ll learn how to transform flat images into visually stunning masterpieces.
This guide will elevate your photo editing skills. Ready to dive in and see your photos in a whole new light?
Let’s get started!
Table of Contents
Adjusting Image Proportions to Fit the Desired Perspective in Photoshop
When working on digital images, adjusting proportions to fit a specific perspective is crucial for creating visually appealing and realistic photos.
So this section delves into various perspective warp tools and techniques in Photoshop that help achieve the perfect alignment and proportion.
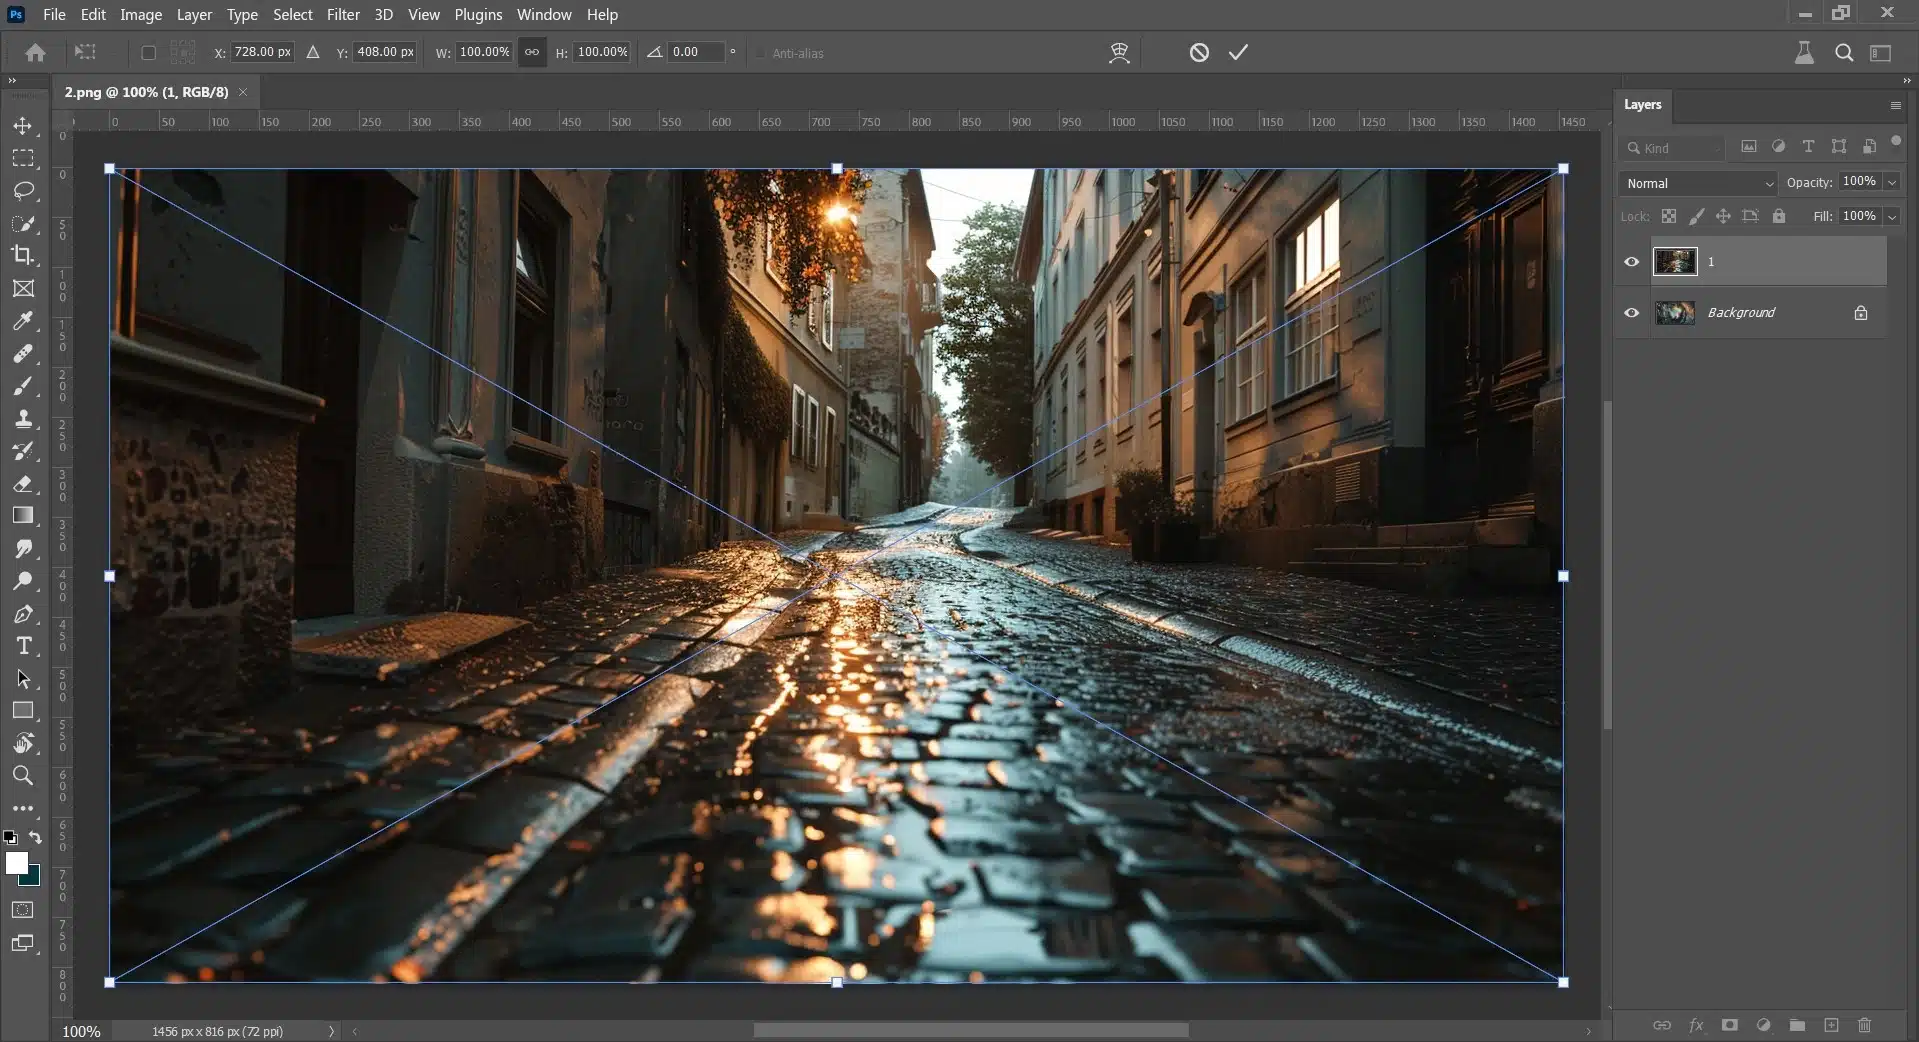
Using the Free Transform Command for Perspective Adjustment
The Transform Tool in Photoshop is one of the most versatile features you can use to adjust perspective of your image.
By selecting the Zoom Tool, you can manipulate the angle and dimensions of an object within their image, ensuring that all elements are in proper perspective or if you need to fix perspective distortions.
The process involves dragging corners and edges while maintaining certain key principles, such as vertical lines and consistency.
Selecting and Utilizing the Crop Tool for Better Composition
Effective cropping, with the Crop Tool, goes beyond simply reducing image dimensions; it adjusts the framing to enhance composition depth or highlight focal elements.
In the addition. the Crop Tool provides control over composition without compromising image resolution.
Users should ensure each crop, with the Crop Tool, maintains structural integrity, such as straight lines aligning with edges when adjusting the white balance overall.
Now here’s how it aligns: drag from corner to center using the Shift key to maintain aspect ratio throughout adjustments.
It intelligently discerns areas of importance versus those that can be altered without a noticeable effect on the overall aesthetics, perfect when trying to fit an image into an unusually shaped frame.
Applying Manual Distortion for Precision
Sometimes automatic tools don’t provide enough control over perspective distortion effects needed for complex compositions that must adhere to composition rules in Photography, especially when involving multiple focal points or overlapping objects with varying depths.
This is when manual perspective distortion tools come in handy.
They allow precise alignments through direct manipulations, like skewing or distorting parts of an image based on custom-defined anchor points.
Moveover, utilizing these advanced techniques thoughtfully as part of your digital workflow to transform simple snapshots into professional-grade imagery with perfect perspective alignments.
Enhancing Depth with Shadows and Highlights in Perspective Photoshop
Mastering the use of shadows and highlights in Photoshop can dramatically transform your photographs, enhancing their depth and revealing new perspectives.
This method improves the aesthetic appeal and guides the viewer’s eye through various elements of the image.
Manipulating Light Effects to Enhance Perspective
When attempting to alter or enhance the perspective of an image, manipulating light effects can be a powerful tool.
This is especially effective in architectural photography, where maintaining straight lines and correct proportions is crucial.
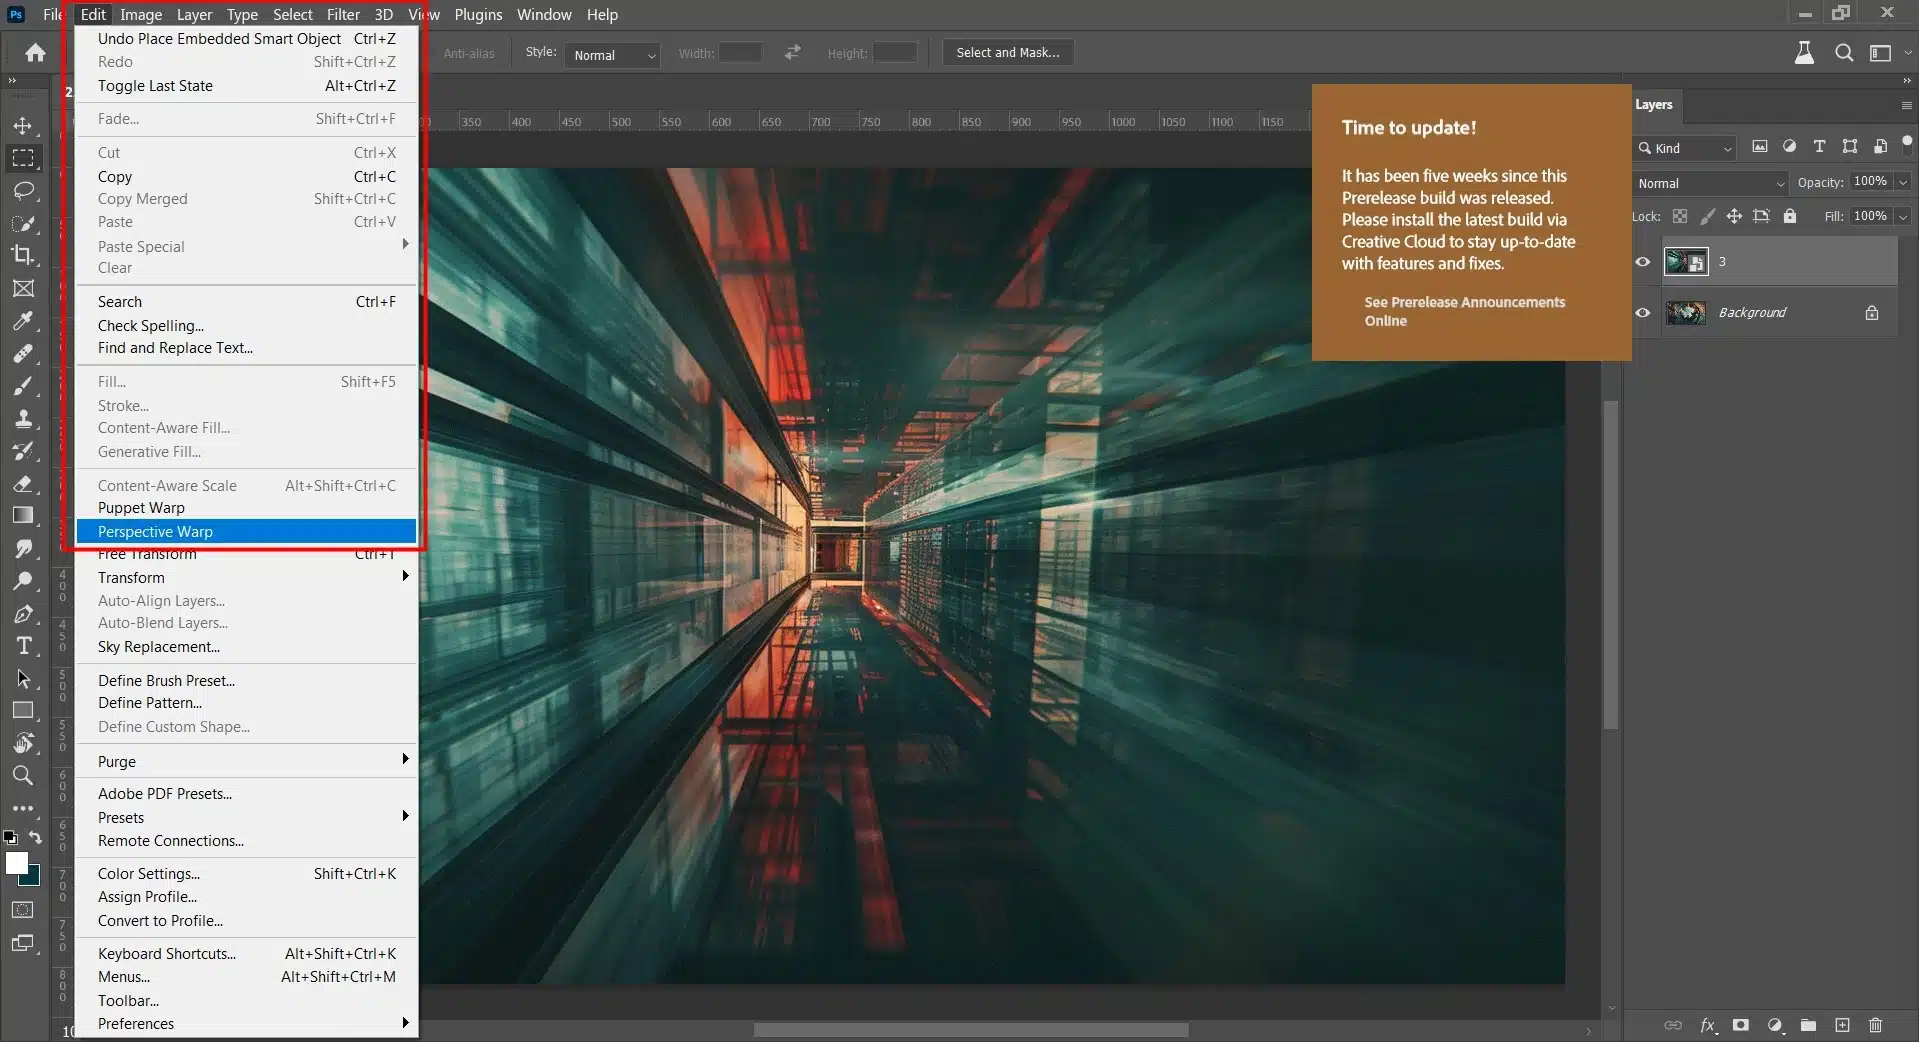
First, Open your photo in Adobe Photoshop.
Second, Navigate to "Edit," then select
Lastly, "Perspective Warp." Apply points across your image where you want to manipulate perspective.
By adjusting these points strategically, you can alter how light interacts with different parts of the image, effectively altering the perception’s depth.
Layering Techniques for Realistic Shadows and Perspective Warp
Understanding layering techniques within Photoshop is important to creating realistic shadows that will give your images more depth.
Begin by adding a new picture frame layer and using tools like the brush tool or layer mask for more nuanced applications.
Create a new background layer; this will serve as your starting point.
Use the brush tool on a low opacity to gently blend shadow areas.
Adjust perspective opacity through blending modes for the most natural appearance.
For more intricate work, such as adding shadows that follow complex shapes or patterns, consider using advanced tools like transform.
Sometimes removing shadows is also needed when they seem like they are blocking the actual layer.
Apply selective focus on distorting and skewing shadows so they appear more natural, given their environment.
Likewise, mastering both enhancements through precise software controls and creative insight into lighting manipulation, you’ll ensure that each image represents both precision craftsmanship and impeccable digital editing.
Creating Perspective Photoshop Lines to Guide Viewer Focus
Perspective lines are a powerful tool in Photoshop that guides the viewer’s focus and enhances the overall composition photography of an image by leading the eye toward key focal points.
These techniques can be applied using both manual methods and advanced tools like the vanishing point filter.
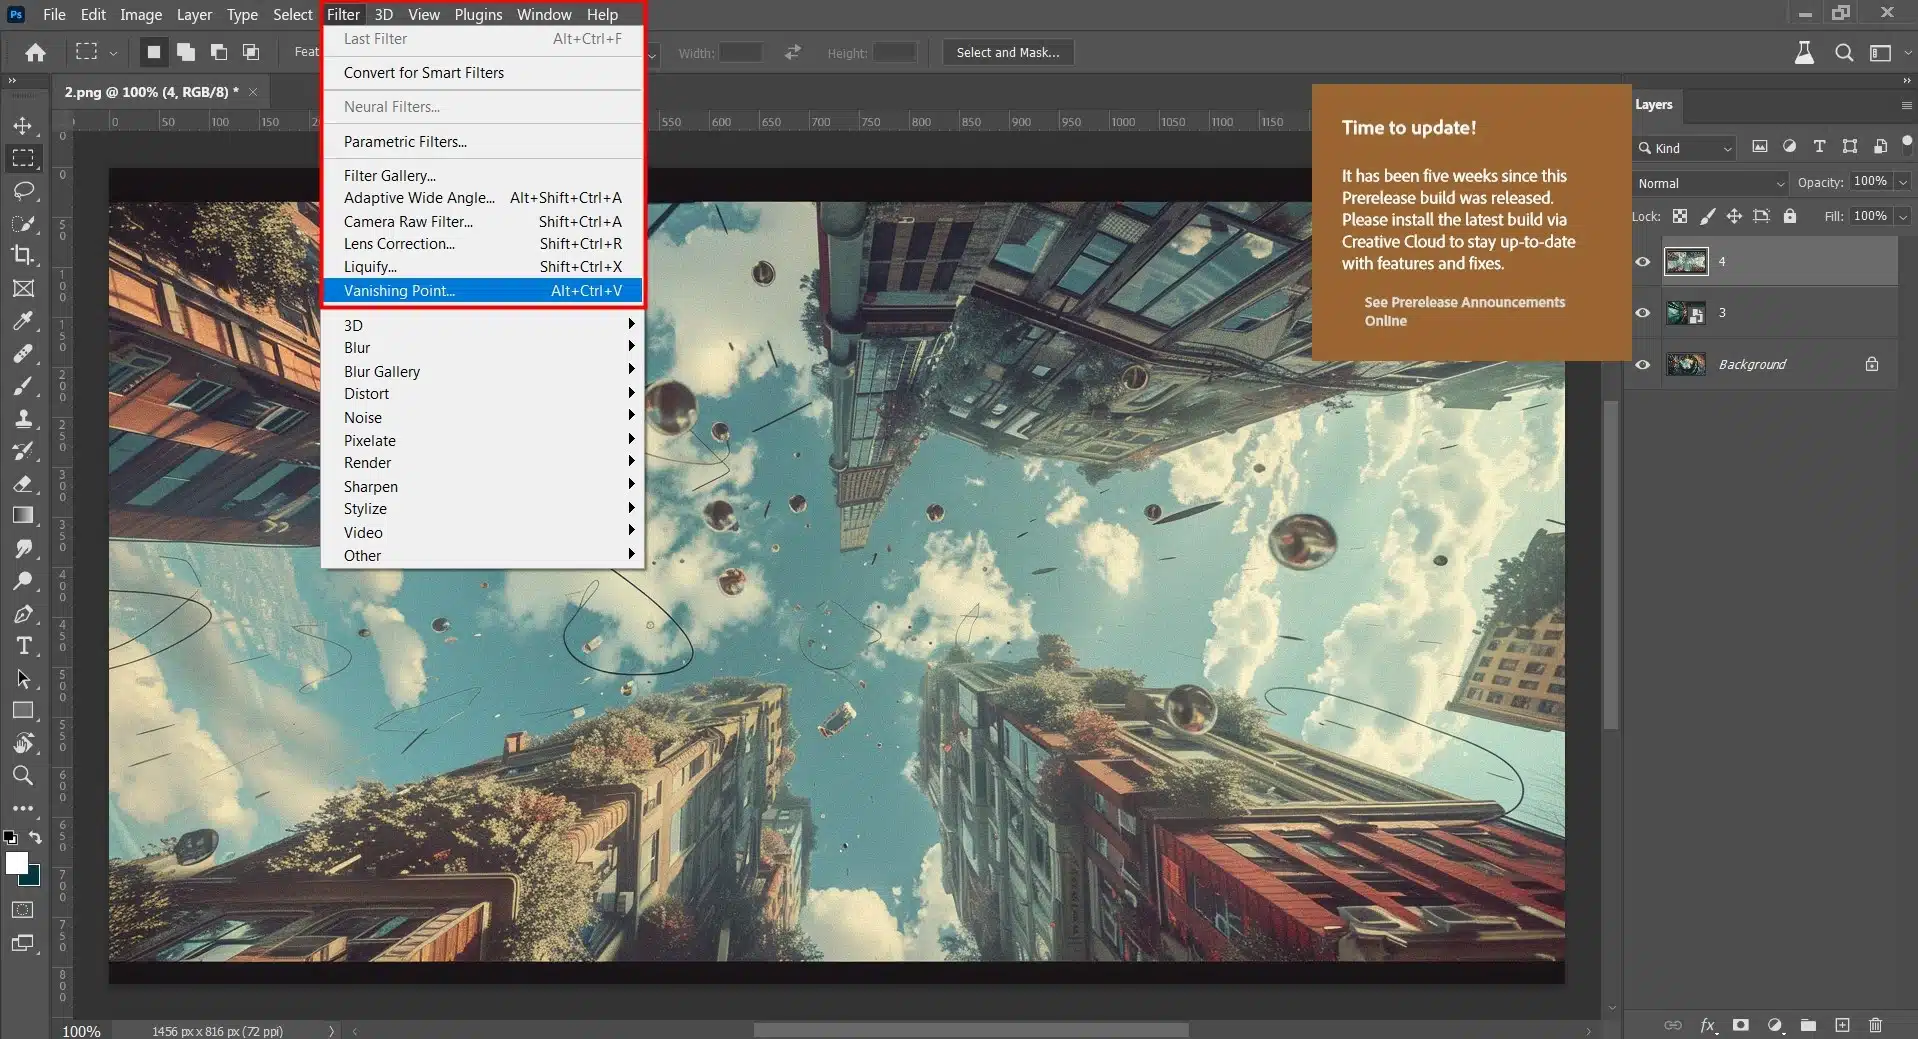
Using the Vanishing Point Filter for Accurate Lines
The vanishing point filter is ideal for projects requiring precision in perspective adjustment.
To use this tool effectively:
First, Open your image and select Filter > Vanish Point.
Second, create your initial plane by clicking the Create Plane tool and then the Edit Plane tool.
Lastly, Extend this perspective grid to cover additional planes, ensuring they align correctly with your first setup.
Using the vanishing point filter not only helps set up a correct perspective in Photoshop but also ensures the elements conform naturally to the set perspective grids.
Drawing Perspective Lines Manually
Drawing perspective lines manually might give you more creative flexibility.
This method involves using basic tools like the line tool but requires a good eye for accurate placement and an understanding of perspective rules.
Steps to draw perspective vertical lines manually:
Select the Line Tool from the toolbar.
Set up guides if necessary by pulling out rulers (Cmd/Ctrl + R) which can help align your drawn lines.
Manually draw lines converging towards a determined vanishing point on your horizon line.
This approach often benefits from involving multiple layers from the layers panel, allowing adjustments and testing without permanent changes to the original image.
Additionally, you can learn different options such as how to draw a curved line in order to further extend your skillset.
Utilizing a Background Layer to Build Complex Perspective Photoshop Effects
In advanced image editing, resizing layers is fundamental in sculpting complex visual effects, particularly when manipulating perspective in a scene.
By strategically stacking and modifying layers, you can create illusions of depth and positioning.
Layer Masking Techniques for Detailed Edits
Layer masking is a powerful technique that allows selective hiding or revealing of parts of a layer without altering the original.
Select the appropriate layer.
Apply a mask using the Layer > Layer Mask > Reveal All option.
Use brushes to paint over areas you want to hide or reveal.
Refine the mask edge for smoother transitions.
Blending Modes to Achieve Depth and Perspective
Blending modes in Photoshop provide various options for how layers interact with each other visually, which can be particularly useful when trying to simulate depth or add complexity to perspective distortions.
One effective approach is using the perspective warp mode coupled with blending techniques to align multiple layers into a cohesive scene.
Effective Blending Warp Mode:
Multiply: Great for darkening overlapping areas and enhancing depth
Screen: Useful for lightening images, adding luminance behind foreground objects
Overlay: Combines multiply and screen modes based on colors in each layer, perfect for complex lighting effects
Advanced Perspective Photoshop Techniques: Skewing and Perspective warp
Expanding your Photoshop skills to include advanced perspective techniques like skewing and perspective warp can dramatically enhance your photo manipulation capabilities.
Therefore these tools allow you to adjust the geometry of objects, straighten lines, or shift viewpoints within a digital space.
Technique
Description
Free Transform
It is ideal for modifying visual elements with precision, ensuring objects align correctly within a layout, or making architectural images appear more structurally accurate.
Skewing
Adjusts perspectives by slanting objects along the X or Y axis, which is useful for aligning lines within a layout.
Perspective Warp Tool
It allows bending and curving planes within an image, which is particularly useful for photos with complex distortions or involving elements like textiles or flexible surfaces.
It offers both Standard Mode for slight curvature adjustments and Perspective Warp Mode for extensive control.
Frequently Asked Questions
Is there a perspective tool in Photoshop?
Yes, Photoshop includes several tools to manipulate perspective.
You can use the Perspective Warp tool to adjust the perspective of an image, and the Vanishing Point filter to work within defined perspective planes.
Additionally, you can use the Perspective option in the Transform menu to apply perspective transformations to layers or selections
How to correct perspective in Photoshop?
To correct perspective in Photoshop, you have a couple of options:
Open your image in Photoshop.
Go to Edit > Perspective Warp.
Click to create quads along the planes you want to adjust.
Switch to Warp mode and adjust the perspective by manipulating the corners of the quads.
Click the Commit Perspective Warp icon to apply the changes.
Where is the Perspective Grid in Photoshop?
The Perspective Grid in Photoshop is part of the Perspective Warp feature. To access it:
Open the image you want to work on.
Go to Edit > Perspective Warp.
Draw quads along the planes of your image to define the perspective.
How do you skew or distort perspective in Photoshop?
To skew or distort perspective in Photoshop:
Select the layer you want to transform.
Go to Edit > Transform > Skew or Distort.
Adjust the handles to skew or distort the image as needed.
In my experience, mastering advanced techniques with perspective in Photoshop has significantly improved my editing skills.
I recall working on an architectural photography project where the building lines were skewed due to the angle of the shot. By using the perspective warp tool, I was able to correct the distortion, making the structure appear straight and natural.
This technique not only enhanced the visual appeal of the photo but also ensured the accuracy of the representation.
If you’re looking to elevate your photo editing skills, I highly recommend exploring our comprehensive courses. Our Photoshop course and Lightroom course offer in-depth tutorials and practical tips to help you achieve professional results.
Sign up today and transform your editing workflow with expert guidance.
If this article has helped you, then Like and Share it with your friends
$2,061.00Original price was: $2,061.00.$1,061.00Current price is: $1,061.00. 27584
Download Your Free Guide Now!
Discover the secrets of photography with our printable guide! Master essential techniques like aperture, shutter speed, and ISO to create stunning images. Get your free printable PDF now and start turning your snapshots into masterpieces!