How to Warp Text in Photoshop: A Comprehensive Guide
How to Warp Text in Photoshop: A Comprehensive Guide
Ever wondered how to warp text in Photoshop into an eye-catching design in Adobe’s popular software?
Whether designing a logo, creating a poster, or just wanting to jazz up a school project, knowing the tricks in visually dynamic ways can enhance your projects and text effects.
Join me as I guide you through simple steps that will teach you how to distort text and text effects like a pro in no time!
Table of Contents
Step-by-Step Guide to How to Warp Text in Photoshop
Creating eye-catching text effects, and portrait text effects as well, in your graphics can hugely impact viewer engagement.
Here, we’ll delve into warping in Photoshop and text effects.
Open Your Project in Photoshop
Firstly, initiate your project by opening your desired image or document in Photoshop.
Ensure you’ve set up the background layer correctly to provide a suitable backdrop for your text.
Open your text effects through the text box in the dropdown menu.
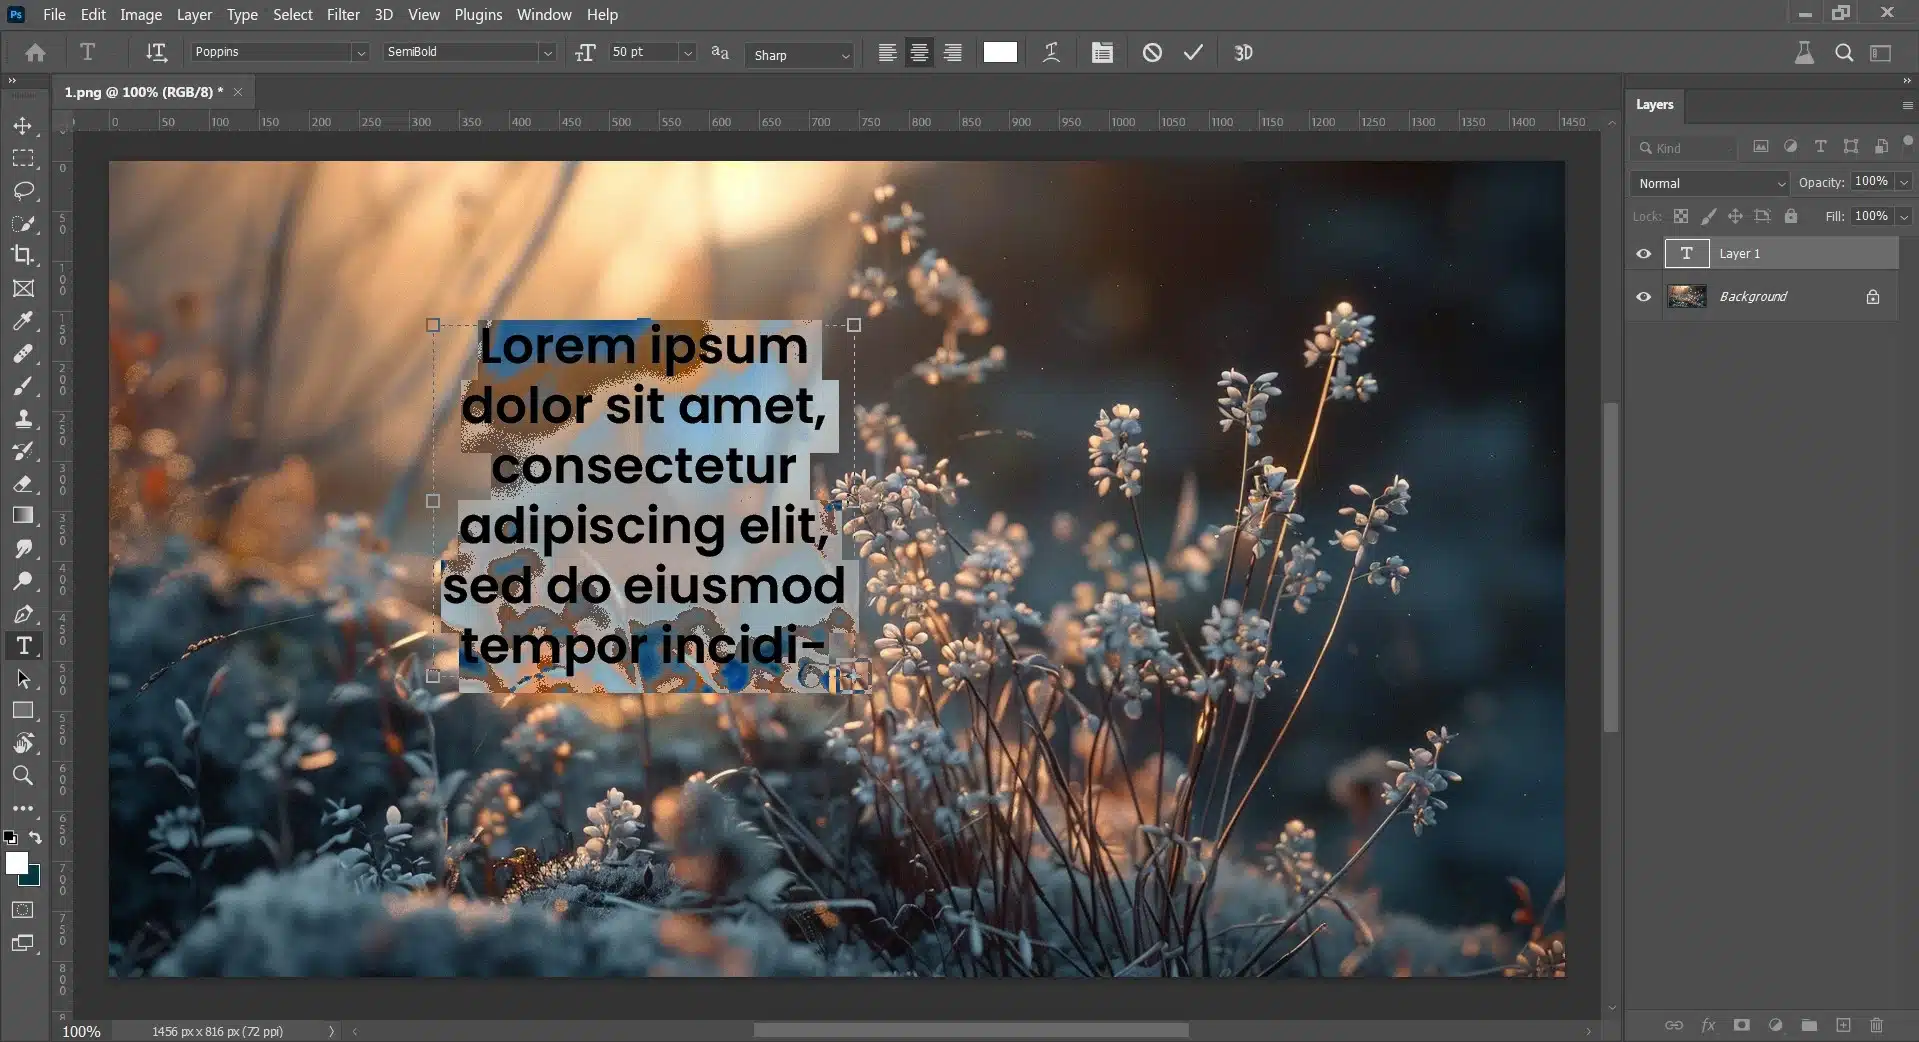
Selecting the Text Tool and Typing Your Text
Next, activate the Text Warp Tool from the sides’ tools panel or press T on your keyboard.
Click on the canvas where you wish to add and type your desired text.
Ensure this typed content is on its separate layer.
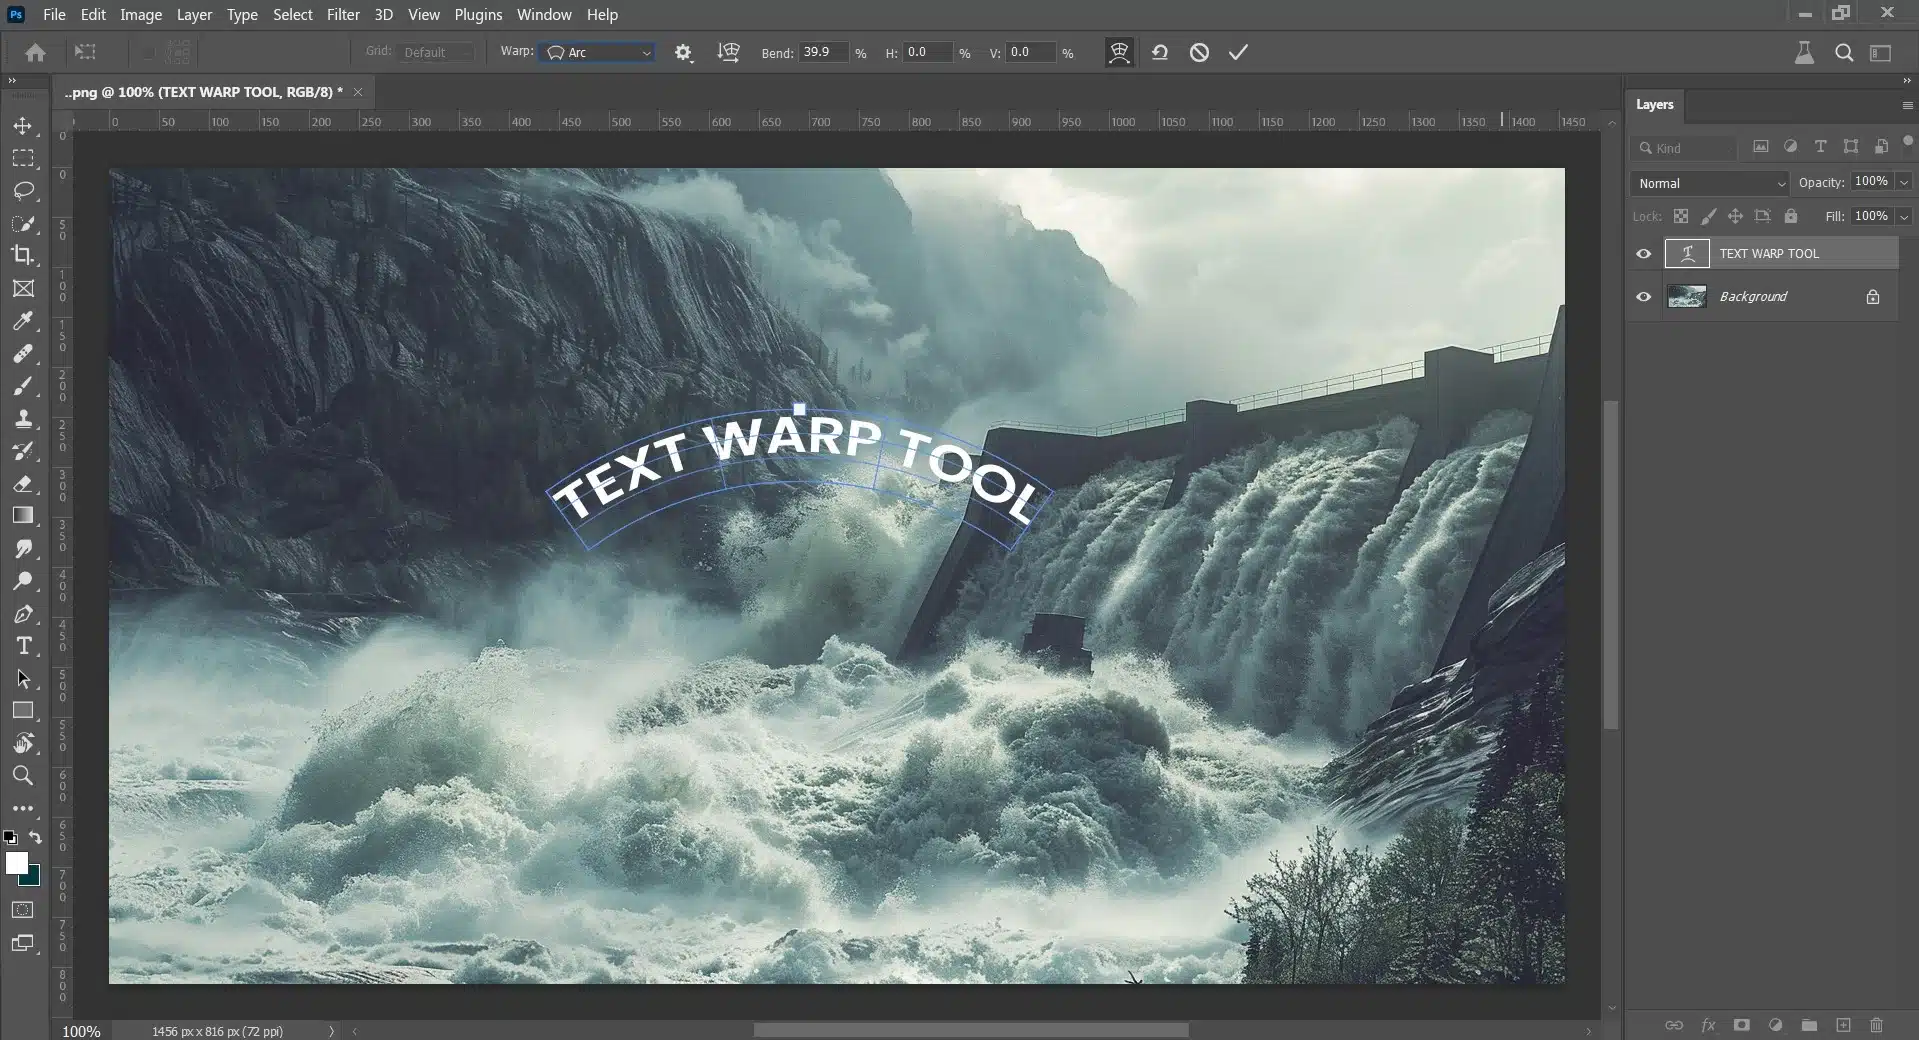
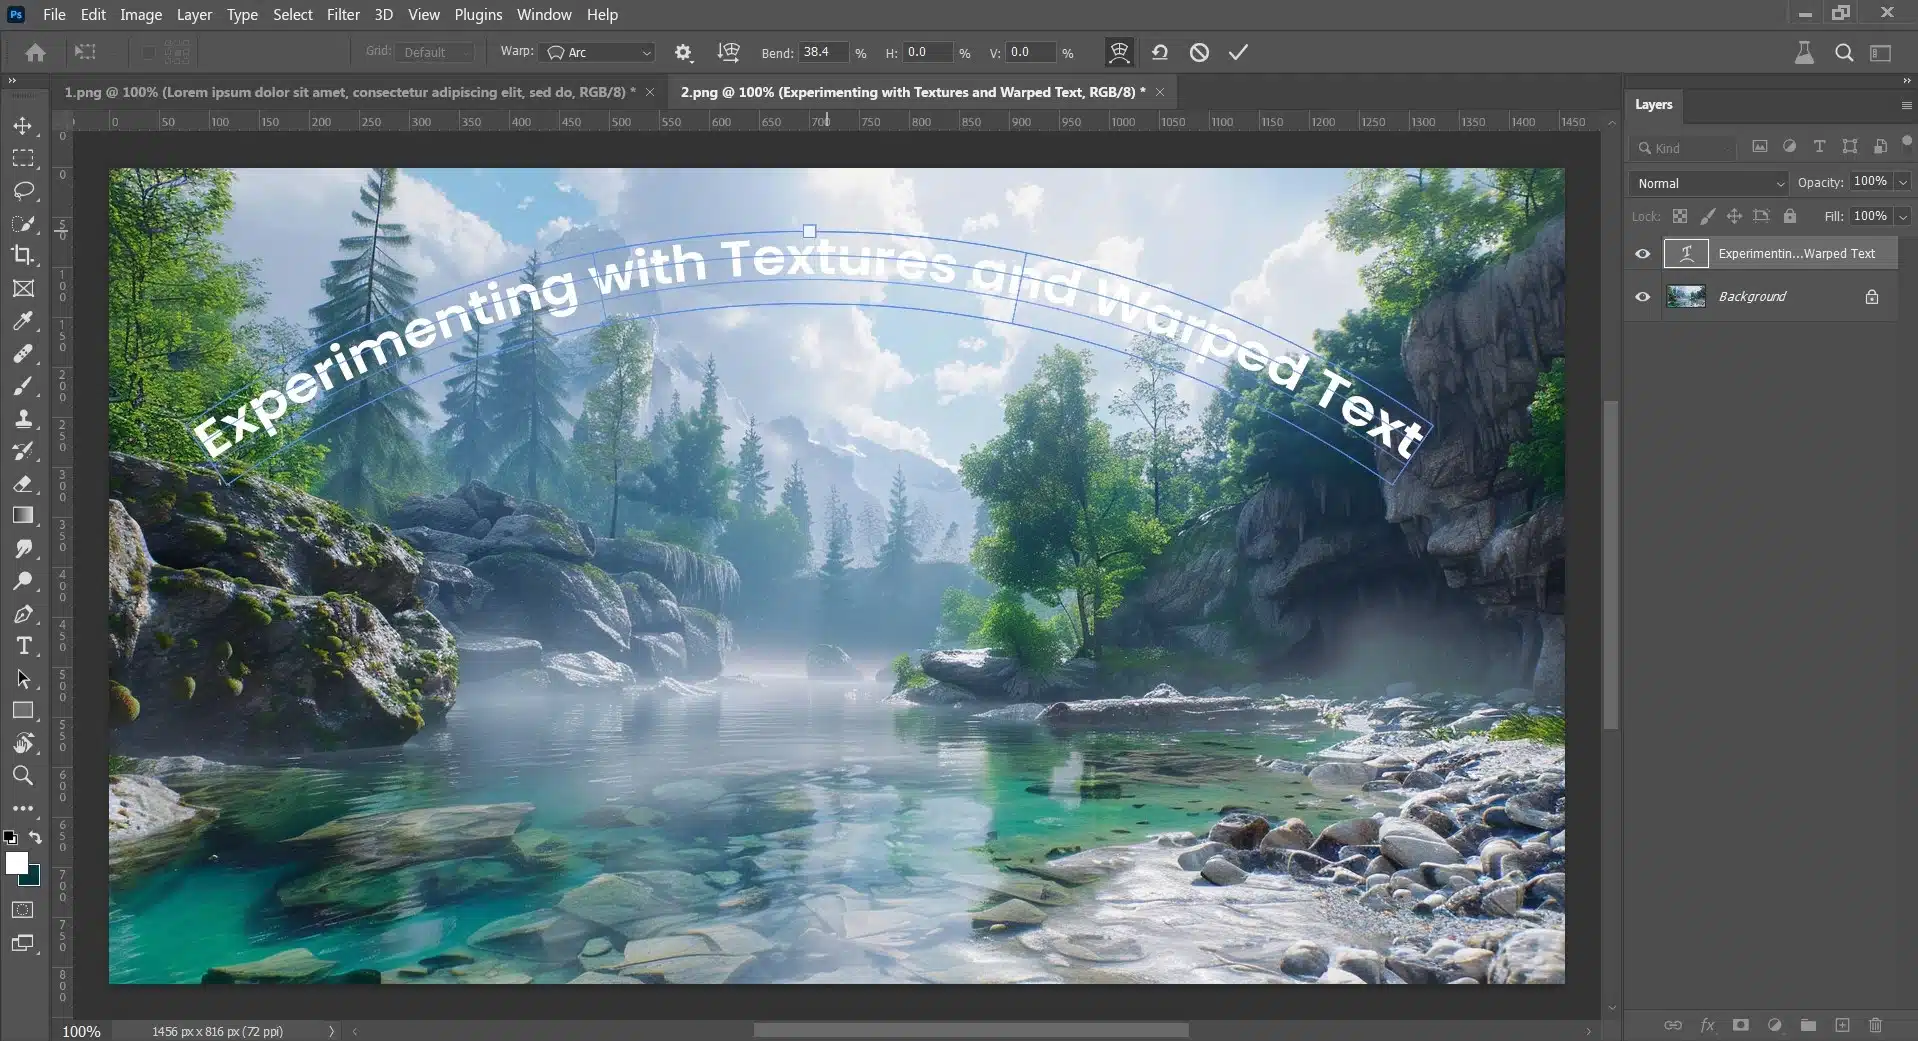
Using the Text Warp Tool
It’s time to add some creativity with the Warp Text tool.
This option is in the upper options bar when the layer is selected.
This feature allows users to apply different types of curvature and horizontal distortion to their text with a direct selection tool, making it more dynamic and adaptable to various design needs.
Adjusting Bend, Horizontal, and Vertical Distortion
To finely tune how much your text bows and your warp style inward or outward after selecting a style, adjust its ‘Bend’ parameter on a negative value switch for an inverse effect for a crisper look at edges).
Also, the vertical and horizontal distortion scales should be tweaked under the same section.
These manipulations help refine spatial deformation until the overall aspect is satisfied, such that words appear naturally contorted within the design context provided.
Advanced Techniques for Warping Text in Photoshop
Text warp in Photoshop offers creative possibilities.
It allows graphic designers and digital artists to add distinctive text effects that can transform ordinary projects into standout visuals.
Lightroom is also an excellent tool for enhancing photos, but when wrapping text in Photoshop, the focus is on manipulating text layers to create dynamic designs.
Diving more resounding, let’s explore some advanced techniques to elevate your work.
Combining Warps for Creative Effects
Combining multiple warp effects can create visually stunning outcomes that simple transformations cannot achieve.
By layering different warps, such as a wave combined with a fish-eye warp effect, you end up with dynamic and unexpected typographic art that jumps off the page. Here’s how:
Start by creating your text layer.
Apply the first warp using the options available under "Warp Text" in the options bar.
Convert this warped text into a Smart Object, preserving its editable qualities.
Apply a second warp to this Smart Object to mix both effects effectively.
This method harnesses Photoshop’s robust feature set while pushing creative boundaries.
Using Smart Objects for Non-Destructive Warping
Utilizing Smart Objects is important for non-destructive editing, allowing you to apply numerous warp texts, adjustments, and smart filters in Photoshop without permanently altering the original components of your design:
Convert your text layer into a Smart Object via the right-click context on the menu bar within the layers panel.
With the text now as a Smart Object, select Edit > Transform > Warp from the menu bar for warping.
Apply any desired warp style, from when you create shapes or custom modifications to using anchor points accessible through the direct selection tool.
This approach keeps your original text safe and allows you to experiment with various distortions until you perfect your vision.
Textures can complement the warped text by adding depth and tactile qualities that plain-colored backgrounds lack.
Here’s an effective way to blend textures with warped texts:
Place your desired texture beneath the warped layer within the layers panel.
To integrate the texture more naturally, play around with different blending modes and perhaps add a soft light or overlay depending on what suits best for visual emphasis.
Enhancing further using shading effects like "Drop Shadow" or subtle highlights adds dimensionality, which makes your composition pop.
Common Challenges and Solutions in Text Warping
Text warping is a powerful tool in Photoshop that allows you to apply creative shapes and effects to text layers.
However, working with distort text can present some common challenges, particularly when it comes to maintaining the readability and aesthetic appeal of the text.
Increase document resolution before warping – Use smoother warp styles or reduce intensity – Ensure anti-aliasing in the character panel
Adjusting Warp Effects for Different Fonts
Experiment on a duplicate layer – Use accessible transform mode for subtle adjustments – Opt for mild warp forms for better legibility
Layer Alignment
Use Photoshop’s grid system and guidelines. Enable Smart Guides for live measurements. Utilize the ‘Align’ tools within Free Transform.
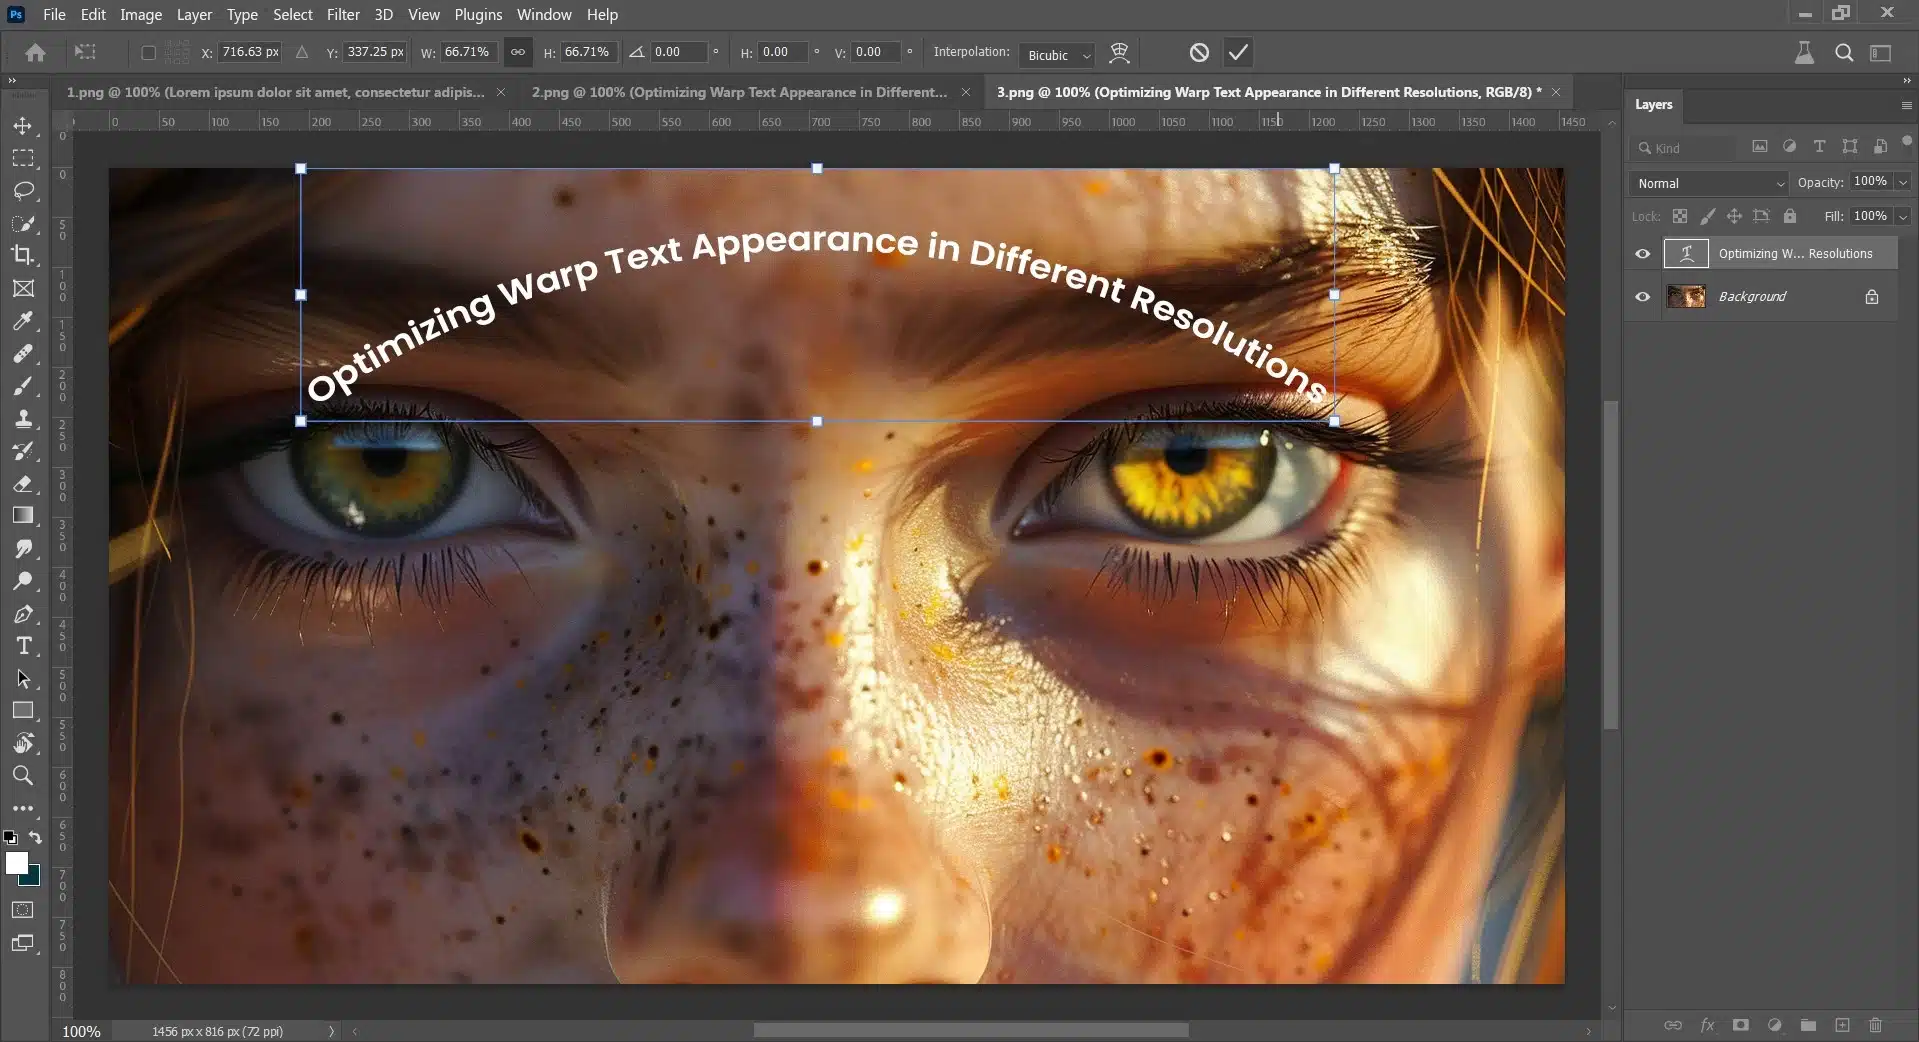
Optimizing Warp Text Appearance in Different Resolutions
Ensuring your text’s clarity across various resolutions is crucial when creating visuals.
Whether you are designing for high-resolution displays or more standard screens, some techniques can help preserve the sharpness and readability of your text.
Ensuring Clarity in High and Low Resolutions
Use vector-based text tools in Photoshop to maintain text clarity across different resolutions.
Vector-based tools prevent pixelation, allowing your texts to scale smoothly without losing quality.
Effectively utilize the layers panel to manage these elements distinctly from other visual components.
Next, background plays a vital role. A clean and contrasting background layer helps enhance text visibility across all devices and supports legibility in various environmental conditions.
Further, refine this approach by applying layer styles such as a stroke or a drop shadow to increase depth and separation from the background.
Using Resolution-Smart Techniques for Sharp Text
Mastering the use of sharpness tools such as Clipping Mask or Smart Sharpen, specifically tailored for text, can dramatically improve its performance at lower resolutions.
Lastly, practice advanced composition strategies, such as employing a minimalist design with ample space around letters (known as tracking).
By combining these approaches, vector formatting, and dynamic styling via layers panel like drop shadow, you’ll optimize text appearance, ensuring it looks clear and professional no matter where it’s viewed.
Tips and Tricks for Photoshop Warp Text
Warping in Photoshop allows designers to create visually dynamic and engaging typographical effects that stand out in any creative project.
Mastering the gradient techniques of warp text is essential if you want to create a simple curve or a more complex horizontal and vertical distortion.
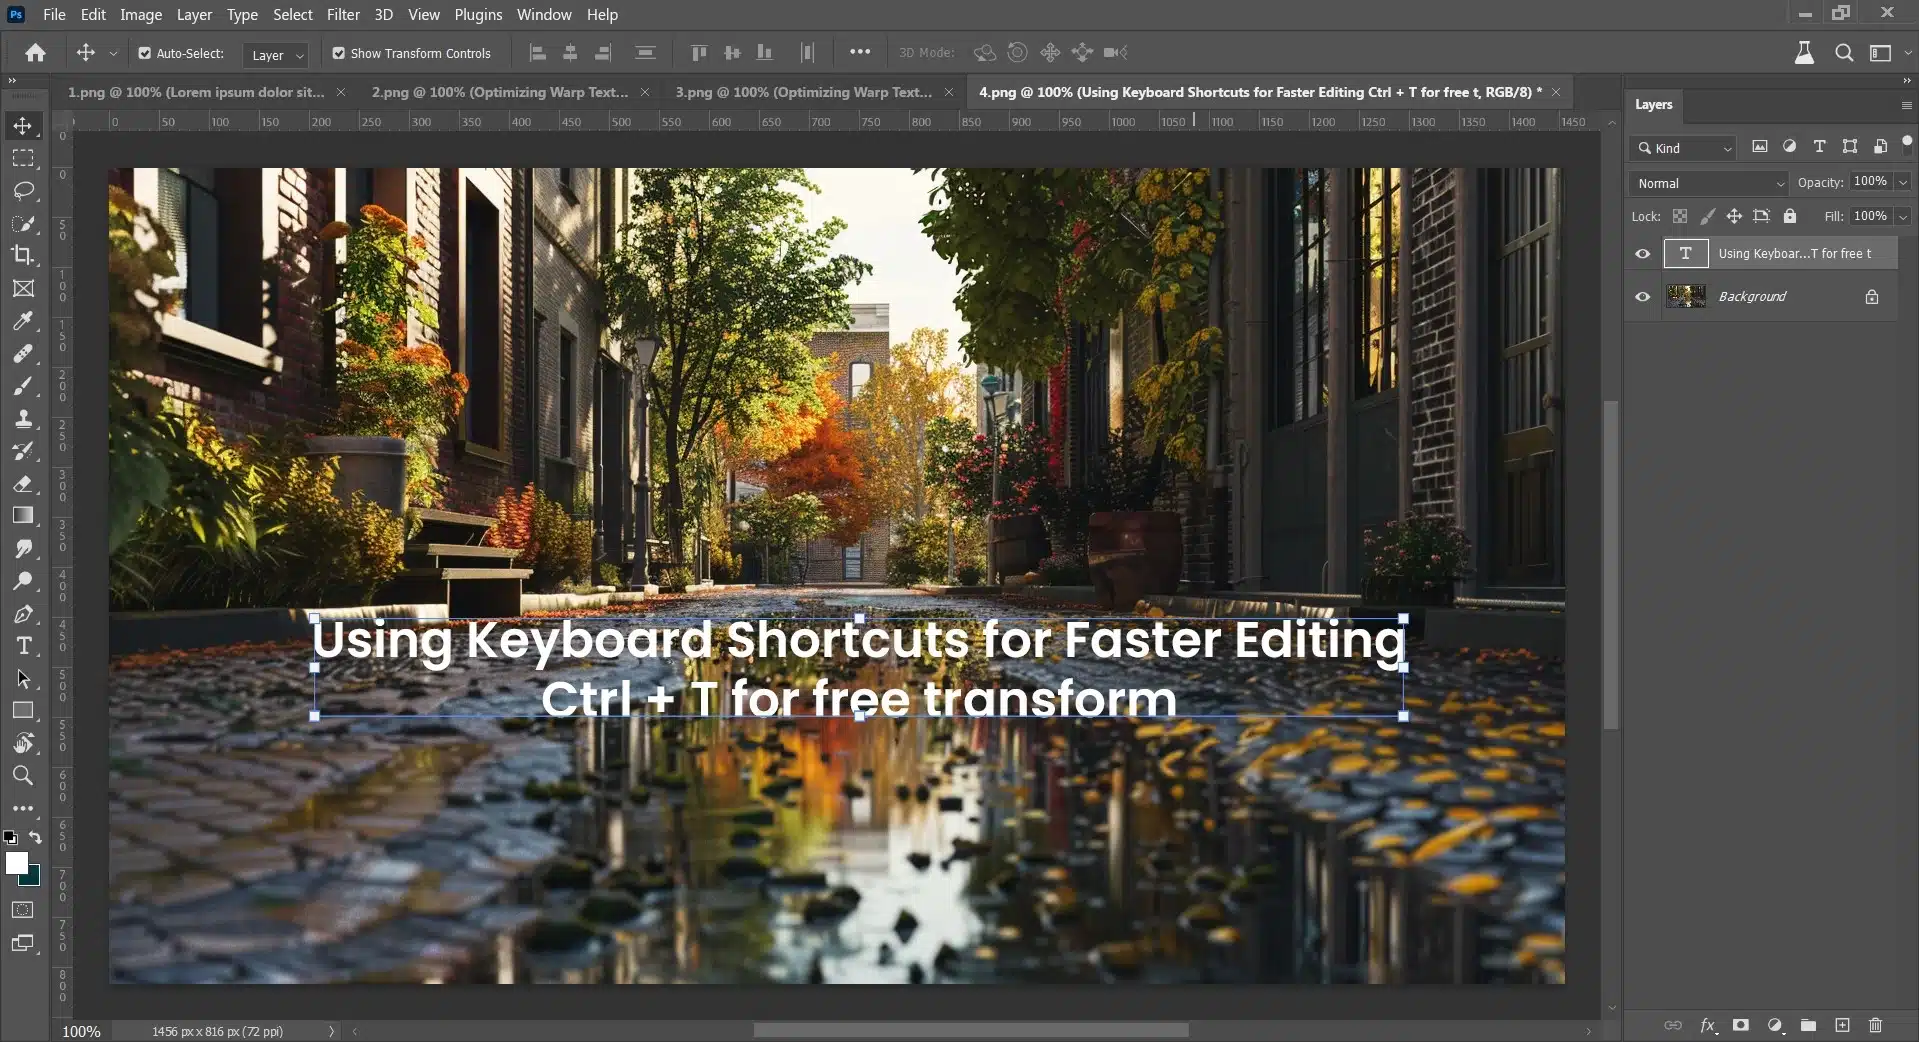
Using Keyboard Shortcuts for Faster Editing
Speed up your text-warping workflow with handy keyboard Photoshop shortcuts. Memorizing these can significantly reduce your editing time, allowing you to experiment more freely with different effects.
For instance, press Ctrl+T (Cmd+T on Mac) to create Free Transform, then right-click and choose ‘Warp.’
After exploring the warp text in Photoshop, I’ve seen how it can transform my design work.
For instance, when working on a client’s logo, I used text warping to create a dynamic, eye-catching effect that they loved. This tool has also been useful in making posters more engaging and professional.
In my experience, mastering text manipulation has made my designs more versatile and creative. It’s a practical skill that has significantly improved my projects.
If you’re looking to boost your design skills, join me in our Photoshop course and Lightroom courses. You’ll learn to harness these tools and enhance your work, just as I have.
If this article has helped you, then Like and Share it with your friends
Discover the secrets of photography with our printable guide! Master essential techniques like aperture, shutter speed, and ISO to create stunning images. Get your free printable PDF now and start turning your snapshots into masterpieces!