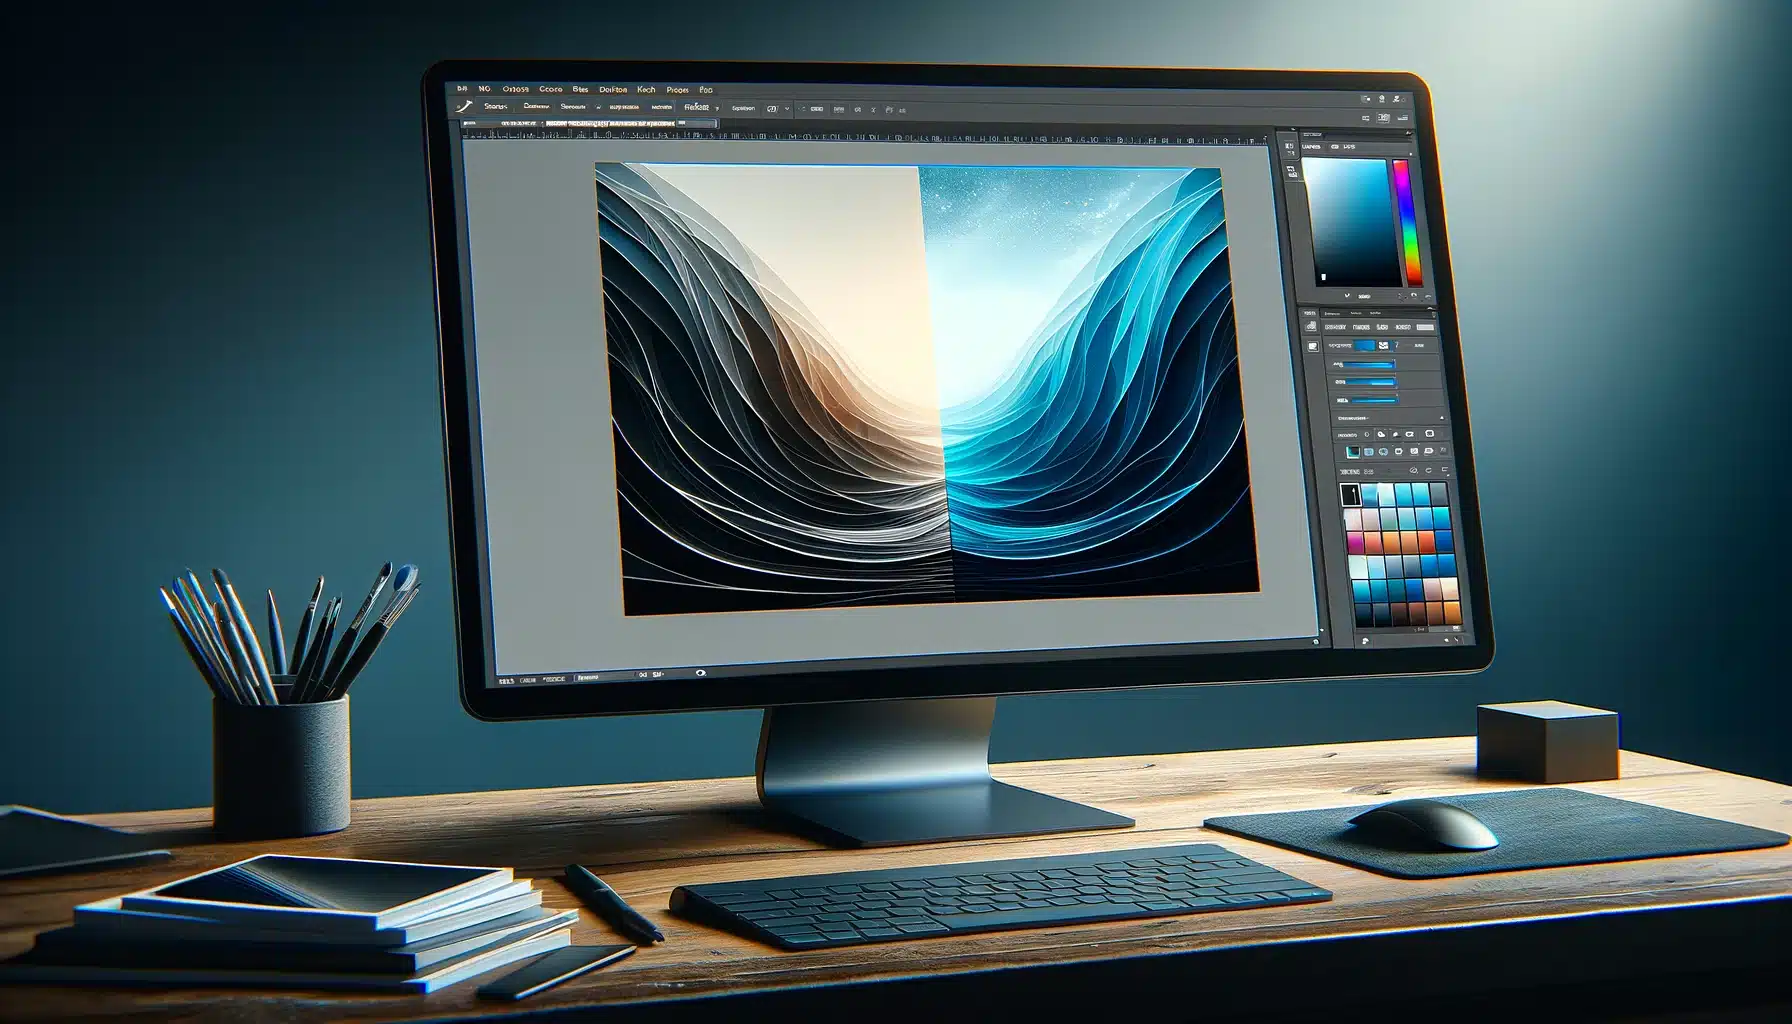
As a Photoshop expert, I’m thrilled to guide you through the process of inverting color in Photoshop.
This simple yet powerful technique is perfect for beginners and seasoned photographers alike. By learning how to invert colors, you can transform ordinary photos into stunning works of art, adding a unique touch to your portfolio.
In this guide, I’ll show you how to master this feature, from loading your image to fine-tuning the final look. Dive in and discover how inverting colors can elevate your photography skills and creativity.
Table of Contents
Step-by-Step Process to Invert Colors in Photoshop
Transforming the look of an image through color inversion is a powerful editing technique available as one of the essential tools of Photoshop.
This process involves reversing the color spectrum to invert images, creating dynamic and visually striking effects. Below, we detail the method for employing this tool effectively.
Opening Your Image File
To initiate your venture into picture editing, first, you need to load your desired image into Photoshop. Make sure that the file format is compatible with the software.
Pro Tip: Regularly update Photoshop to make sure it is compatible with other softwares.
Supported Image Formats in Photoshop
Photoshop supports several formats,, including JPEG, PNG, TIFF, and RAW, ensuring flexibility regardless of the original image file’s source or type.
Using Adjustment Layers for Non-Destructive Editing
Utilizing adjustment layers when altering your photos allows you to make reversible changes without affecting the original image file. This non-destructive approach provides the freedom to experiment with different settings without permanent alteration.
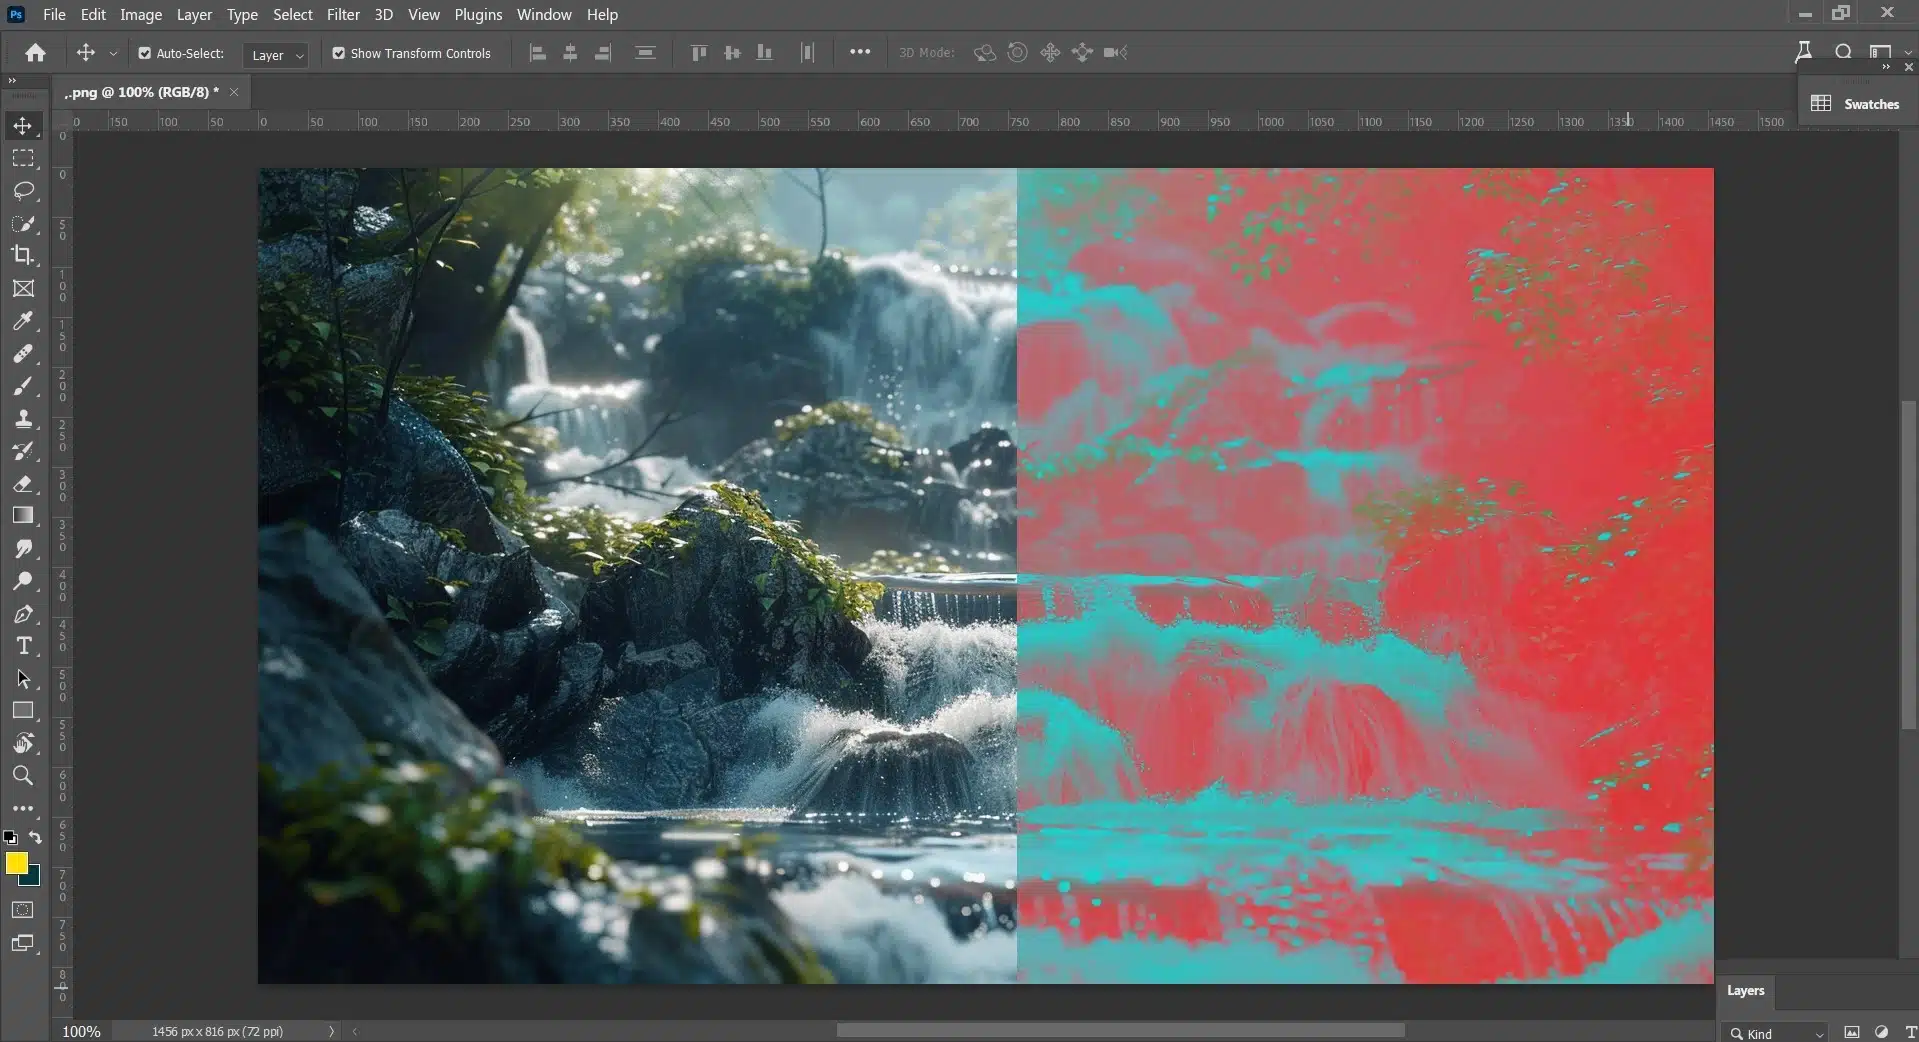
Applying the Invert Photos Adjustment
Access the ‘Invert‘ option within the ‘Adjustments‘ panel. Selecting this feature will immediately apply a true color inversion, turning lighter areas dark and vice versa.
The process works seamlessly for both color and black-and-white photos, revealing fascinating outcomes like mimicking film negatives or creating surrealistic effects in originally common scenes.
Fine-Tuning: Adjusting Contrast and Brightness to an Invert Color Photo
After applying the inverted colors, fine tune your image by adjusting its contrast and brightness. Navigate to the same panel where you find ‘Invert’.
Options such as ‘Levels’ or ‘Curves’ allow meticulous control over how light or dark specific regions of an inverted photo become after inversion. Explore these features to enhance visual depth or correct overly darkened shadows or highlighted sections (often seen as “dark areas light“).
By following these detailed steps using proper adjustment layers and settings in Adobe Photoshop, you can masterfully inverse colors creating impacting visuals with each project.
Remember, practice coupled with creative exploration will advance your skills far beyond simple tutorials.
Solutions to Common Issues With Invert Images
Color inversion can bring a dramatic change to the visuals, highlighting contrasts and offering a unique perspective. However, it’s not without its problems. Below, we explore solutions to some common issues you might encounter during this process.
Dealing with Color Casts After Inversion
When you invert colors in an image, sometimes the result is not quite what you expected. An unexpected color cast can appear due to the original lighting conditions or the inherent characteristics of the original colors.
To address this issue:
Utilize photo editing app features specifically designed for color correction. Many apps offer tools that allow you to adjust individual color channels, which can help neutralize unwanted tints.
Consider applying an invert image again with adjusted settings or using selective color adjustment layers if working in Adobe Photoshop. This gives you more control over the final output.
Remember, batch-processing multiple photos for consistent results across a series can be challenging. Once you achieve the desired correction on a single image, it helps to use presets.
How to Restore Shadow and Highlight Details
Inverting images can often flatten out shadows and highlights because it swaps their roles in your picture’s tonality range leading parts like details in dark areas might get lost while light areas become too prominent.
Effective strategies include:
Using a photo app's built in histogram adjustments, Tweak these controls to enhance the dynamic range and restore clarity to shadowed regions that became overly bright post-inversion.
Employ HDR techniques either directly through your photo editing app or via blending different exposures of the same inverted photo.
Guide to Capturing Breathtaking HDR Landscapes. If possible, always preview adjustments in real time by using high quality third party apps from sources like Google Play Store or other trusted platforms where professional grade photo editor tools are available.
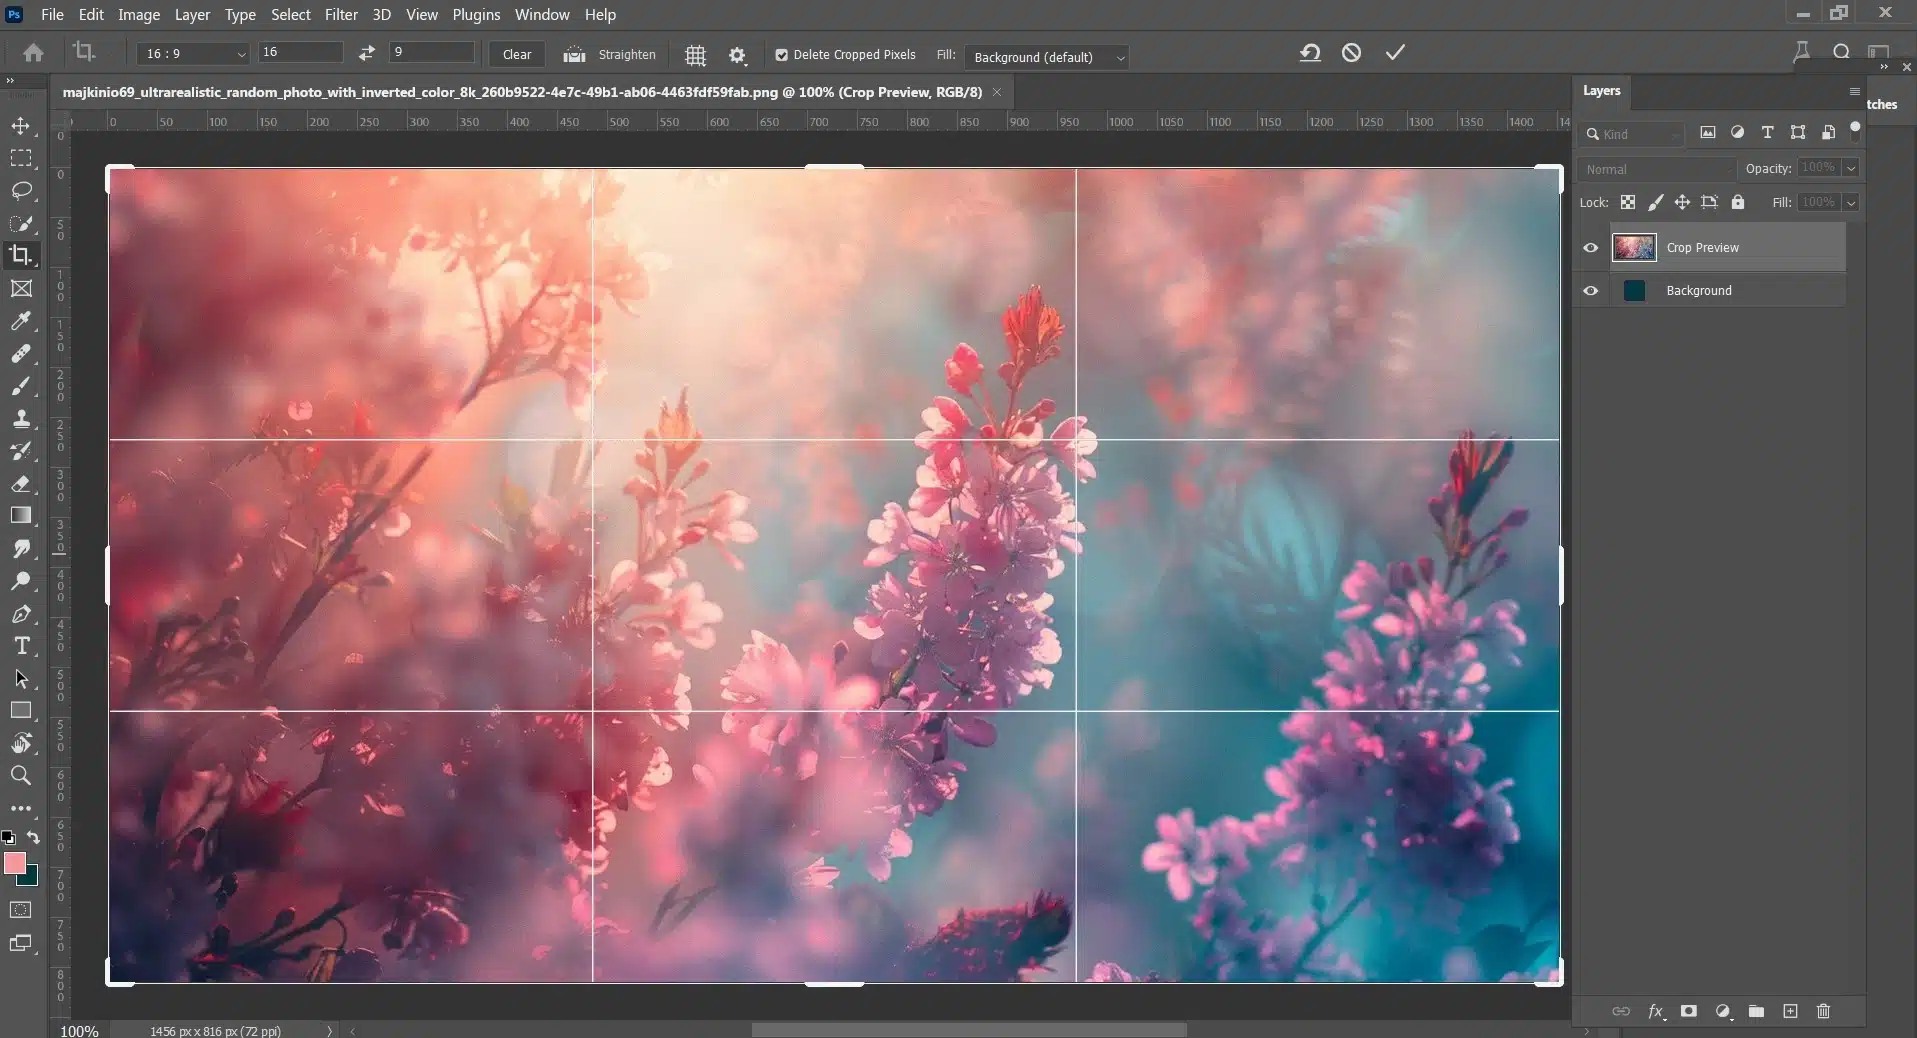
How to Resize Images in Photoshop
Resizing images in Photoshop is a fundamental skill that every photographer and graphic designer should master. By adjusting the dimensions of your photos, you can optimize them for various uses, such as web publishing or high quality printing.
Determining the Correct Image Resolution
The first step in resizing an image effectively is determining the right resolution. Resolution refers to the number of pixels on a display screen or printed area, typically represented by PPI (Pixels Per Inch) for digital screens and DPI (Dots Per Inch) for print.
For Web Use: Aim for 72 PPI, which balances quality and load time.
For Print: Higher resolutions, around 300 DPI or more, ensure sharp prints.
Understanding these parameters helps maintain the clarity and integrity of your images across different platforms.
Preserving Aspect Ratio During Resizing
Keeping the aspect ratio intact is crucial when resizing images to prevent distortion. The aspect ratio, which is the relationship between width and height, should remain constant even as you change image size.
In Photoshop:
Open the 'Image Size' dialog box.
Check the "Constrain Proportions" option.
Enter your desired width or height. Photoshop adjusts the other dimension automatically.
This method ensures your resized images look natural and unaltered in their proportions, preserving aesthetic appeal.
Using Smart Objects to Maintain Quality
Smart Objects are powerful in Photoshop for maintaining maximum image quality despite multiple adjustments like scaling up or down. Here’s how you can use Smart Objects:
Right-click on your image layer in the Layers panel.
Select 'Convert to Smart Object'.
Now resize freely. Photoshop maintains original data to prevent quality loss during transformations.
This technique is particularly useful when dealing with complex compositions requiring non-destructive edits over time. For a more detailed look at how Smart Objects can be utilized alongside Smart Filters for even more flexibility in non-destructive editing, check out this comprehensive guide on smart filters.
For more detailed steps on resizing layers specifically, you can check out this tutorial about how to resize layers.
By following these guidelines within Photoshop, users ensure their resized images retain clarity, respect original proportions, and keep high quality regardless of how many times they are adjusted. Whether preparing visuals for a photo app or ensuring professional-grade publication prints, mastering these techniques becomes indispensable.
Advanced Techniques to Invert Color in Photoshop
Blending inverted colors with the original hues in your photos can dramatically alter the mood and artistic quality of your images. This technique, often used by advanced photographers and graphic designers, allows for high degrees of creativity in photo manipulation.
Invert Color Layer Masks and Their Utility
Layer masks are powerful tools in any photo editing app, allowing you to blend pictures or hide different parts of an image non destructively.
Using a layer mask after applying an inverted color photo effect lets you smoothly transition between the inverted and original colors.
he flexibility to selectively revert areas back to theiroriginal huesallows you to emphasize specific subjects or create eye catching contrasts.
Pro Tip: Go through this layering tutorial if you need to familiarize yourself with the feature before using it.
How to Use: Simply add a layer mask to your inverted layer and use a soft brush to paint over the areas where you want the original colors to show.
Blending Modes Explained
Blending modes control how two layers mix with each other, creating various effects without permanently changing the underlying layer.
When dealing with inverted photos or trying different invert colors, blending modes like “Difference” or “Exclusion” can create surreal and visually striking outcomes. These modes truly enable artists to experiment profoundly with how colors interact across layers.
Popular Blends: "Multiply" darkens images, while "Screen" is ideal for achieving lighter tones overall.
For those looking to further enhance their Photoshop skills, learning how to replace the sky in an image is another powerful technique, that can transform your photos
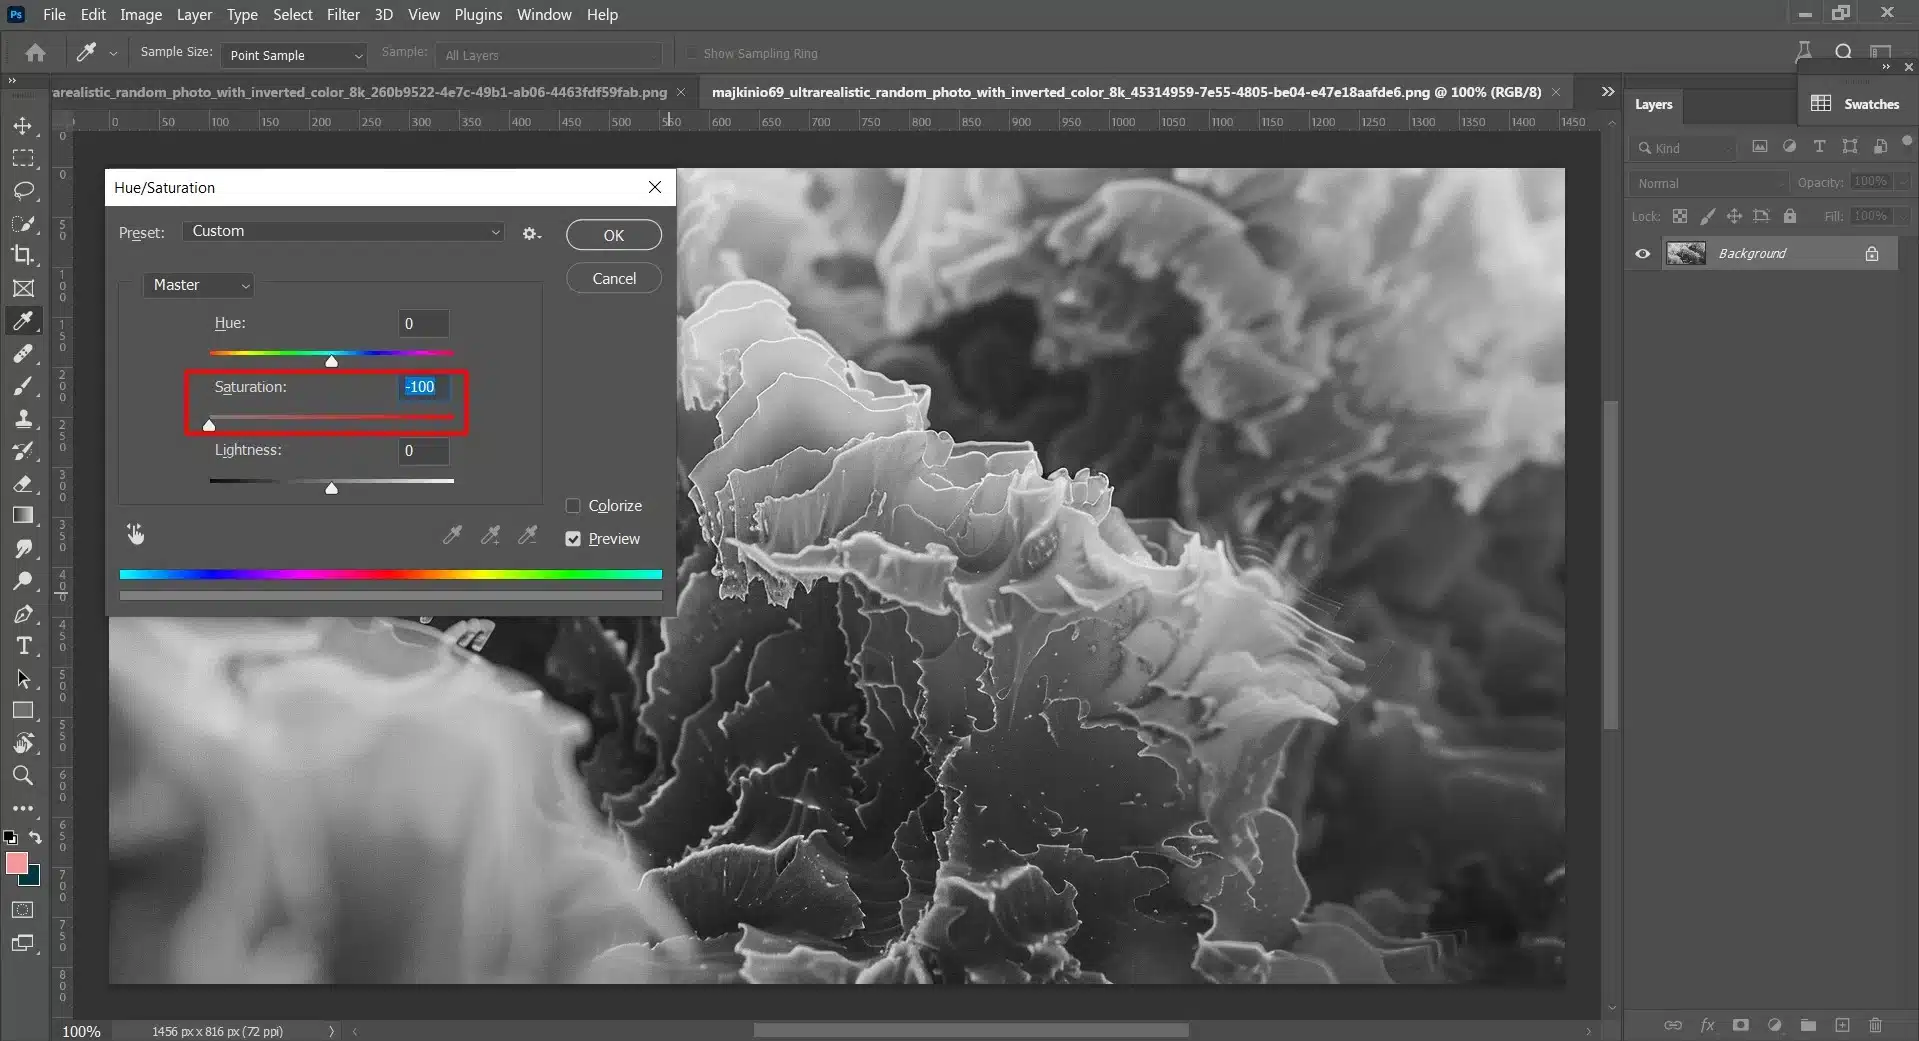
Creating Custom Invert Color Effects in Photoshop
To generate unique visuals using an invert colors photo technique, consider customizing color adjustments post-inversion. Adjusting curves, saturation, or even applying selective color boosts can result in stunning effects that make your artwork stand out.
Step
Description
1
Apply an ‘Invert‘ filter from your favorite photo editing software.
2
Utilize adjustment layers like Curves or Hue/Saturation to fine-tune the new palette.
3
Mix adjustment effects via layer masks for localized enhancements. This method enables more controlled and aesthetic tweaks, contributing effectively toward incredible final pieces.
Optimizing Your Workflow When You Invert Color in Photoshop
Color inversion projects, whether you’re working with invert colors, creating inverted photos, or transforming photos to simulate film negatives, can be complex. Implementing an efficient workflow is crucial to handle such tasks, especially when dealing with large quantities of images.
Below, we’ll explore methods like workflow automation and batch processing that can significantly enhance your productivity.
Workflow Automation with Actions
In photography, automating repetitive steps can save tremendous amounts of time, especially when it comes to tasks like color inversion, where consistency is key.
Using photo editing app features or scripts in tools like Adobe Photoshop allows you to automate sequences of actions needed to invert photos effectively.
For instance, setting up an action to invert photos and colors can streamline the process. Once configured, this action can be triggered for any number of photos, applying the exact same adjustments uniformly and without further input.
For photographers looking to enhance their professional skills beyond color inversion techniques, learning how to conduct 360-degree product photography can provide a competitive edge in the digital marketplace.
Batch Processing for Large Projects
Batch processing becomes indispensable when handling larger projects involving numerous images needing color inversion – such as converting standard color photos to appear as black and white photo outputs or adjusting photo colors en masse.
Many advanced photo apps provide batch processing features that allow you to apply preset actions (like those created for single-click invert image operations) across multiple files simultaneously. For example:
Select all the images queued for inversion.
Choose your predefined inversion action.
Start the batch process and let the software manage the individual applications.
Frequently Asked Questions (FAQs)
How do you invert the colors on a picture?
To invert the colors on a picture in Photoshop, follow these steps:
Open your image in Photoshop.
Navigate to the Adjustments panel and click the Invert icon, or go to Layer > New Adjustment Layer > Invert and click OK in the New Layer dialog box.
Alternatively, you can select Image > Adjustments > Invert to directly invert the colors on the image layer, though this method discards image information.
This will convert the brightness value of each pixel in the channels to the inverse value on the 256-step color-values scale.
Can you invert photo colors on iPhone?
Yes, you can invert photo colors on an iPhone. Here’s how:
Open the Photos app and select the photo you wish to edit.
Tap "Edit" in the upper-right corner.
Choose the "Filters" option (three overlapping circles icon).
Scroll to the "Invert" filter and apply it.
Alternatively, you can use third-party apps like Adobe Photoshop Express, which includes an invert colors feature.
What is the app that inverts colors?
Several apps can invert colors, including:
Adobe Photoshop: A professional image editing software with extensive capabilities, including inverting colors.
Adobe Photoshop Express: A mobile version of Photoshop that offers a range of editing tools, including color inversion.
Snapseed: A Google-owned photo editing app that provides an "Invert Colors" feature.
GIMP: A free and open-source image editor that includes inverting colors among its many features.
What is an invert image?
An inverted image is one where the colors are reversed to their opposites on the color spectrum. For example, black becomes white, red becomes cyan, green becomes magenta, and blue becomes yellow.
This process converts the brightness value of each pixel to its inverse value, creating a negative image effect. This technique is often used in digital art and photo editing to create unique visual effects
Where can I find a photo editing app?
Several photo apps on the Google Play Store and Apple App Store offer the ability to invert photo colors. Adobe Photoshop is a popular choice for its powerful photo editing capabilities, including the invert colors option.
You can look through other mobile photo editing apps so that you find the one that best suits your needs.
The journey of mastering Photoshop invert color was a transformative experience for me. I recall working on a project that seemed insurmountable, with intricate details demanding precise editing.
It was my deep dive into Photoshop’s invert color capabilities that turned the tide. Utilizing this tool, I could non-destructively tweak the visibility of various parts of my artwork, achieving a level of detail and finesse I previously thought unattainable.
This experience underscores why mastering invert color in Photoshop is not just a skill but a necessary toolset for anyone serious about digital artistry.
It is crucial to seamlessly blend,modify, and enhanceelements within an image, and invert color provides the pathway to accomplish these tasks with sophistication and subtlety.
I encourage you to embrace the world of Photoshop invert color, whether you’re a novice eager to explore or a seasoned professional looking to refine your craft.
Our comprehensive Photoshop Course and Lightroom Course are tailored to guide you through every nuance of these powerful tools, ensuring you gain the proficiency and confidence to transform your creative visions into compelling realities.
If you want to get Adobe Photoshop on a discount check out our Photoshop deal.
If this article has helped you, then Like and Share it with your friends
$2,061.00Original price was: $2,061.00.$1,061.00Current price is: $1,061.00. 27584
Download Your Free Guide Now!
Discover the secrets of photography with our printable guide! Master essential techniques like aperture, shutter speed, and ISO to create stunning images. Get your free printable PDF now and start turning your snapshots into masterpieces!