Introduction to How to Batch Edit in Lightroom
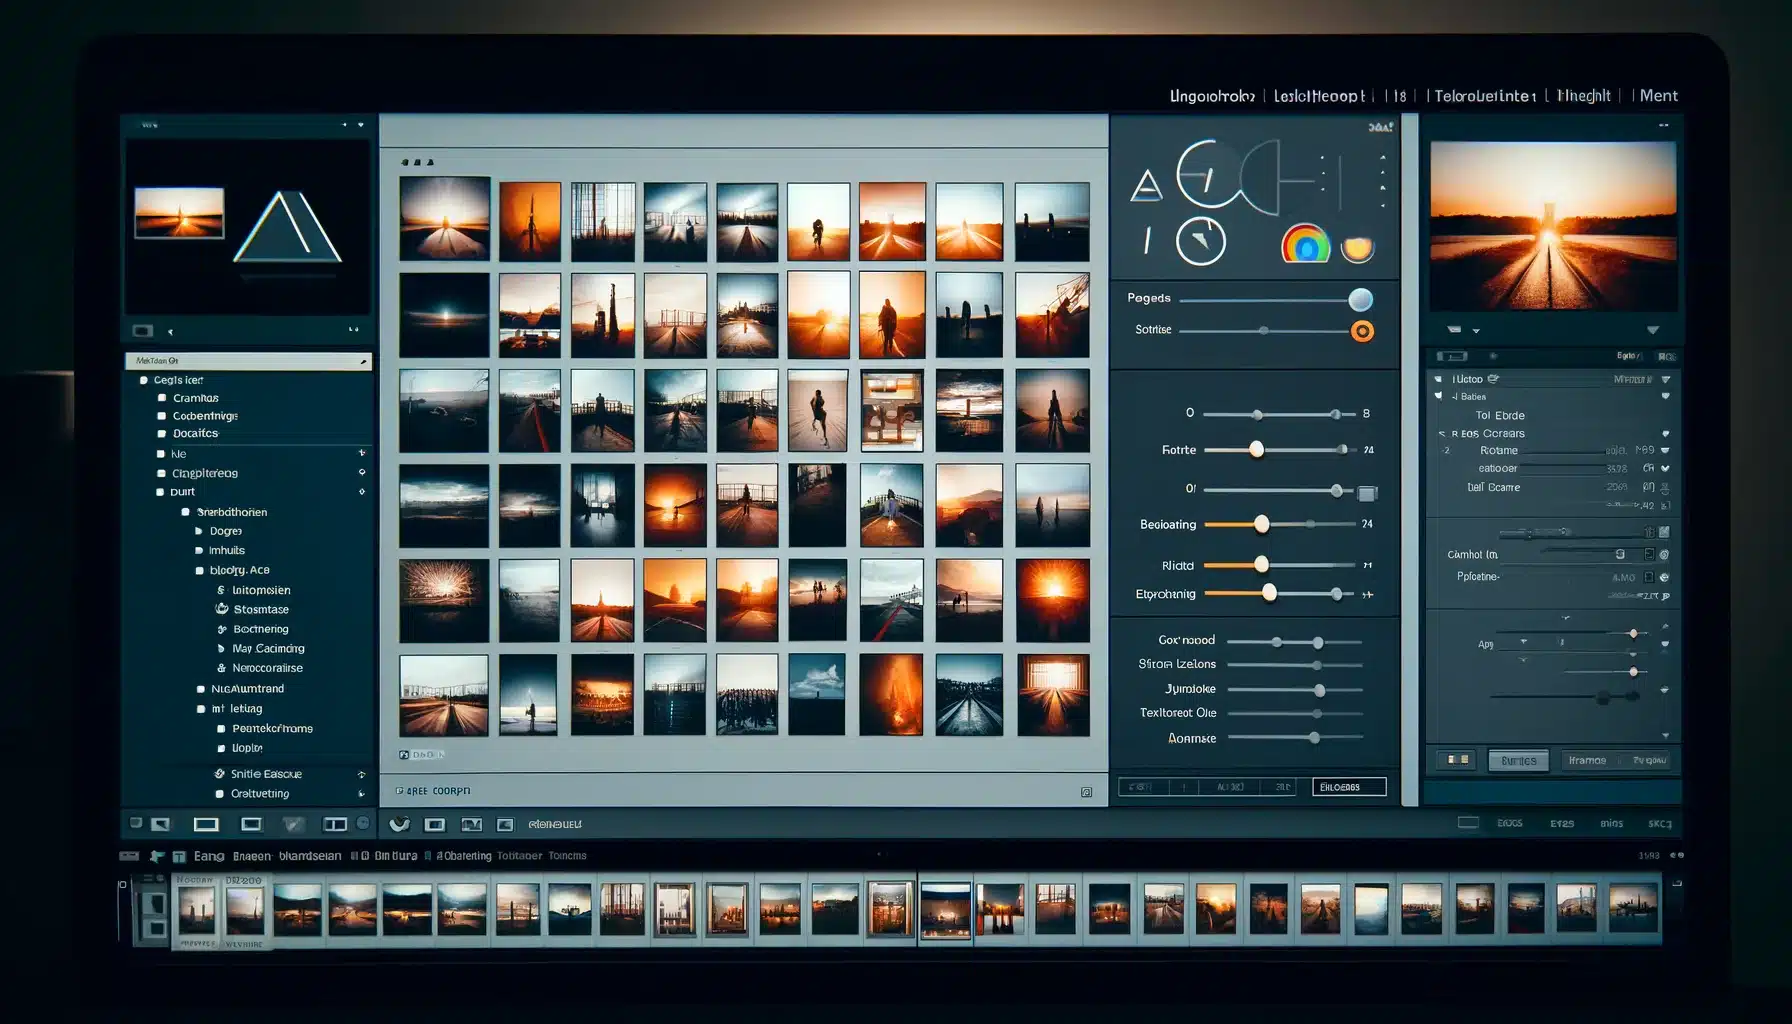
Batch editing in Lightroom lets you change lots of photos at once. This is great if you have many pictures that need the same tweak. Imagine fixing 100 photos in just a few clicks! It’s like giving a magic touch to all your pictures at the same time.
This article will show you how to batch edit in Lightroom. We will explain how you can batch edit photos using simple steps as well as advanced techniques. You will learn to make your photos look their best without spending too much time. We cover everything from starting a batch edit to adding final touches. So, let’s dive in and make batch editing easy for you!
Table of Contents
Step-by-Step Guide to Batch Edit Photos in Lightroom

Batch editing makes your photograph editing process quicker and easier. When you batch edit photos in Lightroom, you can apply same edits to many photos at once. This means if you want all your vacation photos to look a bit brighter, you can do it in just a few steps. Let’s look at how to start this process and use it to make your pictures look awesome!
Selecting Photos for Batch Processing
Before you start making any changes, you need to pick the photos you want to edit. Here’s how you do it:
Step 1: Open Adobe Lightroom and go to the Library module. Look at your photos and decide which ones need editing.
Step 2: Click on the first photograph, then hold down the ‘Shift’ key and click on the last photo in the group. This selects all the photos between the first and last one.
Applying Basic Edits to Multiple Photos
Now that you have selected your photos, you can start editing. Here’s a simple way to apply basic edits like brightness and color:
Step 3: With your photos chosen, switch to the Develop module by clicking on ‘Develop’ at the top of the screen.
Step 4: Find the basic adjustments on the right side. You will see sliders for exposure, contrast, and saturation. Make your changes on one photograph like slide the exposure to the right to make it brighter.
Step 5: Then, right-click on the photograph you edited, choose ‘Develop Settings’, and then ‘Copy Settings’. Make sure all the settings you want to copy are checked.
Step 6: Click on ‘Copy’. Then select the other photos you want to edit the same way. Right-click on one of them and choose ‘Develop Settings’ then ‘Paste Settings’.
Applying Presets to Multiple Photos
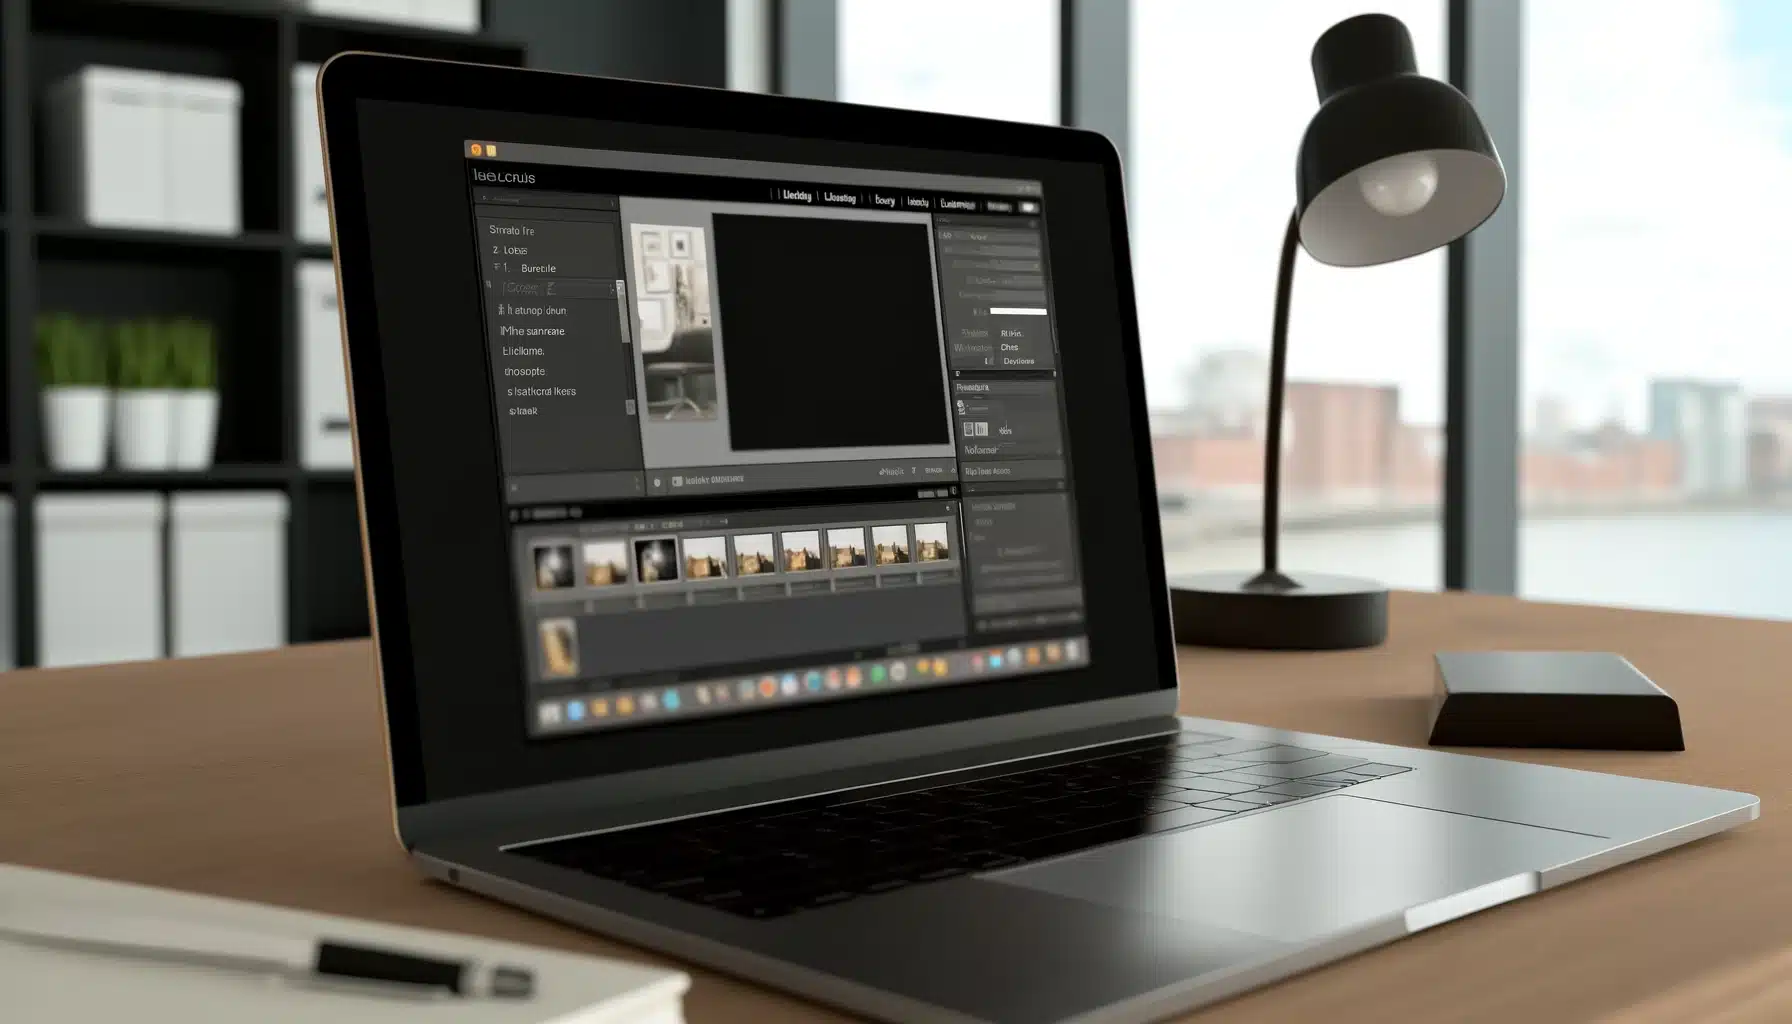
Applying presets is a powerful way to batch edit photos. Presets are pre-made settings that can change how your photos look with just one click. This is perfect for creating a professional-looking photograph album or for posting a series of pictures on social media that all have the same vibe. Let’s see how you can use presets to make your photos stand out.
Create Your Own Presets
Creating your own preset is straightforward. First, select a photograph you’ve edited and really like in the Develop module. On the left side, you’ll see the Presets panel. Click the plus (+) icon here and choose ‘Create Preset’. Name your preset, select which settings to include, and click ‘Create’. This way, if you’ve got a perfect edit for a beach photo—bright and colorful—you can save these settings.
Batch Apply Presets
Once you have your preset, applying it to numerous photos is simple. Return to the Library module and select the photos you wish to edit. Look for the ‘Saved Preset’ dropdown in the Quick Develop panel on the right. Find your preset in the list and click on it. Instantly, all the chosen photos will change to match the preset’s style.
How to Batch Edit in Lightroom: Tips for Speeding Up
Learning how to batch edit in Lightroom, significantly enhances your productivity and creativity. With this feature, you can save your precious time spent on repetitive tasks, allowing you to focus on creative aspects of photography. Check out these creative tips for editing numerous photos to make the process quicker and more intuitive.
Keyboard Shortcuts for Faster Editing
One of the best ways to speed up your editing in Lightroom is to use keyboard shortcuts. These shortcuts allow you to perform editing tasks without having to navigate through menus. For instance, you can quickly adjust brightness by pressing certain keys instead of clicking and dragging with your mouse.
Efficient Use of Presets
Presets are not just creative tools in Lightroom—they are great time savers. Develop a set of custom presets for different lighting conditions or color schemes. Applying these presets as you import photos or during initial reviews can help you achieve a consistent look quickly, which you can then fine-tune as needed.
Utilizing Smart Previews
Smart Previews let you edit photos without having the original files on your computer. This is helpful if your high-quality images are stored on an external drive. Smart Previews are smaller files that you can edit quickly, and any edits you make will update on the original files once you reconnect them.
Automate Repetitive Tasks
Automating tasks that you do often can save lots of time. In Lightroom, you can set up automated functions for tasks like importing and exporting photos. This way, you don’t have to do these steps manually every time, which speeds up the whole editing process.
Optimizing Lightroom Performance
To make Lightroom run faster, you can adjust a few settings. First, make sure your computer itself is optimized for photo editing. This might mean having enough RAM and a fast processor. In Lightroom, you can also adjust the cache settings to improve how quickly images load. Moreover, keeping your catalog on a fast SSD instead of a traditional hard drive can help speed things up.
Batch Edit Photos Using Lightroom vs. Photoshop: Comparative Analysis
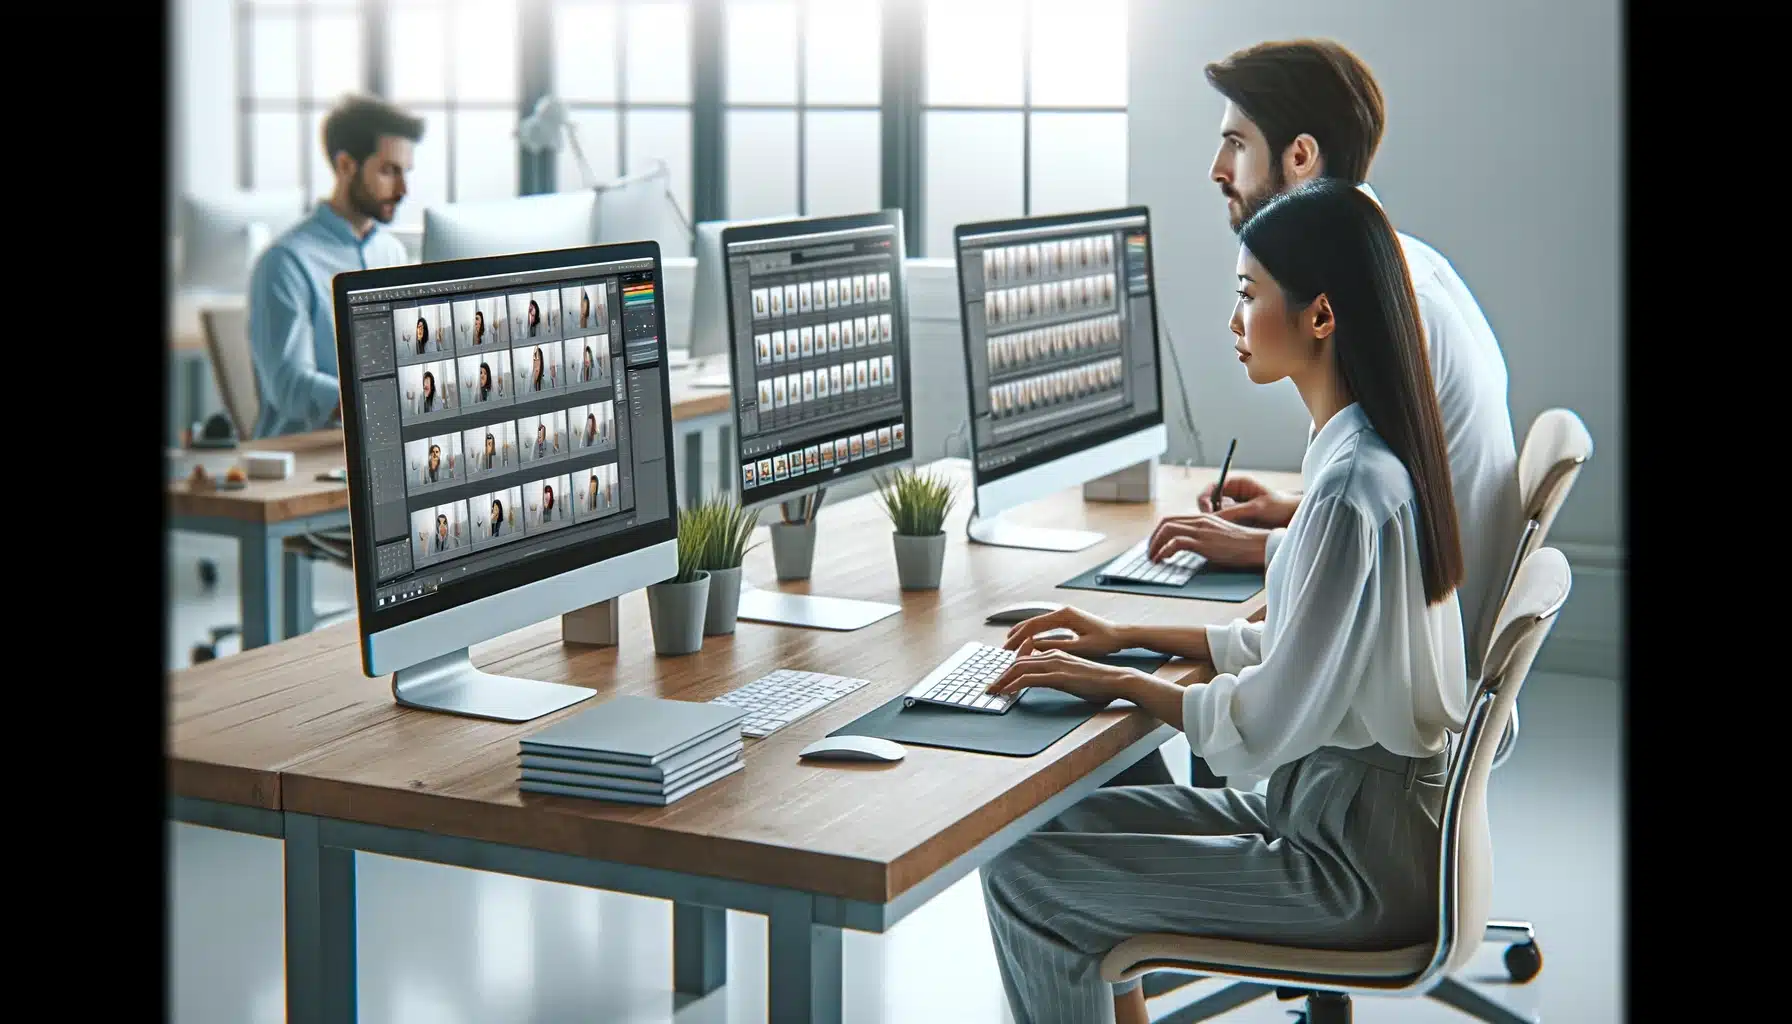
When you want to batch edit photos, you might wonder whether to use Lightroom or Photoshop. Both are popular software from Adobe that let you synchronize edits across photos, but they work differently. Let’s look at how Lightroom and Photoshop compare and help you decide which software fits your needs best.
| Feature | Lightroom | Photoshop |
|---|---|---|
| Ease of Use | Easier for beginners. Simple buttons and auto-sync options. | More steps. Needs setting up actions. |
| Speed | Quicker for large batches. | Slower, depends on action complexity. |
| Control Over Edits | Less detailed control per image. | High control, can fine-tune actions. |
| Suitability for Types of Edits | Great for exposure, color, and basic adjustments. | Best for detailed, complex edits. |
| Software Version | Available in both Classic and Mobile versions. | Mainly used on desktop. |
| Best Use Case | Perfect for photographers editing lots of photos. | Ideal for graphic designers and detailed photo editing. |
| Method of Batch Editing | Uses presets and sync features. | Uses actions and batch commands. |
How to Batch Edit in Lightroom Using Advanced Techniques
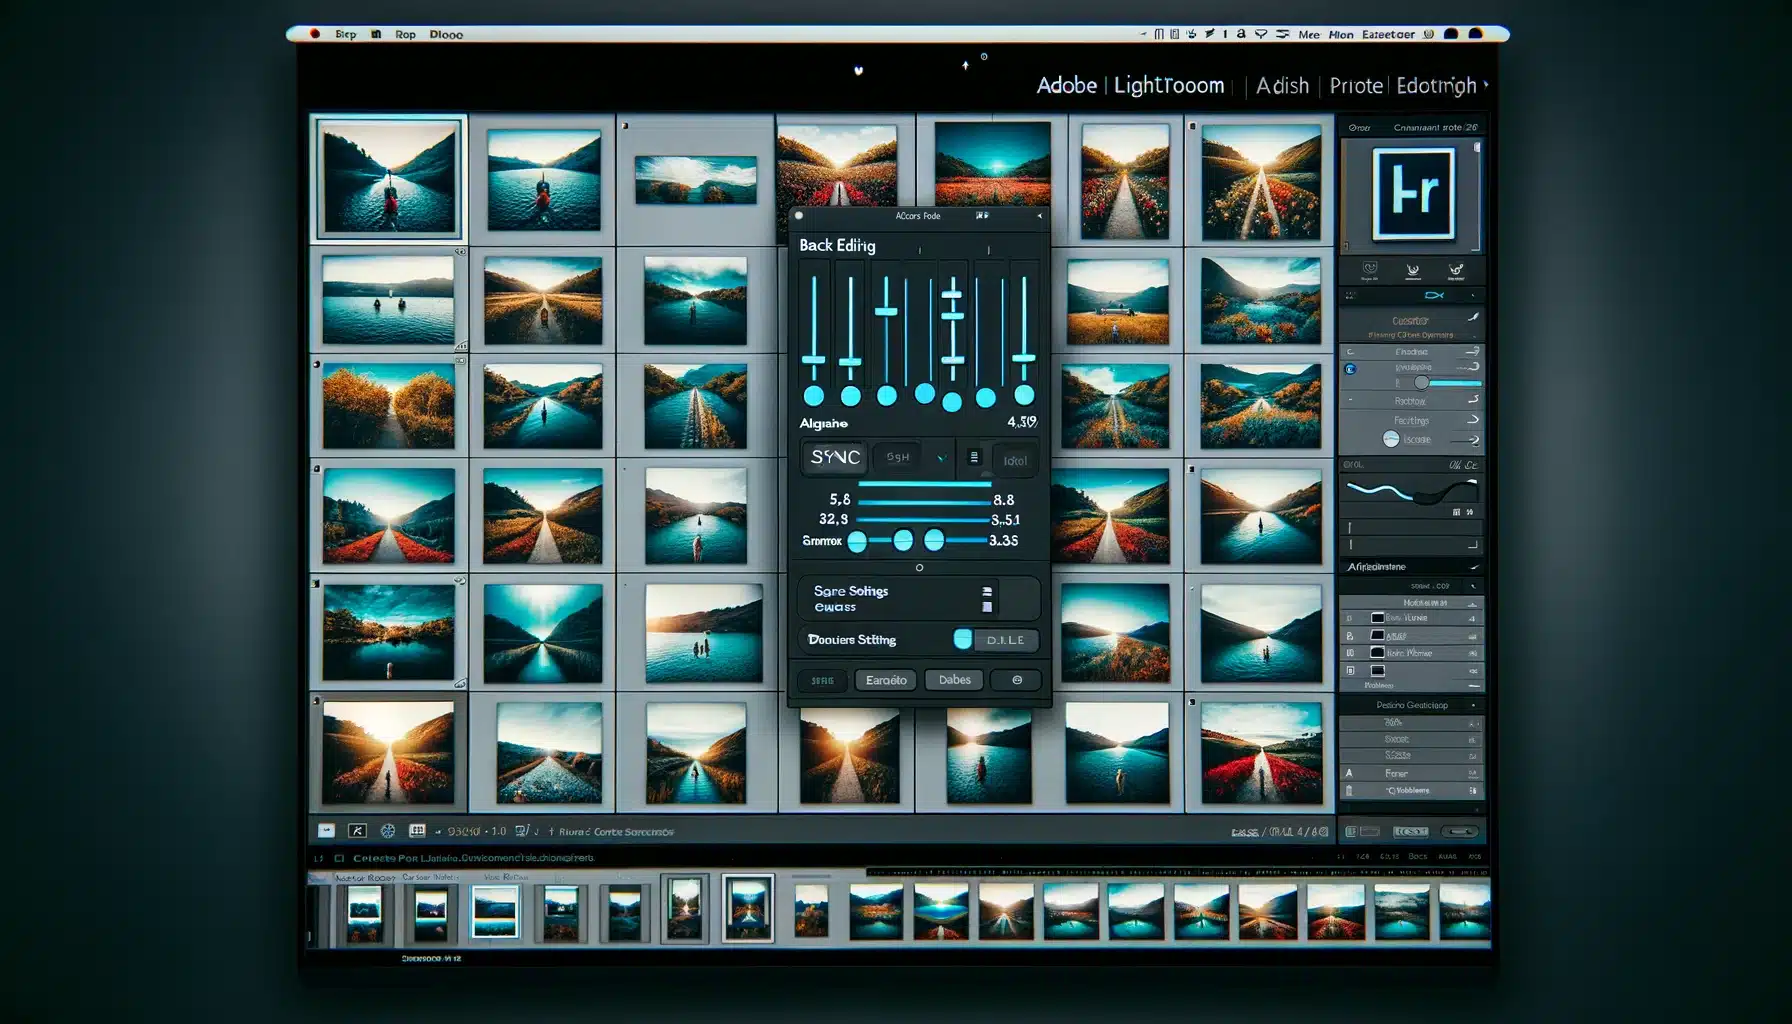
Once you get comfortable with basic batch editing, you might want to try advanced batch edit techniques. These methods can help you tackle more complex editing tasks across many photos quickly and effectively. Let’s explore some advanced strategies that can make your batch editing even more powerful.
Auto Sync for Uniform Edits
Auto Sync is a valuable feature in Lightroom for advanced batch editing. First, select all the photos you want to edit in the Develop module. Then, activate Auto Sync by clicking the small switch next to the Sync button. Now, any adjustments you make to one photograph will automatically be applied to all the selected photos. For instance, if you increase the exposure on one photo, all the photos will also become brighter.
Dealing with Varied Lighting and Exposures
Managing a batch of photos taken under different lighting conditions can be challenging. An effective approach is to first organize the photos by similar lighting situations. You can sort and filter photos by these conditions in the Library module. Once sorted, apply specific presets or manual adjustments tailored to each lighting group. This technique allows you to address the unique exposure needs of each photograph group, ensuring all adjustments are appropriate and consistent with the lighting variations.
Using Gradient Filters for Targeted Adjustments
Gradient filters are useful for adjusting parts of your photos. These filters let you add effects slowly across an image. This is perfect for photos where only parts need fixing, like a sky that’s too bright in a landscape. You can adjust the sky without changing the ground.
Applying Color Grading for Cohesive Looks
Color grading is a way to make all your photos in a look similar in style. This is especially helpful for projects where all photos need to match, like in wedding photography. In Lightroom, you can quickly color grade by applying a color profile to all your photos at once, making sure they all look good together.
Maintaining Image Quality During Batch Edits
While editing a photo, it’s important to keep the quality of image high. Even when you’re editing lots of photos at once, you want each one to look its best. Here’s how to make sure your batch edits improve your photos without losing any of their quality.
1. Monitor Your Histogram
The histogram is a tool in Lightroom that shows you the brightness levels of your photos. Watching the histogram helps you avoid mistakes when you batch edit photos. To use it, open a photo in the Develop module. Look at the top right corner to find the histogram. Make your edits and watch the histogram to ensure no peaks are touching the edges, which means losing details.
2. Check Individual Photos After Batch Applying
After applying batch edits, inspect several individual photos to ensure all edits are appropriate. Sometimes, settings that work for one photo might not be suitable for another, even if they seemed similar initially. Look for any issues such as overexposure, loss of detail, or color shifts and make individual adjustments.
3. Adjust Sharpness and Noise Reduction Carefully
Sharpness and noise reduction settings across a batch of photos can be tricky because each photo’s requirements might vary depending on factors like ISO and focus. Review photos taken at higher ISO settings individually, as they might need more noise reduction. Check for any signs of over-sharpening, such as halos around edges, and adjust accordingly.
Keyboard Shortcuts for Lightroom Batch Photo Editing

Using shortcuts in Lightroom can make batch editing much faster. Shortcuts let you do things quickly without clicking around too much. This is really helpful when you have a bunch of images to process. Let’s look at some key shortcuts that can speed up your batch editing work.
| Action | Shortcut (Windows/Mac) |
|---|---|
| Select All Photos | Ctrl+A / Cmd+A |
| Deselect All Photos | Ctrl+D / Cmd+D |
| Copy Develop Settings | Ctrl+Shift+C / Cmd+Shift+C |
| Paste Develop Settings | Ctrl+Shift+V / Cmd+Shift+V |
| Sync Settings | Ctrl+Shift+S / Cmd+Shift+S |
| Toggle Auto Sync | Ctrl-click Sync / Command-click Sync |
| Show/Hide Filters Bar | “Shift + \” / “Shift + \” |
| Go to Develop Module | Ctrl + Alt + 2 / Command + Option + 2 |
| Go to Library Module | Ctrl + Alt + 1 / Command + Option + 1 |

Expert Answers to Frequent Questions About How to Batch Edit in Lightroom
Many photographers, from beginners to pros, have questions about how to batch edit in Lightroom. Here, we address some of the most common queries with clear, helpful answers that can improve your batch editing process.
Is there a way to batch edit in Lightroom?
Yes, there is a way to batch edit photos in Lightroom. You can make changes to many photos at once using the sync feature or by applying presets to a group of selected photos. This makes editing quicker, especially when you have lots of photos that need the same adjustments.
How do I edit multiple photos at once?
To edit many pictures at once in Lightroom, use the batch edit feature. First, mark the pictures you want to change by clicking on one, holding down the Shift key, and clicking on the last picture in the group. Then, go to the Develop section, adjust the settings on one picture, and use the Sync button at the bottom to make these changes on all marked pictures. This method quickly updates a group of pictures with the same changes.
How to apply the same preset to multiple photos in Lightroom?
Applying the same preset to multiple photos in Lightroom is straightforward. First, choose the photos you want to edit by selecting them in the Library. Then, with the photos selected, click on the Preset panel on the left side, find the preset you want, and click to apply it to all photos. This action instantly updates all chosen images with the preset’s settings, making it a fast way to ensure consistency across your photos.
How do I make multiple edits of the same photo in Lightroom?
To make different changes on the same picture in Lightroom, use the Virtual Copy feature. Right-click on the picture and choose ‘Create Virtual Copy.’ This makes a duplicate of your picture within Lightroom, letting you make different changes without changing the original picture. You can make several virtual copies to try out various styles on the same picture.
Conclusion
As someone who loves taking lots of photos, learning how to batch edit in Lightroom has been a game-changer for me. I remember the first time I used batch editing to adjust all my best friend’s birthday photos at once. It saved me so much time, and all my pictures looked consistently great! It felt like I had unlocked a superpower in my photography skills.
If you’re looking to save time and bring a professional touch to your photograph collections, mastering batch editing is crucial. Whether you’re more interested in Photoshop Course or Lightroom Course, we have just the right course for you. Don’t miss out on leveling up your photo editing techniques!
Have a nice photoshoot!


