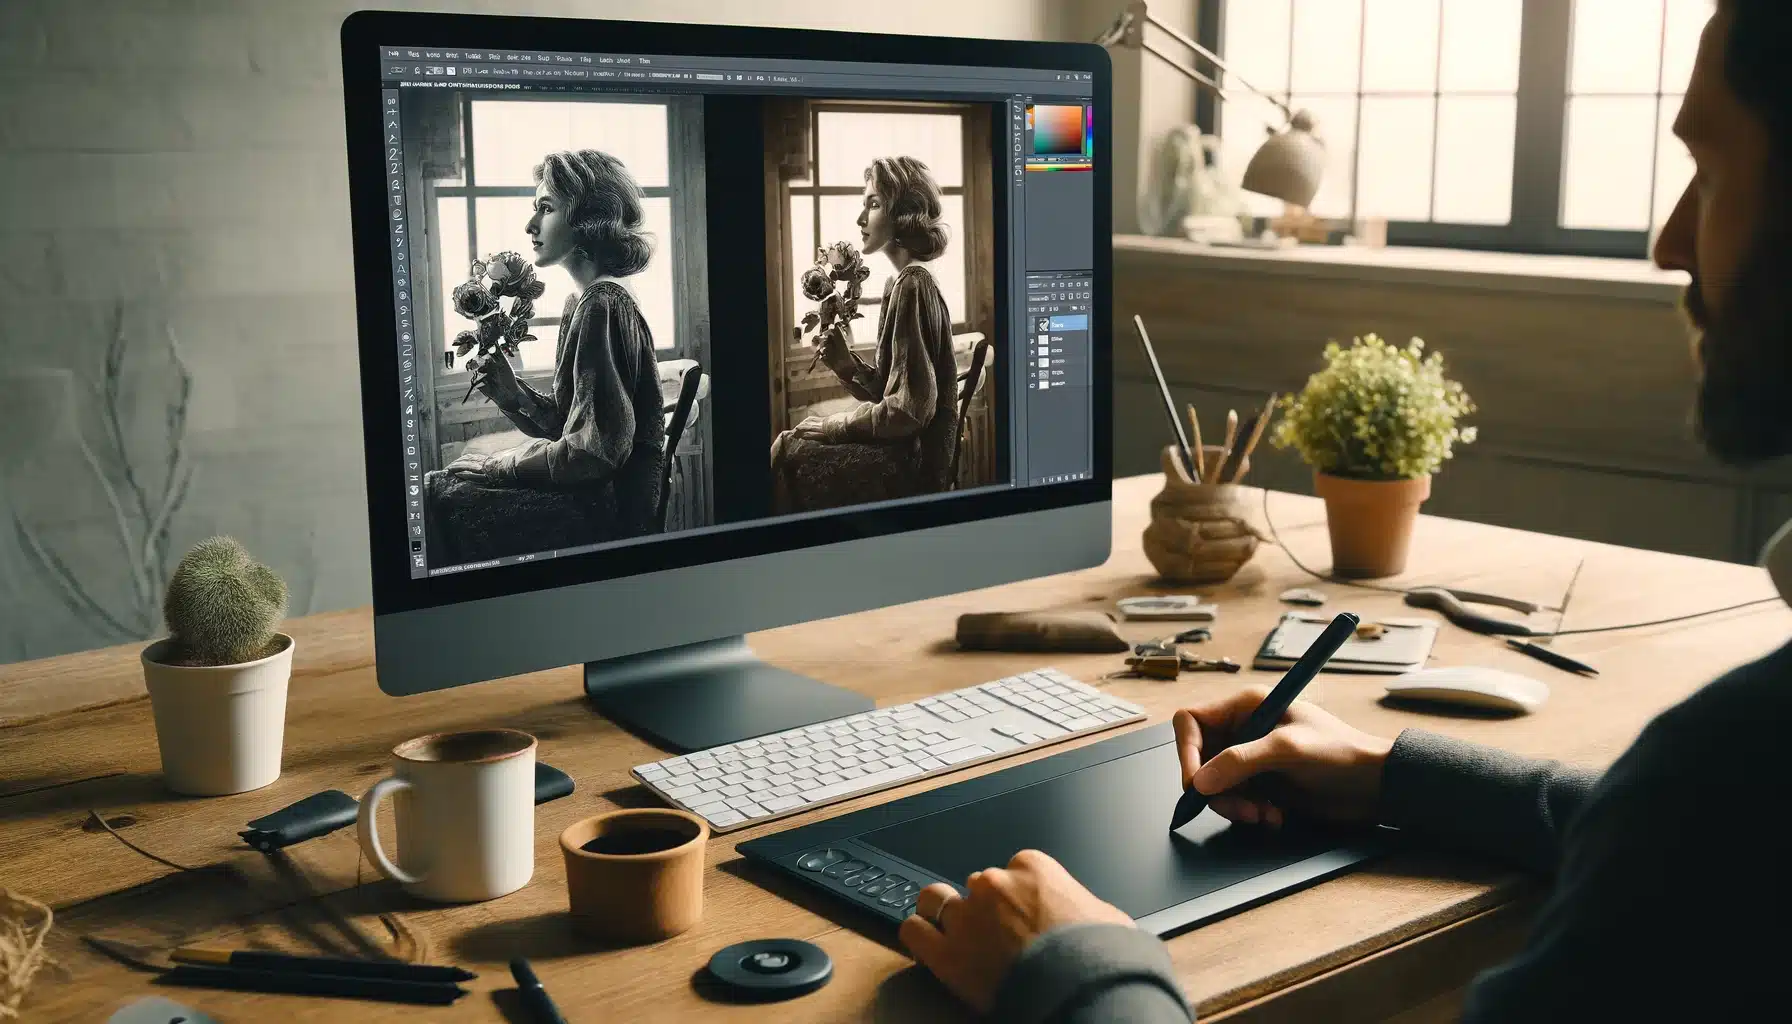
Want to bring your old black-and-white photos in Photoshop?
You’ve come to the right place! In this fun and simple guide, I’ll show you just how easy it is to colorize your cherished images in Photoshop.
We’ll not only add some vibrant colors but also ensure they look natural. Get ready to have some fun and learn some pro tips along the way.
Table of Contents
Step by Step Guide on How to Colorize Black and White Photos in Photoshop
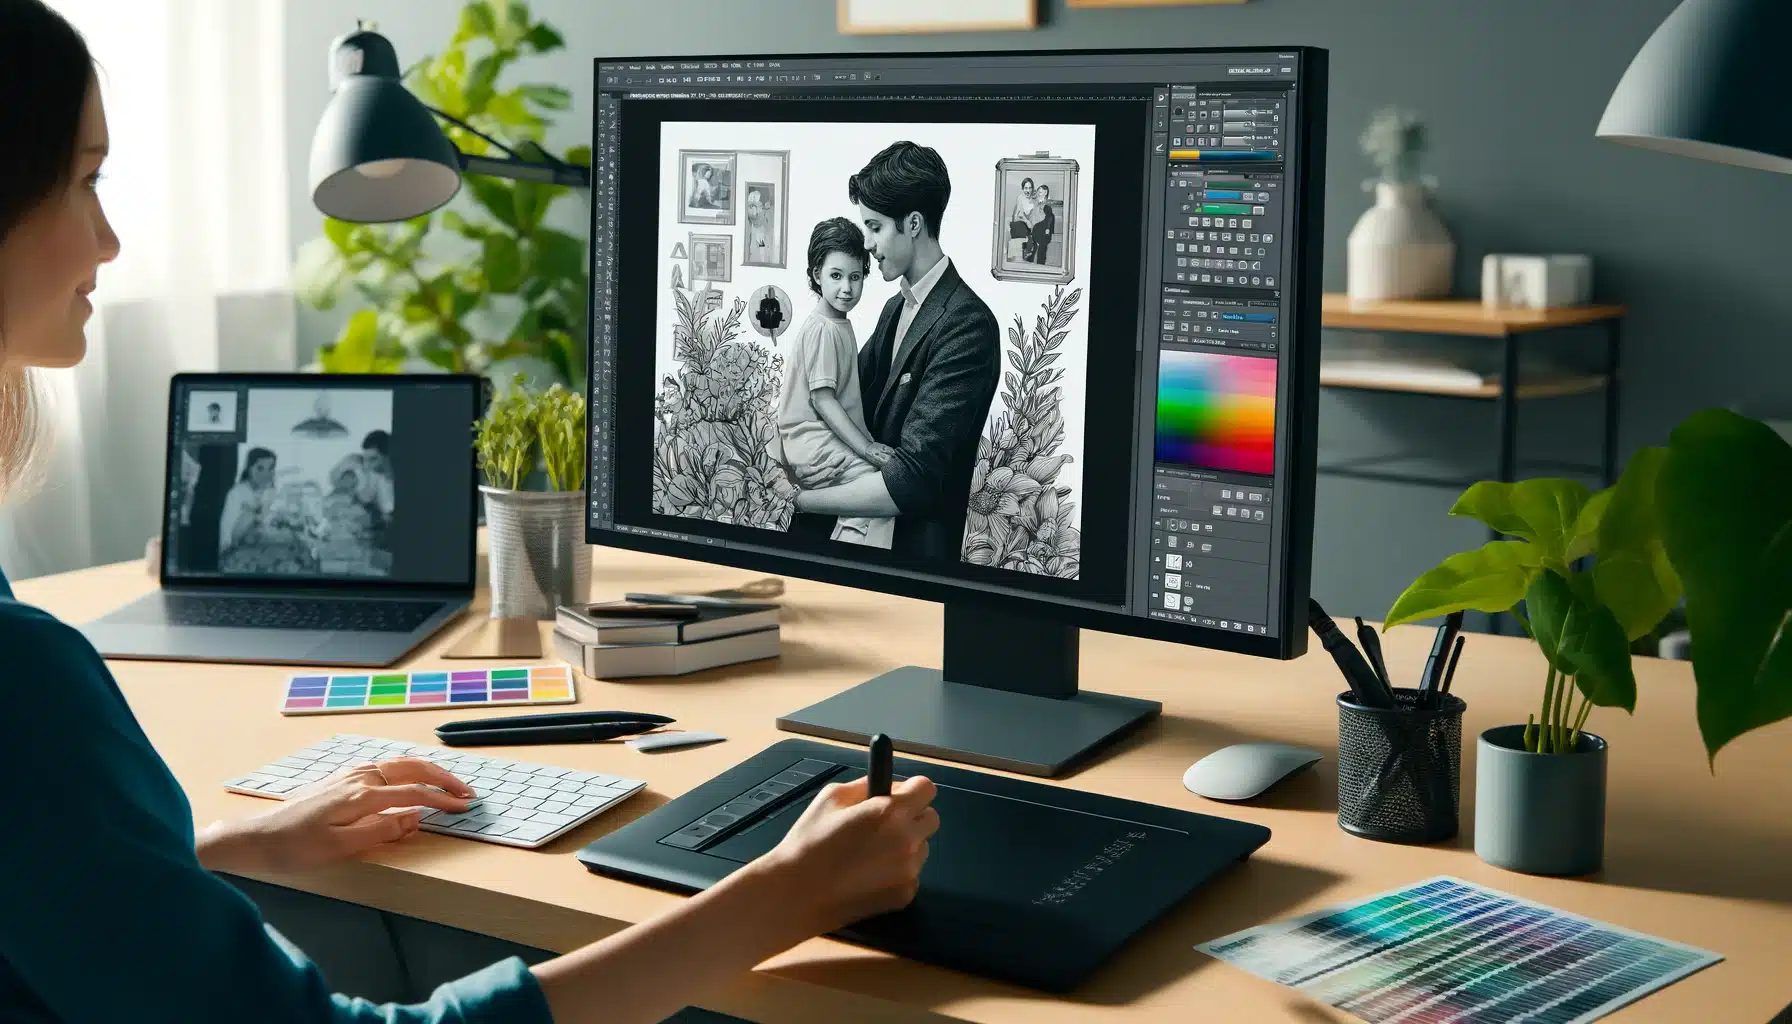
Colorizing black and white photos involves transforming these visuals into lifelike full color versions, requiring both creative intuition and technical skills.
Let’s explore this fascinating process step by step by utilizing tools such as the brush tool, colorize filter, and layers in Adobe Photoshop.
Choosing the Right Image for the Colorize Filter
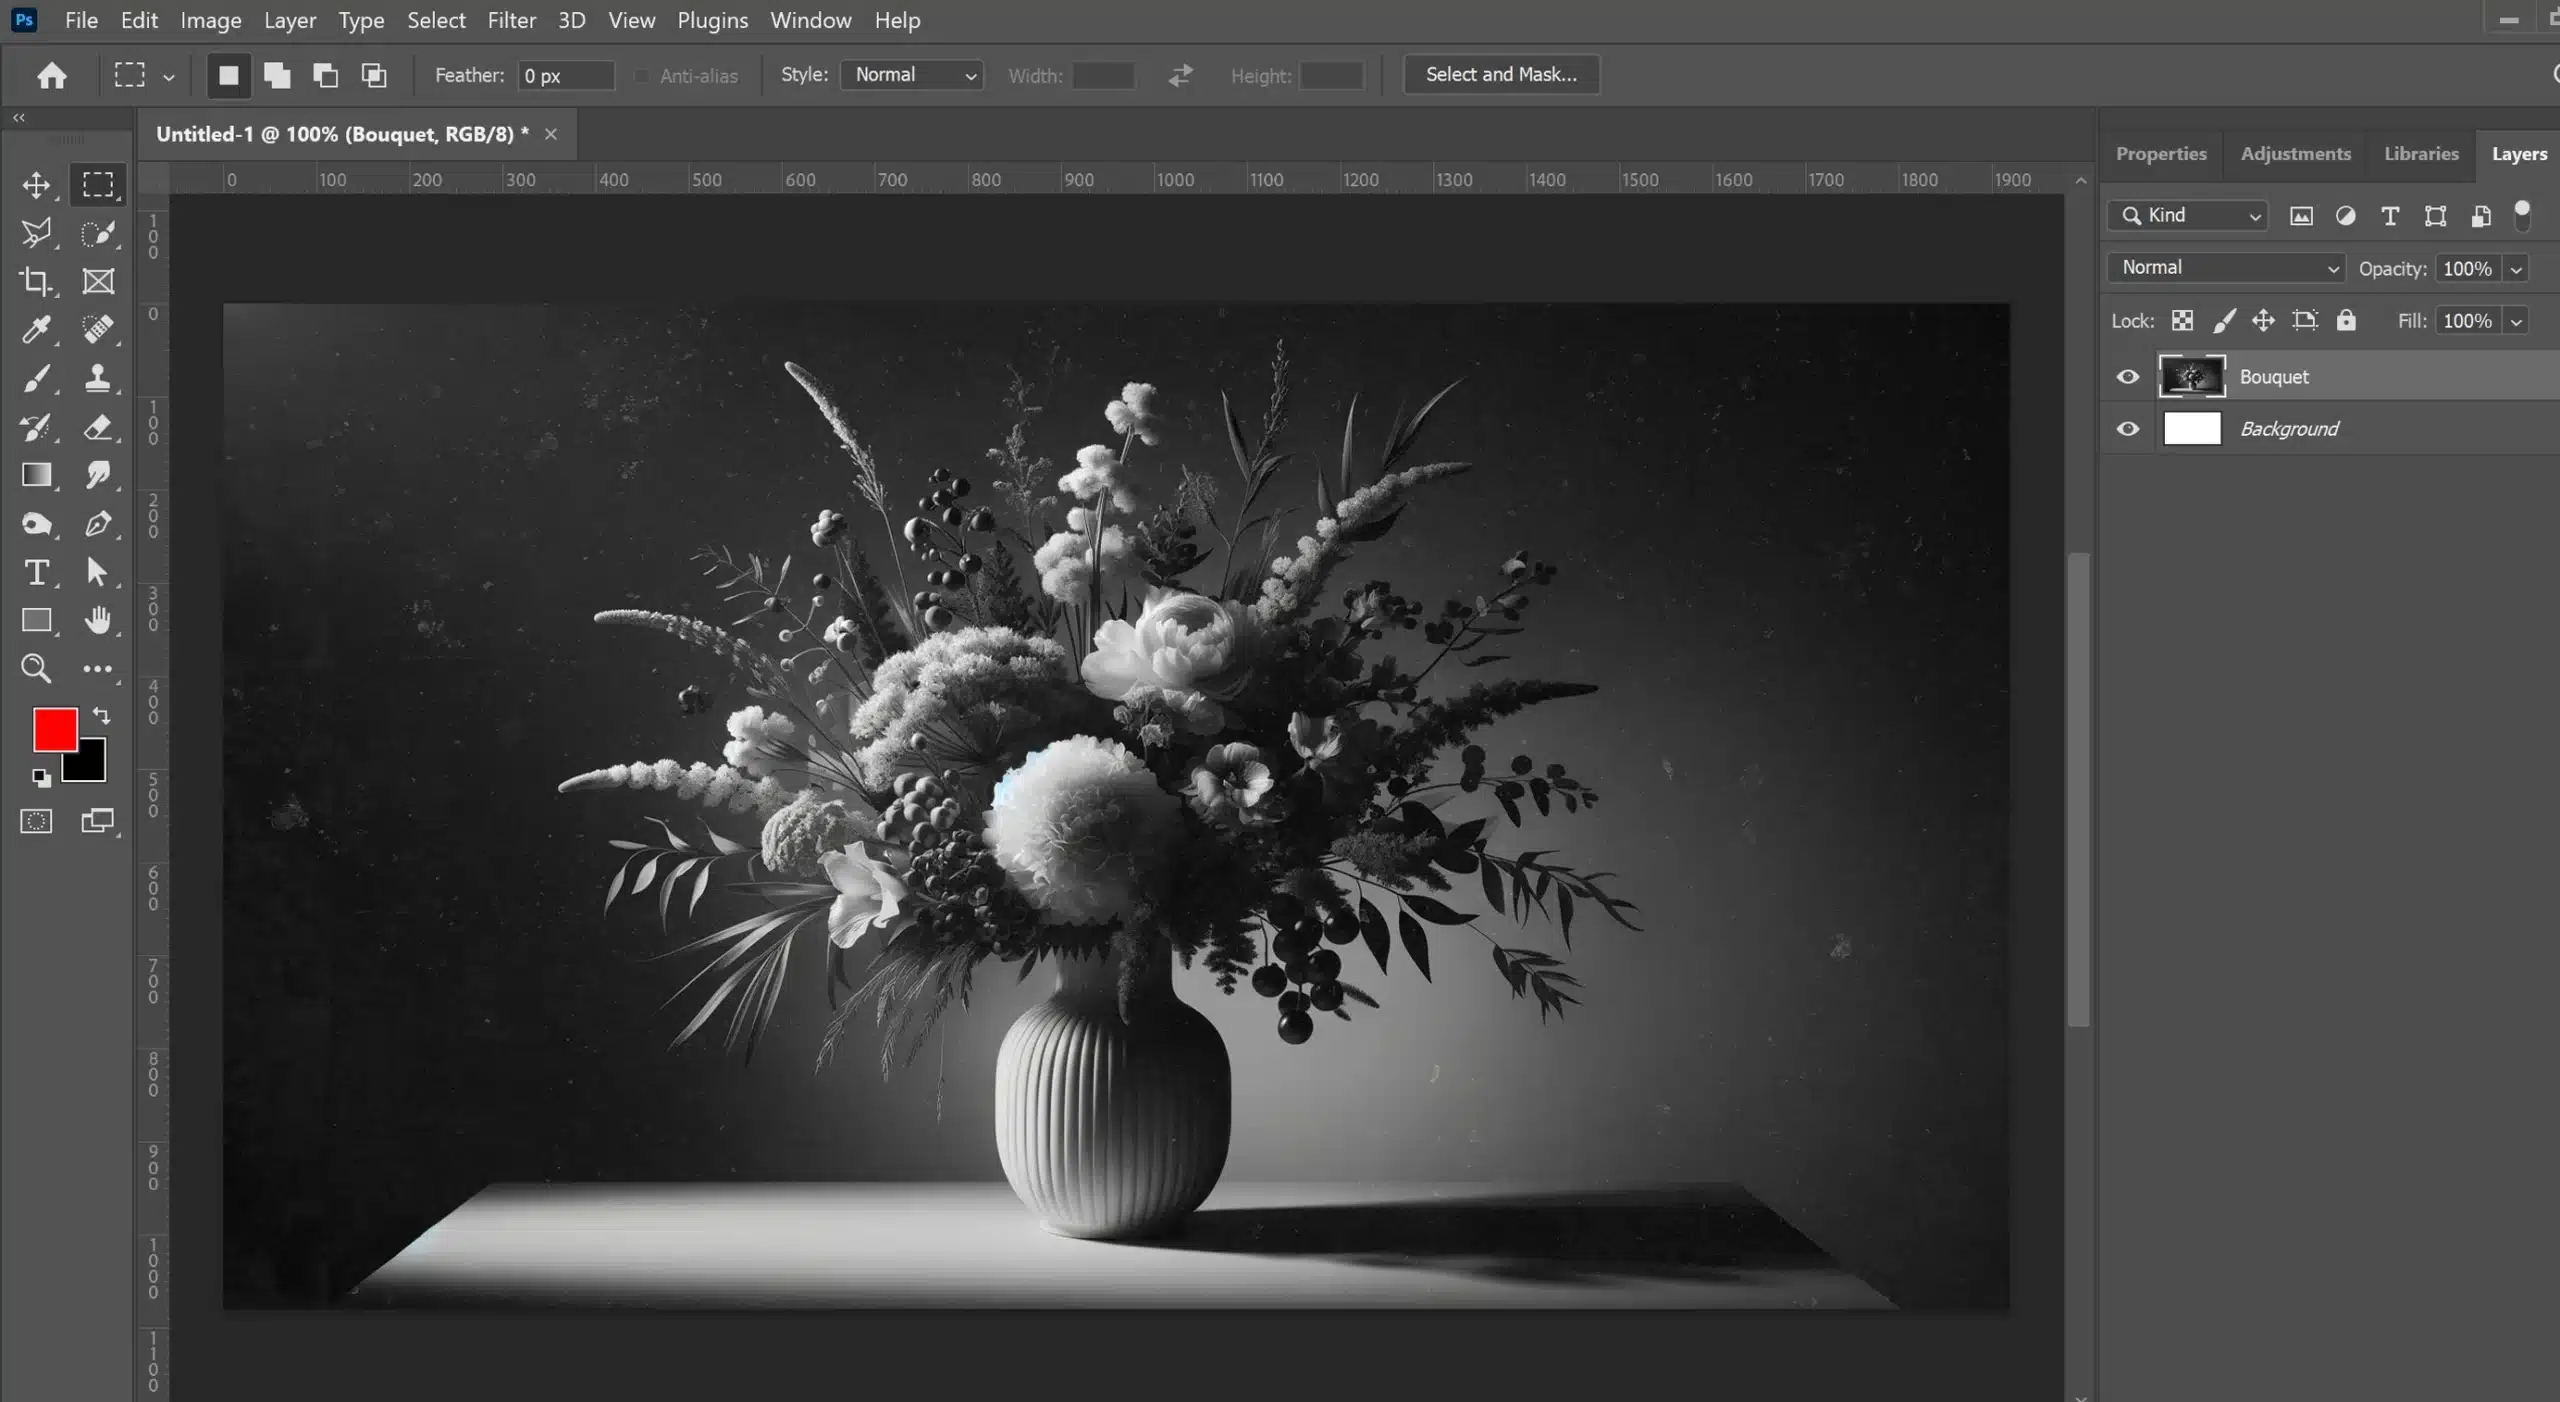
The success of colorizing a black and white photo depends heavily on choosing the appropriate image.
Effective images often have clear focal points, distinguishable textures, and defined shapes.
Images that are too washed out or faded might not yield the best results.
Start with a well defined black and white picture to ensure each element can distinctively absorb new colors.
Preparing Your Image: Basic Adjustments and Cleanup
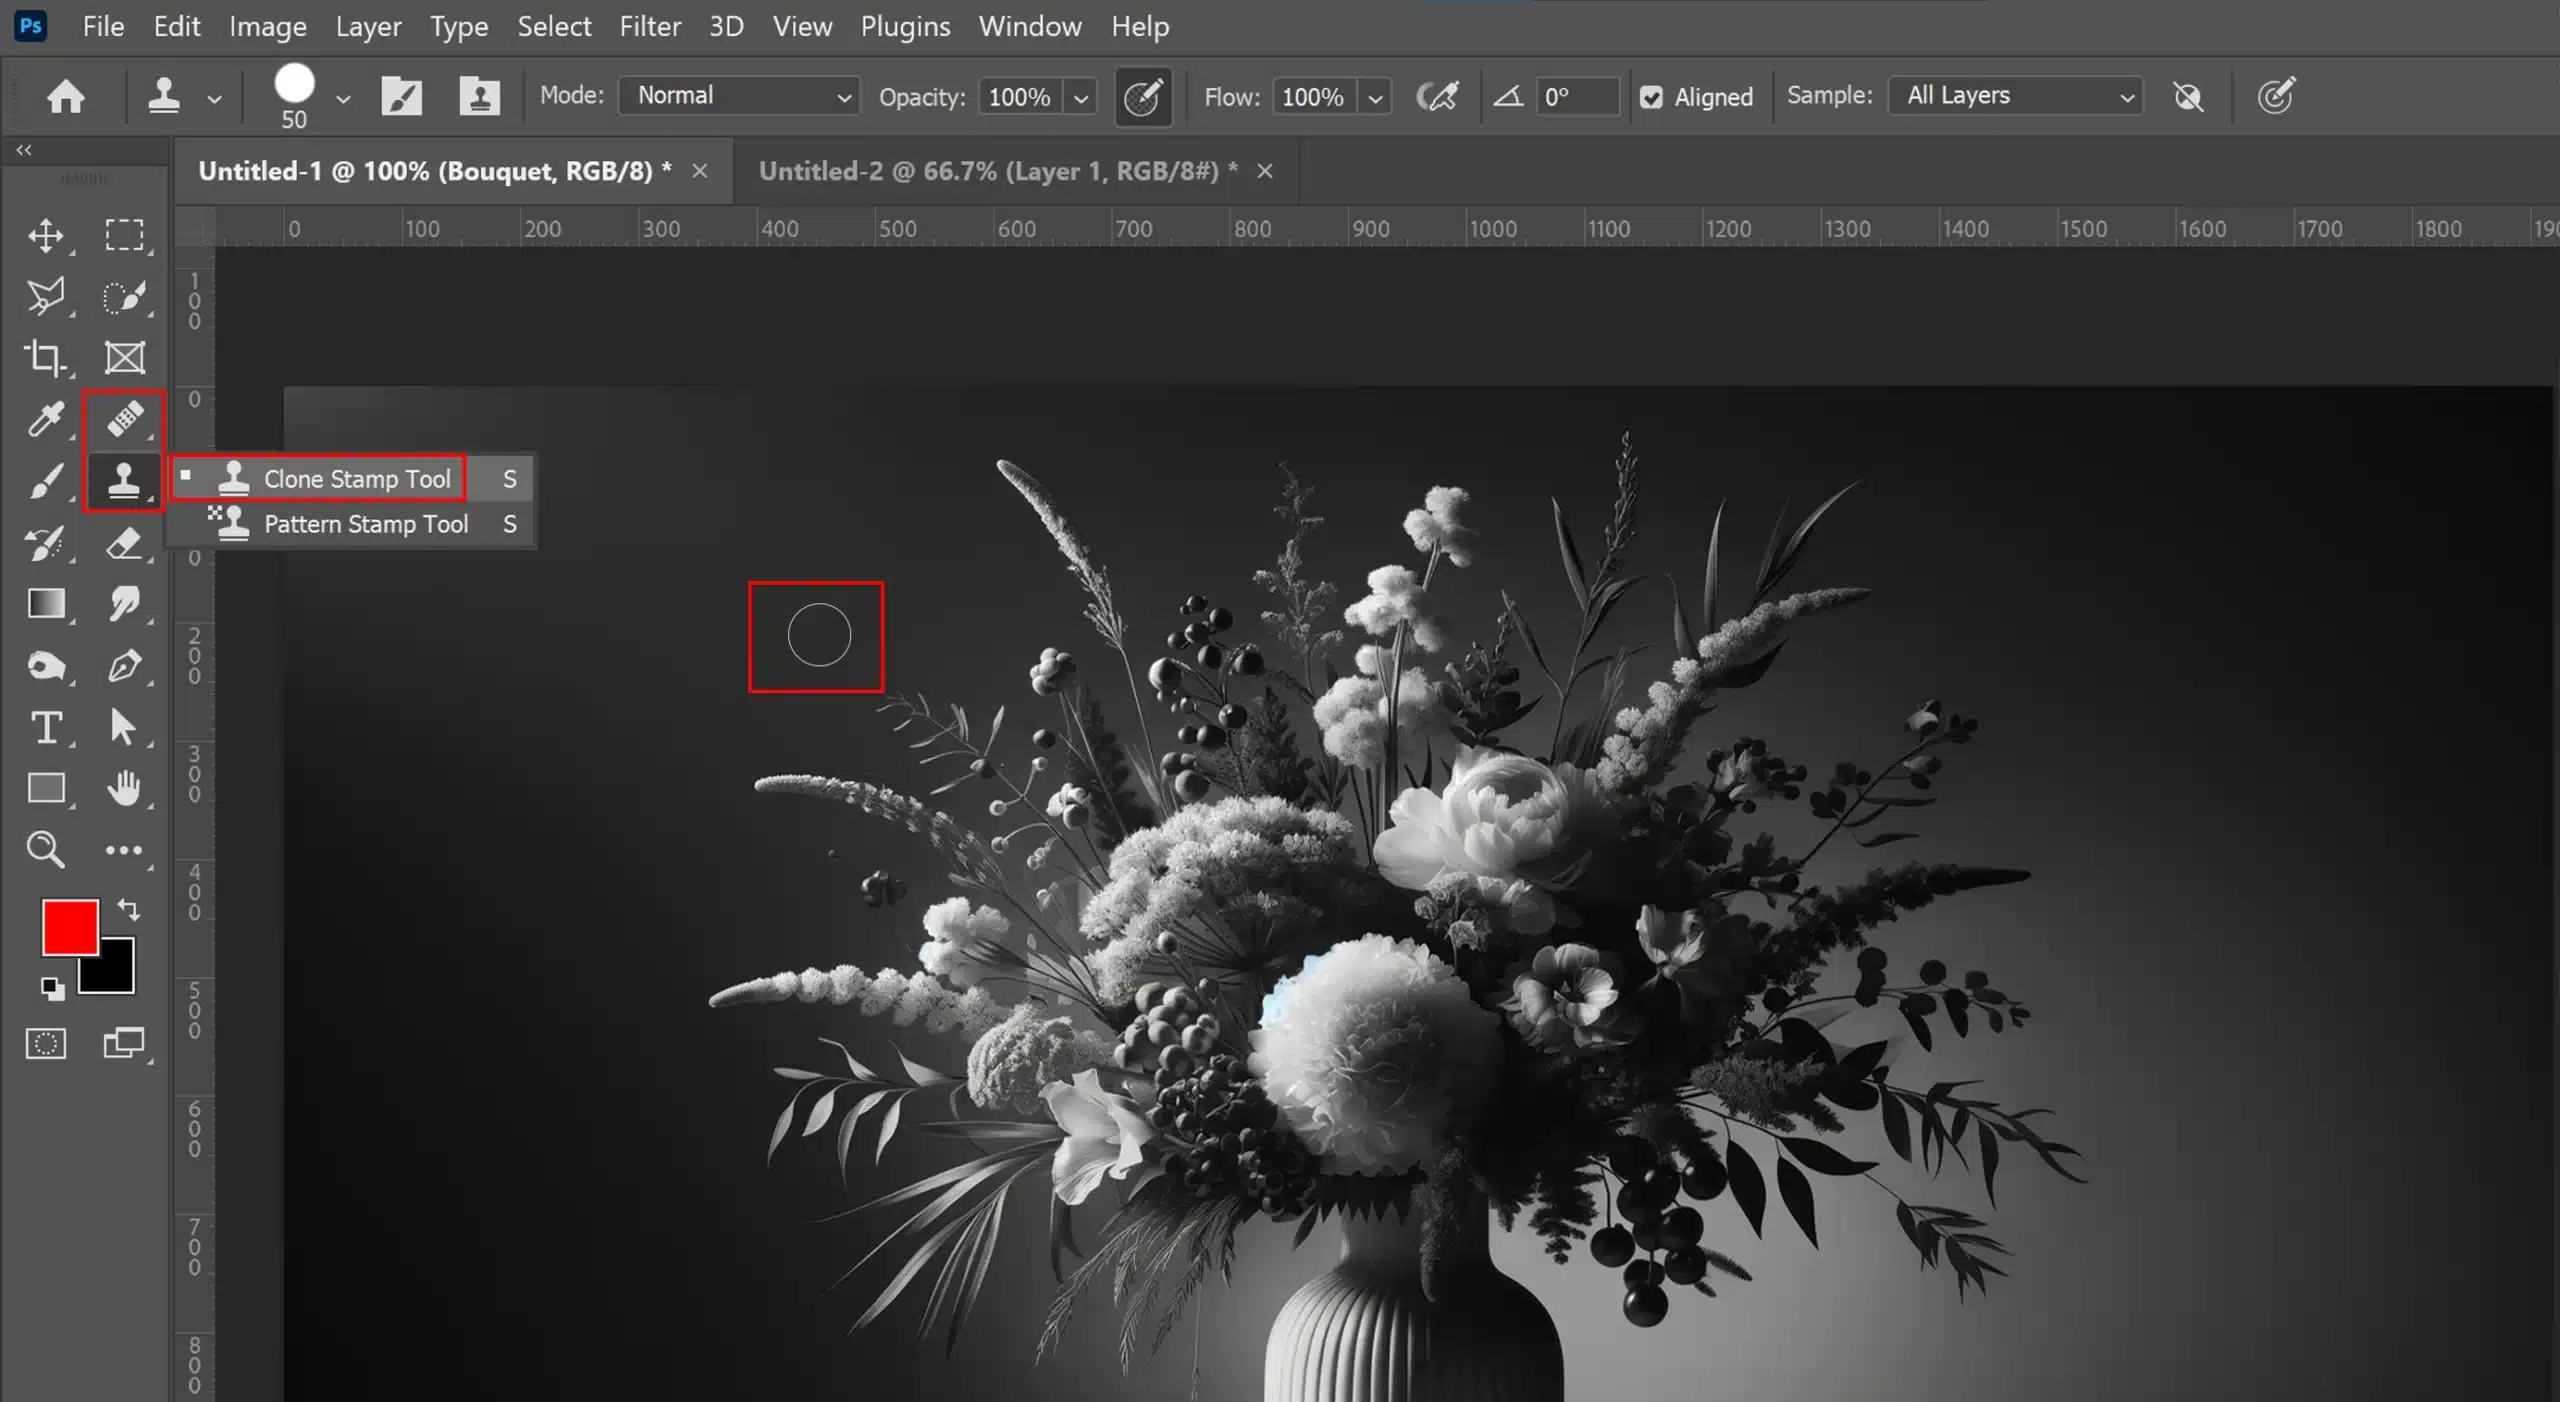
Removing Noise and Imperfections
Old photos typically contain scratches, dust spots, or other imperfections that could detract from the final colorized product.
Using tools like the Healing Brush or Clone Stamp, strategically address these issues within your image.
Focus on creating a clean slate while preserving authentic textures, which are vital for a realistic outcome after applying color filters.
This preparation mode is imperative before moving to more complex stages of applying vibrant hues, ensuring any elements added blend seamlessly with your newly refined image data.
In a few steps forward, we will dig deeper into techniques specific for coloring using features like layer masks or exploring advanced neural filters offered by Photoshop.
This base groundwork sets the stage for those vibrant transformations awaiting our black and white canvases.
Using Adjustment Layers to Colorize Black and White Photos
Adjustment layers are powerful tools in Adobe Photoshop that enable non destructive editing of black and white photos.
Creating a new background layer before applying adjustment layers ensures a non destructive editing process.
Utilizing these layers specifically for the task of colorization allows for greater control and flexibility without altering the original image data.
Pro Tip: Learn the black and white function shortcuts to make your workflow easier.
Adding and Managing Adjustment Layers
When you begin to colorize black and white photos, using adjustment layers is crucial.
1. Start by opening your chosen black and white image in Photoshop.
2. Then, navigate to the layers panel and click the ‘New Adjustment Layer’ icon at the bottom.
3. Selecting an adjustment layer type, such as Hue/Saturation or Color Balance, can significantly influence your colorization process.
Here’s a quick guide on managing these layers:
| Adjustment Method | Description |
|---|---|
| Double click on the adjustment layer | Opens the properties window for the adjustment layer, allowing for fine tuning of properties. |
| Brush tool on the layer mask | Refines color application by painting on the layer mask; white reveals the effect, while black conceals it. |
| Grouping adjustment layers | Maintains organization and control over various aspects like shadows, mid tones, or highlights by grouping multiple adjustment layers together. |
Choosing Colors to Colorize Black and White Photos: Tips and Techniques
Choosing appropriate colors for your white photos involves artistic choice and a deep understanding of how colors interact.
It’s important that colors match historically accurate hues where applicable especially when dealing with images like old photos.
Adjust white balance ensures accurate color representation in black and white photos, setting the foundation for realistic colorization.
Consider these tips for picking suitable colors:
- Use historical references or a colorized reference photo to get an idea about realistic coloration.
- Create a separate color layer for different elements such as skin shades, clothing, and backgrounds, which helps with precise adjustments.
- Experiment with different blending modes atop your adjustment layer; "Color" mode often yields natural looking results.
- Pay special attention to blending areas where two colors meet so it does not create harsh lines but instead provides a smooth transition using soft brushes.
By implementing these techniques effectively, you can significantly enhance realism and depth in your restored black and white photos, giving them new life through careful coloring processes within Adobe Photoshop.
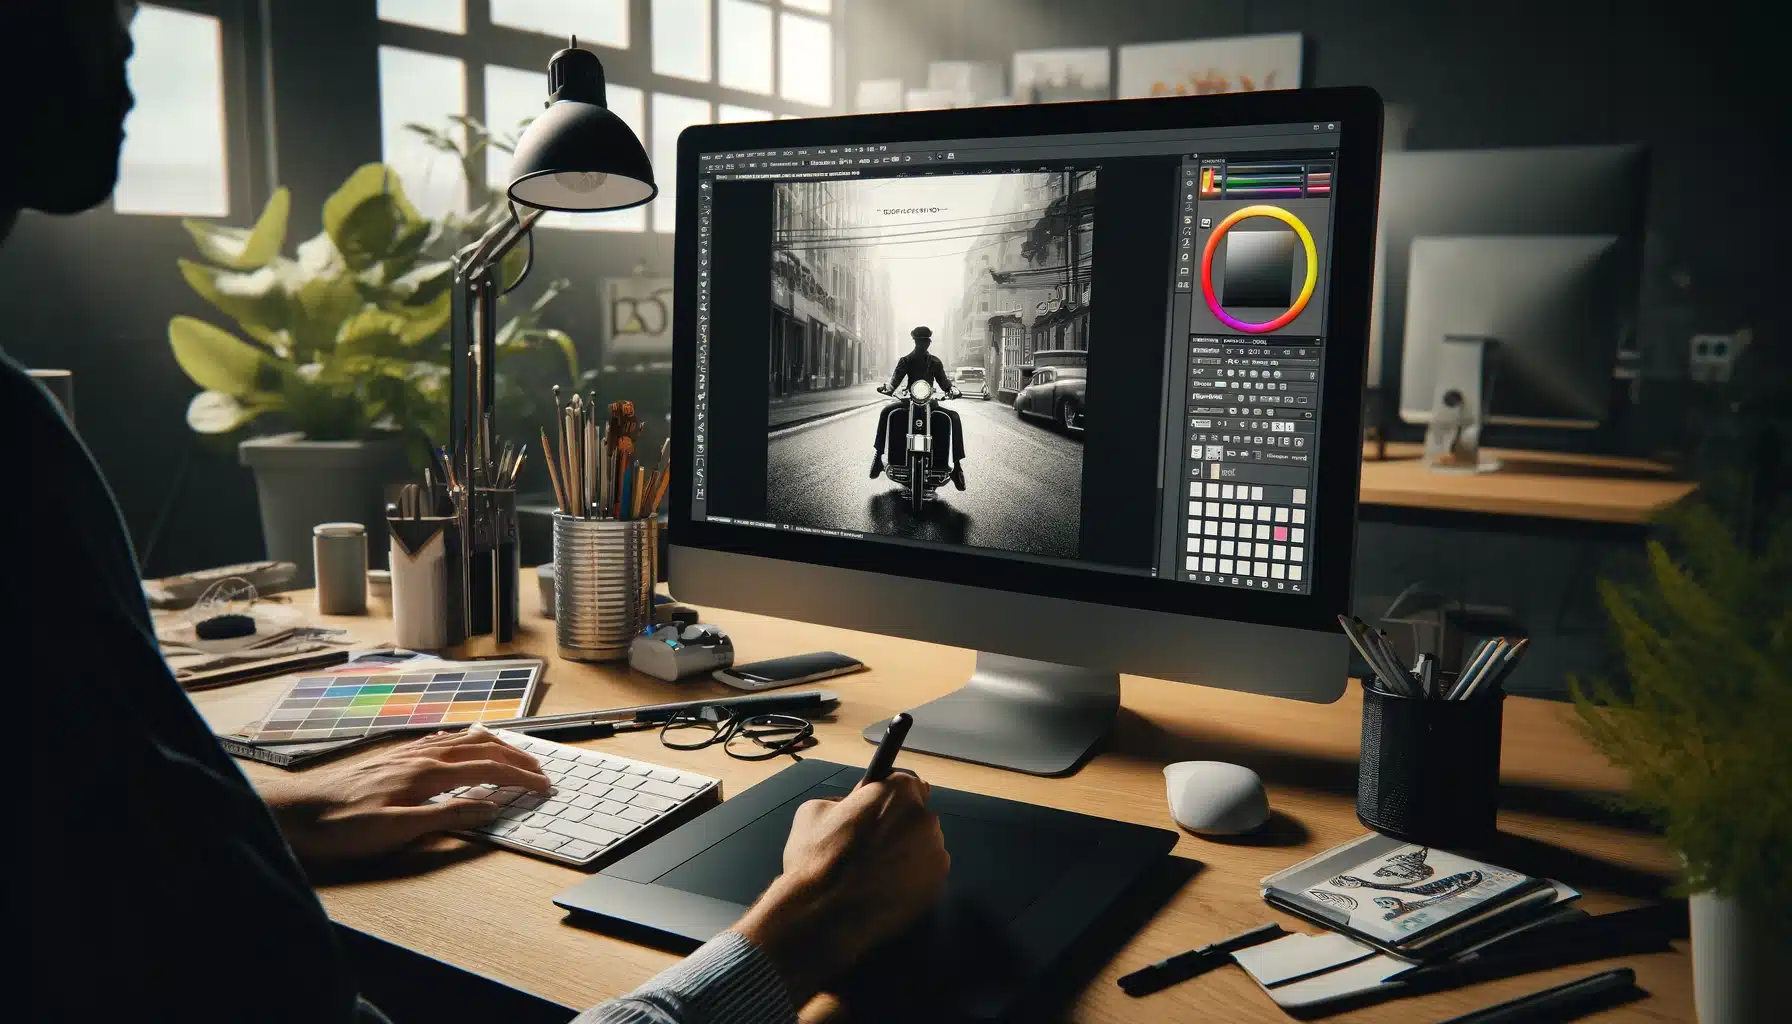
Advanced Colorization Techniques to Colorize Black and White Photos
Colorization techniques for black and white photos have evolved significantly, allowing for more complex and nuanced transformations.
Utilize neural filters to enhance texture and detail in the auto color image, achieving a more lifelike rendition.
Diving into advanced methods can radically improve the authenticity and visual appeal of your colorized images.
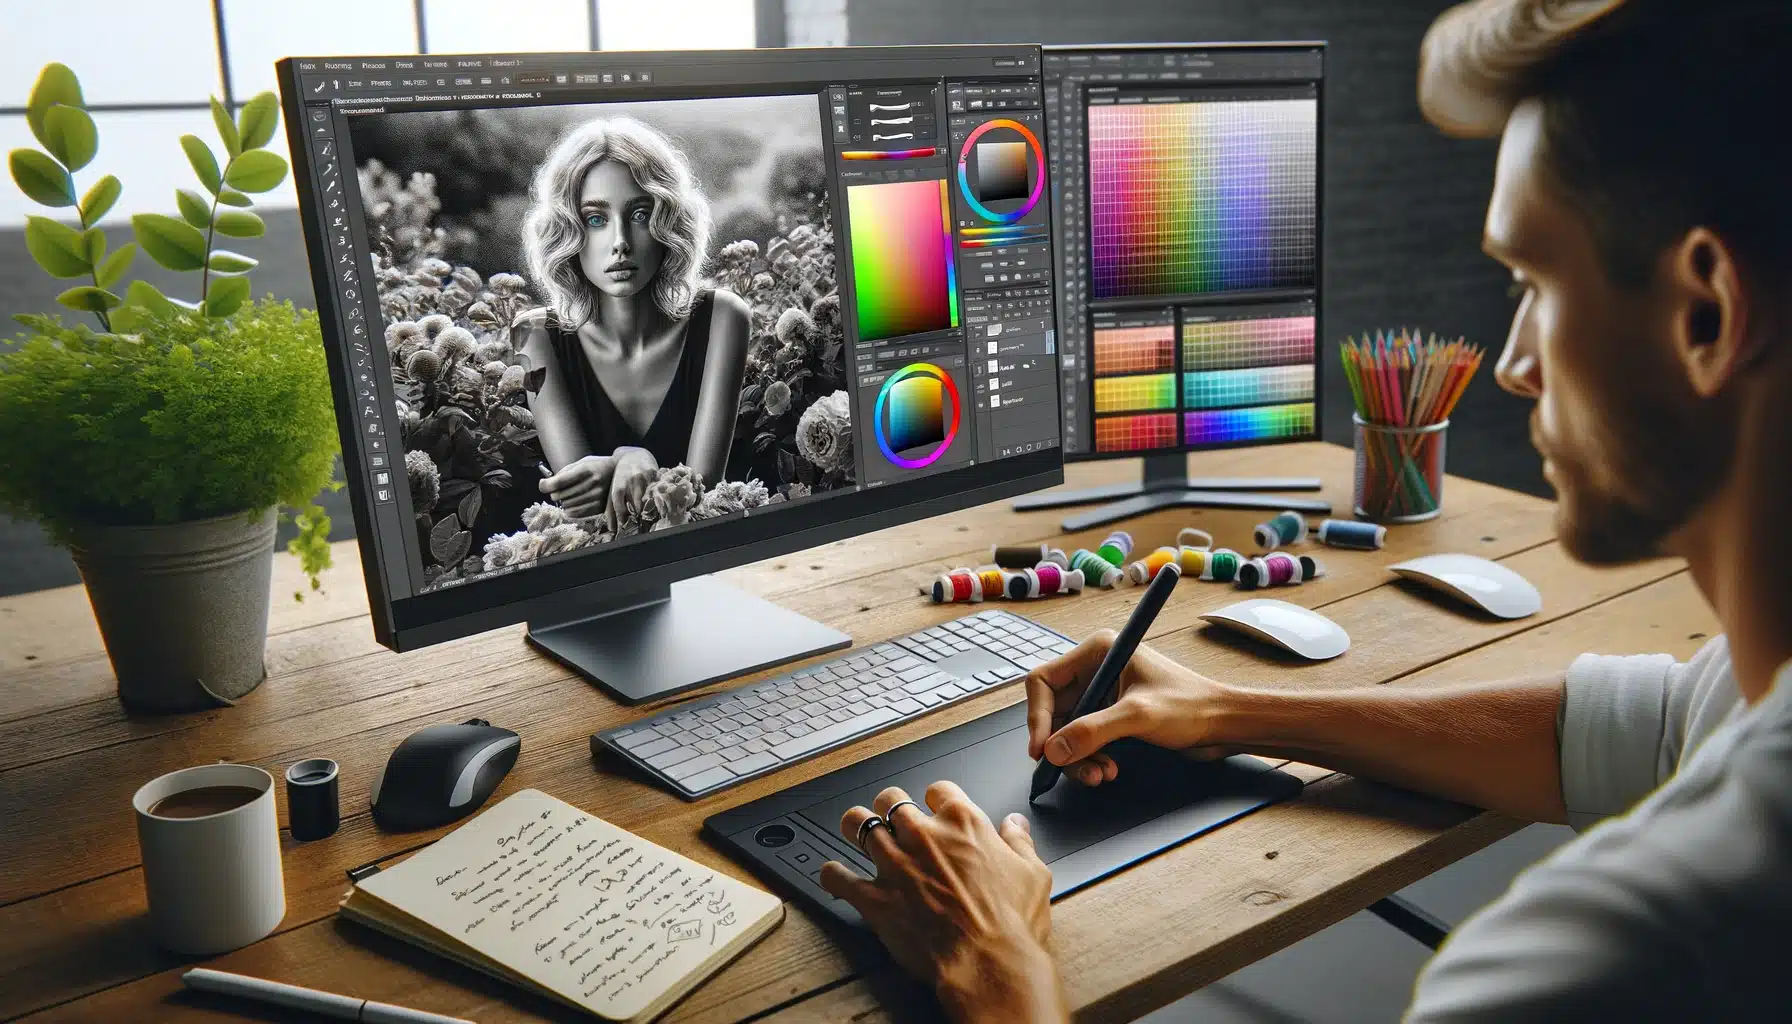
Working with Skin Tones in Portraits
Preserving texture in Photoshop while applying skin shades is essential for maintaining the portrait’s authenticity.
When colorizing portraits, prioritize realistic skin shades as focal points to ensure authenticity and lifelike appearance.
Utilizing Photoshop skin retouch techniques enhances the realism of portraits, ensuring a flawless yet natural appearance.
Utilizing the brush tool in Photoshop allows for the detailed application of colors, which is particularly important for getting the subtle variations in skin tone right.
1. Select a Base Tone: Start by selecting a base tone that matches the general skin color of the person you’re depicting. This serves as your foundation upon which you’ll build more detailed shades.
2. Layering Colors: Use multiple layers with varying opacities to gradually build up the skin tone. Use a new layer for each tone to maintain control over adjustments.
3. Blend Modes: Experiment with different blending modes to see how they affect layer interaction. This can help achieve a more natural look.
4. Refinement with Adjustments: Finally, refine your adjustments by tweaking brightness and contrast to ensure that all facial features stand out appropriately.
Colorizing Complex Objects and Textures
Objects with intricate textures and multiple colors, like fabric or metal surfaces, require special attention during colorization:
1. Texture Recognition: First, analyze the texture and material properties. Understanding how light interacts with these surfaces aids in selecting appropriate colors.
2. Use of Neural Filters: Implement neural filters that can intelligently suggest coloration based on the material’s properties observed in other photographs.
3. Manual Enhancements: While neural filters are helpful, manual touch ups using the brush tool ensure edges and texture details are not lost.
4. Overlay Techniques: Using overlay layers can add depth to textures by subtly introducing variations in hue or saturation that respond dynamically to underlying patterns.
Both handling skin shades in portraits and colorizing complex objects require practice and attention to detail. These skills define masterful colorization work from merely satisfactory attempts.
Embrace these techniques to deliver stunning results that vividly bring historical or artistic black and white images into full spectrum color.
Fine Tuning Colors for a Realistic Look
When colorizing black and white photos in Photoshop, achieving a realistic finish involves more than just adding hues; it requires fine tuning the colors to ensure they blend naturally with the image.
Adjusting the hues and saturation levels delicately is crucial to maintain the integrity of the image, especially when attempting to colorize black and white photographs for a natural finish.
Here’s how you can enhance the realism of your colorized black and white images using advanced techniques.
Using the Hue/Saturation Tool
To start, the Hue/Saturation tool is invaluable. Locate this tool in the menu bar under ‘Image‘ > ‘Adjustments‘.
For each color layer, targeting specific hues allows for subtle adjustments without affecting the entire picture.
This method is especially effective when preserving the nuances of old photos where specific colors need a gentle enhancement.
- Altering Reds and Yellows can often bring warmth to skin shades.
- Adjust Blues to change the appearance of skies or clothing subtly.
Blending Modes: Enhancing the Realism
Blending modes provide another layer of depth to your coloring process.
By experimenting with different blending options in Photoshop, you can achieve effects that make colors appear as though they were part of the original photo.
1. Begin by selecting a new layer above your colorized layer.
2. Fill this layer with a desired hue, then explore blending modes like Soft Light or Multiply for varied impact:
- Soft Light gently integrates colors while preserving highlights and shadows.
- Multiply deepens colors but should be used sparingly to avoid overly dark results.
For areas where light plays a crucial role (such as reflections or highlights) adjusting these modes helps maintain focal points without overpowering them.
Remember, less is often more when seeking authenticity in your colorizations.
By utilizing these tools effectively, you not only do you maintain control over your artistic vision but also elevate old black and white photos into striking, lifelike images rich in depth and realism.
Final Steps: Reviewing and Adjusting Your Colorized Black and White Photos
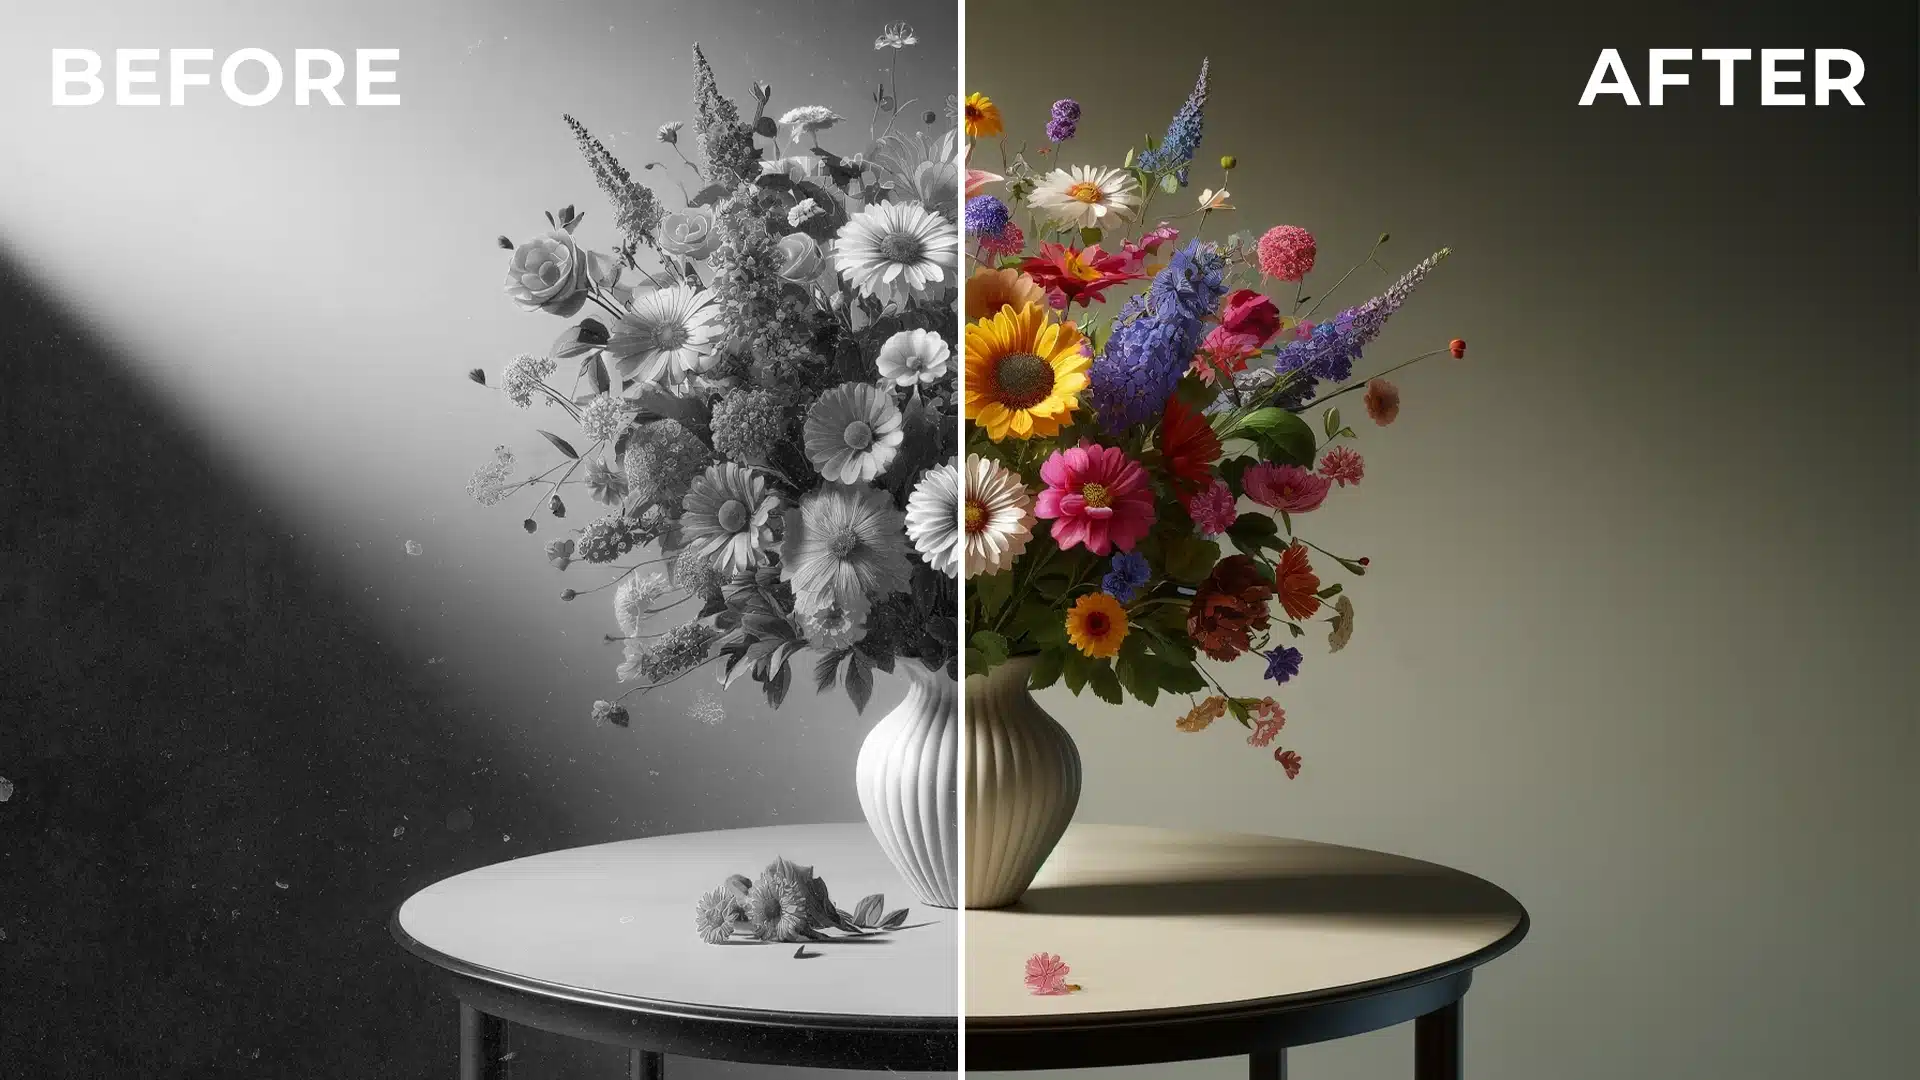
After applying a colorize filter to your black and white photos using Photoshop, it’s crucial to take the next steps of reviewing and adjusting your colorized images meticulously.
Compare the original black and white picture with the auto color image to assess the accuracy of color choices and ensure a natural looking result.
Fine tuning the white balance is critical to ensure the colors appear natural and balanced in the colorized image.
This ensures that the final output looks authentic and artistically pleasing.
Critical Review of Color Choices
When you first colorize black and white images, initial reactions might lean towards satisfaction with simply seeing colors fill what was once grayscale.
You must check each element of the black and white image has the skin tone come out natural?
Are the environmental elements like the sky and trees appropriately vibrant or subdued?
Use your layers panel to toggle visibility on different color layers to isolate areas needing reworking.
- Check for Realism: Ensure that the colors align with natural tones.
- Adjust for Harmony: Colors should complement each other; no element should stand out as unnatural unless artistically intended.
Adjusting Overall Color Balance
Once you are satisfied with your individual color choices, adjusting the overall color balance enhances harmony in the image.
Here’s where tools like Photo Filter adjustment layers or Color Balance can be employed effectively.
These adjustments can help correct overbearing tones that might have slipped past during initial edits.
- Balancing Tones: Utilize the 'Color Balance' feature to tweak shadows, midtones, and highlights towards desired hues.
- Enhancing Depth: Add depth by subtly increasing the contrast between focal points and their surroundings in the image.
Remember, while tools are helpful, keep revisiting your original vision for the photo.
If it was an old photo restoration, consider whether modern, vivid colors fit or if muted, era appropriate tones would tell the story better.
Each adjustment ultimately serves to realize a balanced finish that honors both origin and artistic intent.
By following these refined steps for reviewing and adjusting your work in Photoshop, what started as a simple project using black and white photos transforms into eye catching historical recreations or standout pieces of digital artistry.
Resizing Images in Photoshop for Enhanced Results
Resizing images is a fundamental skill in Photoshop that can significantly impact the quality and functionality of your final product.
Whether you’re adjusting photos for print, web, or personal use, understanding how to properly resize them without losing detail is key.
Understanding Image Resizing and Its Importance
Image resizing isn’t just about making a photo fit a certain space; it’s also about maintaining the image’s integrity and quality.
When done correctly, resizing can improve website loading times and enhance visual appeal for both digital viewing and physical prints.
It’s crucial to grasp why this process is pivotal in creating professional looking results.
1. Preservation of Quality: Reducing an image’s dimensions should not compromise clarity.
2. Adaptability: Different platforms require different image sizes and resolutions (resizing makes your images versatile).
3. Optimization: Properly resized images load faster on websites, improving overall user experience.
Practical Steps to Resize Images Correctly
Here’s how you can ensure high quality results when resizing your images in Photoshop:
1. Open Your Image: Begin by opening the file you wish to resize in Photoshop.
2. Access Resize Options: Navigate to ‘Image,’ then select ‘Image Size’ from the dropdown menu to display the resizing panel.
3. Adjust Dimensions: You can adjust the pixel dimensions or document size in the ‘Image Size’ dialog box. To maintain proportionality, ensure the ‘Constrain Proportions’ option is checked. This maintains the aspect ratio.
4. Select Resampling Method: Choose an appropriate resampling method based on whether you are increasing or decreasing size:
‘Bicubic Smoother’ (for enlargement): helps keep edges smooth.
‘Bicubic Sharper’ (for reduction): preserves detail but can be adjusted if the output appears too sharp.
5. Preview & Adjust Resolution: Use the preview image feature to view changes in real time. Adjust resolution as necessary, higher DPI (dots per inch) for printing (300 DPI) and lower for web use (72 DPI).
6. Confirm Changes: Save your adjustments by clicking ‘OK,’ then save your newly sized image with a different file name to preserve the original.
By understanding these steps deeply and practicing them frequently, you can effortlessly manage image sizes according to specific needs without sacrificing any aspect of their original fidelity!
Optimizing the Workflow for Faster Colorization
When colorizing black and white photos in Photoshop, efficiency is critical.
By optimizing your workflow, you can significantly speed up the process without compromising the quality of your final image, something like when developing a film, you don’t want your image to be compromised.
Resize layers are essential for a smoother colorization process, facilitating quicker adjustments without compromising quality.
This section explores how you can utilize tools like actions and scripts to streamline your colorization efforts.
Utilizing Photoshop Actions and Scripts
Photoshop actions are a powerful tool for photographers and graphic designers who frequently need to apply the same steps across multiple images.
For instance, with colorize black and white techniques, actions can automate repetitive tasks such as applying a colorize filter or setting up a new layer for adjustments.
Before running the action, ensure a background layer is established to maintain consistency across colorization tasks.
To set up an action for colorizing a black and white image, follow these simple steps:
1. Open a typical old photo that represents the kind of images you will be working on.
2. Start recording the action: Go to ‘Window‘ > ‘Actions‘ and click on the ‘New Action‘ button.
3. Perform all the necessary steps involved in your colorization process, such as adding a background layer, using a brush tool to paint over areas with a chosen foreground color, or adjusting color combinations through blending modes.
4. Once done, stop recording the action.
Now, every time you face a similar task, instead of manually repeating each step, simply run the saved action and watch Photoshop and Lightroom execute all steps swiftly.
Moreover, utilizing scripts can further enhance this automation.
Scripts allow more complex action sequences involving conditional logic (if/then statements) or batch processing of thousands of files overnight.
By integrating these automated tools into your workflow when handling tasks like how to colorize black and white images, you not only save time but also achieve consistent results across all your projects, making them look effortlessly professional.
How to Maintain the Texture Details While Colorizing
When you colorize black and white photos in Photoshop, maintaining the texture detail is crucial for preserving the image’s integrity.
The process involves using a range of tools and techniques to ensure that original textures aren’t lost while adding hues.
Techniques to Preserve Detailing During the Colorization Process
Utilize Layer Masks Efficiently
One effective method to maintain texture details is the careful use of layer masks.
Layer masks allow you to selectively apply colors, which ensures that underlying textural elements remain intact.
Start by creating a new layer and then adjust the brush tool settings to apply color gently where needed without overwhelming subtle surface details.
You will also benefit from setting a lower opacity on your brush tool, providing a more controlled application of color, thus helping preserve detailed features like skin pores or fabric weaves.
Apply Focused Color Adjustments
Using focused color adjustments is critical when working with areas that need precise changes especially when dealing with delicate textures in a black and white image.
This can be achieved by targeting specific areas using adjustment layers combined with precise selections.
A good approach here includes adding selective color corrections via adjustment layers only in areas where precise control over color combinations and intensity is necessary.
Always double check your work using an image preview mode to ensure modifications look natural across various devices and viewing conditions.
Explore Neural Filters for Subtle Enhancements
For those looking to blend modern technology into their workflow, neutral filters in Photoshop provide impressive AI driven options for enhancing images while controlling how textures are impacted during colorization.
These filters analyze image content at another level, offering suggestions for realistic shades based on AI learning from millions of sample photos.
Activating these filters can add depth back into flat areas brought about by uniform colorization processes.
Finally, carefully tweaking each individual setting, especially within neural filters such as detail enhancement, helps restore or enhance existing focal points without eroding them under new colors, adding significant value.
By implementing these suggested approaches, photographers can not only breathe new life into nostalgic visuals but do so while ensuring every fiber of history stands out vibrantly yet authentically against its newfound palette.
Adding Dynamics to Colorize Black and White Photos Through Colorization
Black and white photography has its unique charm, but sometimes, you may want to add a splash of color to bring a new life to your images.
Colorizing black and white photos can transform them by introducing vibrant hues, highlighting specific features, or adding an emotional layer not present in the original.
Using Photoshop makes this process achievable, and by applying tools like the colorize filter and layer mask, you can achieve stunningly natural results while maintaining full control over how subtle or bold the transformation appears.
Introducing Visual Interest and Depth
Strategically apply color to focal points in the image to draw viewers’ attention and create visual interest.
Colorization revives old photographs and adds depth, making your images more engaging.
When done correctly, it creates a visual interest that can draw viewers’ attention to specific focal points of the image.
1. Understanding Color Dynamics: Before adding colors, consider how they interact. Utilize color combinations that resemble those found in nature, as they tend to be more pleasing to the eye.
2. The Role of Focal Points: Decide on focal points where color will have the most impact, such as subjects or significant objects in your photo. These are areas where viewers’ eyes naturally rest.
Enhanced Image Preview Options
Before applying permanent changes, Photoshop’s image preview feature allows you to assess adjustments without altering the original image data.
- Temporary Color Layers: Create a new color layer for each hue you plan to apply so you can toggle individual effects off and on.
- Use blending modes to soften or intensify how these colors impact the underlying black and white shades.
Strategic Use of Brushes
Selecting the correct tool (for example, the brush tool) is essential when applying color exactly where needed without overflowing into unwanted areas.
- Consider different brush sizes: smaller brushes offer precision; larger brushes cover broader areas quickly.
- Alter brush opacity: this affects how much color is transferred per stroke, allowing for gradual build up from faint tints (color tint) to more solid colors.
Layer Mask Precision
Layer masks are integral in preserving detail from the original black and white picture while enabling flexible application of your colorful aspirations:
- Use a black & white mask for regions requiring no color.
- Employ gray tones on masks where partial transparency achieves better depth perception.
Frequently Asked Questions

How to convert to colorize black and white photos to color in Photoshop?
To colorize black and white photos in Photoshop, use the Neural Filters by going to Filter > Neural Filters and selecting the Colorize filter.
Adjust the settings as needed to reach the desired outcome for your white photos, ensuring natural looking color schemes cater to the image’s demands.
How to turn black and white photos into color?
Access the colorize black and white photos function in Photoshop through Neural Filters, found under the Filter menu.
Activate the Colorize option and explore different settings to inject vibrant and realistic colors into your black and white images, enhancing their appearance significantly.
How do I make an image look vintage and colorize black and white photos in Photoshop?
To create a vintage black and white image in Photoshop, select a New Adjustment Layer for Black & White from the Layers Panel.
Adjust the layer’s settings to refine the grayscale tones, then add a sepia tone using the Photo Filter for a timeless look. This can capture the essence of the era for any black and white image.
How to color a photo in Photoshop?
Open your image in Adobe Photoshop and select Layer > New Adjustment Layer > Hue/Saturation. Check the Colorize box to apply a color tint of your choosing.
Use the Layers palette to fine tune the colors, focusing on specific areas with the brush tool as needed. This brings a vibrant lifestyle to any white images or black and white image.

Conclusion
Mastering the art of how to colorize black and white photos in Photoshop is not just about adding hues; it’s about infusing life into cherished memories while preserving their authenticity.
Personally, I’ve experienced the joy of revitalizing old family photos, breathing new life into them with carefully chosen colors and techniques.
With expert guidance and hands on tutorials, you’ll unlock the full potential of these powerful tools, turning your vision into stunning reality.
Take the first step towards unleashing your creativity today by enrolling in our Photoshop Course and Lightroom Course.
Read more about Photoshop:


Course

Light Effect Photoshop


Lightroom Course 2025

Adobe Photoshop Course 2025

Photo Editing Course


