Introduction to Photography Lighting
Understanding photo lighting is crucial for capturing high-quality images. Good lighting can make a significant difference in photography by enhancing the subject and setting the right mood. For example, a simple outdoor photoshoot during the “golden hour” — the hour just after sunrise or before sunset — can dramatically change the outcome of a photo. This time provides soft, diffused light which reduces harsh shadows and highlights the subject beautifully, making it a favorite among photographers for its natural enhancement of scenes. For optimal results, refer to photography lighting tips for guidance on illumination techniques. Additionally, tips on photography lighting can enhance your understanding of light manipulation.
In the world of photography, mastering the art of lighting is a fundamental skill. Whether it’s using a natural source like the sun during the golden hour or artificial lights in a studio, photographers manipulate lighting to achieve the desired effect. Tips on photography lighting often suggest experimenting with different positions and intensities to see how they affect the image. This could mean adjusting the angle at which light hits a subject or experimenting with different settings to find the perfect balance that brings a photograph to life. For advanced tips on photography lighting, consider exploring Lightroom‘s extensive editing tools, such as those for adding soft glow, to enhance the illumination effects in your photos.
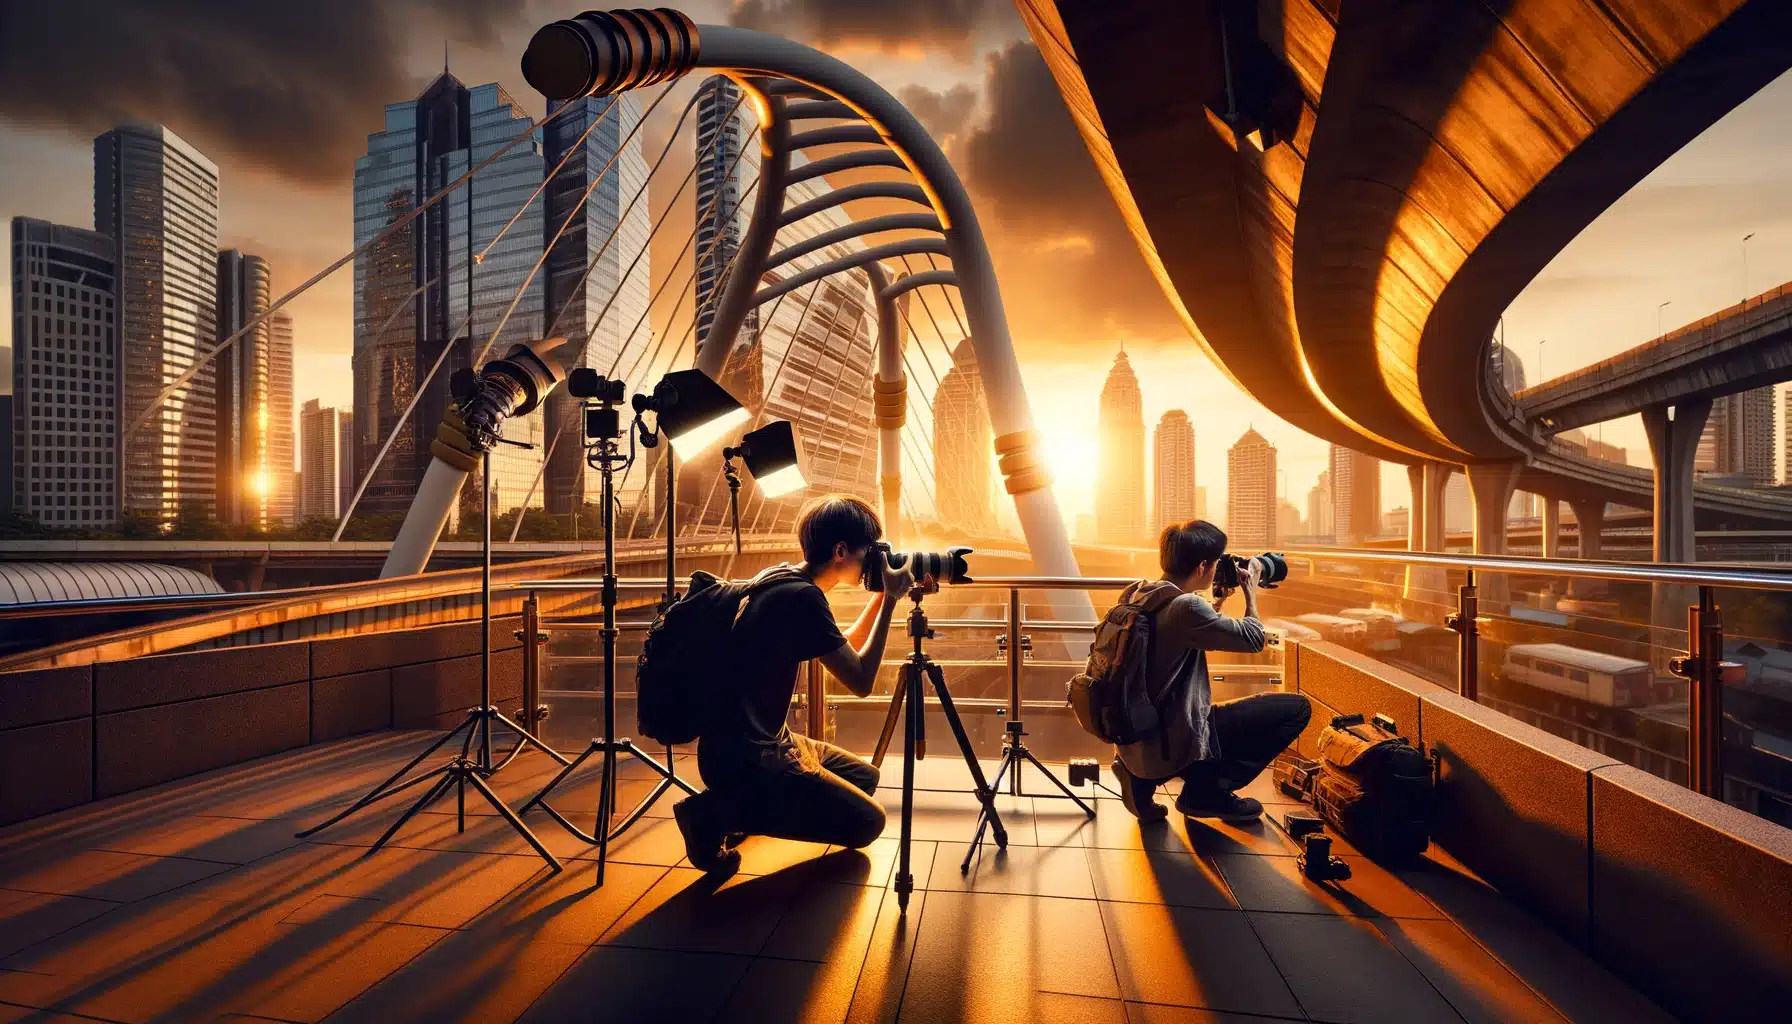
Table of Contents
Essential Tips on Photography Lighting
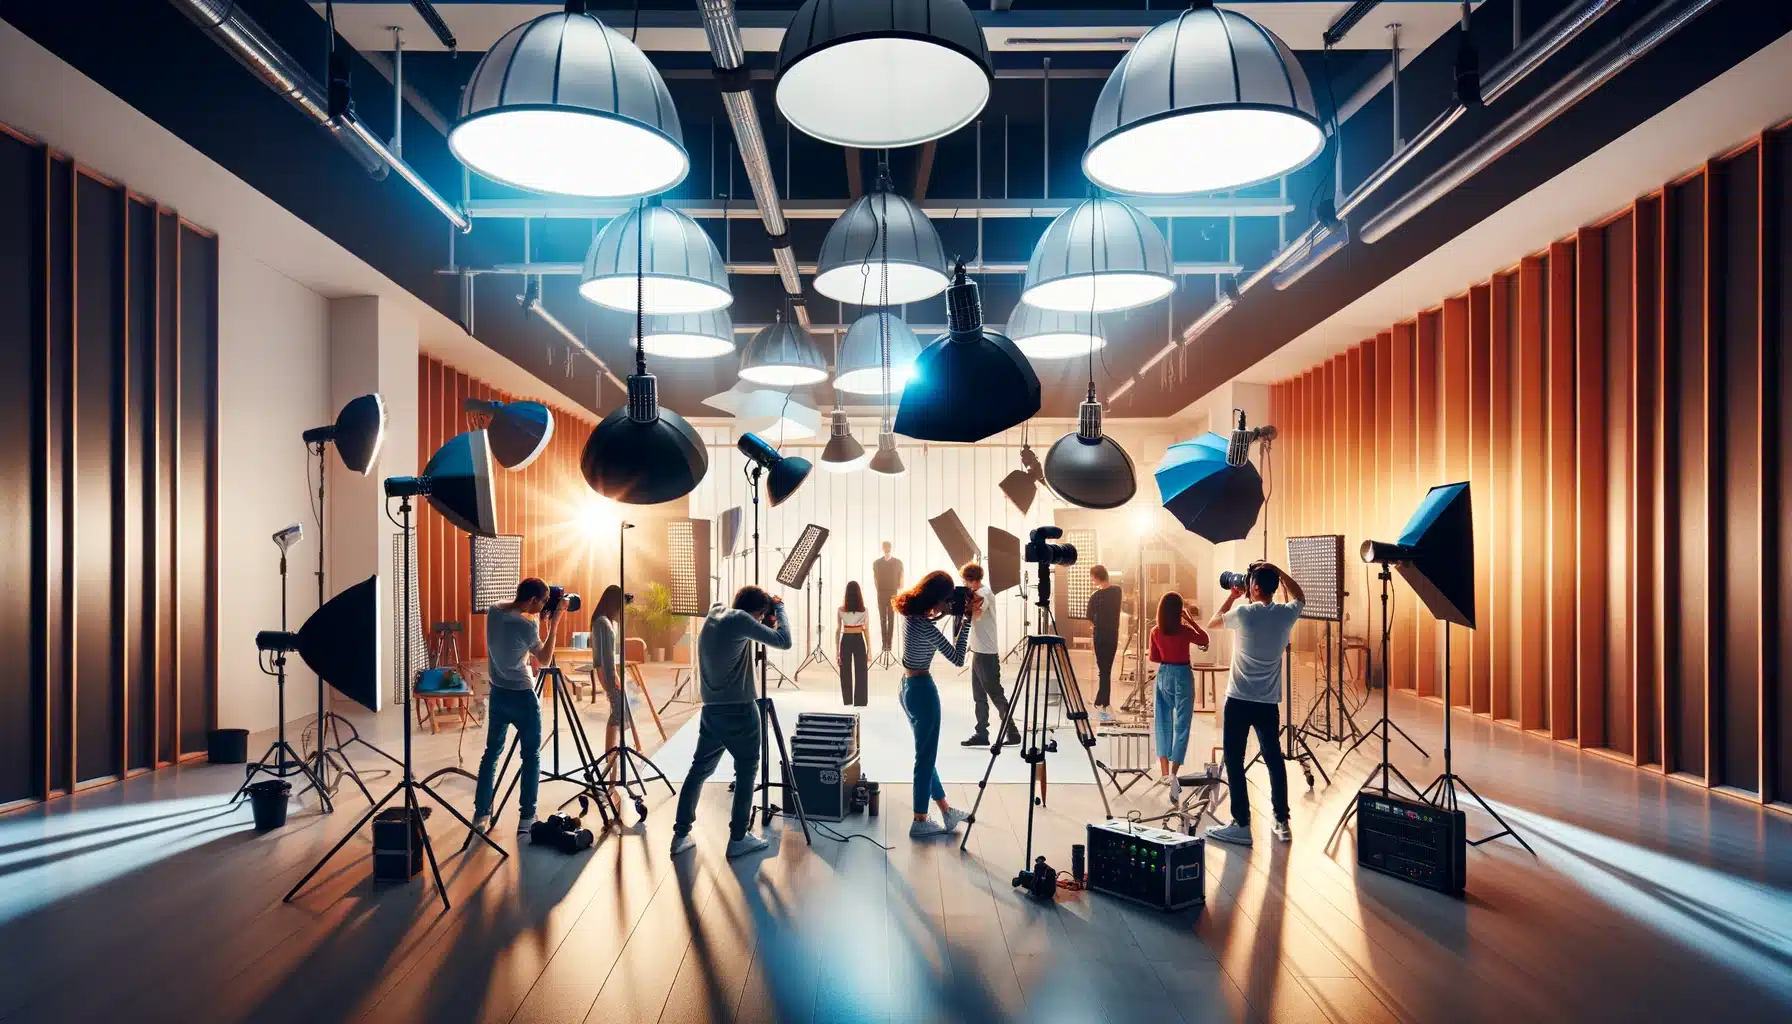
Understand Your Light Sources
One of the first tips on photography lighting is understanding the types of light available—natural and artificial. Natural light from the sun varies in intensity and colour throughout the day, providing different effects. Early morning and late afternoon light are softer and warmer, ideal for portraits. Synthetic lights, such as LED panels or flash, offer control over brightness and direction, crucial for indoor photography.
Utilize Soft Light for Flattering Portraits
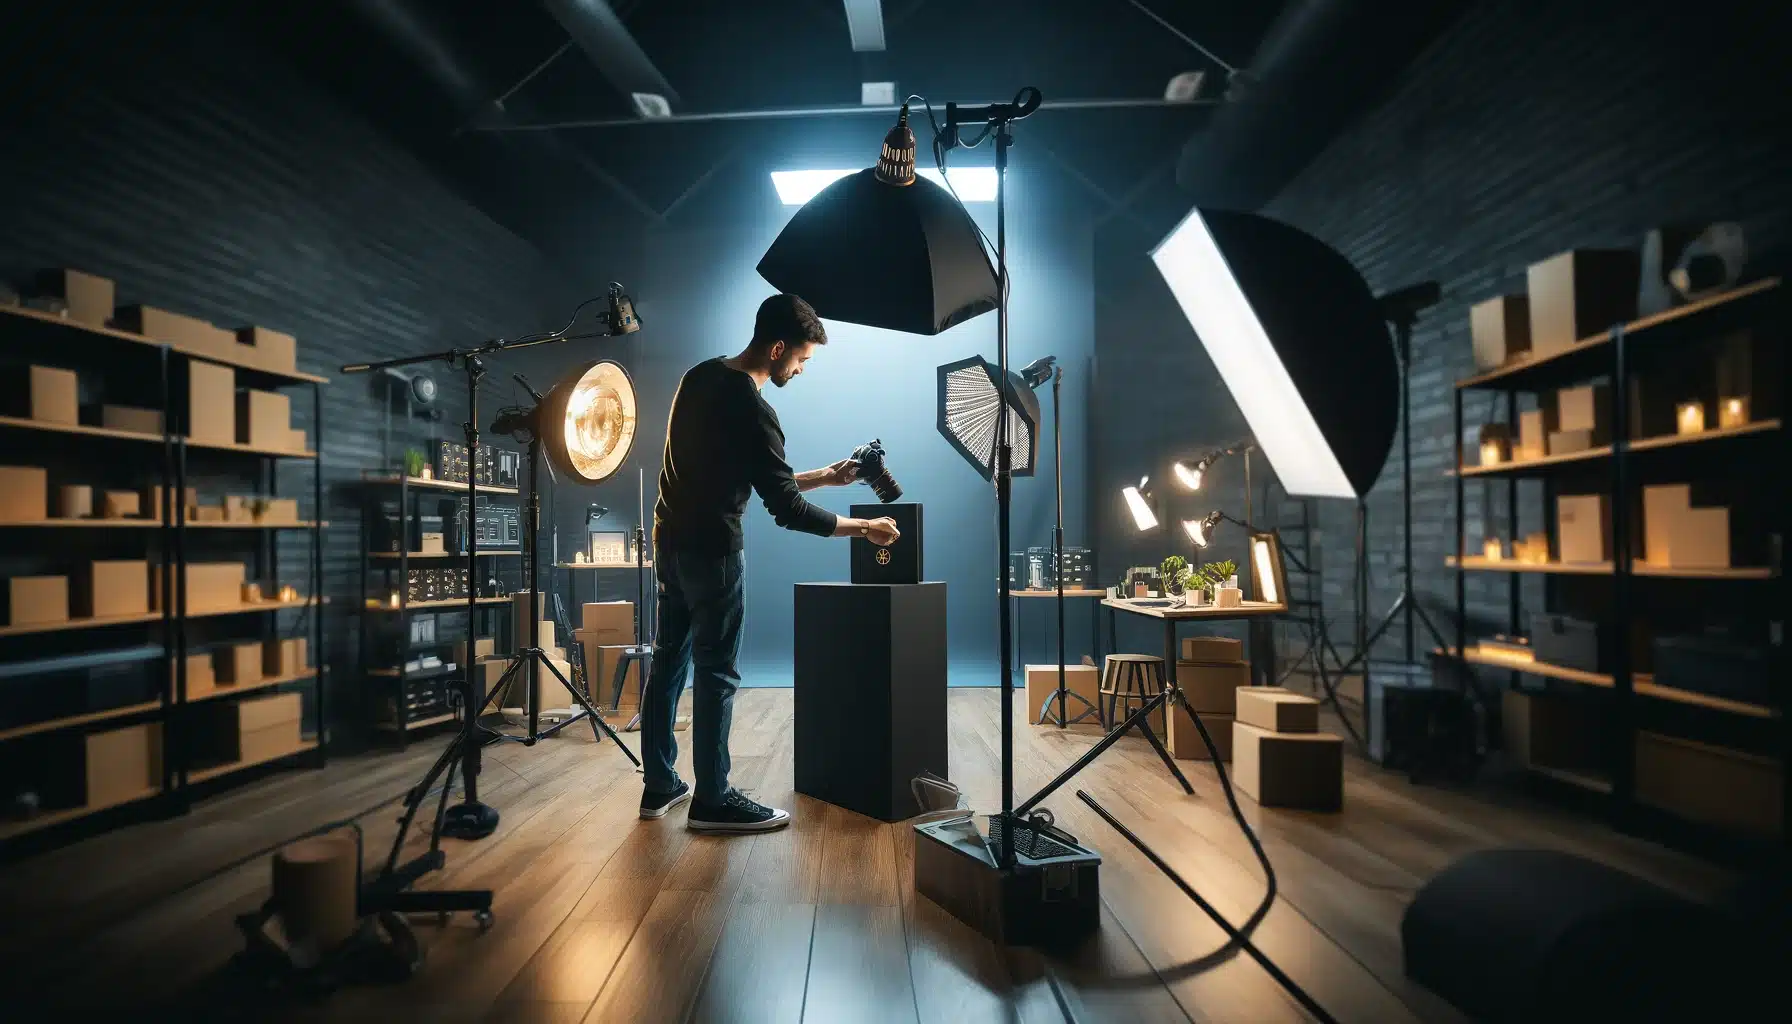
Soft light is your best friend for portrait photography. It smooths skin tones and reduces harsh shadows, making your subject look superlative. You can create soft light by diffusing direct light sources. Use materials like a softbox, diffuser, or even a white curtain to soften the light from lamps or natural window light.
Pro Tip: Learn how to edit portraits in Lightroom for an even better workflow.
Reflectors are Essential
A simple reflector can dramatically improve lighting conditions, especially in outdoor shoots. Reflectors bounce light back onto the subject, filling in unwanted shadows and balancing the exposure. They are portable, inexpensive, and can be used with both natural and non-natural light sources to enhance facial features and eyes in portraits.
Experiment with Colour Temperature
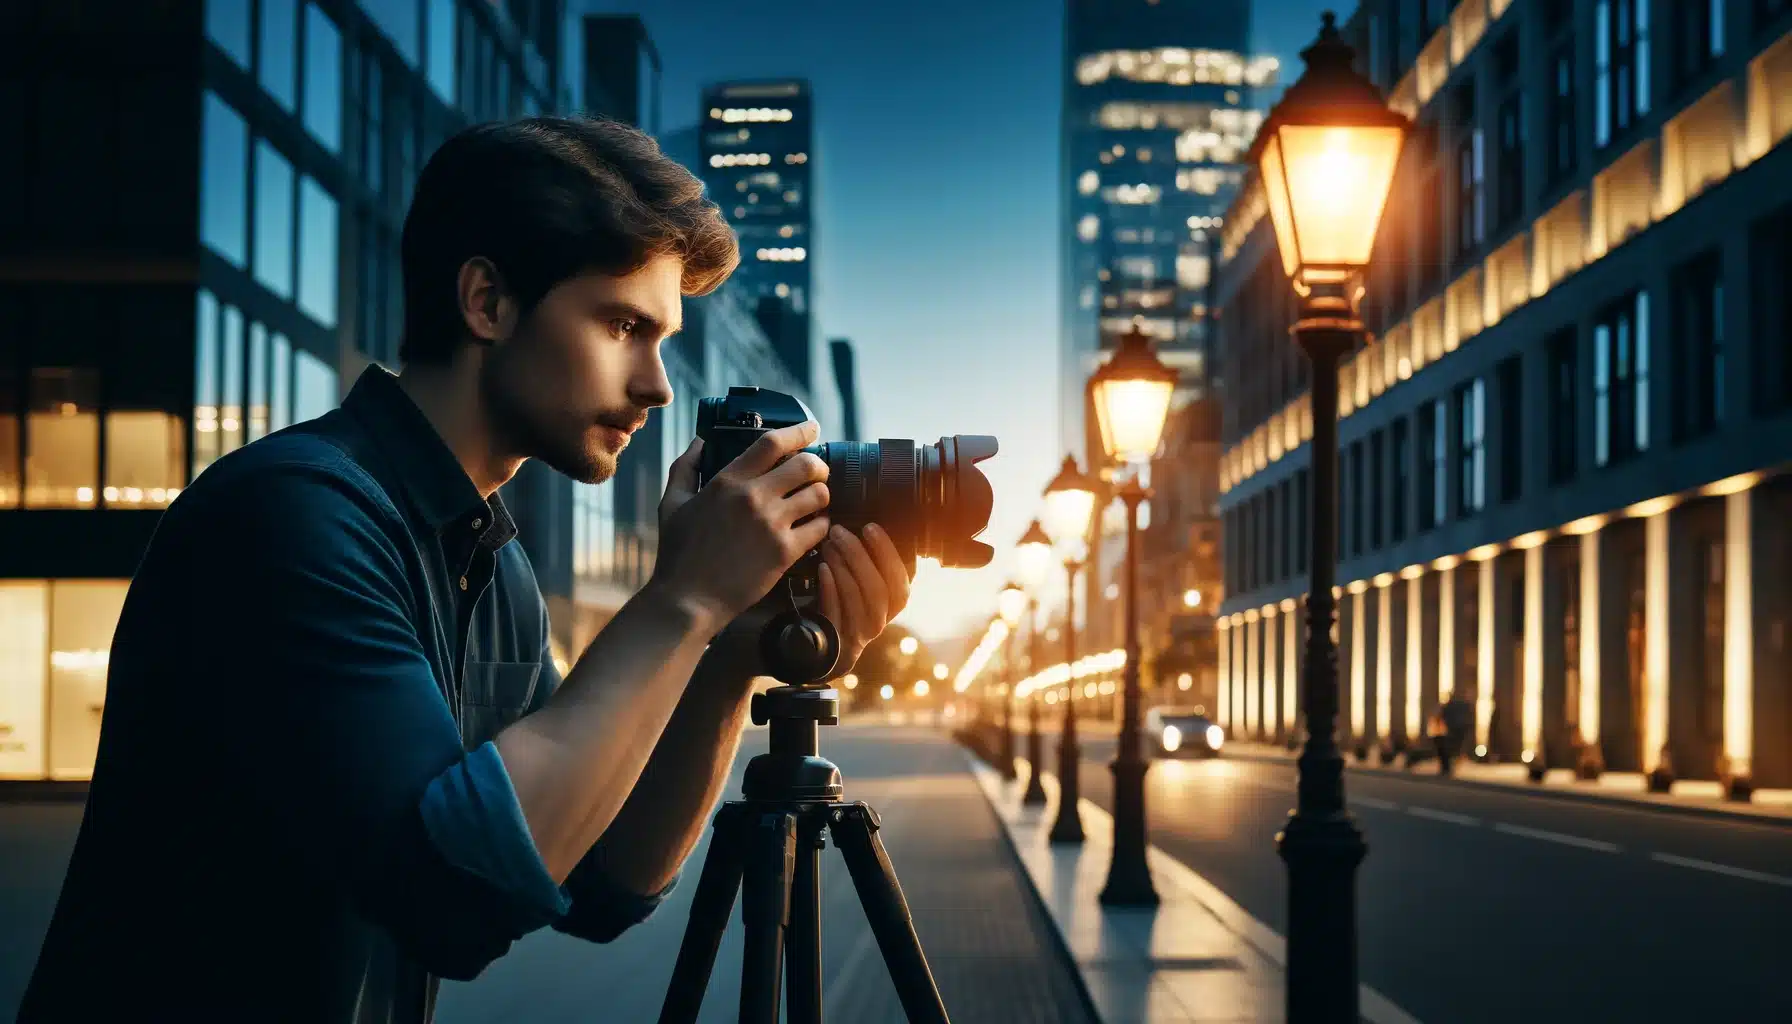
Different light sources emit light of different colors, known as colour temperature, measured in Kelvin. Sunlight at noon is cooler (bluer) compared to the warm (orange) hues of a setting sun. Understanding and adjusting the white balance settings on your camera according to the colour temperature can dramatically affect the mood and feel of your photos.
Pro Tip: Learn how to color an image in Photoshop for an even better skillset.
Always Adjust Exposure Correctly
Proper exposure is key to making the most of your lighting setup. Overexposed photos can look washed out, and underexposed photos can lose detail in the shadows. Use your camera’s exposure settings like ISO, aperture, and shutter speed to capture the right amount of light based on your lighting conditions. Following these photography lighting tips will help ensure your shots have the perfect balance of light.
Types of Lighting for Optimal Photography
For optimal photography, understanding these different types of lighting can greatly enhance the quality of your pictures. Remember, the right photography illumination advice can make or break the aesthetic and technical outcomes of your shoot. Adjust each lighting setup according to the subject and environment for the ultimate results.
| Type of Lighting | Description | Best Used For | Equipment Needed | Tip |
|---|---|---|---|---|
| Natural Light | Utilizes sunlight, providing a soft and natural illumination. | Outdoor portraits, landscapes. | None, but reflectors can enhance effects. | Shoot during golden hour for finest results. |
| Flash Lighting | Bright, direct light from a flash unit. | Events, indoor sports, low-light conditions. | On-camera or external flash units. | Use a diffuser to soften the harsh light. |
| LED Panels | Consistent, adjustable light. | Video production, studio photography. | LED light panels, batteries or power source. | Adjust intensity and colour temperature for desired effect. |
| Tungsten Lighting | Warm, incandescent light similar to bulb lighting. | Indoor scenes, artistic photography. | Tungsten bulbs, softboxes for diffusion. | Balance with daylight to prevent colour mismatch. |
| Strobe Lighting | Powerful bursts of light, good for freezing motion. | Fashion photography, capturing fast action. | Strobe lights, light modifiers like umbrellas. | Sync speed is crucial to avoid black bands in photos. |
Advanced Lighting Techniques for Stunning Images
- Use High-Speed Sync Flash: Capture sharp details in fast-moving subjects by using a high-speed sync flash. This allows you to shoot with faster shutter speeds, reducing motion blur in brightly lit environments.
- Employ Gobos for Creative Shadows: Gobos (go-betweens) are objects placed between the light source and the subject to create patterned shadows. This can add a dramatic or artistic element to your shots, especially useful in portrait and product photography.
- Experiment with Light Painting: In a dark environment, use a long exposure and move a light source around the subject or scene. This technique paints light trails in your photo, ideal for creative landscapes or abstract photography.
- Utilize HDR Photography: Capture a wider range of light and dark areas by using High Dynamic Range (HDR) photography. This involves taking multiple photos at different exposures and combining them to create one image with detailed highlights and shadows.
- Practice the Brenizer Method: Create a shallow depth of field in wide-angle shots by stitching together multiple shots. This technique, also known as bokeh panorama, gives a medium-format look with a DSLR.
- Incorporate Colour Gels: Change the mood or atmosphere of your shots by placing colored gels over your lights. This can alter the colour of the light emitted and add a unique hue to the photograph's overall tone.
For those seeking detailed photography lighting guidance, these advanced techniques are part of the arsenal that can elevate your photographic work. Remember, effective use of these strategies can often be a turning point in achieving professional-quality photos, and each method can be a valuable addition to your photography lighting tips.
Colour Lighting: Which is Best for Your Photos?
| Colour Temperature | Description | Ideal for | Effect on Photos | Tip |
|---|---|---|---|---|
| Warm Light (2000K-3500K) | Produces a yellow-orange hue. | Portraits, golden hour landscapes. | Gives a cozy, inviting feel; enhances skin tones. | Use during sunrise or sunset for natural warmth. |
| Neutral Light (3500K-5000K) | Close to daylight; does not alter the colour palette. | General photography, accurate colour representation. | Maintains true colors, good for realistic shots. | Ideal for indoor photography with natural window light. |
| Cool Light (5000K-6500K) | Emits a bluish tint. | Night scenes, urban landscapes. | Creates a calm, serene mood; makes colors pop. | Enhance with evening or overcast lighting for optimal effect. |
| Colored Gels | Adds a specific colour to your lighting setup. | Creative projects, artistic effects. | Alters mood dramatically, can simulate different times of day. | Experiment with different colors to evoke emotions. |
When selecting colour lighting for your photos, consider the emotion and tone you want to convey. Each temperature range can dramatically change the perception of your pictures, so using these photography lighting tips wisely will help you achieve the desired artistic effect. Adjusting your camera’s white balance according to these colour temperatures ensures that the colors in your photographs are balanced and true to life.

Commonly Asked Questions About Photography Lighting
How do I get good lighting for photography?
Achieve good lighting for photography, great attention needs to be paid to the quality and direction of light. Utilizing natural light during the golden hours—shortly after sunrise or before sunset—provides soft, diffused lighting that can greatly enhance the subject. For indoor shooting, use softboxes or umbrellas to diffuse artificial lights, creating a more flattering light on the face and reducing to harsh shadows. Always consider the position of your light sources relative to the subject to control shadows and highlight details effectively.
What are the three rules of light for photography?
The three basic rules of light for photography include:
- Key Light: This is the main light. Usually positioned to the side of the photographer, it sets the overall lighting setup.
- Fill Light: Used to soften shadows created by the key light. It is typically softer and less intense, placed on the opposite side of the key light.
- Back Light: Positioned behind the subject, this light helps separate the subject from the background, adding depth and dimension to the shot. It’s often used to create a rim of light around the subject, which helps them stand out against the background.
What type of lighting is best for photography?
The best type of lighting for photography often depends on the subject and the desired aesthetic. Soft, natural light is universally flattering and excellent for portraits and landscapes. However, for more dramatic effects and controlled conditions, LED panels or strobes can be ideal. Side lighting can reveal texture and depth, making it a preferred set-up for dramatic portraits and creative projects. Utilizing these photography lighting tips effectively can enhance your photographic outcomes significantly.
What is lighting technique in photography?
Lighting technique in photography, crucial for mastering tips on Photography Lighting, refers to how photographers use light to shape and enhance their images. It involves the strategic placement and manipulation of light sources to achieve specific visual effects. Techniques can vary from using natural light creatively by positioning the subject relative to the sun, to employing complex artificial lighting setups with multiple light sources to control the shadows, highlights, and atmosphere of an image. Learning and experimenting with different lighting setups can greatly improve a photographer’s ability to manipulate mood and emphasis in their photos.
Conclusion
As a photographer, I’ve personally experienced the transformative power of mastering lighting techniques. Just last year, during a portrait session, I employed a combination of side lighting and diffused flash to capture the subtle expressions of my subject. The results were not just images but stories captured in light and shadow, emphasizing the depth and emotion that proper lighting can convey.
Understanding and manipulating light is not just a skill but an art form that elevates your photography to a professional level. For those eager to deepen their expertise and explore the full potential of photography lighting, I highly recommend our comprehensive online courses. Whether you’re looking to refine your skills in Photoshop or master the nuances of Lightroom, our courses provide the guidance and tools needed to excel. Don’t miss the opportunity to transform your passion into excellence. Start your journey today by enrolling in our Photoshop course or Lightroom course, and take your photographic skills to new heights!
Have a nice photoshoot!
Learn more about Photography Techniques:


