Photoshop Text Box: Add and Customize Text in Your Designs
Photoshop Text Box: Add and Customize Text in Your Designs
If you’ve ever struggled with creating the perfect Photoshop text box for your projects, you’re not alone. Attention to detail can make or break your design, and mastering this feature is important.
In this article, I will guide you through the ins and outs of Photoshop text boxes. From basic setup to advanced customization, you will discover how to make your text functional and visually captivating.
Let’s get into it!
Table of Contents
Creating a Photoshop Text Box
Let’s dive straight into how to create a text box in Photoshop.
Using the Horizontal Type Tool
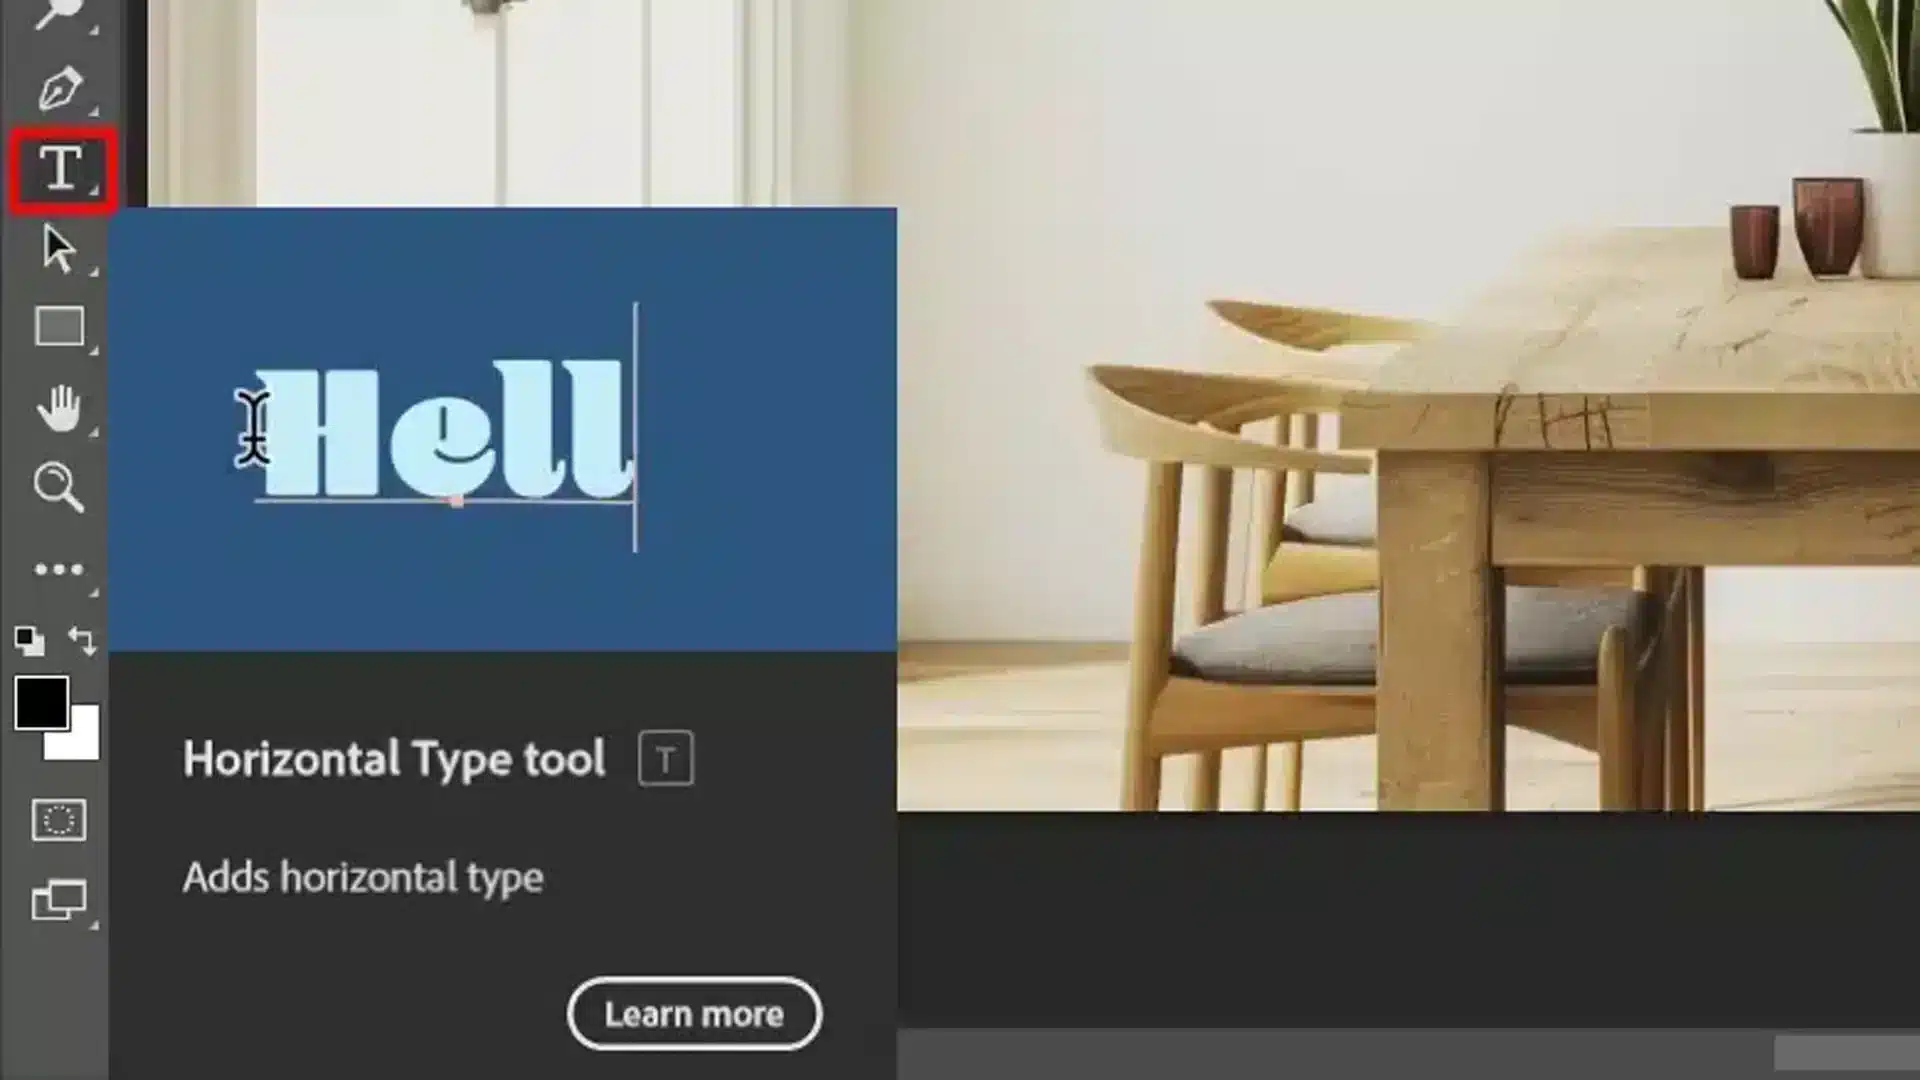
The Horizontal Type Tool is one of the primary tools for adding text in Photoshop:
Select the Horizontal Type Tool from the toolbar on the left side of your screen.
Click on your canvas where you want to add text. This action will create a new text layer in the layers panel.
Start typing, and your text will appear inside the Text field that is automatically created.
With the Horizontal Type Tool, you can easily create transparent text by adjusting the opacity settings, allowing your text to blend seamlessly with the background.
Follow these steps to quickly create a text box in Photoshop:
Open your Photoshop document.
Select the Horizontal Type Tool from the toolbar.
Click at the desired location on your canvas to create a text layer.
Start typing your text, and it will appear within the Text field.
Adjusting Text Box Size and Shape
Fine-tuning the size and shape of your text box can greatly improve your design.
Resizing and changing the shape of a text box while using the Photoshop shape tool are fundamental skills for customizing your design. Additionally, features like the content-aware fill in Photoshop can help you seamlessly integrate your text box with other elements in your design.
Here’s a quick comparison of the tools and methods involved:
Task
Tool/Method
Description
Resizing Text Box
Handles on Bounding Box
Click and drag handles to adjust size.
Changing Text Box Shape
Move Tool
Drag corners or sides; hold Shift for proportions.
Advanced Shape Customization
Magic Wand Tool
Select and modify background for custom shapes.
Resizing the Text Box
Resizing a text box is simple:
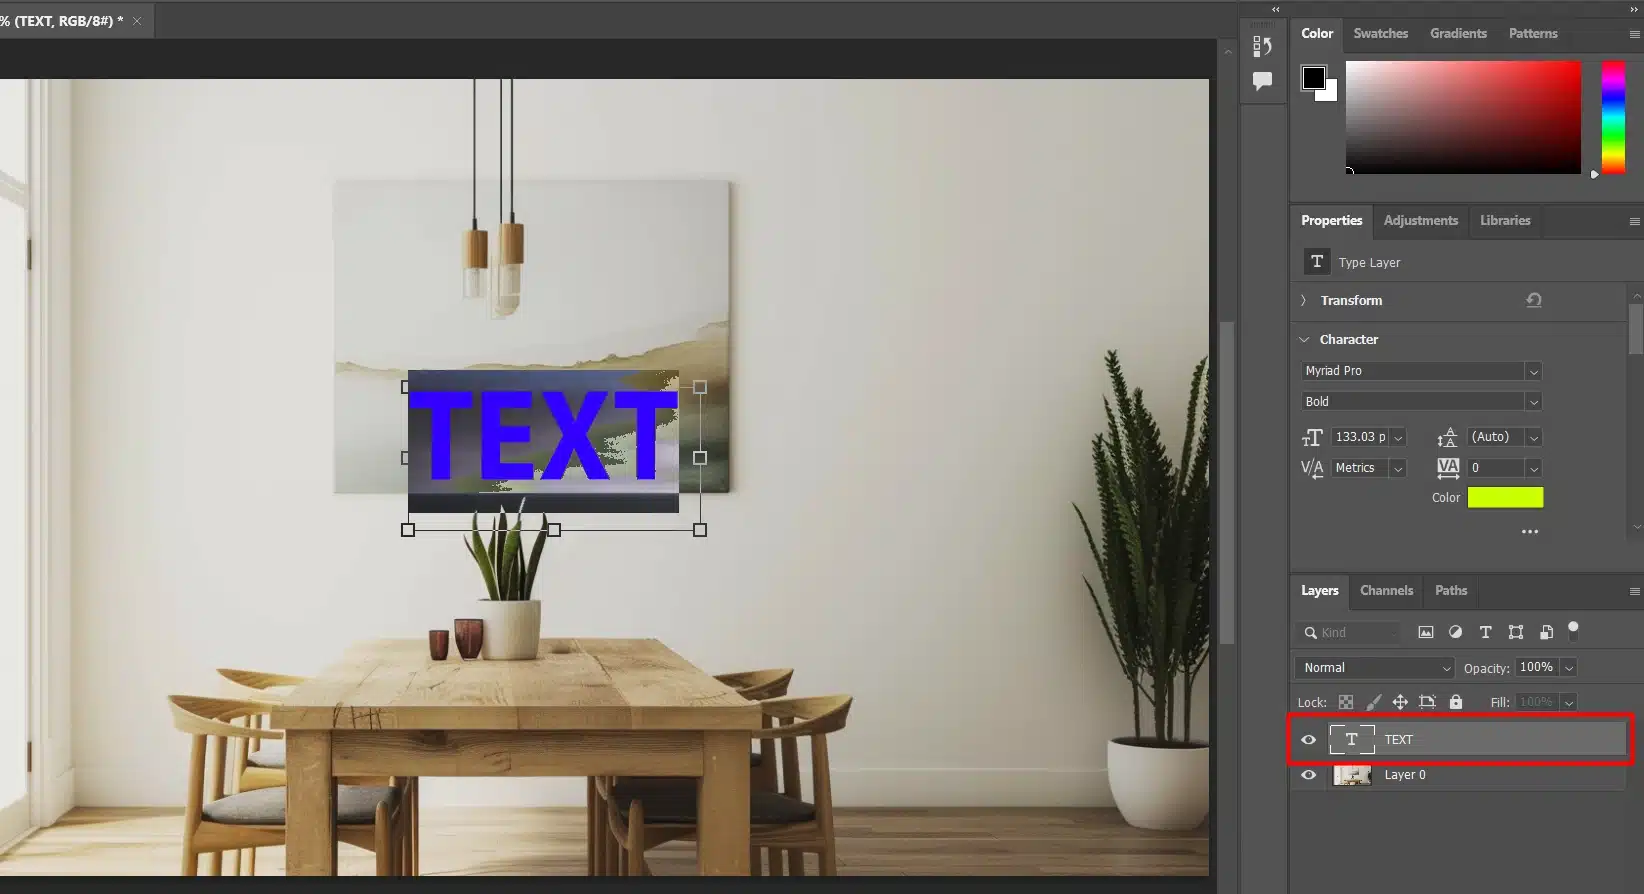
First, make sure the text layer is selected in the layers panel.
Select the text layer and right-click it to choose Convert to Paragraph.
Once selected, you will see a bounding box with handles around the text.
Click and drag these handles to resize the Text field to your desired size.
Changing Text Box Shape
To change the shape of the Text field:
Select the text layer.
Use the Move Tool to click and drag the corners or sides of the box.
If you want a more precise shape, hold down the Shift key while dragging to maintain the proportions.
Pro Tip: To quickly edit text, double-click on the text layer thumbnail in the layers panel. This brings up the text tool editing mode, allowing you to make changes swiftly.
To change the shape of your text box, use the magic wand tool to select and modify the background around it, giving you a customized and unique design.
When resizing a text box in Photoshop, it’s similar to how you would resize an image or crop in Photosohp; simply click and drag the corners to adjust it to your desired dimensions.
While Photoshop is great for photo editing, Lightroom offers powerful tools to change the shape of your text box, giving you more flexibility in your design.
Additionally, if you want to streamline your editing process, familiarize yourself with common Photoshop shortcuts and subsequently Lightroom shortcuts. These shortcuts can save you time and make your editing experience much more efficient.
Editing Text in a Photoshop Text Box
Editing text in Photoshop can seem daunting. Let’s explore the process step-by-step so that you can become proficient with it.
Using the Type Tool
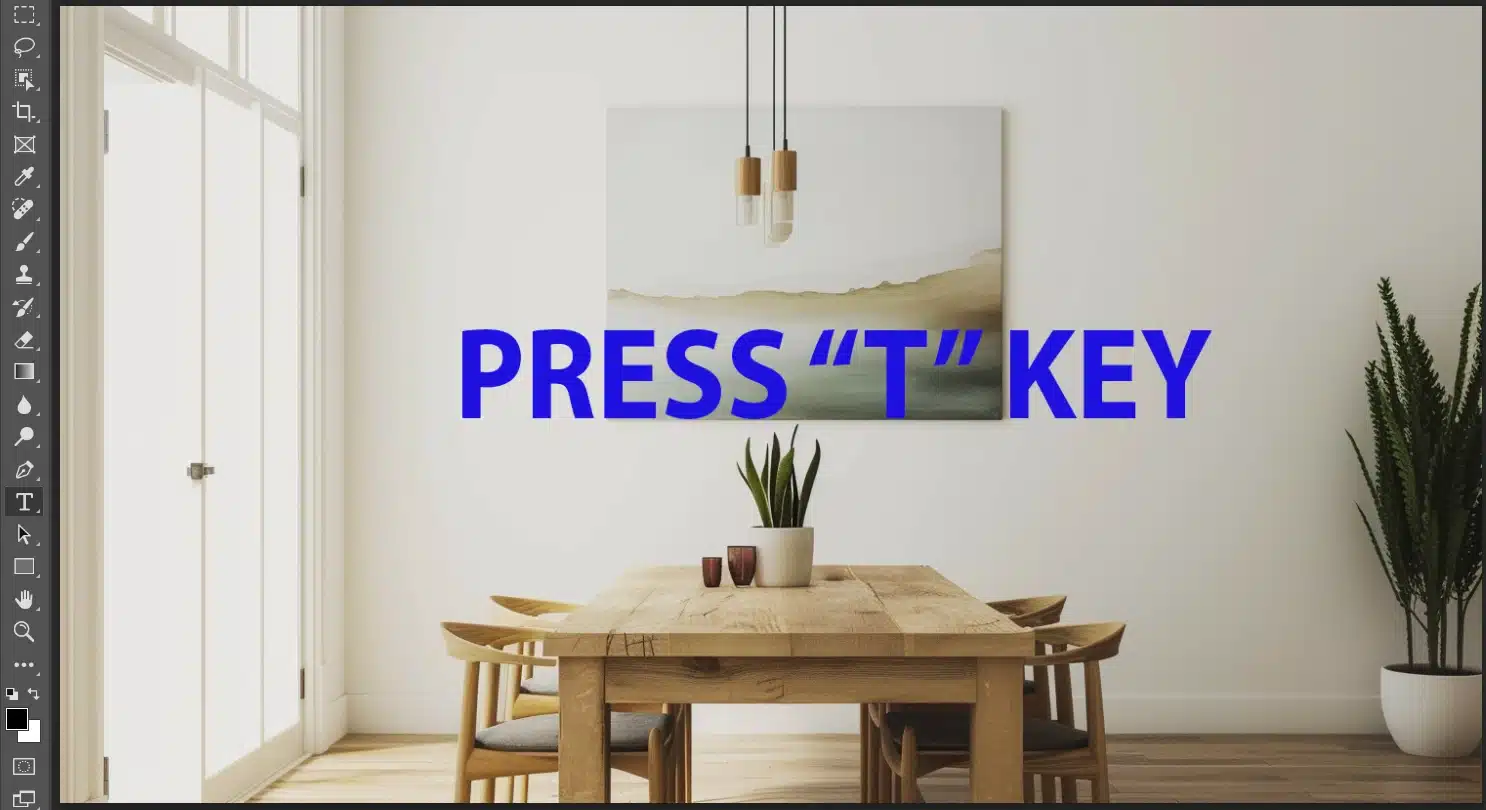
First, select the Type Tool. This type tool allows you to add text to your Photoshop document.
You can access this from the toolbar or pressing the “T” key on your keyboard. Once activated, click on the canvas to create a new text layer.
Pro Tip: Mastering tools like the quick selection tool in Photoshop can complement your text work, as it allows you to easily select and edit specific areas of your design
Formatting Text
Use these steps to format your text effectively in Photoshop:
Highlight the desired portion and use the options available in the top bar.
The type tool options are comprehensive, allowing you to modify font size, color, and more.
To change the shape of the Text field, use the move tool and drag the corners. Holding Shift while you drag ensures precise adjustments.
Changing Text Color and Style
Select a character and choose the desired color from the color picker.
You can experiment with various styles, including shadow and glow effects. To change these settings, go to the window menu and select styles.
Pro Tip: Understanding the difference between Photoshop and Lightroom can help you decide which software to use for different aspects of your project, especially when working with text and graphic elements
Helpful Quick Editing Tips
Here are some quick tips to enhance your text editing;
Use the square brackets on the keyboard to adjust the font size quickly.
Warp Text gives another layer of creativity. Access this via the options bar and select the Type of warp text effect you prefer.
Pro Tip: To manage complex layer structures, use layer groups by going to Layer > New > Group. It keeps your document organized!
To change the text color and style efficiently, you can use Lightroom shortcuts to streamline your workflow, while the patch tool in Photoshop helps you seamlessly blend text elements with the background.
Advanced Text Box Techniques
Delving into advanced text box techniques can significantly enhance your design capabilities.
One useful technique is creating a text box with vertical text, which adds a unique touch to your projects.
Creating a Text Box with Vertical Text
Creating a Text field with vertical text in Photoshop is simple:
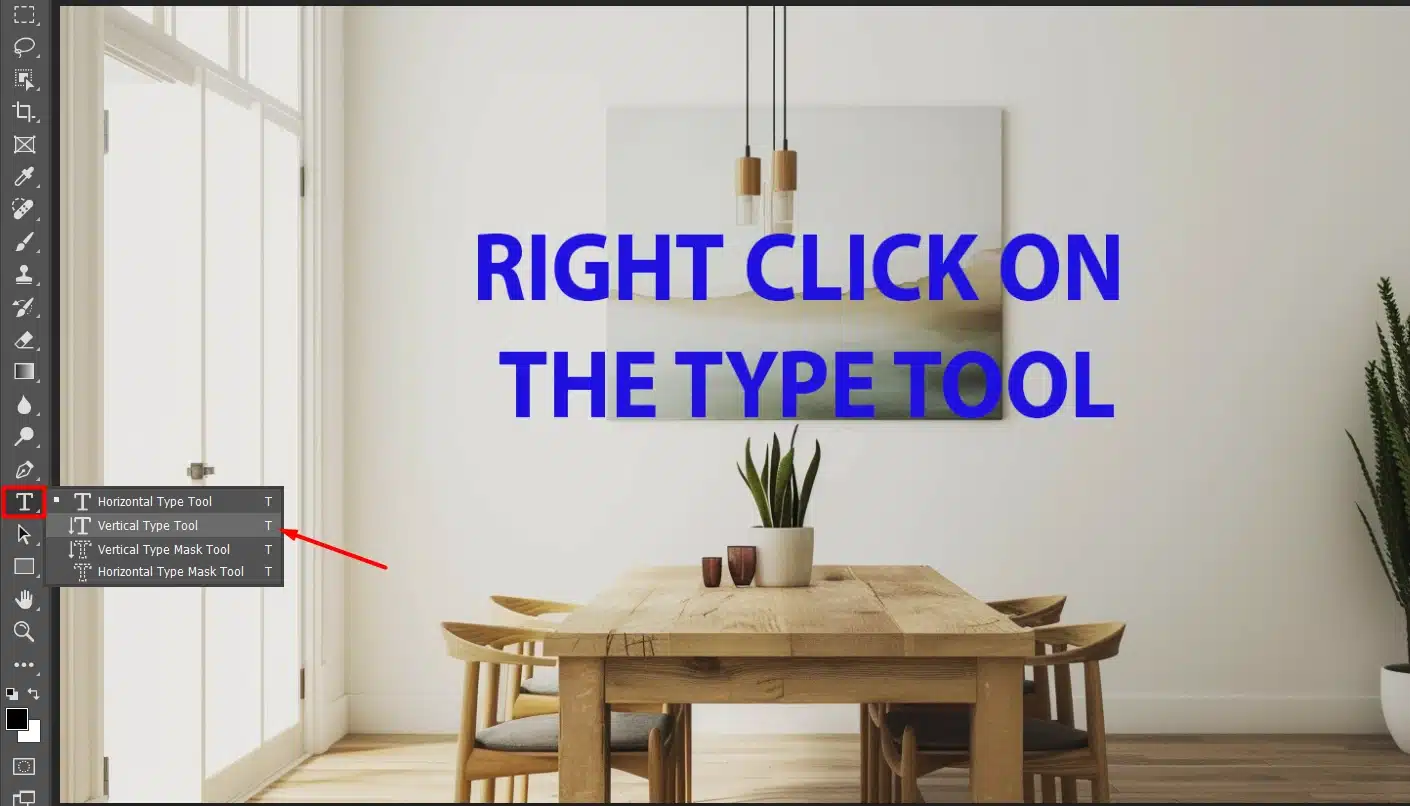
Choose the Vertical Type Tool from the toolbar.
Click on your canvas where you want to add vertical text and start typing. This will instantly create a vertical type layer.
Adjust the position of the Text field by dragging it with the cursor.
Users can also use the Vertical Type Mask Tool and horizontal type mask tool to create a selection instead of a new layer.
This type tool allows you to create vertical text that you can fill with colors or patterns. For more control, make sure your text is on its layer. This allows you to edit without affecting other elements of your design.
To further refine your text and other elements, tools like the dodge and burn in Photoshop can be used to enhance details and create depth, while the Gradient tool can add smooth color transitions.
Adding Effects to Text Boxes
Adding effects to text boxes enhances visual appeal:
Select the type tool.
Go to the Window menu and open the Layers panel.
Right-click on the type layer and choose blending options.
Here, you can find various effects, including shadow, glow, and stroke. Tailor the effect settings to your needs.
The blending options allow you to adjust opacity, angle, and distance, among other parameters.
Note: effects like shadow and glow can make text more readable against complex backgrounds.
Select the type layer, and from the options bar, click on the "Create Warped Text" button.
A dialog box appears with several warp styles to choose from. These include arc, bulge, and flag; each offering unique styling possibilities.
Using Text Layers for Better Control
Using text layers gives you better control over your design:
Each type of layer can be independently adjusted. This means you can change the font family, size, and style without affecting other layers.
To align text or distribute it evenly, go to the options panel. Use the alignment buttons to center or justify text within the canvas. Set spacing between lines and characters by adjusting the paragraph options.
Another benefit of using text layers is flexibility. You can convert text layers to shape layers or paths for more advanced editing. Once the text is converted, use the shape tool to fine-tune outlines or create custom designs. Remember: Always keep a copy of the original text shape layer.
Mastering text boxes in Photoshop takes practice, but the results can substantially elevate your designs.
Experiment with the type tool and options discussed to see what suits your style.
Additionally, you can easily add shapes to complement your text boxes and enhance your design.
For those using Text Layers long-term, naming each type layer helps keep things organized.
Tips and Tricks for Better Text Boxes
Text boxes in Photoshop can be a game-changer for your design projects.
Using the right techniques will help you convey your message clearly and effectively. Let’s dive into some tips and tricks to enhance your text boxes.
Aligning Text Boxes
Alignment is significant in design. To align your text boxes, select the text layer you want to adjust.
In the optionsbar, you’ll see alignment buttons like left, center, and right. Use these to position your text accurately.
If you have multiple text boxes, select them together and use the alignment tools to distribute them evenly.
No more guessing or eyeballing. Photoshop does the heavy lifting for you.
Combining Text Boxes with Images
Combining text boxes with images adds another dimension to your design.
Place a Text field over an image by ensuring your image layer is behind your text layer. You can do this by dragging the layers in the layers panel.
Using blending modes with text will seamlessly integrate it with the background image. Adjust opacity and blending until the text looks cohesive with the background.
Create a visually appealing overlap by experimenting with transparency and color fills.
This blend draws attention to important text elements without overwhelming the viewer.
Always aim for balance in your projects. Too much of anything can disrupt the harmony of your design.
Frequently Asked Questions
How do I add a text box in Photoshop?
Press the T key on your keyboard to access the Type tool anytime. In the Control panel near the top of the screen, choose the desired font and text size.
Click the Text Color picker, then choose the desired color from the dialog box. Click and drag anywhere in the document window to create a Text field.
How do I make a text box Square in Photoshop?
You can make your words and text perfectly align into a box shape by selecting the “Justify All” option under Window > Paragraph.
If the last line doesn’t align perfectly straight, you can adjust the Text field size, change the setting to Justify Left, change the text size, or go into the Justification option.
How do I turn text into a text box in Photoshop?
Using the Type tool in the Control panel near the top of the screen, choose the desired font and text size.
Click the Text Color picker, then choose the desired color from the dialog box. Click and drag anywhere in the document window to create a Text field. A new text layer will be added to your document.
How to create a box in Photoshop?
On the canvas, hold down the Shift key and left-click and drag the square to the size you want it.
Holding down Shift keeps the square shape. If you don’t hold down Shift, you get a rectangular shape.
Once you have the outline of the square with the Rectangular Marquee tool, fill it out or use Stroke.
Using a Photoshop text box has made my design projects much easier.
When I first started, I struggled with adding and editing text in Photoshop. But after learning how to use text boxes, my workflow became faster and my designs looked better. Creating text boxes, resizing them, and adding effects is now a breeze.
It’s amazing how much control you have over your text. If you want to improve your skills, I highly recommend checking out these courses: Photoshop course and Lightroom course. They helped me a lot, and I’m sure they will help you too.
Keep practicing, and soon you’ll be creating stunning text boxes in Photoshop with ease.
If this article has helped you, then Like and Share it with your friends
$2,061.00Original price was: $2,061.00.$1,061.00Current price is: $1,061.00. 27582
Download Your Free Guide Now!
Discover the secrets of photography with our printable guide! Master essential techniques like aperture, shutter speed, and ISO to create stunning images. Get your free printable PDF now and start turning your snapshots into masterpieces!