When you rotate the canvas in Photoshop, it can greatly enhance your editing precision and ease.
When we work with software more deeply, features like the option to rotate the canvas are fundamental yet powerful tools that not only adjust our perspective but also amplify our creative control.
For example, rotating the canvas can be crucial when working on digital paintings.
Let’s explore how this simple action can open up a treasure trove of possibilities and improve your workflow in surprising ways.
Table of Contents
Completing Image Rotation in Photoshop
Adjusting the orientation of your images can enhance composition and help in visual storytelling. Adobe Photoshop offers powerful tools for this purpose, supporting both subtle corrections and dramatic transformations.
Step-by-Step Guide to Rotate Canvas
To effectively rotate canvas in Photoshop, follow these straightforward steps:
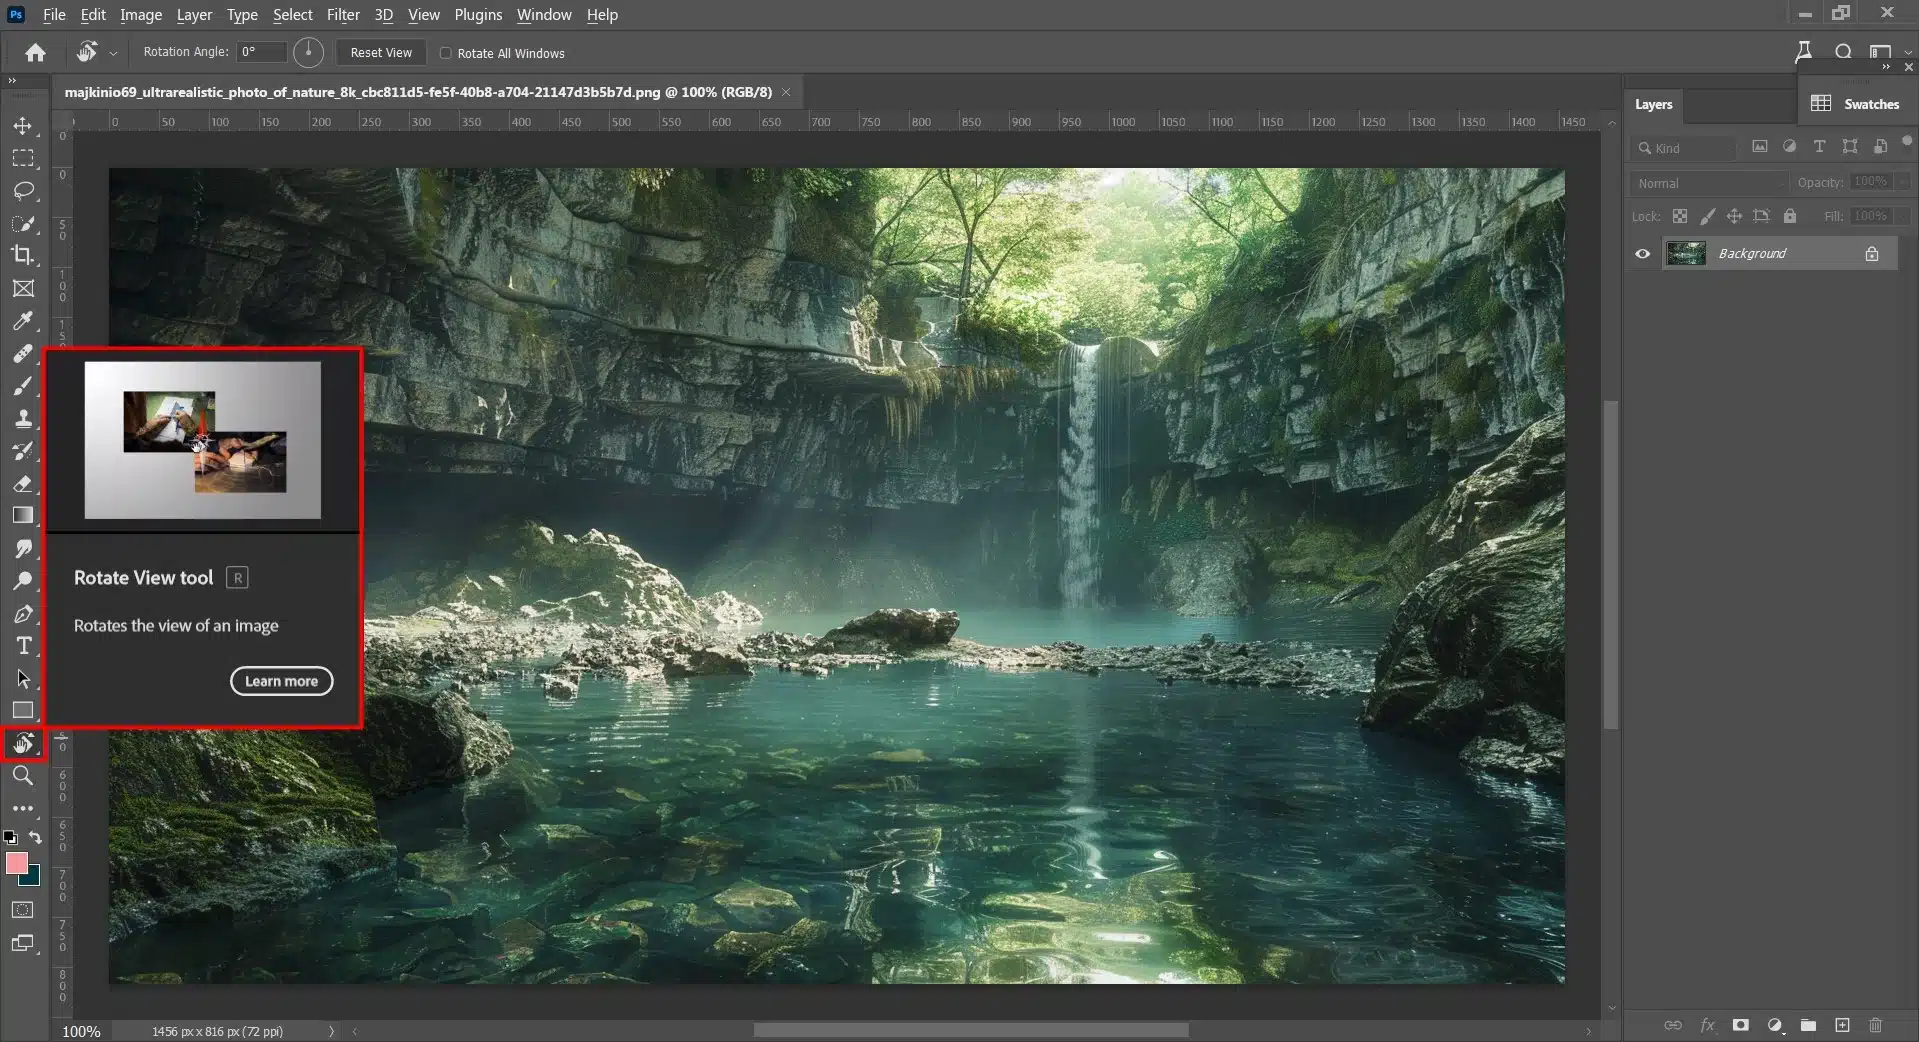
Select the Tool: Open your image within Adobe Photoshop. Go to the tools panel and select the Rotate View Tool. This tool enables you to adjust your viewing angle without altering the actual orientation of the image layers.
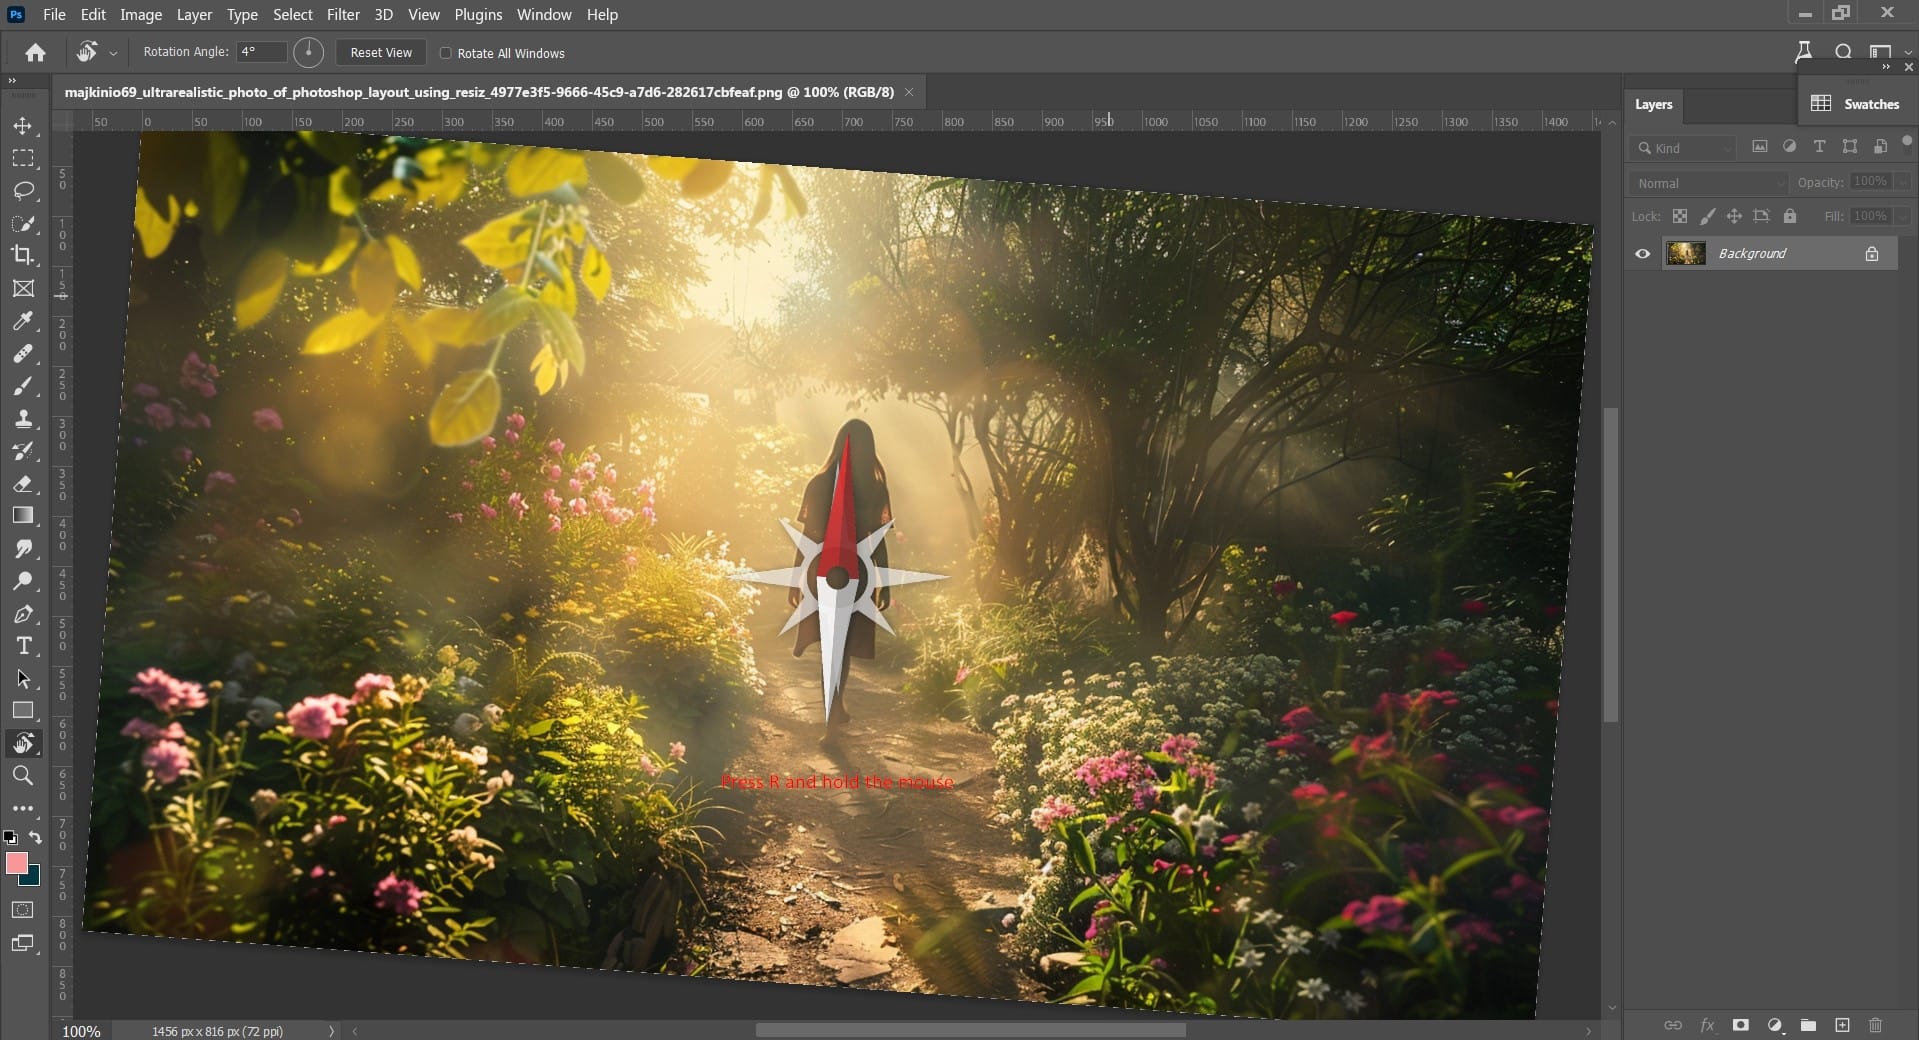
Apply the Rotation: Click and hold the mouse button to rotate the canvas. The rotate view tool rotates the canvas dynamically as you move it, giving you a live preview of your adjustment and allowing you to estimate the rotation angle visually.
Enter Specific Degrees: If you need a specific rotation angle, use the options provided in the top options bar. You can type in an exact angle to ensure precision or use Photoshop's scrubby slider for ease.
Use Keyboard Shortcuts: For faster processing, employ a handy keyboard shortcut by pressing 'R.' This switches quickly to the rotate view tool whenever needed.
Finalize Rotation: After achieving the desired placement through either freehand rotation or specific degrees input, click ‘Reset View’ in the options bar or press 'Esc' to finalize orientation.
A more detailed tutorial on the Rotate tool and others that Photoshop features have to offer can be extremely beneficial in your journey to mastering your craft.
Applying Final Adjustments After Rotation
Once you have rotated your image as needed using tools like Photoshop rotate Canvas:
Step
Description
Verify Layer Alignment
Check that all individual elements, especially in multi-layered documents, are still aligned correctly post-rotation and match rotation needs.
Adjust The Background
If rotating has affected how content matches up against its background or surrounding elements, additional adjustments might be necessary.
Ensure Consistent Angle Across Docs
For consistency in series or multiple images, ensure they all maintain the same angle.
Confirm Viewing Quality
Temporarily rotate through various angles with Rotate View to ensure no oddities pop up at different viewing angles that could detract from the final output.
By following these detailed steps and applying necessary checks after rotation, you ensure not only that your composition benefits visually but maintains technical integrity throughout editing processes in Adobe Photoshop.
Resizing Images After You Rotate the Canvas in Photoshop
After rotating an image using the rotate view tool or the rotation tool, resizing is often the next step to ensure your image fits specific dimensions without losing its integrity. Knowing how to properly resize after manipulating the orientation can be critical for maintaining both compositional and pixel quality.
Understanding the Resize Tool
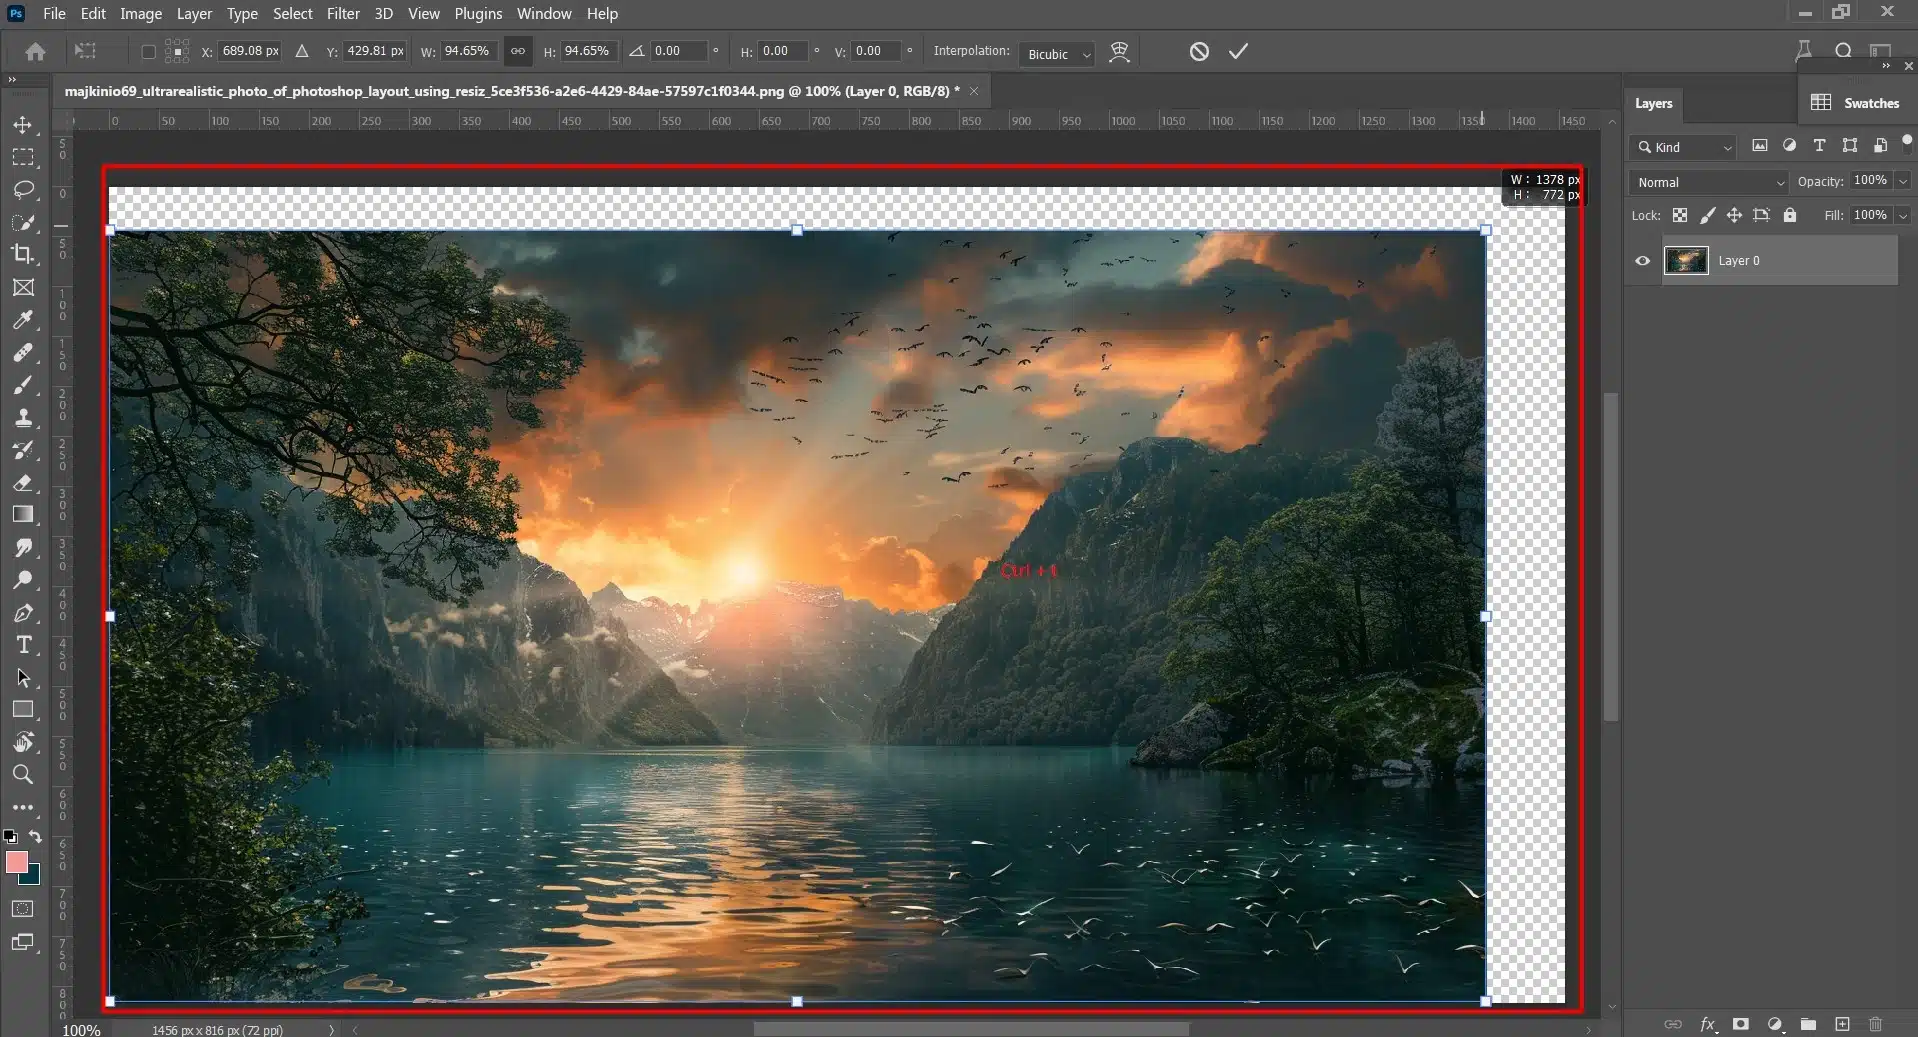
When you access the free transform tool from the options bar, you’re engaging a versatile feature that not only manages dimensions but rotates, aligns, and warps elements effectively. To start resizing:
Select the layer with your rotated images; make sure it's not locked as a background layer.
Hit Ctrl + T (Windows) or Cmd + T (Mac), which is a useful keyboard shortcut to activate Free Transform.
Corner handles will appear around your selected item in the image window. Hold down Shift while dragging these handles to maintain proportions.
This process applies whether adjusting a single photo or working across multiple images within a compound file strategy.
For those interested in adjusting aspect ratios specifically, especially in a different software by Adobe, check out this comprehensive guide on how to change aspect ratio in Lightroom.
Maintaining Image Quality During Resizing
Maintaining image quality after rotation and resizing demands attention to detail and proper technique:
Resolution Checks: Before resizing, confirm that the document’s resolution supports enlargement without degradation.
Incremental Adjustments: Make minor size changes incrementally, particularly when enlarging. For precision, use Photoshop’s incremental "Scale" function within Free Transform.
Finally, always double-check alignment by toggling on guides from the menu bar, ensuring elements follow both personal aesthetics and technical necessity post-adjustment for shapes at different angles or designs where symmetry matters.
These steps safeguard against common pitfalls that might compromise an otherwise perfect setup after such transformations as rotating images using tools like Photoshop’s famed rotate view system to create beautiful 360 photographs.
Optimizing Workflow for Efficient Editing
Optimizing your editing workflow in Photoshop can significantly enhance your efficiency and reduce the time you spend on projects. By mastering keyboard shortcuts for common actions like rotating, resizing, and customizing your settings for better performance, you can streamline processes and focus more on creativity.
Utilizing Keyboard Shortcuts to Rotate the Canvas in Photoshop and Resize Images
Keyboard shortcuts are essential for speeding up your editing process in Photoshop. One of the most useful tools is the rotate view tool, which allows you to change the orientation of your workspace without altering the image itself—ideal for intricate edits where precision is key.
Step
Description
Rotate View
Press ‘R’ to activate the rotate view tool. Use your mouse or touchpad to adjust the rotation angle of your workspace without altering the image itself.
Resetting View
Press ‘R’ and click the reset icon in the options bar with the mouse button, or press ESC to revert to the default view.
Maintain Perspective
Rotating the view doesn’t change the image’s actual orientation but adjusts your perspective, which is crucial for detailed graphic elements.
Enhance Workflow
Combine these shortcuts with others, like Ctrl/Cmd key for resizing, to improve workflow fluidity between tasks.
This method does not change the actual orientation of the image but rather adjusts your perspective of it, which is crucial when working on detailed graphic elements that require a nuanced approach. Additionally, unifying it with other shortcuts, like those involving resizing with the Ctrl/Cmd key, enhances fluidity between tasks.
Similarly, if you’re using Adobe Lightroom alongside Photoshop, mastering Lightroom shortcuts can further optimize your photo editing workflow.
Customizing Photoshop Settings for Better Performance
Customize your Photoshop experience by adjusting preferences and settings tailored to your usage style can greatly impact performance:
Memory Usage: Increase RAM allocation under Edit > Preferences > Performance to speed up operations within Photoshop.
Scratch Disks: If you work with high-resolution images that dramatically utilize system resources, set up a dedicated scratch disk.
Graphics Processor: Enable 'Use Graphics Processor,' located under Preferences > Performance, to improve overall rendering and view adjustments using tools like rotate canvas and zoom functions.
By optimizing these settings, Photoshop will run smoother and handle complex tasks more proficiently, making it easier and quicker to manipulate images without disruption.
You can further enhance your workflow by familiarizing yourself with other essential skills that Photoshop has to offer.
In conclusion, leveraging keyboard shortcuts such as those provided by the rotate view tool immensely aids detailed task execution while tuning performance variables ensures Adobe Photoshop runs at optimal capacity even during intensive editing sessions.
Adjust these aspects based on project demands and personal comfort to achieve peak operational efficiency consistently.
Frequently Asked Questions
How to use the Photoshop rotate canvas option?
To rotate on canvas, use the Rotate View Tool found in the Tools Menu. Click and hold the hand tool to reveal it. Then, drag the canvas in the desired direction.
To reset the viewing angle, press the reset view button in the options bar. This allows for easy adjustment without altering the actual image orientation.
How do I rotate a project in Photoshop?
To rotate a project in Photoshop, select the image layer you wish to rotate, then use the Free Transform Tool (Edit > Free Transform). Right-click inside the transform box and choose rotate. Alternatively, outside the box, clicking and dragging allow you to rotate freely at any angle necessary for perfecting your project’s composition.
How can I use the Rotate View Tool to adjust the rotation angle without altering an actual image or background layer?
The Rotate View Tool in Photoshop is designed to change your perspective of the workspace, not the image itself. To use this tool, select it from the Tools Menu or press ‘R’ for a quick switch.
Once activated, click and hold on the canvas and drag to adjust the viewing angle. The options bar allows you to specify precise adjustments.
This tool is particularly useful when you need to compare multiple images at the same angle without altering their actual orientation.
How do I use the Rotate View Tool for detailed image rotation adjustments in Photoshop?
To use the Rotate View Tool in Photoshop for making precise adjustments to your canvas orientation, start by selecting the tool from the Tools Menu or by pressing ‘R’ for quick access.
Once you’ve activated the Rotate View Tool, click and hold the mouse button on the hand tool icon. This is done to engage the rotation functionality.
You can then use the mouse button to drag the canvas to your desired rotation angle.
This tool allows you to adjust your viewing angle dynamically without altering the actual orientation of your image layers. It’s particularly useful for fine-tuning the angle when you’re working on detailed graphical elements.
The Rotate View Tool is essential for creative professionals who require flexibility and control over their visual compositions.
How do I manage the rotation of multiple images to maintain a uniform rotation angle across a project?
Managing the rotation of multiple images in Photoshop for uniformity across a project involves using the Rotate View Tool along with the options bar for precise control.
First, activate the Rotate View Tool and adjust each image to the desired rotation angle. This is done by typing the exact degree in the options bar or using the on-screen handles. To ensure all images maintain the same angle and match rotation settings, you can use Photoshop’s ‘Match Rotation’ feature.
This is found under the ‘Arrange’ submenu. This feature automatically aligns the rotation angle of multiple images. This is essential for projects where consistent perspective across multiple images is crucial.
In conclusion, mastering the rotate canvas tool in Photoshop can greatly enhance your editing precision and efficiency. By familiarizing yourself with this tool and incorporating it into your workflow, you can open up new creative possibilities and improve your overall editing experience.
Additionally, optimizing Photoshop settings and utilizing keyboard shortcuts can further streamline your workflow, allowing you to focus more on your creativity.
Experiment with these techniques to see how they can benefit your projects!
Our comprehensive Photoshop Course and Lightroom Course are tailored to guide you through every nuance of these powerful tools, ensuring you gain the proficiency and confidence to transform your creative visions into compelling realities.
If this article has helped you, then Like and Share it with your friends
Discover the secrets of photography with our printable guide! Master essential techniques like aperture, shutter speed, and ISO to create stunning images. Get your free printable PDF now and start turning your snapshots into masterpieces!