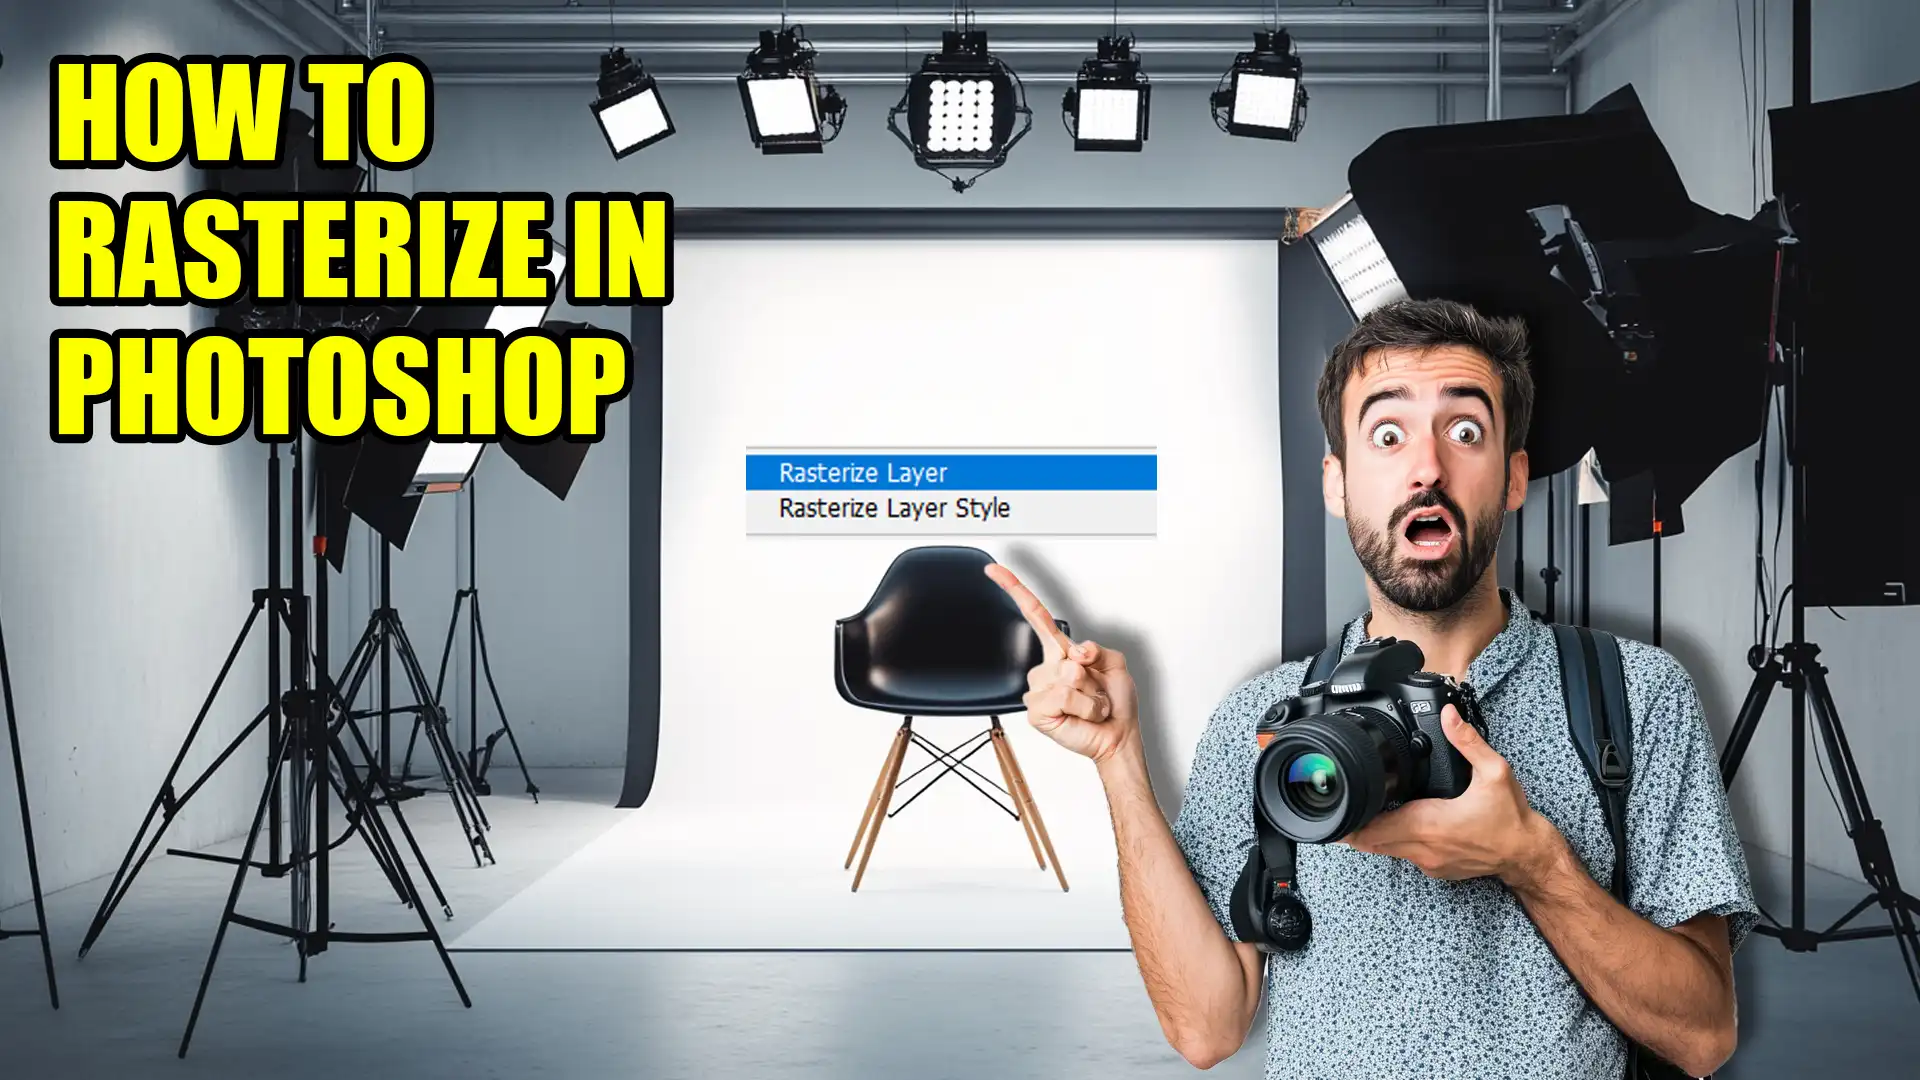
How to Rasterize in Photoshop: Convert Vector Layers Easily
How to Rasterize in Photoshop: Convert Vector Layers Easily
If you’re wondering how to rasterize in Photoshop, you’ve come to the right place. This process can transform your vector graphics or text into pixel-based images, giving you greater control over editing.
Imagine being able to add intricate filters, effects, or even make individual pixel adjustments.
You’ll soon discover that rasterizing opens up a world of creative possibilities.
By the time you finish reading this article, you’ll not only understand the steps involved but also appreciate the potential it has to elevate your design work.
Let’s dive in and unlock the full power of Photoshop together!
Table of Contents
How to Rasterize in Photoshop
Rasterizing in Photoshop is a simple process that converts vector graphics into raster images, allowing you to edit pixels directly.
This is useful for adding detailed effects or adjustments that aren’t possible with vector layers.
Let’s dive into the step-by-step guide to rasterizing a layer for creating raster images.
Optimize option bar in Photoshop to master how to rasterize in Photoshop. Leveraging the option bar ensures smooth layer conversions and enhances your editing workflow effectively.
Step-by-Step Guide to Rasterize Layer for Creating Raster Images
Rasterizing a vector image in Photoshop allows for more flexible editing options by converting it into a raster format.
Follow this simple guide to transform your vector sheets into raster images for enhanced editing capabilities.
Start with smart filters in Photoshop to maintain flexibility, then rasterize layer for final adjustments. This approach ensures high-quality, editable results.
Core Steps for Rasterizing a Vector Layer
Open your image in Photoshop.
Select the vector layer you want to rasterize.
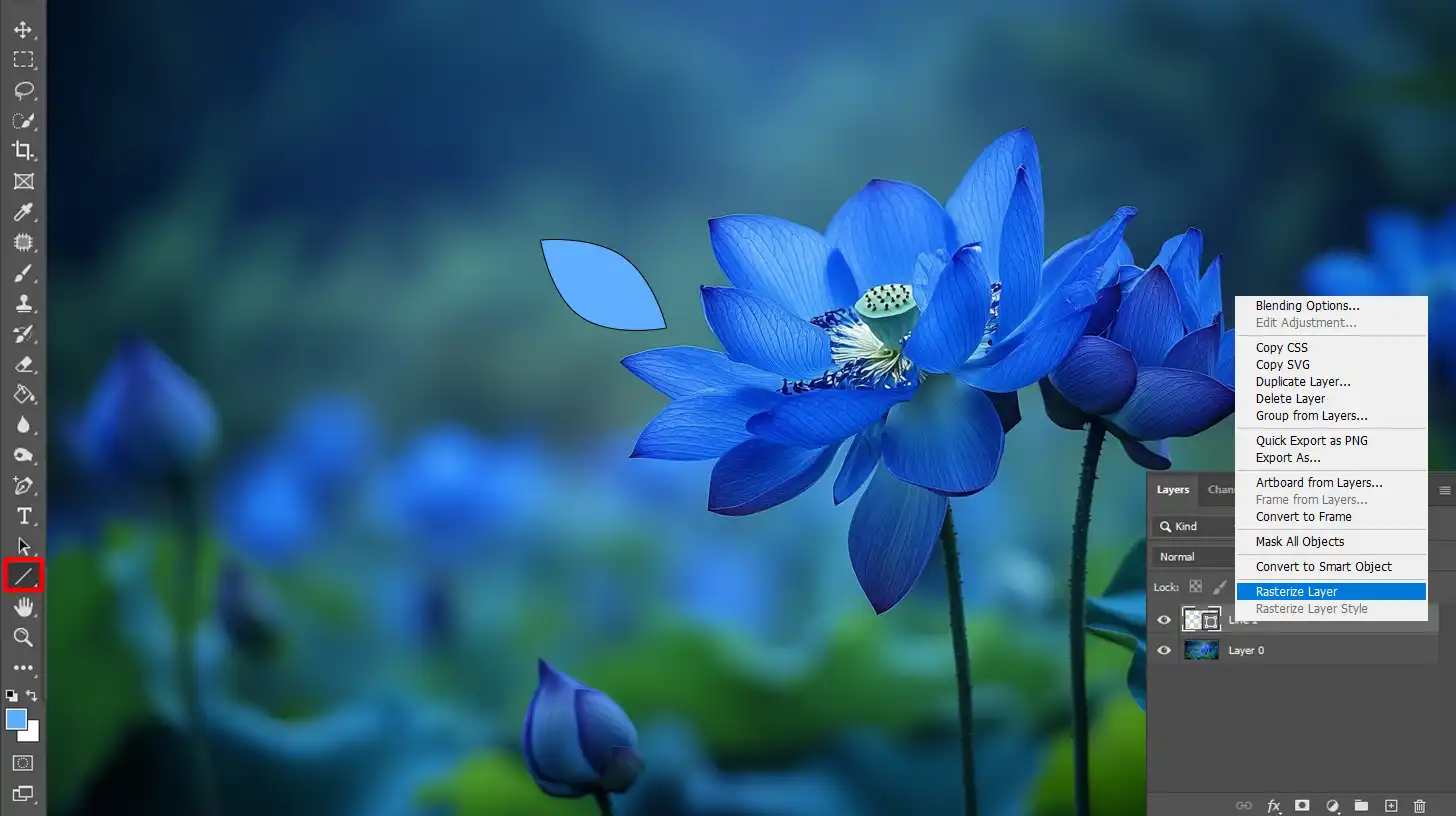
Right-click on the layer in the layers panel.
Choose "Raster Layers" from the context menu.
Your vector layer is now a raster image.
To put it in simple terms, when you rasterize a layer, you convert it from a vector-based format to a pixel-based format.
This process is important when you need to apply raster-specific effects or edits. Your once flexible vector graphic is now a fixed grid of pixels.
While this reduces flexibility for some types of edits, it opens up a new world of Photoshop tools like the paint bucket or filters.
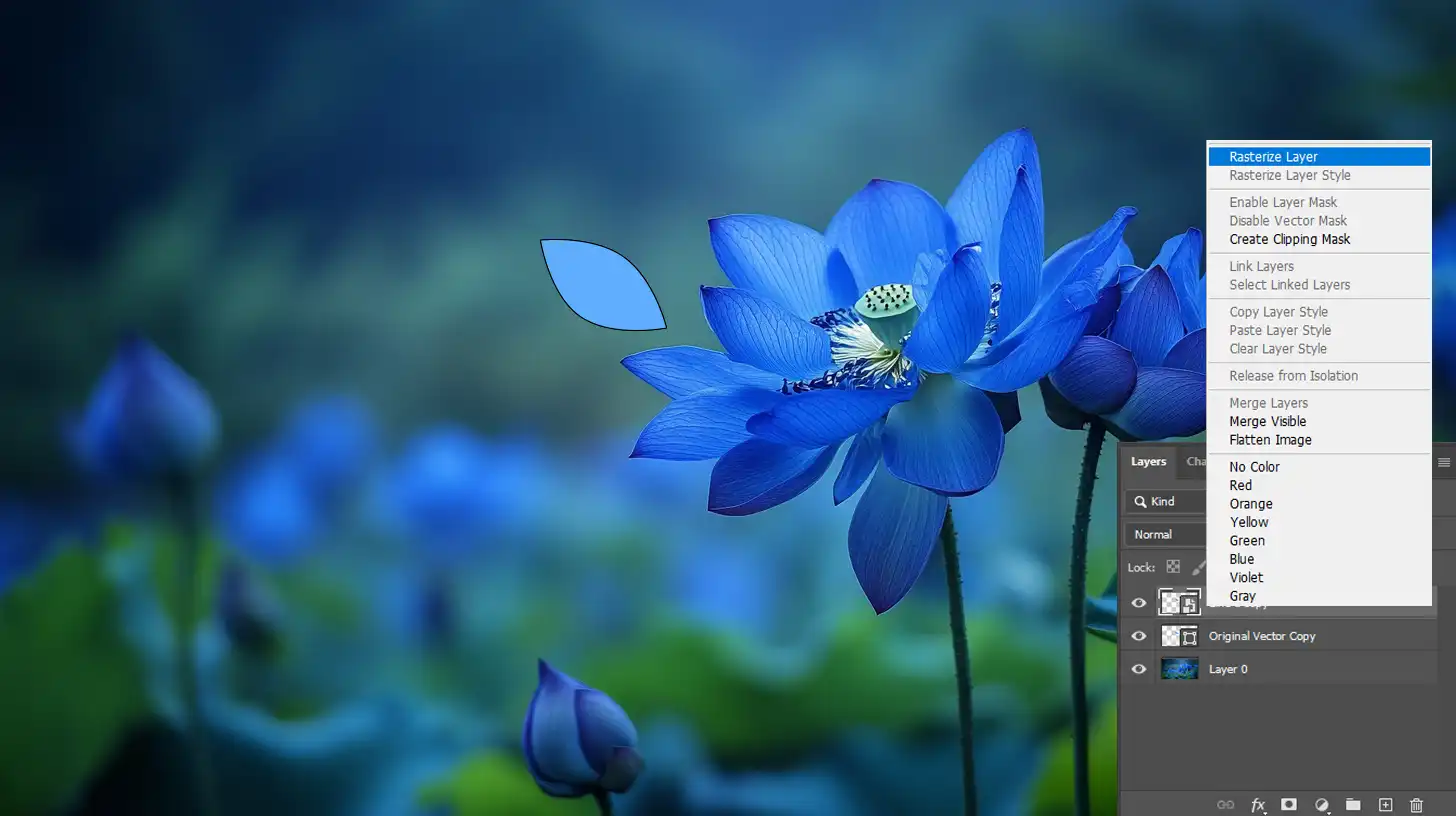
Using the Layers Panel Effectively
The layers panel is a powerful tool. Here’s how to use it efficiently:
Keep your layers organized. Group similar layers together.
Use naming conventions for clarity. Name your layers descriptively.
Utilize a layer mask for nondestructive editing.
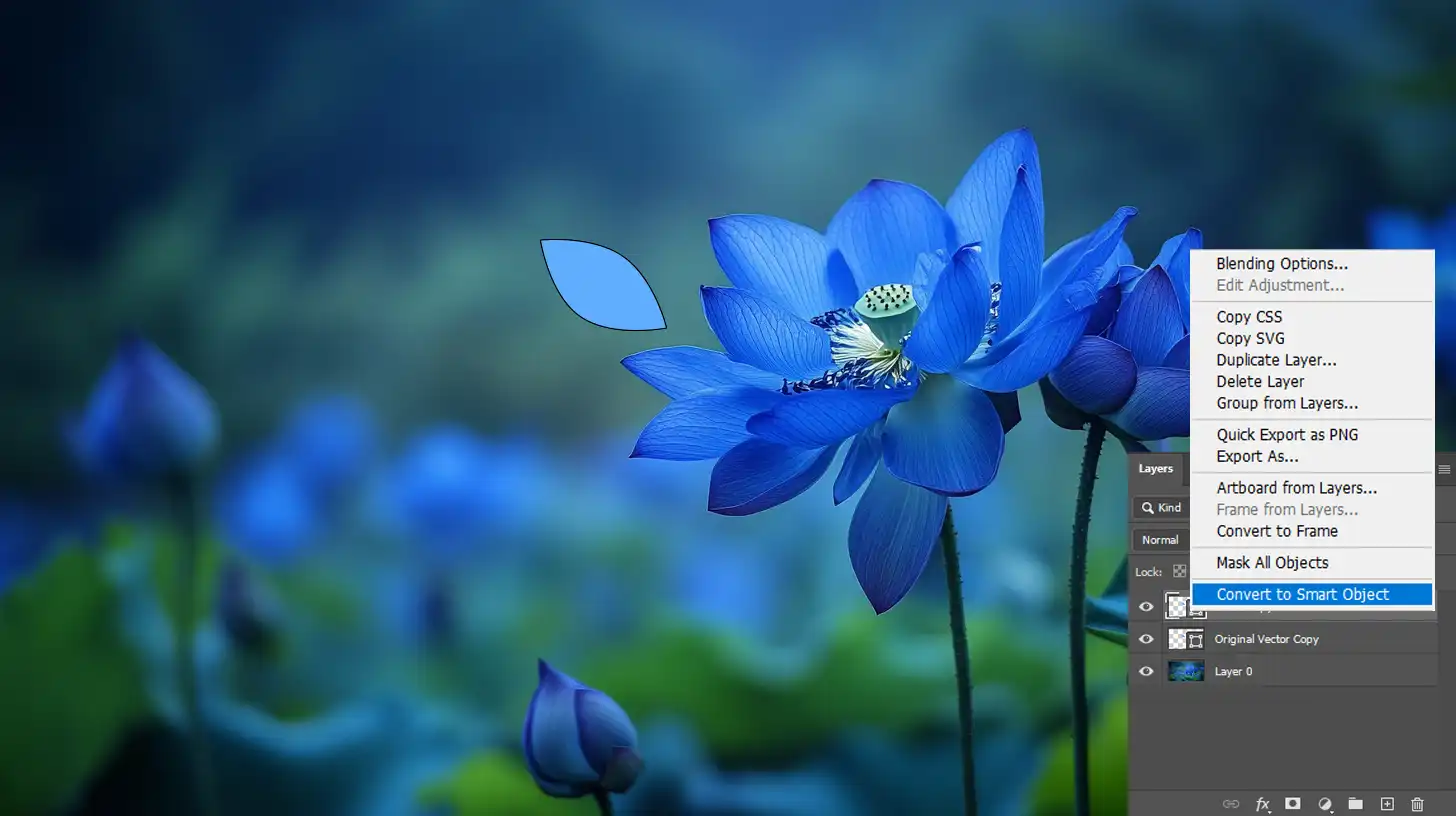
Make use of smart objects. They preserve the original vector layer.
Usingsmart objects means you can edit the object without losing the image quality of your original vector layer. It’s a handy trick when working with a vector graphic that you might want to adjust later without committing to a full transformation.
Pro Tip: Always duplicate your vector layer before rasterizing. This way, you can keep the original vector layer intact for future edits.
Additionally, understanding thedifference between Photoshop and Lightroom can help you choose the right software for specific tasks, making your editing process more efficient.
Knowing how to rasterize in Photoshop and navigate the layers panel boosts your editing skills significantly. It’s all about applying the right tools in the right way.
Exploring the Layers Panel
The Layers Panel in Adobe Photoshop acts as a central hub for managing and editing your layers. Its functions are important for keeping your work organized, especially when dealing with complex projects.
Navigating the Layers Panel
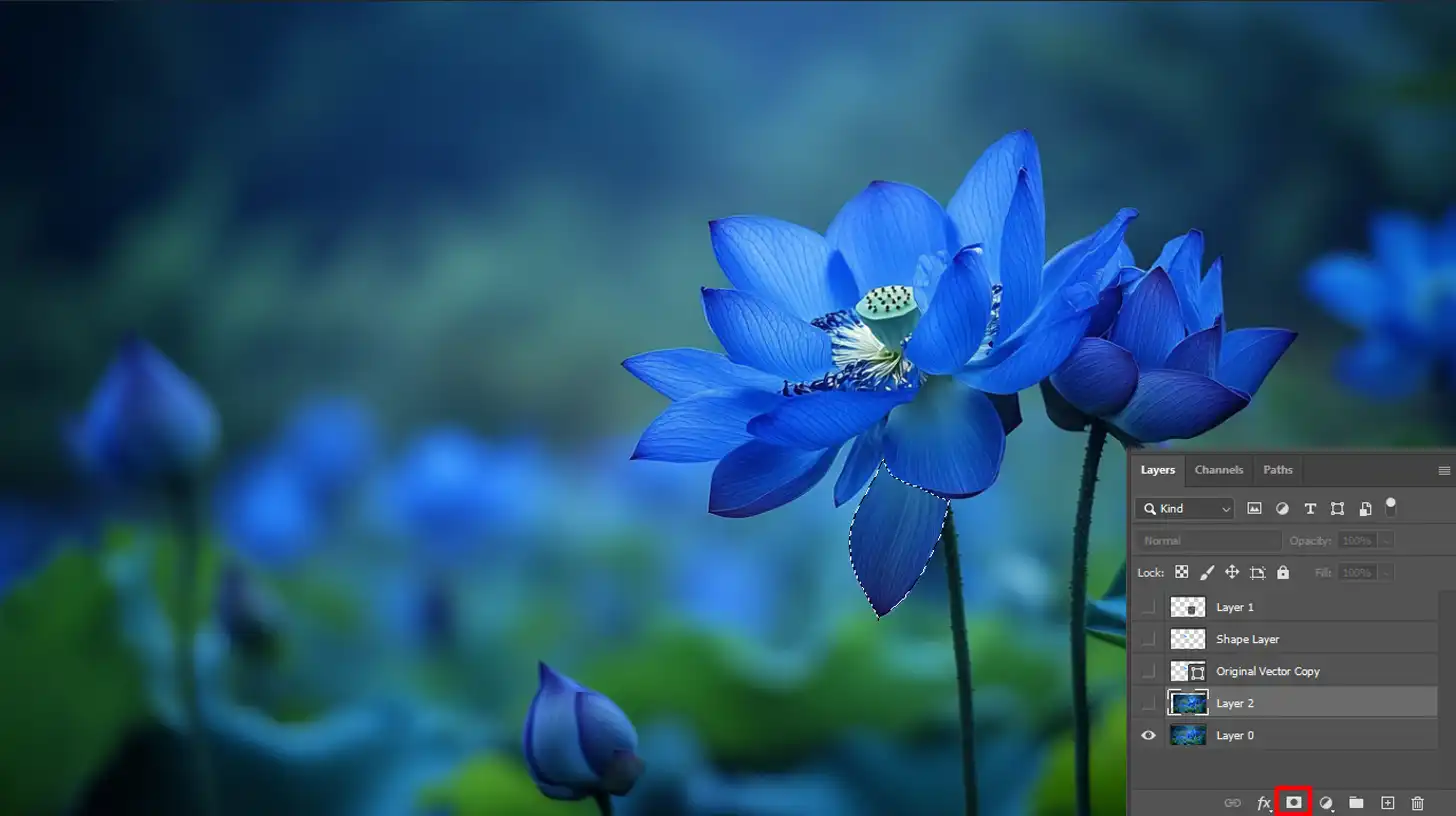
First, let’s get you acquainted with navigating the panel. On the right side of your workspace, you’ll find it by default. If you can’t see it, go to the Window menu in the menu bar and click on Layers.
This panel lists all the layers in your project, making it easy to select and modify them. You can see small versions of each layer – these thumbnails give you a quick preview.
Below each layer, you have options to add effects, masks, and adjustments.
Enhance your projects with transform image techniques in Photoshop to seamlessly integrate rester graphics and vector elements. Achieve precise adjustments and professional-quality designs effortlessly.
Managing Raster and Vector Layers
Within Photoshop, knowing the difference between raster images and vector images is important.
To put it simply:
Vector images: Made up of paths and points. They retain their quality no matter how much you scale them.
Raster images: Consists of pixels and can lose image quality when scaled.
When you’re working with a vector image in Photoshop, there are times when you might need to rasterize layers to apply certain pixel-based edits.
To rasterize in Photoshop:
Click on the vector layer.
Right-click and choose "Rasterize Layer".
Your vector image will now become a raster image, allowing you to perform more detailed edits.
Now, your vector image becomes a raster image, allowing for pixel-based edits.
It’s good practice to duplicate your layer before rasterizing it. This way, you keep the original vector file for future use.
Additionally, consider converting your vector layer into a smart object first. This will enable non-destructive editing, allowing you to preserve your initial design.
For advanced photo adjustments, using camera raw can be beneficial. It allows you to apply non-destructive edits and offers extensive control over exposure, color, and detail before converting an image into a raster layer for further manipulation.
Manage your raster and vector layers effectively by using naming conventions. Rename layers to keep track of what each one represents.
For instance, background layer, text layer, or even shape layer for clarity.
Pro Tip: Use layer masks instead of erasing parts of your image.
Layer masks provide a reversible way to hide sections of your image without permanently removing any data, giving you more flexibility in your editing process.
Benefits of Rasterizing Layers
Rasterizing layers in Photoshop provides several advantages, particularly when edits demand pixel-level adjustments.
By converting a vector layer to a raster image, you gain access to a broader set of tools, effects, and filters that work specifically with raster images.
This transformation enhances your editing flexibility and allows for more detailed modifications.
The table below highlights the significant benefits of rasterizing layers, such as enhanced editing flexibility, improved performance, and access to specialized tools and effects.
It also outlines important considerations to keep in mind when rasterizing your layers.
Aspect
Overview
Improved Editing Flexibility
Rasterizing a layer allows for pixel-level editing, enabling detailed modifications and more precise control over image adjustments.
Enhanced Performance
Raster graphics, like bitmap images, are less processor-intensive than vector graphics, which improves performance and speeds up the workflow in Photoshop.
Access to Additional Tools and Effects
Converting to raster images unlocks a range of tools, effects, and filters that are only available for raster layers, expanding creative possibilities.
Significant Points to Consider
Always duplicate your layer before rasterizing to preserve the original. Use smart object layers for non-destructive edits and layer masks for flexible adjustments.
Improved Editing Flexibility
Rasterizing a raster layer in Adobe Photoshop offers several benefits, especially when working with complex vector images. Rasterizing converts the layer into a raster image, which allows for pixel-level editing.
This means you have more control over the details of your image. It’s like swapping a broad brush for a fine-tipped pen, giving you enhanced precision. If you’ve ever wanted to edit minute details on a shape layer, rasterizing is the way to go.
Enhanced Performance
By converting vector images into a rasterized layer, you often see improved performance in Photoshop.
Raster graphics such as bitmap images, although sometimes larger in file size, are less processor-intensive for certain edits.
This can speed up your workflow, especially when handling numerous layers or high-resolution images.
You can focus more on your creative process and less on waiting for the software to catch up.
Understanding how different image file types, like vector and raster, impact performance can help you choose the best format for your specific needs in Photoshop.
Significant Points to Consider
Understanding when and why to rasterize a layer is important.
Always duplicate the layer before rasterizing to retain the original.
Convert vectors to a smart object layer for non-destructive edits.
Utilize a layer mask instead of erasing parts of the image.
Pro Tip: Use the paint bucket tool on a rasterized layer to fill large areas quickly and easily.
This can save you time, especially if you’re working on detailed designs or color schemes.
Enhance your designs with the color range in Photoshop to select precise hues, boosting your ResterGraphics projects with superior color control and seamless integration.
Frequently Asked Questions
How do you rasterize an image in Photoshop?
Open your project and select the layer you want to rasterize.
Right-click on the layer in the Layers panel.
Choose Rasterize from the context menu.
Select Layer, Smart Object, or any other applicable option based on what you need to rasterize.
Why can't I rasterize in Photoshop?
The layer is already rasterized.
The layer is locked or is a background layer (double-click the layer to unlock it).
The layer is part of a group or a linked set of layers. You may need to rasterize each layer individually or ungroup/unlink them first.
How do I re-rasterize in Photoshop?
If you've made changes to a previously rasterized layer and need to rasterize it again, simply follow the standard rasterizing steps.
If the layer won’t allow re-rasterization, check if it's a smart object or has other properties preventing it. Convert it to a normal layer if necessary.
What does it mean to rasterize an image?
Rasterizing an image or layer in Photoshop converts it from a vector or other format to a pixel format.
This process allows for more detailed editing on a pixel level but removes the ability to scale the image without loss of quality.
Understanding how to rasterize in Photoshop has been a game-changer for my design projects. It allows me to convert vector objects into pixel-based images, giving me greater control over editing and effects.
If you want to get better at using Photoshop and Lightroom, I suggest checking out my Photoshop Course and Lightroom Course. These courses break down all the steps you need to know and help you master both programs.
You’ll learn everything from basic edits to advanced techniques, making your editing process smoother and more effective.
For those interested in Adobe’s powerful tools, you can get Adobe Photoshop or Adobe Lightroom to start creating amazing images.
Mastering these tools has made a big difference for me, and I’m sure it can do the same for you.
If this article has helped you, then Like and Share it with your friends
$2,061.00Original price was: $2,061.00.$1,061.00Current price is: $1,061.00. 27584
Download Your Free Guide Now!
Discover the secrets of photography with our printable guide! Master essential techniques like aperture, shutter speed, and ISO to create stunning images. Get your free printable PDF now and start turning your snapshots into masterpieces!