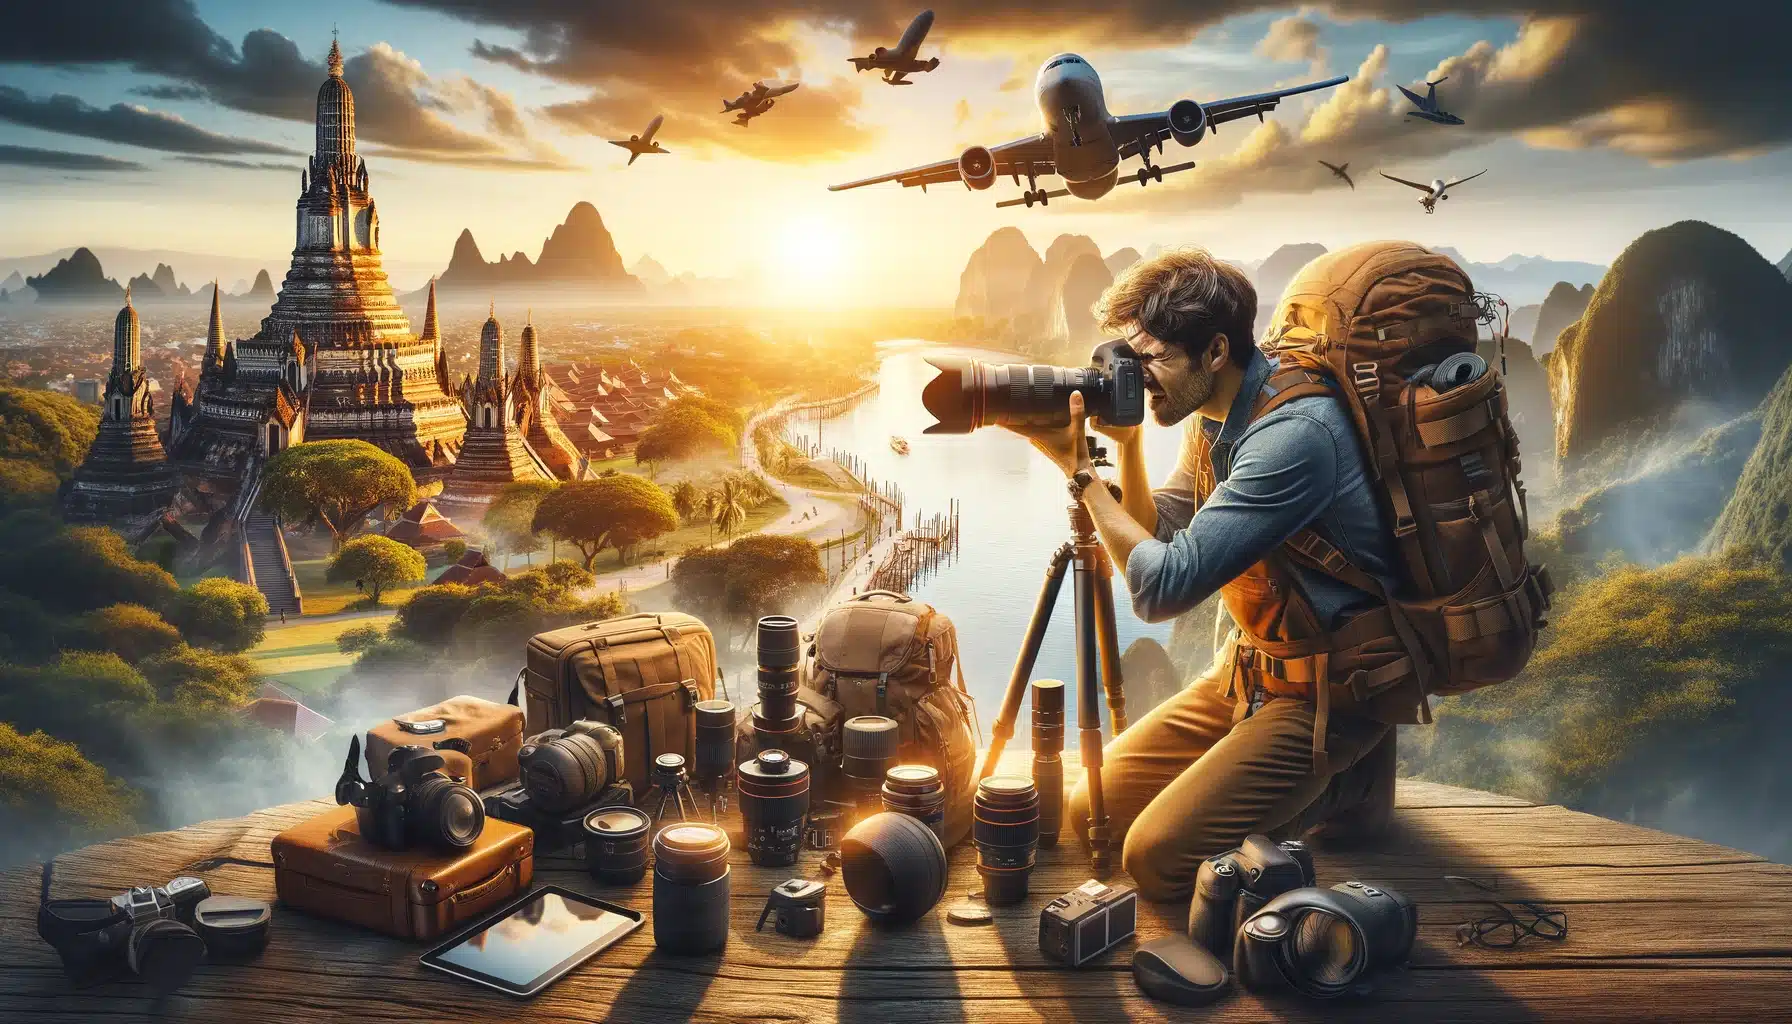
Travel photography is super fun and exciting! It lets you capture all the cool and beautiful things you see on a trip with your camera. Imagine taking photos that make everyone go “wow” and tell stories about amazing places and adventures. Whether you’re new to taking photos or already know a bit, we have some great tips for travel photography to help you take even better pictures.
So, grab your camera, and let’s get ready to make your travel photos awesome with some travel photography tips!
Table of Contents
Essential Gear for Travel Photography
For those embarking on the captivating journey of travel photography, equipping yourself with the right gear is paramount.
Here are some tips for travel photography related to the essential equipment that every travel photographer should consider packing in their camera bag:
Prime Lens
A fixed lens, commonly known as a prime lens, is excellent for portrait or product photography. It offers a beautiful blurred background effect, known as bokeh, which is great for low light conditions. An example is the use of a 50mm lens at f1.8 in a Las Vegas casino, capturing stunning depth of field and bokeh effects.
Wide-Angle Lens
The Laowa 15mm f2 lens is highly recommended for landscapes, architecture, and astrophotography. It’s wide enough to capture entire scenes, including the Milky Way, with its low aperture allowing for shorter shutter speeds. This lens has been particularly praised for its effectiveness in aurora photography in Iceland.
Pro Tip: Check out what cameras are best for landscape photography and find which suits you best!
Telephoto Lens
For wildlife photography or when you need some discretion, a telephoto lens like the Tamron 150-500mm f5-6.7 is invaluable. This lens stands out for its autofocus, sharpness, and value, making it a versatile addition to your travel photography kit.
Filters for Photography
Two types of filters can significantly enhance your photography:
• Circular Polarizer Filter (CPL): Essential for cutting glare on reflective surfaces, enhancing colors, and providing transparency when shooting water. The Polar Pro quartz line CPL is a favorite for its durability and performance.
• Neutral Density (ND) Filter: Ideal for long-exposure photographs in bright conditions, smoothing out water bodies during daytime. The Polar Pro ND1000/PL filter is notable for its combined ND and polarizing capabilities, allowing both glare reduction and long exposures.
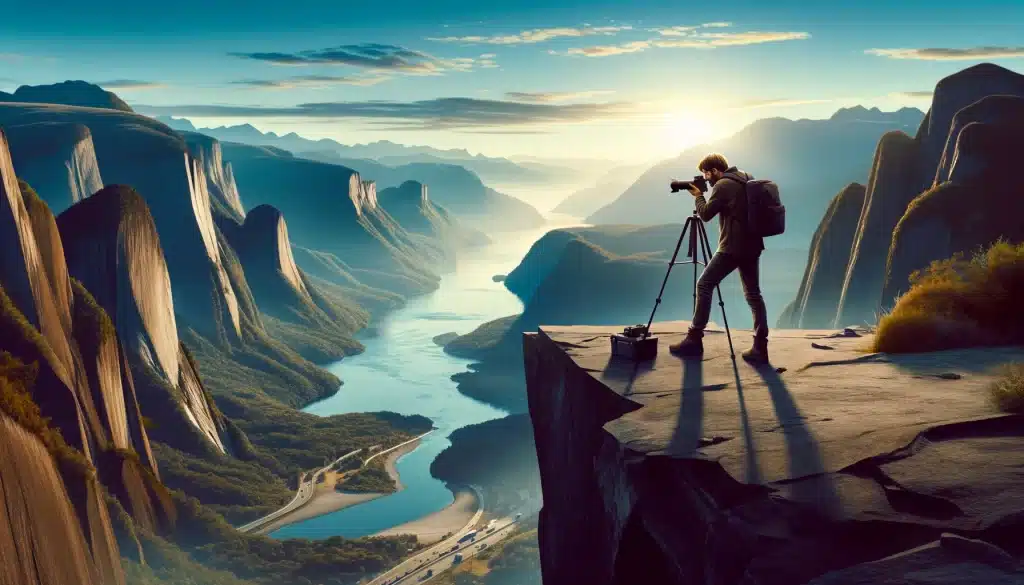
Photo edited in Lightroom.
Tips for Travel Photography - Understanding Your Camera Settings
Aperture: The Eye of Your Camera
- What It Is: Aperture controls the amount of light that enters through the lens. It's measured in f-stops.
- When to Adjust: Use a wide aperture (low f-number) for portraits or to achieve a blurred background. Opt for a narrow aperture (high f-number) for landscape shots where you want everything in focus.
Pro Tip: Research how to edit landscape photographs to become a pro!
Shutter Speed: Capturing Moments in Time
- What It Is: Shutter speed determines the duration the camera's shutter is open to expose brightness to the sensor.
- When to Adjust: A fast shutter speed freezes motion, perfect for capturing moving subjects without blur. A slow shutter speed, on the other hand, can create a motion blur effect, ideal for waterfalls or city lights.
ISO: Sensitivity to Light
- What It Is: ISO measures the camera sensor's sensitivity to light.
- When to Adjust: Lower ISO values (100-400) are best for bright conditions to ensure crisp, noise-free images. Increase ISO in low-light situations to make your camera more sensitive to brightness, but be wary of the potential increase in noise (graininess).
Mastering Manual Mode for Photography
- What It Is: Manual mode grants you full control over both aperture and shutter speed, allowing you to adjust them independently.
- Benefits: Offers creative freedom to photographers who want to make specific artistic choices about depth of field and motion blur.
Rule of Thirds: A Fundamental Composition Technique
- What It Is: A compositional rule that divides the frame into nine equal parts. Placing subjects along these lines or their intersections can create more balanced and engaging photos.
- Real-World Application: Whether capturing the sprawling landscapes of Iceland or the bustling streets of Tokyo, using the rule of thirds can dramatically enhance the composition of your shots.
The Importance of Framing in Travel Photography
- What It Is: Framing involves using elements within your scene to frame the subject, guiding the viewer's attention.
- Tips: Use doorways, windows, or even tree branches to creatively frame your subjects. This technique adds depth and interest to your photos, making them more compelling.
By understanding and adjusting these settings according to the scene in front of you, you’ll be well on your way to capturing breathtaking travel photos that tell a story.
Remember, the key to great travel photography lies in experimentation and practice. Don’t be afraid to try different settings to see what works best for the story you’re trying to tell.
Composition Techniques in Travel Photography
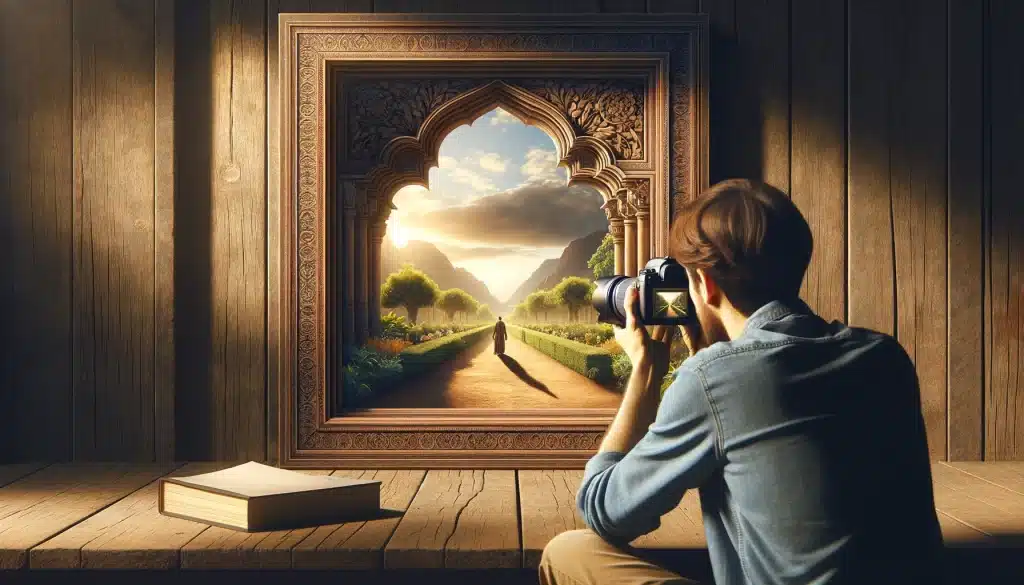
One of the best tips for travel photography is to focus on composition techniques. They can significantly elevate the quality and impact of your images.
Various strategies can help you capture stunning, well-composed shots that resonate with viewers and tell a more compelling story of your travels.
Use of Reflections
Capturing reflections is a creative way to add depth and intrigue to your photos. You can find reflective surfaces in water bodies, glass windows, or even puddles. This technique is particularly effective in calm conditions where the reflection can be clear and undisturbed, adding a symmetrical dimension to your composition.
Leading Lines
Incorporating leading lines into your photographs can guide the viewer’s eye towards the main subject or focal point. These lines can be anything from roads, fences, and pathways to architectural elements, enhancing the photo’s depth and perspective.
Frame Within a Frame
Using natural or architectural elements to frame your subject can add layers to your composition, focusing the viewer’s attention on the main subject and adding a sense of depth and context to the scene.
Pro Tip: Familiarizing yourself with the frame tool in Photoshop will simplify your editing process.
Adding Depth and Layers
To create more dynamic and interesting photos, consider adding depth by including elements in the foreground, midground, and background. This technique helps to create a three-dimensional feel in your images, making them more engaging.
Get Low or High
Changing your perspective by either getting low to the ground or finding a higher vantage point can dramatically alter the composition of your photos. Getting low might highlight interesting foregrounds with a unique perspective, while getting high can offer an overview of a scene, providing context and a different viewpoint.
Rule of Thirds in Photography
One of the most fundamental composition techniques, the Rule of Thirds involves dividing your image into nine equal parts with two horizontal and two vertical lines. Placing your subject along these lines or at their intersections can create a more balanced and naturally appealing photo.
Selective Focus
Utilizing a shallow depth of field to isolate your subject from the background highlights the focal point effectively, drawing the viewer’s attention directly to it. This technique is useful for emphasizing specific elements within your frame.
Each of these techniques offers a way to enhance the visual appeal of your travel photography, making your images stand out. Experiment with these approaches to find what works best for the story you’re trying to tell through your photos.
Mastering Lighting for Stunning Shots: Tips for Travel Photography
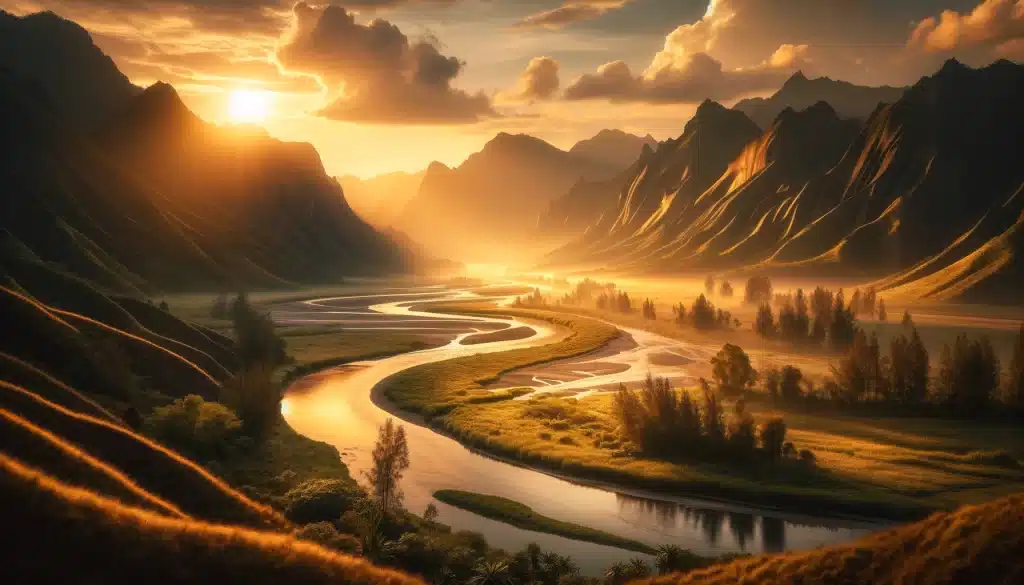
Now, one of the most difficult tips for travel photography is to master the aspect of lighting. It can be difficult for beginners; however, professionals know that sometimes, it may take a few hours to capture the perfect moment given the different amount of light during a day.
Understanding Natural Light
The golden hour, just after sunrise or before sunset, offers soft, warm lighting that can dramatically enhance your travel photos. Utilize this time for landscapes or portraits to capture the golden hues and long shadows that add depth and interest to your images.
Working with Harsh Midday Light
The brightness in the midday can be challenging due to its intensity and the harsh shadows it creates. Use this time to explore unique perspectives, such as silhouettes or high-contrast scenes. Alternatively, seek shade for evenly lit portraits or use a reflector to soften shadows.
Embracing the Blue Hour
The blue hour, occurring before sunrise or after sunset, provides a cool, ethereal brightness. This period is perfect for cityscapes or night photography, where the blend of natural and artificial light creates a magical atmosphere. Use a tripod to manage longer exposures during this time.
Utilizing Artificial Light
Don’t shy away from using artificial light to illuminate your subjects. Street lamps, neon signs, and interior lights can add an intriguing visual element to your travel photography. Experiment with different sources to discover creative lighting setups that highlight the essence of your destination.
Capturing the Essence of a Destination
Immersing Yourself in the Culture
Focusing on Details
Pay attention to the details that make a destination unique—textured walls, colorful doors, intricate patterns. These elements can tell a story on their own, revealing the character and history of a place. Close-up shots of such details are essential tips for travel photography, adding variety and depth to your photograph collection.
Landscape and Architecture
Capture the grandeur of landscapes and the elegance of architecture to convey the beauty of your destination. Use leading lines and the rule of thirds to compose striking images that showcase the natural and human-made wonders of the area.
The Human Element in Travel Photography
Including people in your shots adds scale and personalizes your travel photography. Whether it’s a bustling street scene or a solitary figure against a vast landscape, the human element evokes emotion and connection, drawing viewers into the story of your journey.
By applying these tips for travel photography, you can master lighting in any situation and capture the true essence of your destinations, creating memorable images that resonate with viewers and reflect the beauty and diversity of our world.
Tips for Better Travel Photos
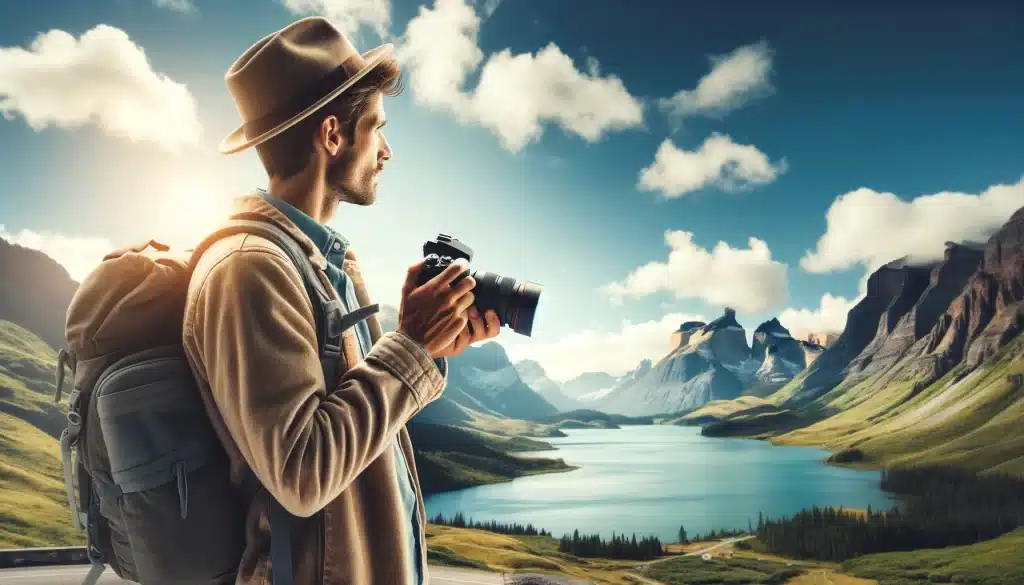
Capturing the essence of a destination in your travel photos involves more than just pointing and shooting. To really bring out the vibrancy of a place, each shot should be thoughtfully composed to tell a story.
Whether it’s a bustling street scene, a serene landscape, or a spontaneous portrait, the goal is to make the viewer feel as if they’re part of the journey.
Here are some practical tips to enhance your travel photography:
Capture the Local Flavor
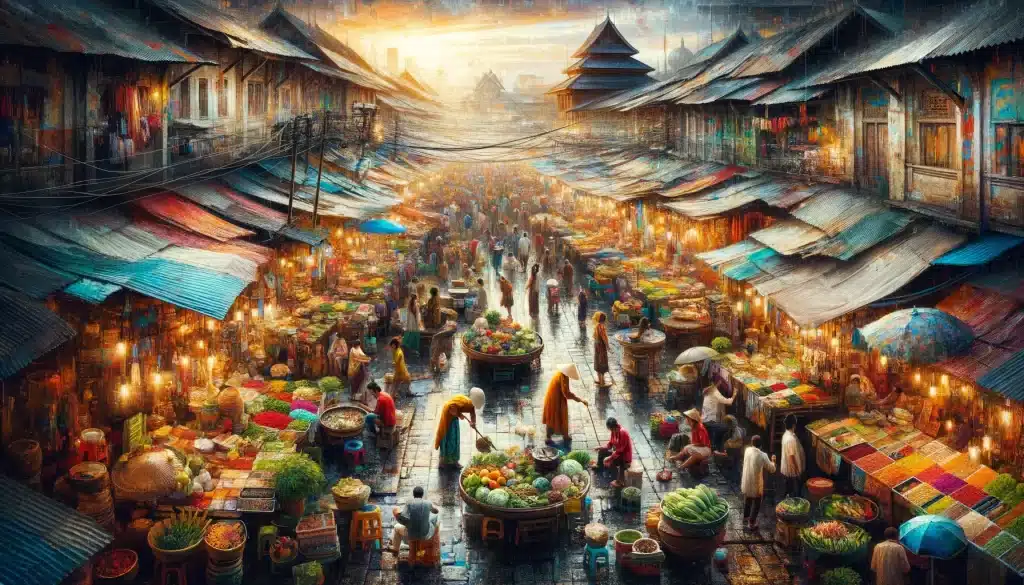
To convey the essence of your trip, focus on details that are unique to the location. This could be the textures and colors of a local market, the architectural details of street buildings, or candid moments of daily life.
Interaction Over Staged
Encourage interaction with the environment over staged poses. A person gazing over a landscape or interacting with locals can convey a sense of place more effectively than a simple stand-and-smile picture.
Explore Different Perspectives
Don’t be afraid to experiment with angles and perspectives. Try shooting from high above or ground level to give a fresh view of common scenes. This could mean capturing the expanse of a cityscape from a rooftop or the intricate detail of a street from the perspective of a café’s floor.
The Power of Post-Processing
Learning basic editing techniques can turn a good picture into a great one. Tools like Adobe Photoshop offer tools that can enhance colors, adjust contrasts, and highlight textures to reflect the true atmosphere of the location.
Tell a Story Through Series
Instead of one image, capture a series to tell a comprehensive story of a place. This approach can provide context and sequence to your travel narrative, drawing viewers into your experience.
Equipment Doesn't Make the Photographer
A good photographer can capture an engaging photo with any device. Focus on composition and storytelling rather than relying solely on high-end gear. Often, a smartphone can be the best tool due to its unobtrusiveness and immediacy.
FAQs on Tips for Travel Photography
How do you take good pictures when traveling?
Taking good pictures while traveling involves a mix of technical know-how, creative vision, and a deep understanding of the environment you’re in. To capture striking images, consider the following tips:
- Understand the light: The best travel photos often feature captivating lighting. Shoot during the golden hours—shortly after sunrise or before sunset—when the light is soft and warm.
- Rule of thirds: Compose your shot with the subject positioned at the intersection of the dividing thirds of the frame for a balanced and intriguing image.
- Engage with the subject: Whether it’s landscapes or local life, engaging with the subject can lead to more authentic and emotionally resonant photos.
- Gear and settings: A good travel photo can be taken with any camera, even smartphones. Understand your gear's capabilities, like ISO, shutter speed, and aperture, to get the best shot.
- Be patient: Sometimes, you need to wait for the perfect moment when all elements come together to capture a compelling picture.
What are the don'ts of travel photography?
Avoid common pitfalls to enhance your travel photography experience:
- Don't Ignore Local Customs: Always respect local cultures and ask for permission before photographing people.
- Avoid Overpacking Gear: Carry only the essentials to remain mobile and unburdened.
- Don't Stick to Clichés: Seek unique angles and perspectives instead of replicating postcard shots.
- Avoid Shooting Only in Auto Mode: Experiment with manual settings to have more control over your images.
- Don't Forget to Backup: Regularly backup your photos to prevent loss.
What is the best aperture for travel photography?
The best aperture for travel photography can vary depending on the situation:
- Landscapes: Use a smaller aperture (higher f-stop number) like f/8 or f/11 to ensure everything from the foreground to the background is in focus.
- Portraits: Use a larger aperture (smaller f-stop number) like f/2.8 or f/4 to blur the background and make your subject stand out.
- Street scenes: An aperture around f/5.6 can offer a good depth of field while allowing for faster shutter speeds in variable lighting.
How to become a travel photographer?
Becoming a travel photographer involves passion, perseverance, and continuous learning:
- Build a Portfolio: Create a compelling portfolio showcasing your best work to attract potential clients or for personal branding.
- Network: Connect with other photographers, travel agencies, and publications to find opportunities.
- Learn Continuously: Stay updated with the latest photography techniques, gear, and trends.
- Travel and Experiment: Travel as much as possible to diversify your portfolio and experiment with different photography styles and techniques.
- Market Yourself: Utilize social media, photography platforms, and personal blogs to share your work and reach a wider audience.
Conclusion - Best Tips for Travel Photography
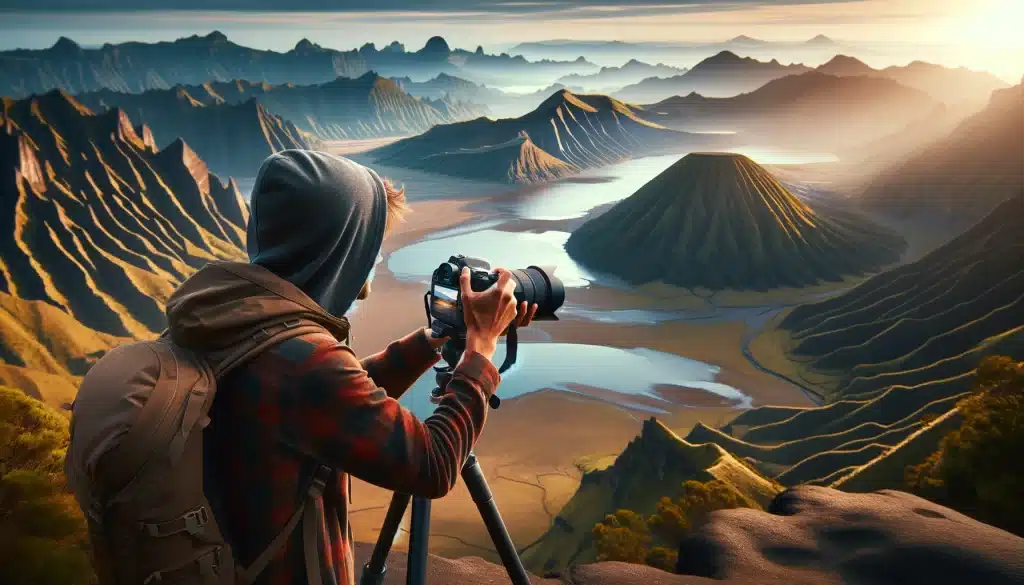
Embarking on the journey of travel photography has been one of the most enriching experiences of my life. From the vibrant streets of Barcelona to the serene landscapes of Iceland, each trip has offered a unique palette for my lens and a myriad of lessons along the way. I remember standing before the majestic Taj Mahal at sunrise, camera in hand, waiting for the perfect light. That moment taught me the true value of patience in photography; waiting for the right moment paid off with one of the most captivating shots in my portfolio. It’s experiences like these that remind me why I fell in love with travel photography in the first place.
To those who share this passion and are eager to capture the world through their lenses, remember that the journey of learning never ends. Whether you’re refining your composition skills or mastering the intricacies of your camera settings, every shot is a step towards becoming a better photographer. If you’re looking to elevate your skills further, I highly recommend exploring our comprehensive courses on Photoshop and Lightroom. These tools are indispensable in bringing out the best in your travel photographs, transforming them from good to breathtaking.
Dive into our Photoshop Course to unlock the full potential of your post-processing skills. Or, explore our Lightroom Course to streamline your editing workflow and bring your creative vision to life.
Join us, and let’s embark on this journey of endless discovery and creativity together.
If the “Tips for Travel Photography ” article has helped you, then Like and Share it with your friends!
Have a nice photoshoot!
Read more about Photography Techniques


