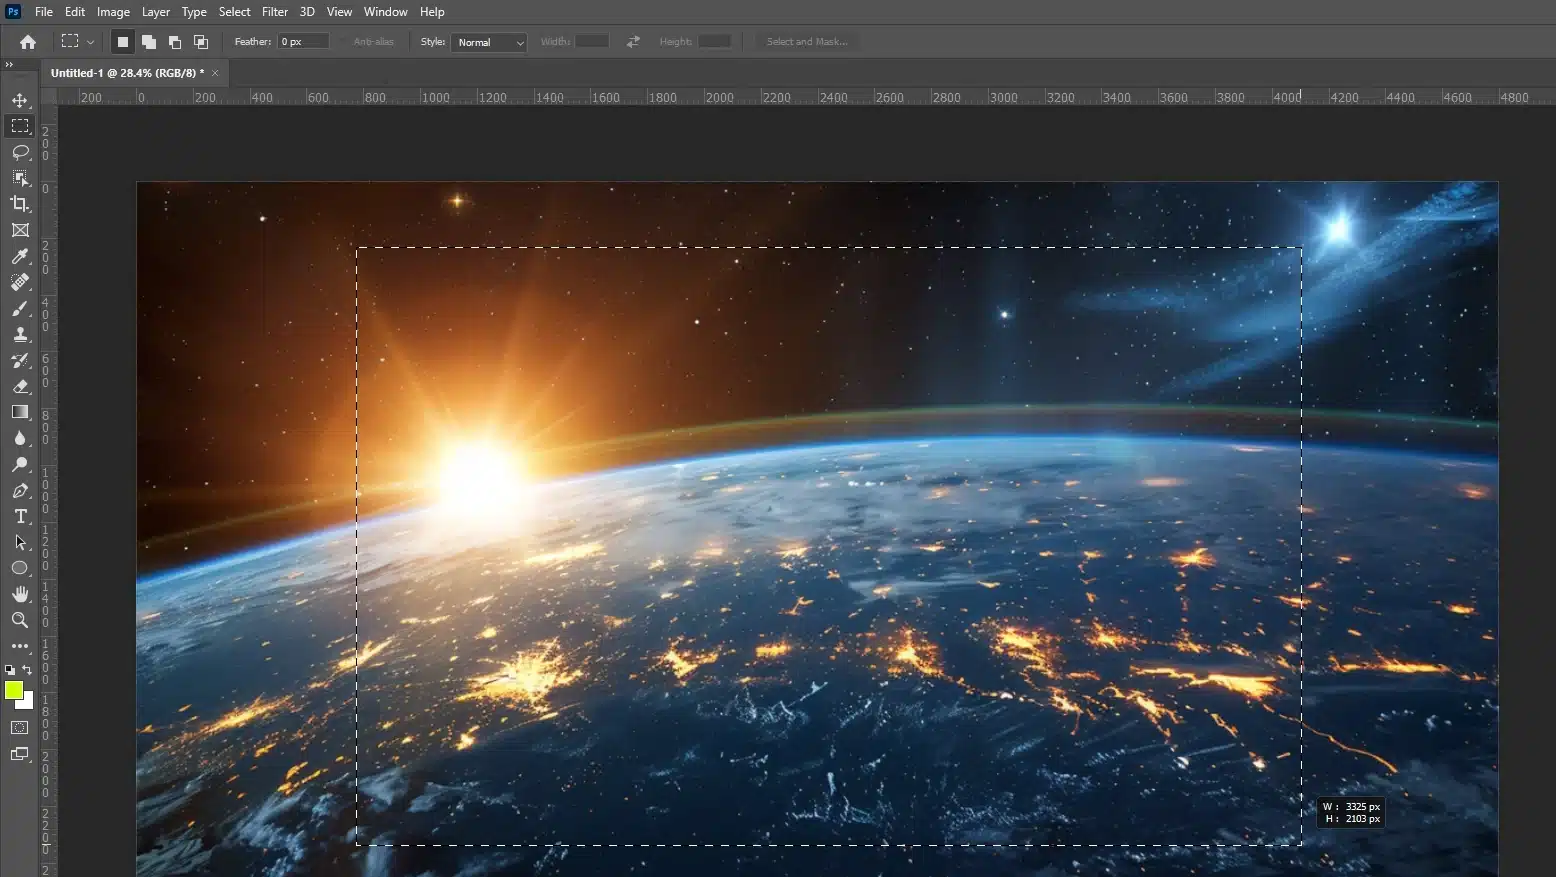
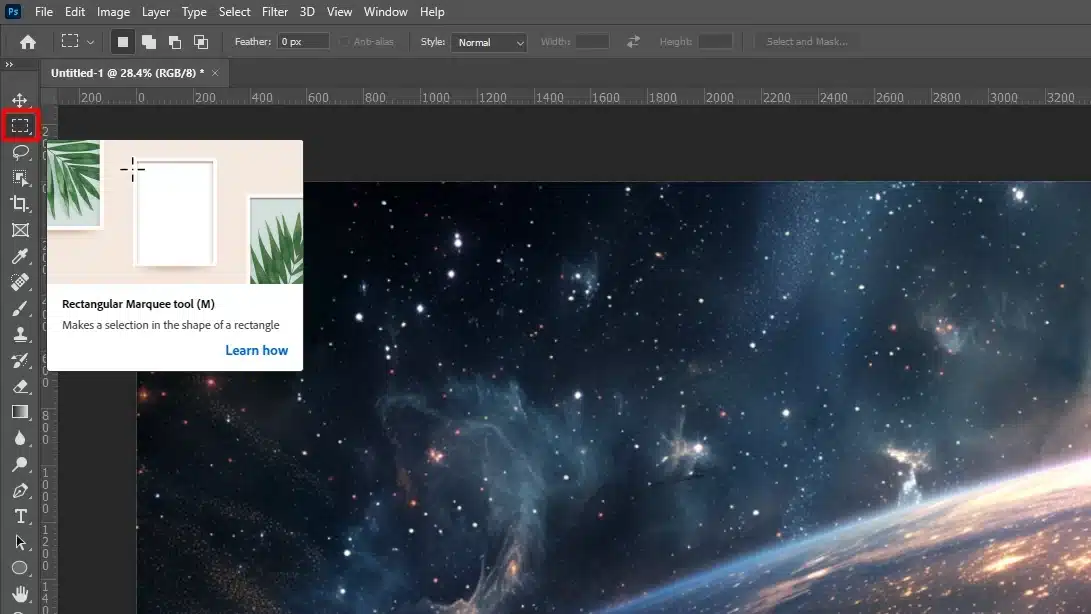
Master the Rectangular Marquee Tool: Precision Selection Made Simple

Hey there! If you’re ready to dive into the Rectangular Marquee Tool in Photoshop this is a fantastic place to start. 

This tool is incredibly versatile for making basic rectangular and elliptical selection, and it’s super easy to use. 

Whether you’re just getting started or looking to refine your skills, I’ll guide you through everything you need to know about the marque tool in Photoshop. 

Let’s jump in and see how this simple tool can make a big difference in your editing workflow!

Table of Contents

Basics of the Rectangular Marquee Tool

The Rectangular Marquee Tool is a fundamental feature in Photoshop, significant for making precise selections. 

In the following sections, we will explore its purpose and how to effectively use it in your projects.

Sunrise over Earth with rectangular marquee tool selection

What is the Rectangular Marquee Tool?

This is a basic selection tool in Adobe Photoshop. You use it to create rectangular selections.

Hold the shift key for square selections.

It’s simple. Click and drag the mouse button to select the area you want.

Why Use the Rectangular Marquee Tool?

This tool is great for isolating rectangular parts of an image. It helps in making precise edits. 

The tool allows for fixed ratio and fixed size selections. For a perfect square, hold the shift key while dragging.

Advantages of Using the Rectangular Marquee Tool

How to Use the Rectangular Tool

Pro Tip: Use the refine edge tool to smooth out your selection edges for a cleaner final product. Practice makes perfect!

For more advanced editing, consider using the content-aware fill to seamlessly remove unwanted elements from your selected area. 

Also, familiarize yourself with essential tools in Photoshop to enhance your workflow efficiency.

Getting Started with the Rectangular Marquee Tool

Welcome! If you’re looking to dive into Photoshop and Lightroom, this is a great starting point. 

This tool is simple yet powerful for making basic selections. Let’s walk through how to access and use it effectively.

Accessing the Rectangular And Elliptical Marquee Tool

To start using the Marquee Tool, you first need to locate it within the Photoshop interface.

It’s easy to use and perfect for rectangular selections. Here’s how you can find and access this versatile tool.

Photoshop interface with rectangular marquee tool icon highlighted

This tool is right in the toolbar. You’ll find it on the left side of the screen. It looks like a dashed rectangle. 

Click on the second icon, and you’re ready to go. This marquee tool in Photoshop can be accessed using the keyboard shortcut M, very handy!

Did you know? There are two tools like the Elliptical Marquee Tool and Single Column Marquee Tool. Switch between them by right-clicking the tool icon. 

Don’t get overwhelmed. This is your starting point.

The Single Column Marquee Tool selects an entire single column or a single row of pixels from top to bottom. 

While the Single Row Marquee Tool can select a single row of pixels across the width of the image.

Basic Rectangular Selection with the Marquee Tool

Let’s make some basic selections:

Photoshop interface with rectangular marquee tool selection

If you need to refine the selection border, head over to the options bar at the top. You have various selection options like fixed ratio or fixed size, which makes things precise.

Pro Tip: Need to refine those edges for cleaner selections? 

Use the Refine Edge tool to smooth things out. It helps a lot, trust me!

With these steps, you are starting your journey in Photoshop. 

Finding the Rectangular Marquee Tool

Look at the toolbar on the left side of your screen. See that dashed rectangle? That’s your rectangular marquee tools. 

Click it, and you’re all set. You can also hit M on your keyboard to open it quickly.

By the way, there are other marquee tools like the Elliptical Marquee Tool. 

Just right-click the tools icon to switch. But don’t worry about those for now. Stick with the rectangle for starters.

Forming Initial Selections

Ready to make a selection?

If you want to get fancy, check out the options bar at the top. You can set fixed ratios or sizes of both the width and height for your selection. Makes things super precise.

Pro Tip: Incorporate the object selection tool here for additional details.

Exploring Selection Tools in Adobe Photoshop

When working in Photoshop, understanding how to manage your selections can greatly enhance your efficiency and accuracy. 

The Marquee Tool is just one of the selection tools at your disposal, and mastering it alongside others can transform your editing process.

Making the Most of Selection Tools

To make a selection, simply choose your desired tool and click and drag over the area you want to select. 

But what if you want to modify this current selection or create one within it? 

Photoshop offers powerful options through the style option in the options menu bar:

These techniques not only increase your control over the  tool but also enhance your ability to work precisely across different parts of your image.

Whether adjusting one selection or managing multiple areas, these strategies are invaluable for any Photoshop user.

Pro Tip: Always remember to deselect before starting a new selection to avoid modifying your current selection unintentionally. To deselect, simply choose ‘Select > Deselect’ or press Ctrl+D (Cmd+D on Mac).

Additionally, learning how to remove an object in Photoshop using this tool can significantly enhance your editing capabilities offering advanced techniques for selecting subjects. Mastering Lightroom’s selections tools is also a great way of further enhancing your skillset.

Practical Uses of the Rectangular Marquee Tool In Photoshop

Alright, let’s see how this handy marquee tool can make your Photoshop work easier. 

I’ll keep it simple and fun. Remember, practice makes perfect!

Techniques for Cropping Images Effectively

Got a photo with too much background clutter? The marquee tool helps you crop it easily:

And there you go, you’ve trimmed the excess from your image. This works great if you need to focus on a specific rectangular area in your photo. 

For more precision, you might also consider using the Patch Tool in Photoshop to refine your selection.

Creating Borders and Frames

Want to add borders or frames to your images? Here’s how:

You’ve just framed your image like a pro. 

Perfect for those family photos you plan to print. If you’re looking to add more creative effects, try using the gradient to give your borders a unique look.

Methods for Highlighting Text

Need to highlight some text in an image? The marquee tool makes it easy:

Your text now stands out. Highlighting important information is super easy and effective!

Additionally, understanding the difference between softbox and umbrella lighting can further enhance your photography and editing work.

Pro Tip: To make perfect circles instead of rectangles, use the elliptical marquee tool. Hold the shift key while dragging to ensure a perfect circle.

Experiment with combining different selection tools like the patch tool to get the best results.

Tips and Tricks for the Rectangular Marquee Tool

Selecting the right tool for making selections in design software is important. Here’s a comparison between the Rectangular Marquee Tool and other selection tools:

AspectRectangular Marquee ToolOther Selection Tools and Techniques
Ease of UseSimple click-and-drag functionality, ideal for basic rectangular selections.Varies by tool; some require more precision or offer freehand selection capabilities.
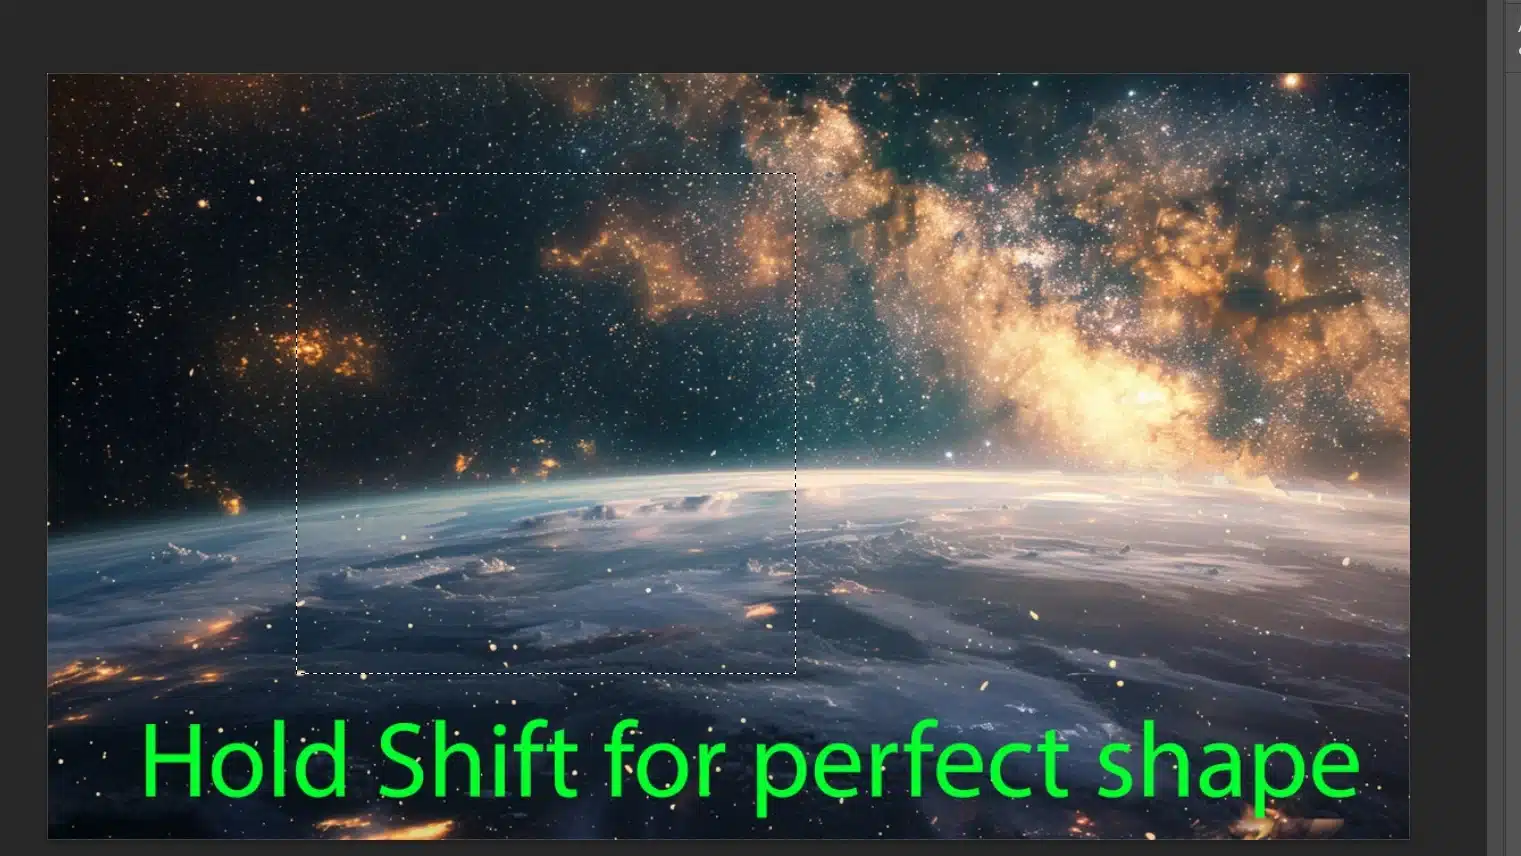
PrecisionOffers fixed ratio and size options for precise selections; good for geometric shapes.Varies; some tools allow for more precise adjustments with feathering and refinement options.
VersatilityPrimarily for rectangular selections; limited to straight lines and right angles.Offers a range of selection tools including elliptical, lasso, and quick selection; more versatile for complex shapes and freehand drawing.
Editing FlexibilityBasic editing within selected area; limited to cut, copy, paste, and fill operations.Varies; tools like Content-Aware Fill and Patch Tool offer advanced editing capabilities within selections.
Learning CurveEasy to learn; suitable for beginners and basic editing tasks.Varies; some tools require more practice and understanding of selection refinement techniques.

Useful Keyboard Shortcuts for Efficient Editing

First off, a keyboard shortcut that can save you time:

Rectangular marquee tool selection in Photoshop with keyboard shortcuts

Here’s a trick: hold down the Alt key while you drag to draw from the center outwards. It gives you better control, especially for square selections.

Need to add or subtract from an existing selection? Hold Shift to add and Alt to subtract. This technique is handy for refining your selections.

Common Mistakes to Avoid

Alright, let’s avoid some mistakes:

More Advanced Techniques

For those looking to take their skills further, try integrating the Rectangular Marquee Tools with other important tools in Photoshop. For example, the Content-Aware Fill feature can help you seamlessly blend selected areas with the surrounding content. 

Additionally, learning how to remove an object using this tool can significantly enhance your editing capabilities.

With these tips and tricks, you can master that marquee tool! Happy editing!

Pro Tip: Want cleaner edges? Use the feather option in the options bar. It softens those harsh lines and makes your work look polished.

Also, you can enhance your design by incorporating various shapes to create a more dynamic and visually appealing composition.

Keep practicing, and you’ll see improvement!

Frequently Asked Questions (FAQs)

An image of a FAQ section about the rectangular marquee tool displayed on a computer screen

What is the Rectangular Marquee Tools?

The Rectangular Marquee Tools is a selection tool in Photoshop that allows users to select rectangular areas within an image. It’s used for cropping, copying, or editing a specific rectangular section.

Where is the Rectangular Marquee Tools in Illustrator?

In Adobe Illustrator, the equivalent tool is called the “Selection Tool” or “Rectangle Tool” for creating vector shapes, but not for marquee selections like in Photoshop. You can find it in the toolbar, typically represented by a black arrow or a rectangle icon.

What is the Rectangle Tool in Photoshop?

What is the Shortcut Key for Rectangular Marquee Tools in Photoshop?

The shortcut key for the Rectangular Marquee Tools in Photoshop is ‘M’. Pressing ‘M’ on your keyboard will activate this tool, allowing for quick selection making with style.

Conclusion

Wrapping up, mastering the rectangular marquee tool has truly made a big difference in how I edit photos.

Whether it’s creating clean selections for cropping or crafting precise edits, this tool has been indispensable. It’s straightforward but powerful, making it a go-to in my editing toolbox.

For anyone eager to dive deeper into the world of photo editing, checking out further training can really boost your skills.

Explore more through my Photoshop Course and Lightroom course. Also, if you’re looking to get your hands on Adobe Photoshop or Lightroom.

These resources have helped me a lot, and I’m sure they can do the same for you.

If this article has helped you, then Like and Share it with your friends
Facebook
Twitter
LinkedIn
Pinterest

Read more about Photoshop: 

Download Your Free Guide Now!

Discover the secrets of photography with our printable guide! Master essential techniques like aperture, shutter speed, and ISO to create stunning images. Get your free printable PDF now and start turning your snapshots into masterpieces!