Mastering the 'Photoshop Select Subject' Feature for Effortless Image Editing
Mastering the ‘Photoshop Select Subject’ Feature for Effortless Image Editing
Do you want to learn how to get the most out of the Photoshop Select Subject feature?
This tool makes complex selections easy. See how this will speed up your projects and increase your creativity through this guide.
Let’s get right into it!
Table of Contents
How to Resize an Image in Photoshop Using the Select Subject Tool
Resizing images in Photoshop can enhance your workflow and ensure your projects maintain high-quality visual standards.
Using the Select Subject tool simplifies the process, offering precision while saving time.
Step-by-Step Guide to Resizing Images
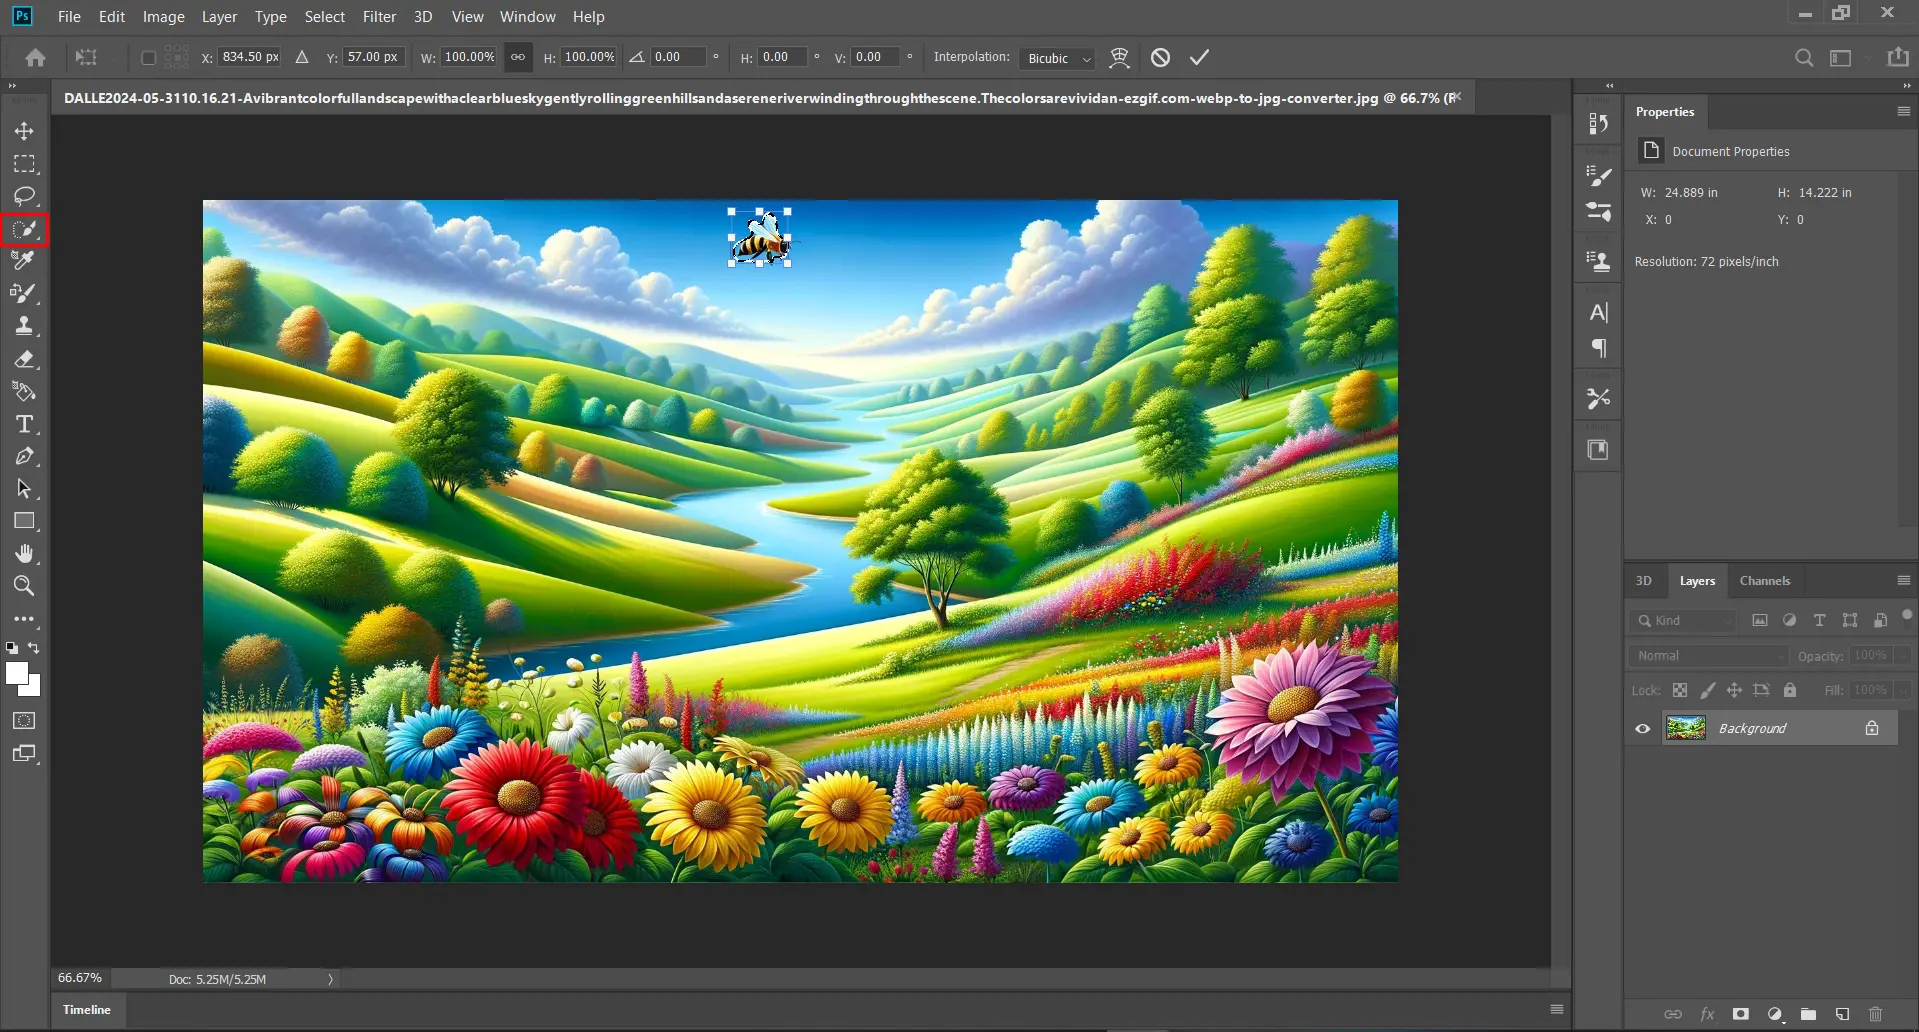
Firstly, open your image in Photoshop.
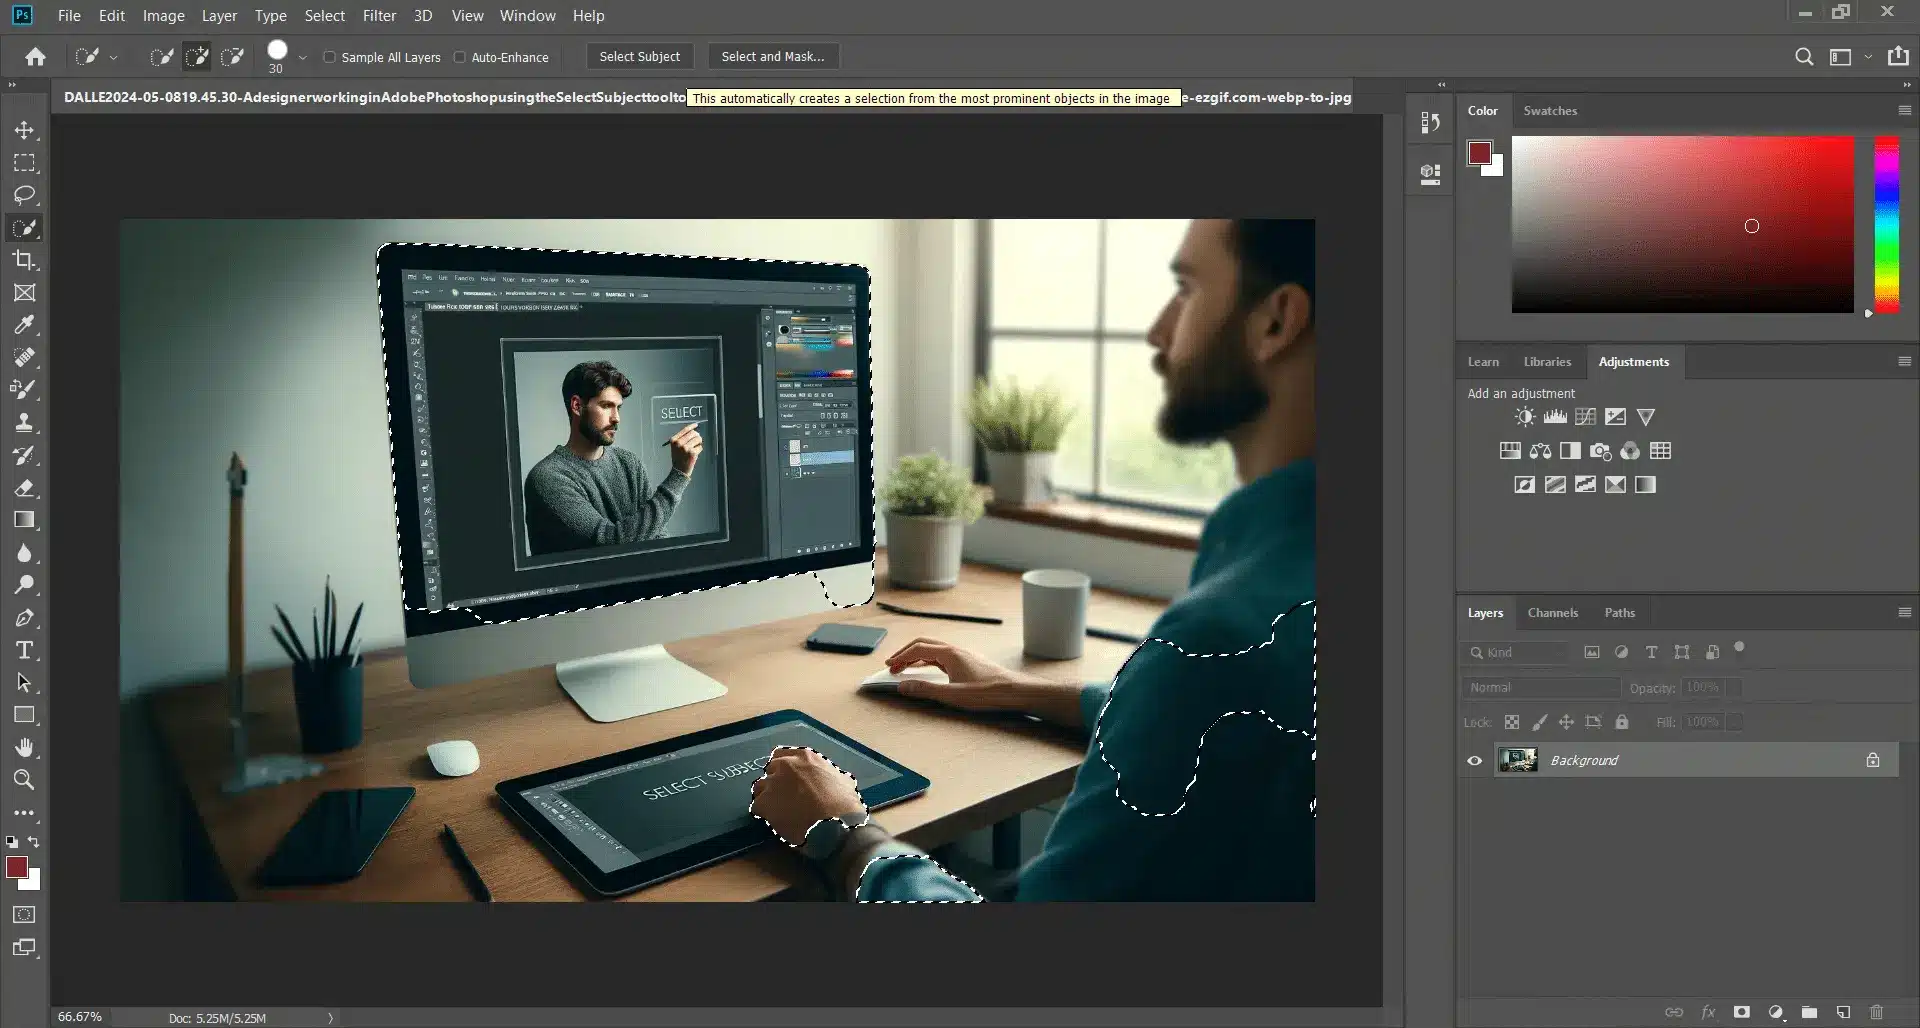
Navigate to the menu bar and engage the select subject command from the selection tools.
This feature, powered by Adobe’s AI, selects the main subject with just a single click or automatically identifies multiple subjects if present within the same photo.
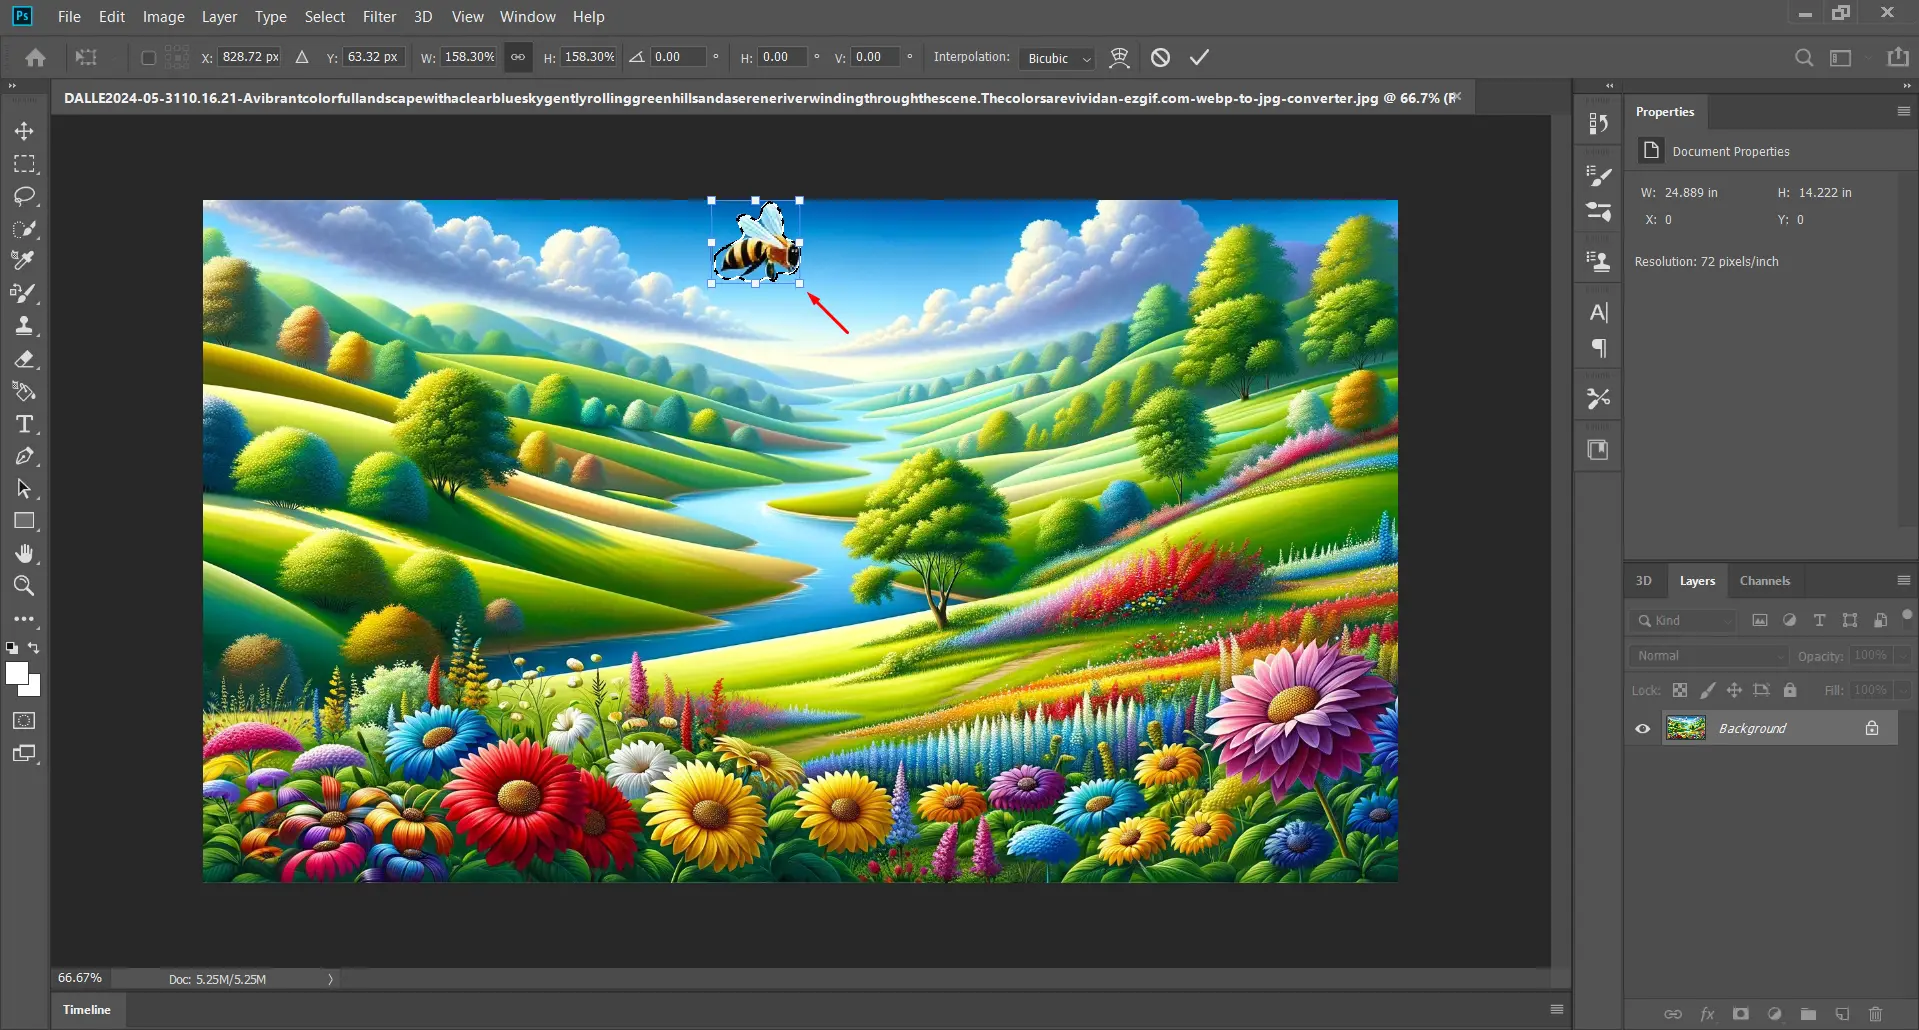
Once your subject is selected, activate transform controls by clicking Cmd + T (Ctrl + T on Windows), which is a handy keyboard shortcut.
Adjust the bounding box handles to resize your selection.
Confirm adjustments by pressing Enter.
This straightforward method ensures that you focus precisely on what needs resizing without affecting surrounding elements.
Optimizing Image Quality Post-Resize
After resizing your subject, it’s crucial to optimize image quality:
Adjust sharpness and clarity to compensate for any softening that occurs during upscaling.
Utilizesmart selections, employing the same technology as the select subject command, from the mask workspace after applying the select subject command, enabling non-destructive edits tailored to enhance the select subject's results. This integration of the same technology ensures consistency and efficiency in enhancing image quality. This focused approach ensures that modifications enhance rather than detract from the select subject's results, maintaining detail fidelity and overall aesthetic consistency.
If needed, apply a layer mask for additional tweaks on specific areas without altering the original image structure.
Utilizing the ‘select subject in Photoshop‘ feature before these adjustments helps maintain detail fidelity and overall aesthetic consistency
For photographers, knowing how to zoom in on Photoshop to fine-tune specific areas can be invaluable in achieving the desired results.
Troubleshooting Common Resizing Issues
Even with powerful tools like Photoshop’s resize functions, you might encounter some common issues:
If an image becomes pixelated, consider using higher resolution originals or employ sharpening techniques post-resize.
Misalignment of layers after resizing can be adjusted using alignment options found under the move tool in Photoshop’s toolbox.
Ensure each element aligns correctly by checking against other layers or guides in your project.
In addition, after using select subject in Photoshop, re-visiting the select and mask workspace may help refine edge precision around resized subjects.
Advanced Techniques for Selecting Subjects in Photoshop
Mastering the art of selecting multiple subjects in Adobe Photoshop not only enhances your workflow but also ensures precision in your edits.
Let’s dive deeper into how using select subject in Photoshop complements powerful tools and techniques to optimize this process.
This tool is ideal for fast-paced projects and utilizes a brush-based interface allowing you to paint over the desired area.
As you drag across areas of similar color and texture, Photoshop automatically extends the selection outward, identifying and refining borders intelligently.
Moreover, if overly aggressive selections are made, holding down Alt (Option on Mac) subtracts from the current selection area.
Understanding these selections is a must for utilizing tools such as the Patch Tool for precise edits.
Using the Lasso Tools for Complex Shapes
For irregularly shaped subjects, start with the select subject command to handle simpler selections, then use the Lasso Tool for more complex shapes where automatic tools might falter.
Offering freehand control over selections allows creative freedom beyond what automated tools can provide.
Choices range from basic Lasso to more structured Polygonal Lasso; each adapts differently:
Lasso: Ideal for hand-drawn selections around arbitrary shapes.
Polygonal Lasso: Best used for geometric figures involving straight lines.
Magnetic Lasso: Clings to perceived edges based on contrast as you move along the boundary.
Using these tools demands precision and steady hands but rewards editors with unmatched accuracy in capturing complex outlines aboard multiple objects within various photography scenarios.
Integrating Photoshop Select Subject with Other Tools
The Select Subject command is particularly powerful when integrated with other tools, allowing for sophisticated edits and manipulations.
Combining with Masking Techniques
Incorporating the object selection tool with masking techniques can significantly streamline complex selections.
This is particularly useful in scenarios where multiple subjects form part of a complex scene.
By using the Select and Mask workspace, you can refine edges seamlessly, adding a layer of precision to your selections.
This integration allows for adjustments on a more granular level without affecting other parts of the image.
Use the Quick Selection Tool first to include larger areas.
Employ the Select Subject command from the options bar to automatically distinguish between objects.
Refine selections using the mask workspace, focusing on elusive details like hair or fur. This method proves invaluable when isolating subjects for composites or detailed retouching tasks.
Enhancing Selections with Adjustment Layers
After selecting your main subject with select subject in Photoshop, especially when working on the same photo with multiple elements, ensure that the selection outline appears clearly.
This visibility is crucial for accurately applying adjustment layers such as Levels or Curves, allowing you to fine-tune exposure or add color grading effects within specific areas.
1. Apply an adjustment layer after making your initial selection.
2. Rest assured that changes via this layer impact only your selected area.
3. Adjust sliders to tweak visual aspects as required.
Layering and Grouping for Complex Edits
For complex image editing tasks in Lightroom involving multiple adjustments across various objects, grouping and layering need following extraction via Select Subject in Photoshop:
Initiate by isolating elements with select subject in Photoshop; this method is ideal for separating both primary subjects and additional significant items within the frame.
Utilize grouping functions from the menu bar to categorize these elements into manageable subsets.
Proceed through organized layers applying distinct edits which can later be adjusted collectively or individually without overriding previous settings.
This approach ensures efficient workflow management and greater flexibility in reverting specific changes if necessary.
Automating Repetitive Tasks with Actions
Photoshop actions are a powerful tool to automate repetitive tasks and streamline your workflow.
By recording an action once, you can apply it to countless images, ensuring consistency and saving valuable time.
Creating Custom Actions for Subject Selection
Creating custom actions often begins with the select subject command.
To start creating an action, open the Actions panel found in the menu bar. Here’s how you can craft a custom action:
1. Initialize a new action set and name it according to its purpose.
2. Begin recording; perform any steps you want included, like using the object selection tool or enabling quick mask mode to refine selections.
Batch processing complements actions in managing large volumes of images under uniform conditions, perfect when adjusting elements across similar photos or composite layers.
Here’s how to efficiently batch process:
1. Ensure all targeted images are uniformly formatted and located within a single directory.
2. Load your desired action, perhaps one that employs stringent selections via the select subject in Photoshop tool or fine-tunes aspects like exposure and saturation.
3. Navigate through File > Automate > Batch, decide on appropriate action choices within the provided menu setup.
4. Specify target files and set handling preferences regarding naming sequences and error management.
Tips for Faster Selections in High-Resolution Images
When working with high-resolution images, every second counts.
Optimizing your workflow is essential to handle large files efficiently in Photoshop.
Let’s dive into how you can speed up the selection process, specifically by tweaking performance settings and utilizing advanced selection tools.
Optimizing Performance Settings in Photoshop
Before diving into complex selections, ensure that Photoshop is configured to handle large files smoothly.
Adjusting performance settings can significantly impact how quickly the software processes high-resolution images.
Setting
Action
Memory Usage
Allocate more RAM to Photoshop through the Preferences > Performance section. This is crucial for handling large files.
Scratch Disks
Set up multiple scratch disks if possible. These act as virtual memory when RAM is full, vital for tasks like selection editing.
For faster selections, consider using the magic wand tool or the object selection tool for its efficiency and speed.
The object selection tool is particularly useful for quickly identifying and isolating complex shapes based on their structure.
Using the Select Subject Tool in Large Files
Employing the select subject command in Photoshop has become a powerhouse method for quick selections, especially in detailed high-resolution photos.
Facilitated by Adobe’s AI, this tool can analyze an image and detect the main subject with minimal input from the user.
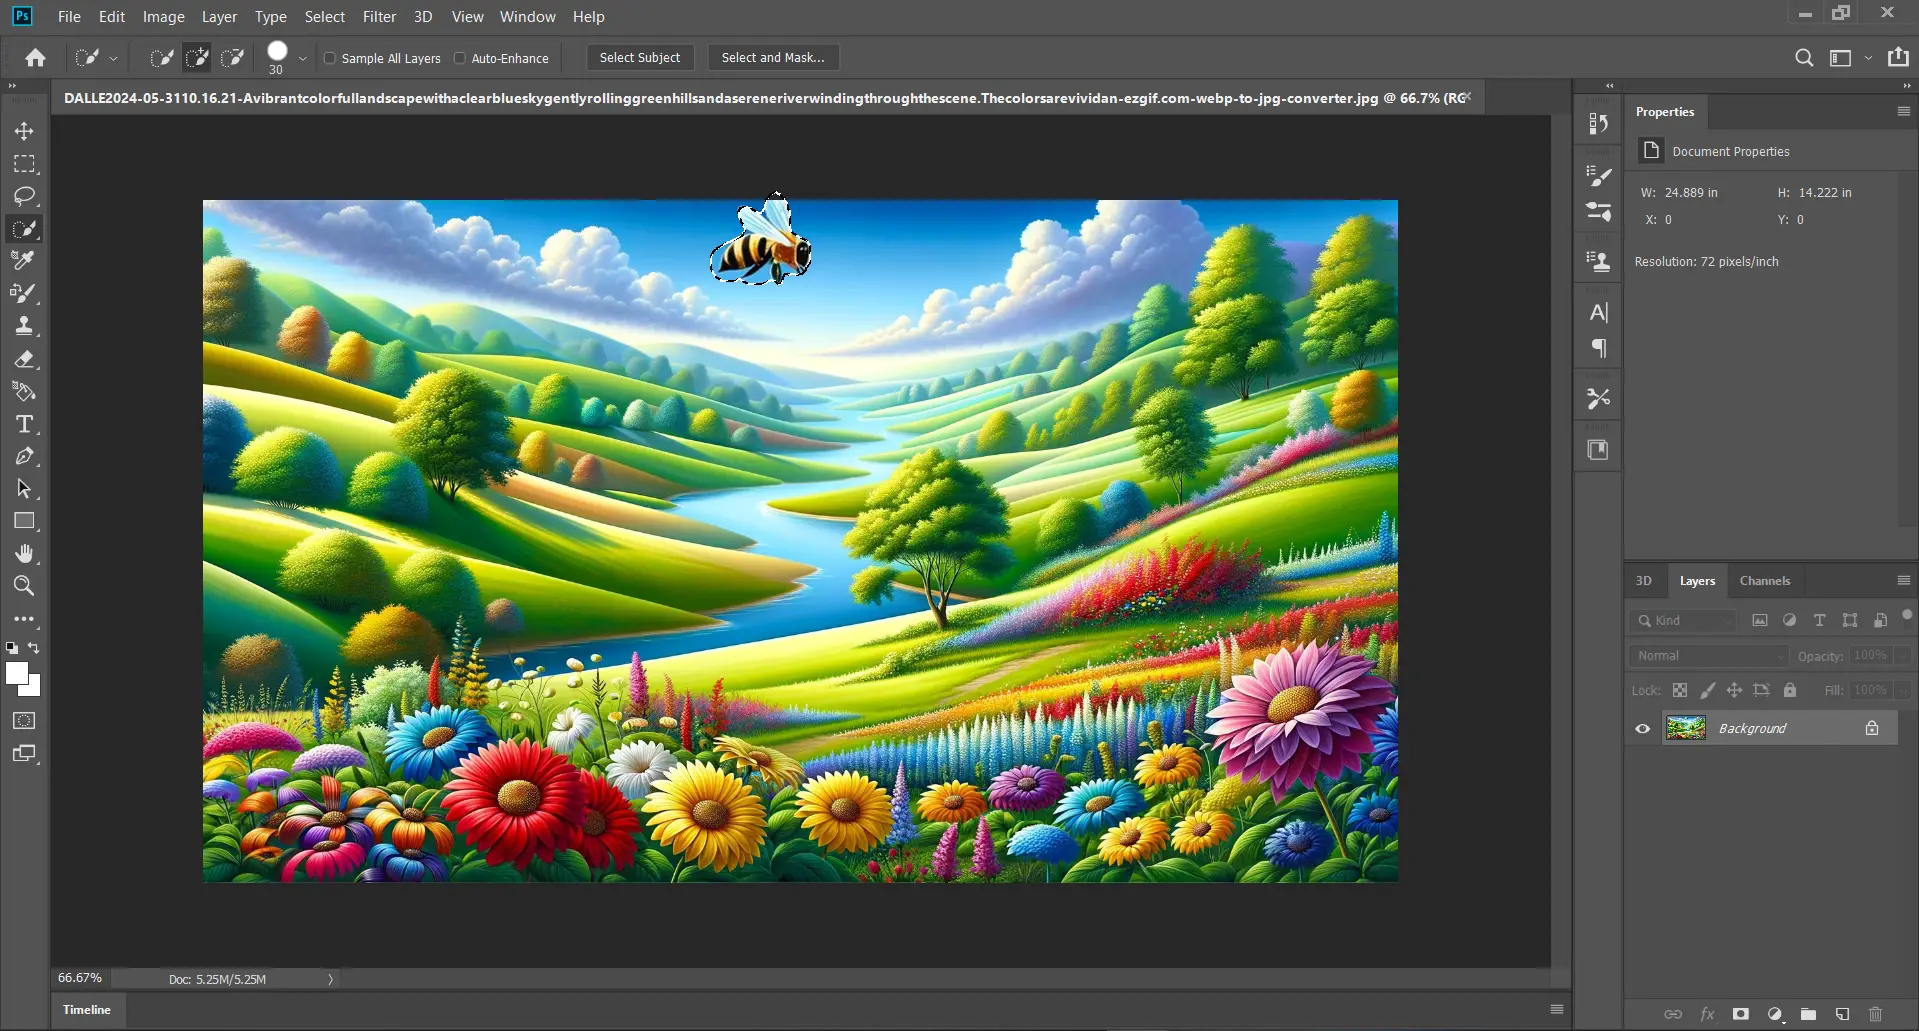
Simple Process: Navigate to menu bar, then choose Select > Select Subject. Activating 'select subject in Photoshop' automatically detects and highlights the primary object(s) in your image.
Couple with Other Tools: For intricate details, pair it with the object selection tool. Ensure the selection outline appears clearly, enhancing precision as you refine the selection. Additionally, the magic wand tool can be used to select distinct color ranges quickly, further refining the edges.
Refine Edge: After initial detection, refine your selection using “select and mask workspace,” which offers tools like feathering or smoothing to perfect the edge detail of a cover-up.
Frequently Asked Questions
How do you select a subject in Photoshop?
To select a subject in Photoshop, use the ‘Select Subject’ button found in the options bar of the ‘Quick Selection Tool‘ or ‘Object Selection Tool‘. With just a single click, Photoshop identifies and selects the main subject, demonstrating all its power in making complex selections effortlessly.
How do I isolate a subject in Photoshop?
After selecting your subject using the ‘Select Subject‘ command, move to the ‘Select and Mask Workspace‘ for further refinement.
Adjust the edge detection, smoothness, and feathering to isolate your subject perfectly. Applying a layer mask can finalize the isolation process, ensuring a flawless result.
How to quickly select an object in Photoshop?
For quick object selection, the ‘Object Selection Tool‘ is highly proficient. Drag around the object, and the tool will auto-detect and select it with considerable accuracy.
Utilize the ‘Quick Selection Tool‘ or the ‘Magic Wand Tool’ for alternative selection methods that are both fast and efficient.
How do I select something out of an image in Photoshop?
To select something out of an image in Photoshop, use the “Select Subject” tool by going to Select > Subject. This automatically selects the most prominent object in the image. You can also use the “Quick Selection” or “Magic Wand” tools for more manual control.
The Select Subject tool in Adobe has allowed me to isolate and enhance specific elements effortlessly, making my edits not only faster but significantly more precise.
This kind of efficiency and accuracy is what you can expect to achieve by mastering this powerful tool.
Don’t miss the opportunity to enhance your photo editing skills.
$2,061.00Original price was: $2,061.00.$1,061.00Current price is: $1,061.00. 27584
Download Your Free Guide Now!
Discover the secrets of photography with our printable guide! Master essential techniques like aperture, shutter speed, and ISO to create stunning images. Get your free printable PDF now and start turning your snapshots into masterpieces!