Mastering Photoshop's High Pass Filter: Elevate Image Clarity Now!
Mastering Photoshop’s High Pass Filter: Elevate Image Clarity Now!
Unlock the power of the Photoshop high pass filter to elevate your photo editing skills to new heights.
In this guide, I’ll show you how to use this versatile tool to sharpen images and create striking effects that will captivate your audience.
Get ready to dive into tips and techniques that will transform your workflow and produce professional-quality results.
Keep reading and discover how to enhance your photos like never before!
Table of Contents
How to Use a High Pass Filter in Photoshop
Discover effective techniques for utilizing the the high pass filter in Photoshop to enhance image clarity and sharpness. Now, let’s begin with the following steps.
Step 1: Open Your Image in Photoshop
Open Photoshop and load your image. Go to File > Open, find your image, and double-click it.
Step 2: Duplicate the Background Layer
Right-click on the background layer in the Layers panel and select "Duplicate Layer."
Alternatively, press Ctrl+J (Cmd+J on Mac) for a quicker way.
To create a stunning visual effect, blur backgrounds to make your subject stand out.
Start by duplicating the background layer, then apply the blur.
Step 3: Convert the Duplicate Layer to a Smart Object
Right-click the duplicate layer and choose “Convert to Smart Object.” This allows for tweaks later without altering the original image.
Smart objects allow you to work non-destructively by preserving the original content and enabling flexible transformations and adjustments.
Step 4: Apply the High Pass Filter
Go to Filter > Other > High Pass in the top menu.
Your image will turn gray, which is normal for this filter.
Step 5: Adjust the Radius
In the dialog box that appears, move the slider to adjust the radius value until you see the edges in your image.
Values between 1 and 3 usually work best; don’t overdo it.
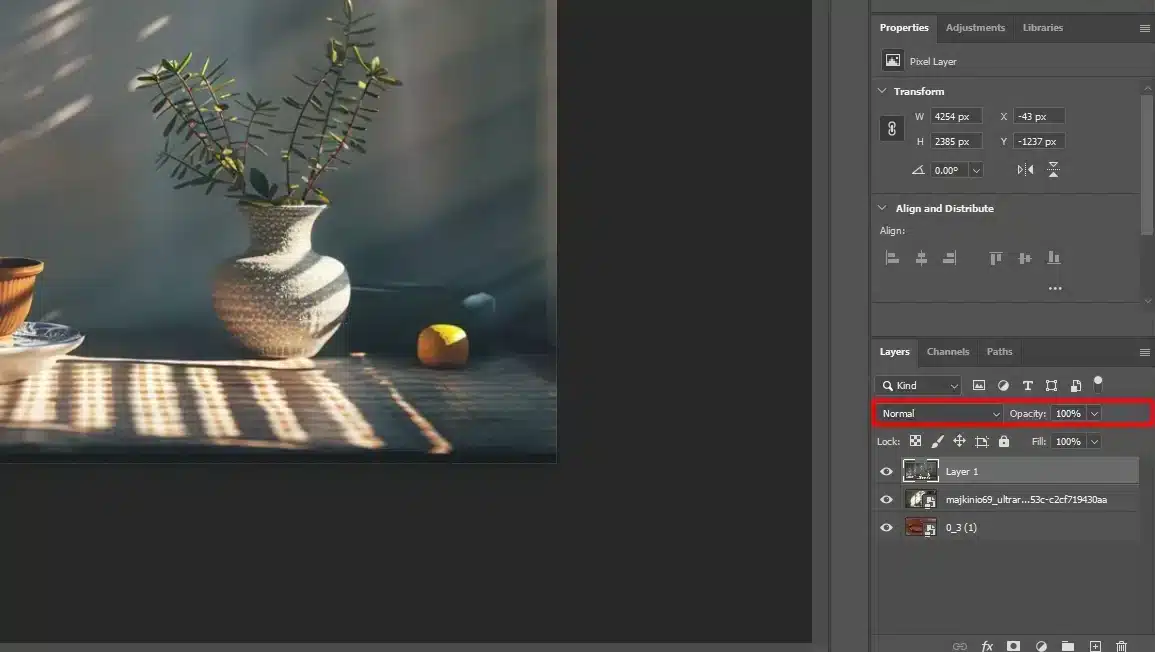
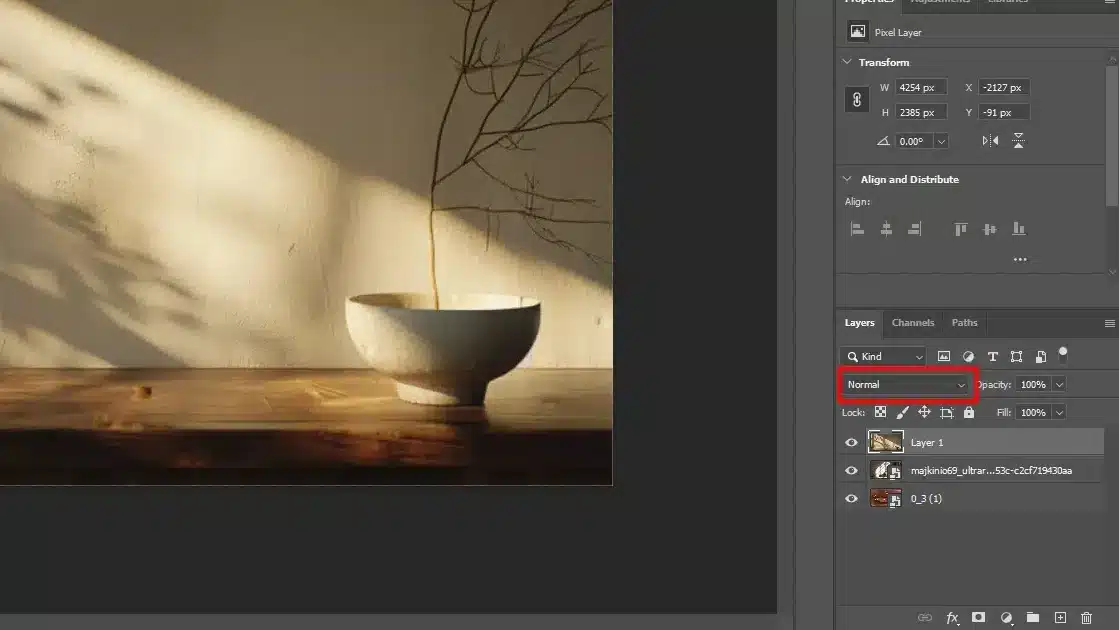
Step 6: Change the Blending Mode to Soft Light
Click the blending options icon in the Layers panel.
Choose "Soft Light" or "Hard Light" for the high pass layer.
For extra sharpness, use "Linear Light."
These blend modes make the edges pop.
Step 7: Fine-Tune the Effect of High pass Filter layer
Adjust the opacity of the high pass layers in the Layers panel if the image looks too sharp.
You can also use a layer mask to target specific areas if needed.
Step 8: Compare Before and After
Toggle the visibility of the high pass layers by clicking the eye icon next to it in the Layers panel. This helps you see if your sharpening efforts worked.
Pro Tip: Combine the high pass filter with other techniques like the unsharp mask filter for better control.
Sharpen images can dramatically enhance their clarity and detail. Always compare a sharpen images before and after to ensure the changes are effective and natural.
Additionally, it’s important to learn about different editing software. Many photographers use Lightroom and it’s shortcuts to efficiently organize, edit, and enhance their photos, making it essential to improve workflow and achieve professional results.
Tips for Better Results Using High Pass Filter
You’ve got the hang of the high pass filter in Photoshop. Awesome! Now let’s dive into some tips to make sure you get the best results every time.
When combined with your knowledge on all of the essential tools in Photoshop, these tips will help you impress your friends and family.
Adjusting the Radius Value for Sharpness
When preparing sharpen images for different uses, it’s important to understand the important differences between printing and web viewing parameters. Here’s a concise comparison:
Parameters
Printing (300-350 dpi)
Web Viewing (72 PPI)
Resolution
300-350 dpi
72 PPI
Image Size
Higher resolution, larger file size
Lower resolution, smaller file size
Sharpness Adjustment
Radius value: 1-2 pixels for subtle sharpening Radius value: 3-4 pixels for standout edges
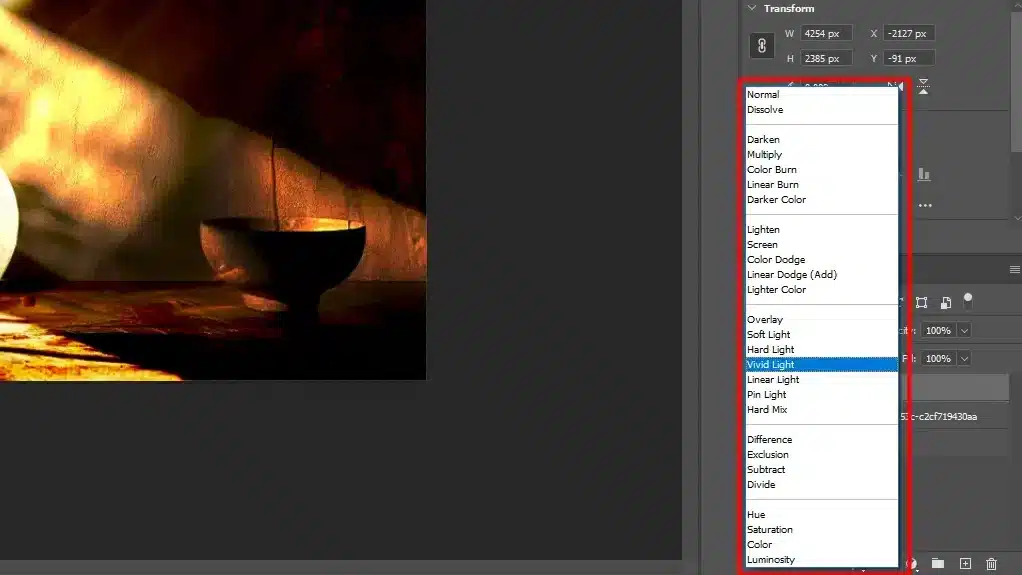
Choosing the right layer blending mode is important:
The soft light blend mode gives a gentle sharpening effect, great for portraits.
Hard light is perfect for stronger contrast.
For even more sharpness, try linear light.
Experiment with these to see what fits your image.
Layer Masks for Targeted Sharpening
Not every part of your image needs sharpening. Use layer masks to apply the high pass filter to specific areas. This keeps the focus on your subject without affecting the whole image, making your photos look more professional.
Combining High Pass Filter with Unsharp Mask
If you want better control over your image sharpening, combine the high pass filter with the unsharp mask:
Start with the high pass filter for general sharpening.
Then use the unsharp mask on problem areas.
It’s a two-step process that works well.
Comparing Before and After
It’s easy to get carried away. Always compare your sharpened image with the original image: Toggle the high pass layers on and off to see the difference.
This ensures your adjustments improve the image.
Saving Your File in Non-Destructive Formats
Save your work in formats that support layers, like PSD or TIFF. This way, you keep all your adjustments and can revisit them anytime.
It’s important for non-destructive editing. It’s easy to undo or fine-tune later.
Using manual mode offers you complete control over your edits. When saving your file, opt for non-destructive formats to preserve original quality.
While using the high pass filter, keep an eye on the details:
Zoom in and out of your image frequently.
This helps you catch any changes that might look unnatural. It’s a good habit that leads to better results.
Your mastery of Photoshop’s high pass filter doesn’t end here.
Practice these tips, keep experimenting, and you’ll see great improvements in your photo editing projects.
Mastering photography lighting can significantly enhance your photos. Always experiment with different lighting setups to achieve the best results.
Also, It’s good to learn Photoshop shortcuts to significantly speed up your workflow and increase your efficiency while editing images.
Common Mistakes to Avoid while Using High Pass Filter
You know how to use the high pass filter in Photoshop, but before you get too confident, let’s talk about some common mistakes.
Using a High Radius Value
Don’t crank up the radius value too high. More isn’t always better. Keep the radius slider between 1 and 3 pixels to keep your sharpen images.
Overdoing it makes your image look unnatural, and nobody wants that.
Important elements:
Keep the radius slider between 1 and 3 pixels.
Overdoing it makes your image look unnatural.
Applying Sharpening to the Entire Image
Not every bit of your image needs sharpening. Use layer masks and selective focus on important areas. Sharpening the entire image can make some parts look strange. Target specific areas for a cleaner finish.
Important elements:
Use layer masks to focus on important areas.
Sharpening the entire image can make some parts look strange.
Ignoring Different Blend Modes
Don’t stick with one blend mode. Try soft light, hard light, or even linear light to see which one works best for your photo. The blend mode can make a big difference in how your sharpened images turn out.
Important elements:
Experiment with different blend modes: soft light, hard light, linear light.
Blend mode can significantly affect the final look.
Overlooking the High Pass Filter Menu
It’s easy to forget about the filter menu. You’ll find the high pass filter here, and it’s important. Don’t ignore it. It’s your gateway to sharper images. Explore other filters to see how they can enhance your experience.
Important elements:
The filter menu is important for accessing the high pass filter.
Explore other filters for additional enhancements.
Skipping the Dialog Box
That dialog box isn’t just there to annoy you. Adjusting the settings here is important. Don’t rush through it. Experiment with the radius value to find the sweet spot for your image. Small tweaks lead to better results.
Important elements:
Adjusting settings in the dialog box is important.
Experiment with the radius value for the best results.
Forgetting to Save Your Work
Always save your progress! This keeps your original image safe. You never know when you’ll need to go back and make adjustments. Plus, it’s a good habit to form.
Important elements:
Save in non-destructive formats like PSD or TIFF.
Good habit to keep your original image safe.
Not Comparing Before and After
Use those eyes! Toggle the high pass layers on and off to compare before and after. It’s an easy way to check if you’ve gone overboard. It also helps you see improvements clearer. You’ll thank yourself later.
Important elements:
Toggle the high pass layers on and off for comparison.
Helps to see improvements clearly.
Frequently Asked Questions
How to high-pass filter in Photoshop?
Open your image in Photoshop.
Go to the Filter menu.
Select Other and then High Pass.
Adjust the slider to set the desired radius. A smaller radius sharpens details, while a larger radius highlights broader edges.
Click OK to apply the filter.
What is the shortcut for High Pass in Photoshop?
Photoshop does not have a default shortcut for the High Pass filter. You can create a custom shortcut through Edit > Keyboard Shortcuts and assign a shortcut to the High Pass filter under the Filter menu.
How do I smooth skin with high-pass filter in Photoshop?
Duplicate the background layer by pressing Ctrl+J (Windows) or Cmd+J (Mac).
Apply the High Pass filter to the duplicated layer.
Set the layer blending mode of the layer to Overlay or Soft Light.
Add a layer mask and paint with black over the areas you don't want to be affected, like eyes and hair.
Adjust the opacity of the layer to get the desired level of smoothness.
What does a high-pass filter do to an image?
A high pass filter helps in enhancing the details and edges in an image. It works by allowing high-frequency information to high pass through while blocking low-frequency information. This effect is particularly useful for sharpening images or enhancing textures.
Using the high pass filter has revolutionized my approach to editing photos. It’s a straightforward yet powerful tool that brings out the finer details and enhances image sharpness while maintaining a natural appearance.
The ability to use layer masks for targeted adjustments ensures that only specific areas receive sharpening, maintaining a balanced look throughout the photo, whether your editing portraits or urban landscapes.
Remember to save your work in formats like PSD or TIFF to preserve all adjustments and facilitate future edits.
For those looking to deepen their skills, I recommend exploring my Photoshop Course and Lightroom Course for comprehensive learning.
Start enhancing your photos today with the high pass filter – it’s a game-changer that I continue to rely on for crisp, polished results.
If this article has helped you, then Like and Share it with your friends
$2,061.00Original price was: $2,061.00.$1,061.00Current price is: $1,061.00. 27584
Download Your Free Guide Now!
Discover the secrets of photography with our printable guide! Master essential techniques like aperture, shutter speed, and ISO to create stunning images. Get your free printable PDF now and start turning your snapshots into masterpieces!