| Initial Setup |
Create a new document with a high resolution (1920×1080 pixels). |
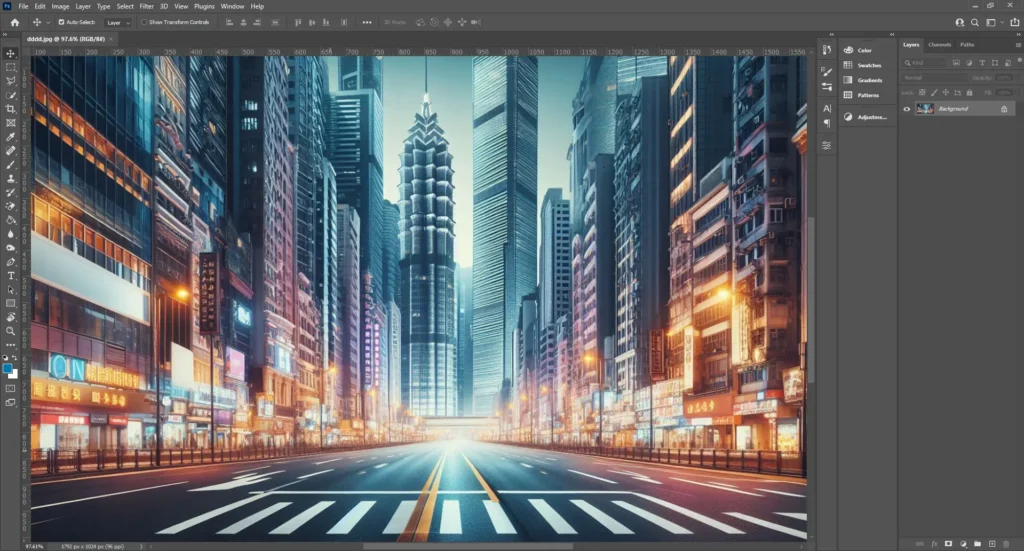
Open a high-resolution image or create a new canvas. |
Create a new high-resolution document. |
| Base Color |
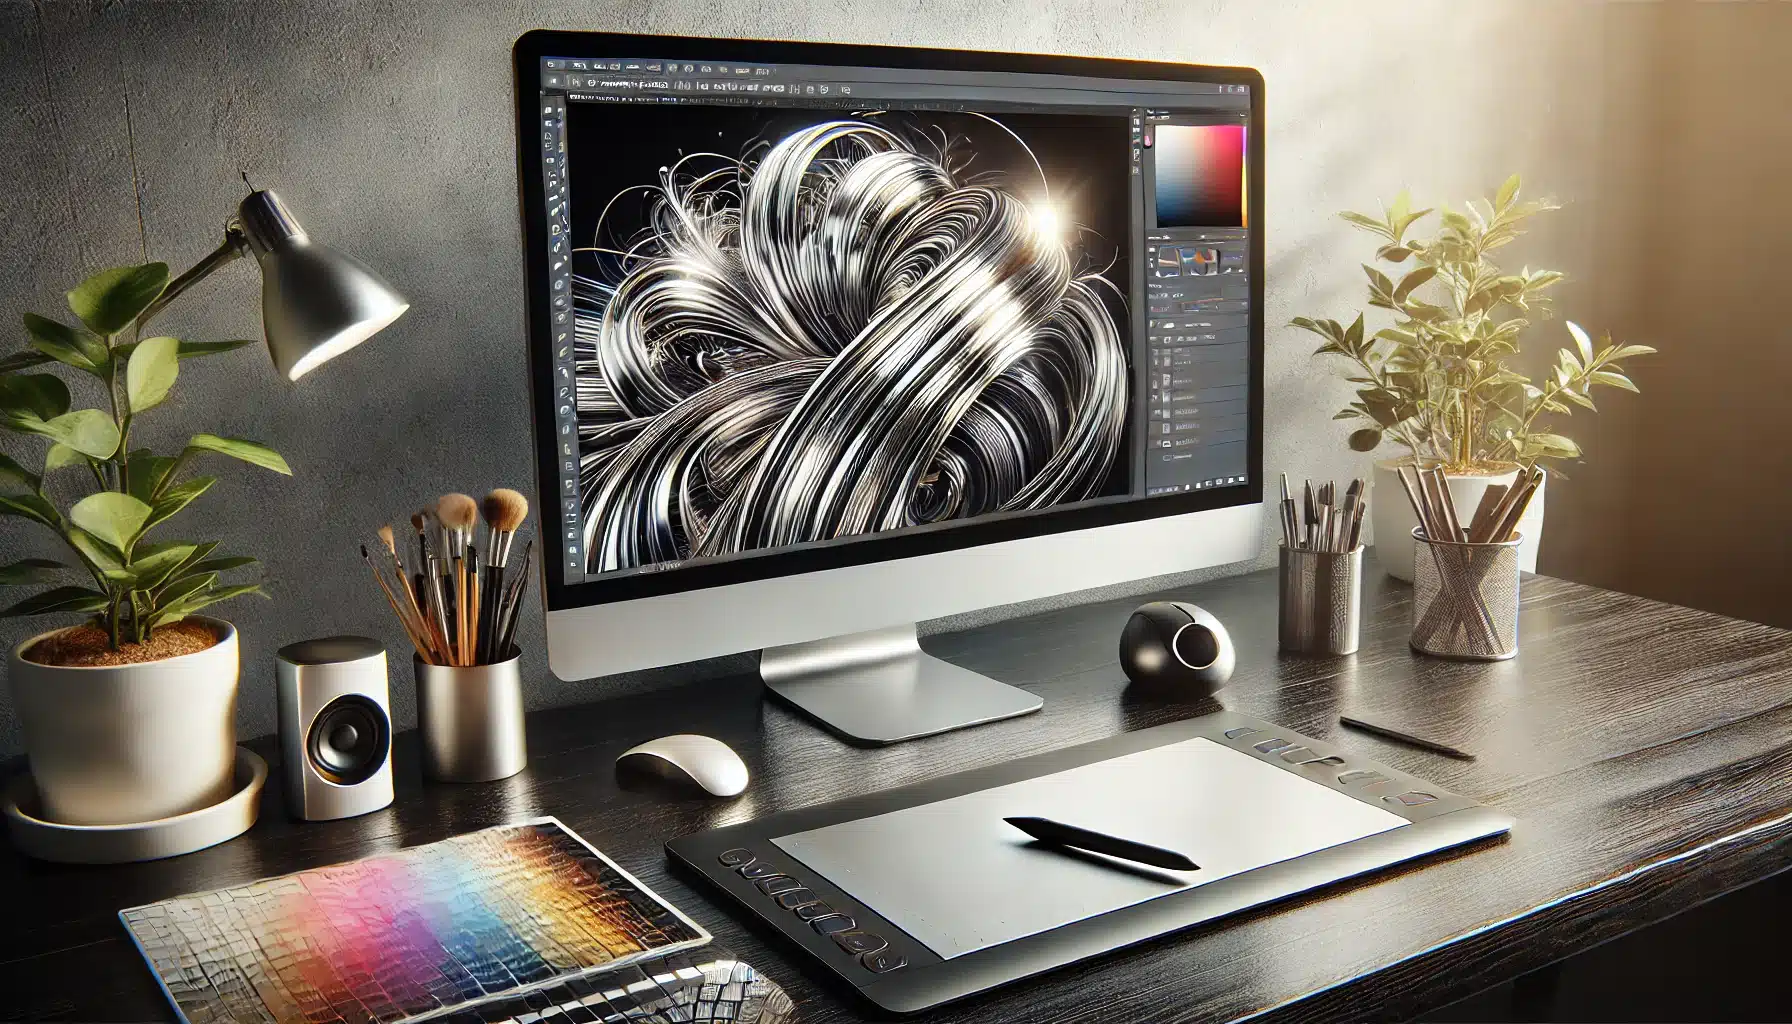
Use a gradient overlay with metallic colors (silver, gold). |
Fill the base layer with a solid metallic color (e.g., #C0C0C0). |
Apply a gradient overlay from dark to light metallic colors. |
| Text Addition |
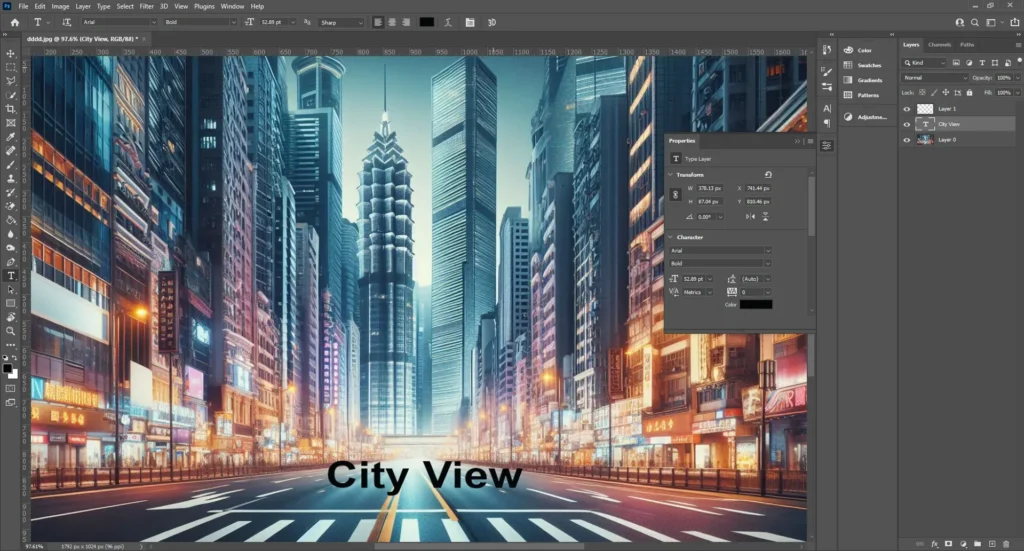
Use the Text Tool to add bold text. |
Draw a shape using the Shape Tool. |
Add bold text using the Text Tool and place it centrally. |
| Texture Application |
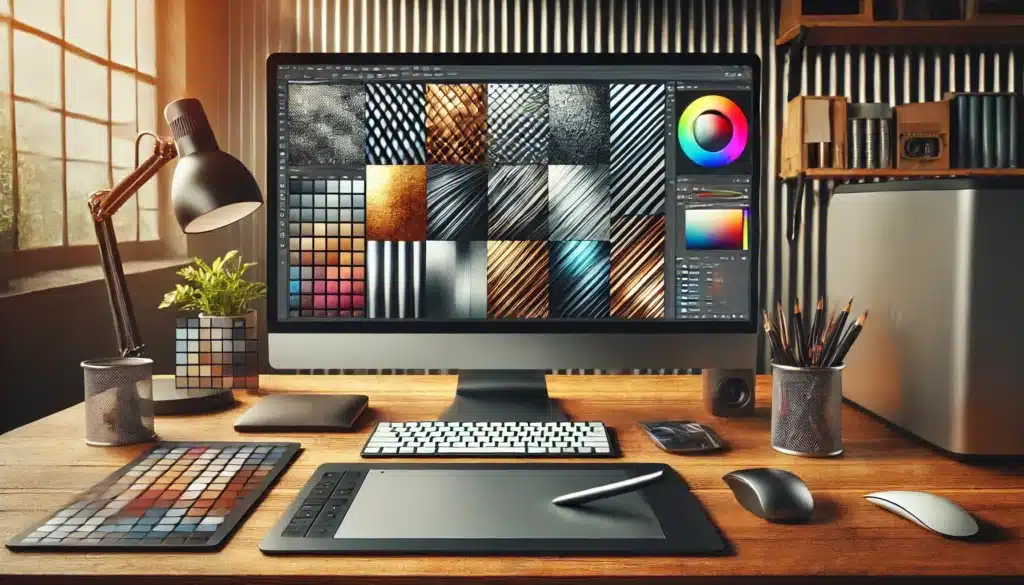
Apply a noise filter to add texture. |
Use Noise and Blur filters to create a base texture. |
Overlay a metal texture from an external source. |
| Layer Styles |
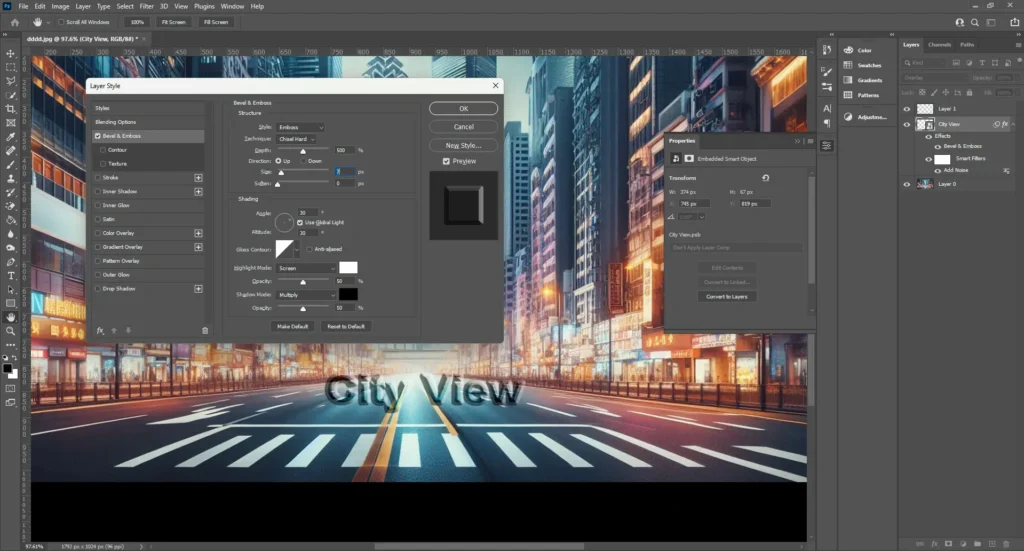
Add Bevel and Emboss effects with Chisel Hard technique. |
Apply Bevel & Emboss with adjusted depth, size, and angle. |
Use Bevel and Emboss, Inner Shadow, and Satin effects. |
| Gradient Application |
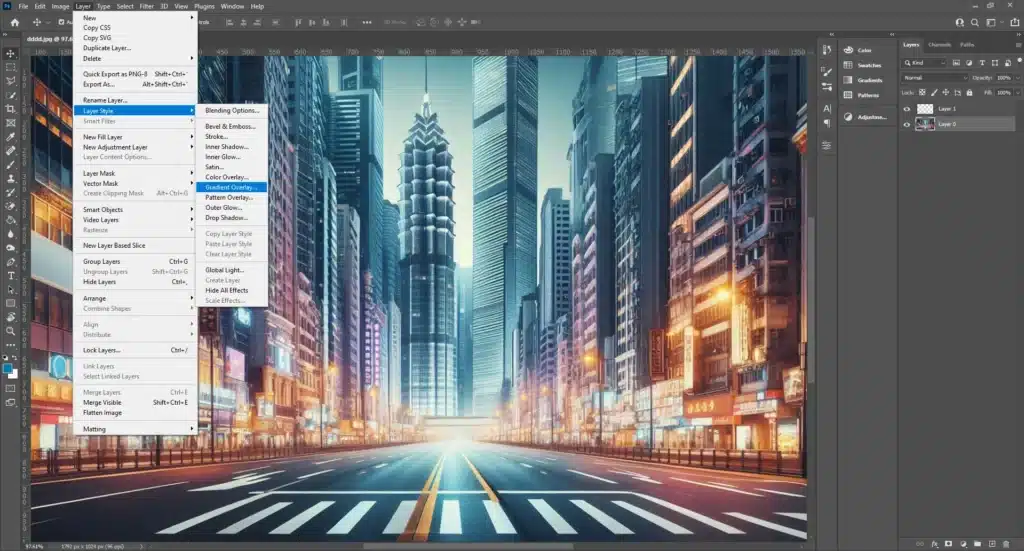
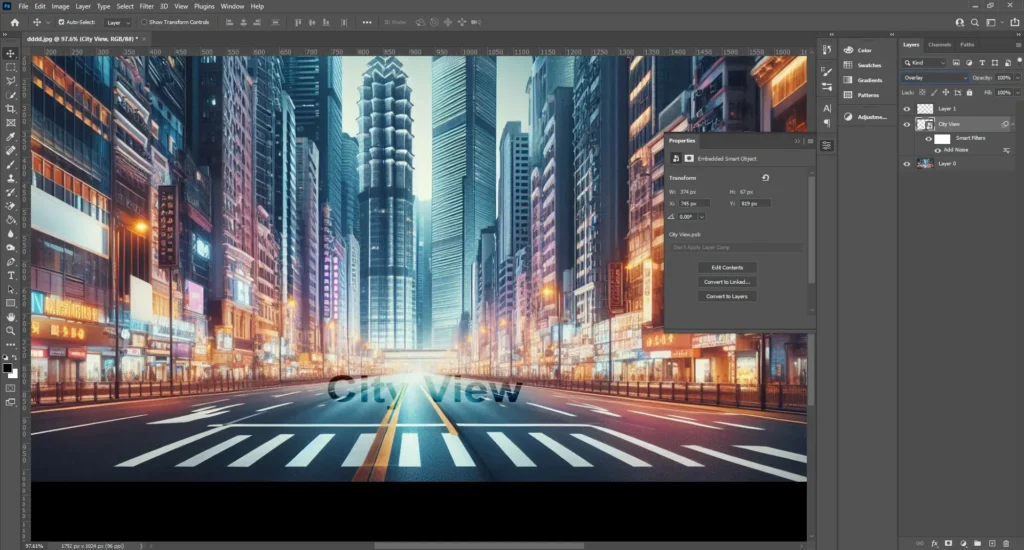
Apply a Gradient Overlay for a reflective sheen. |
Use Gradient Overlay with metallic gradient presets. |
Apply Gradient Overlay with custom gradients. |
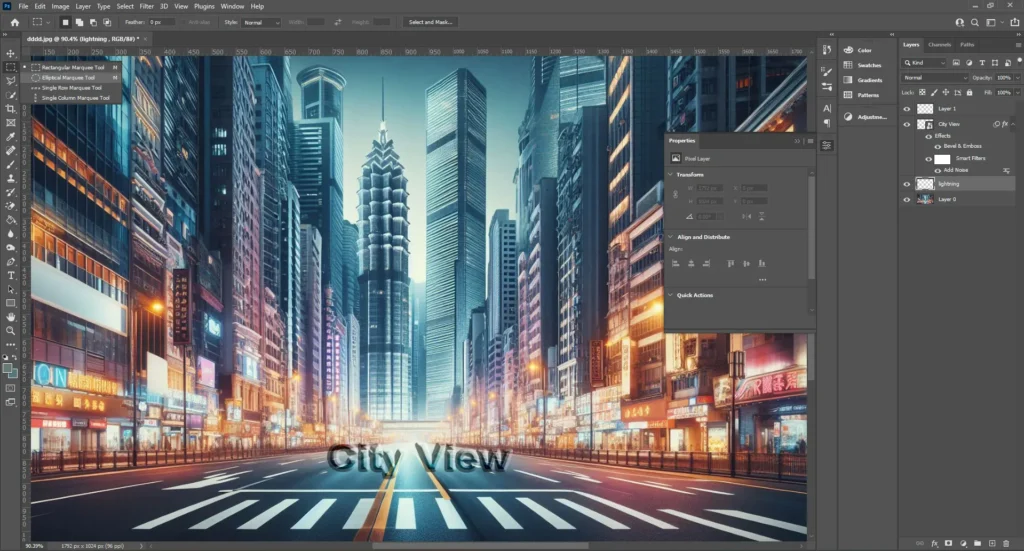
| Lighting and Shadows |
Add soft shadows and highlights for depth. |
Incorporate Drop Shadows and Inner Glow for realism. |
Use lighting effects like Gaussian Blur for softness and depth. |
| Final Adjustments |
Refine with Curves and Levels adjustments. |
Adjust opacity and blend modes for enhanced realism. |
Add fine details like reflections and subtle textures. |