Master the Photoshop Metallic Effect: Create Stunning Metal Textures Now!
Master the Photoshop Metallic Effect: Create Stunning Metal Textures Now!
Discover how to master the Photoshop metallic effect in your designs with this simple guide.
I’ll walk you through easy steps to add that eye-catching shine and professional touch to your images.
Whether you’re a seasoned designer or a curious beginner, this technique will elevate your skills and make your work stand out.
Keep reading to unlock tips and tricks that will transform your projects.
Table of Contents
Setting Up Your Workspace For Photoshop Metallic Effect
Time to set up your workspace and get started. This helps you focus on creating instead of searching for tools.
Opening a New Document
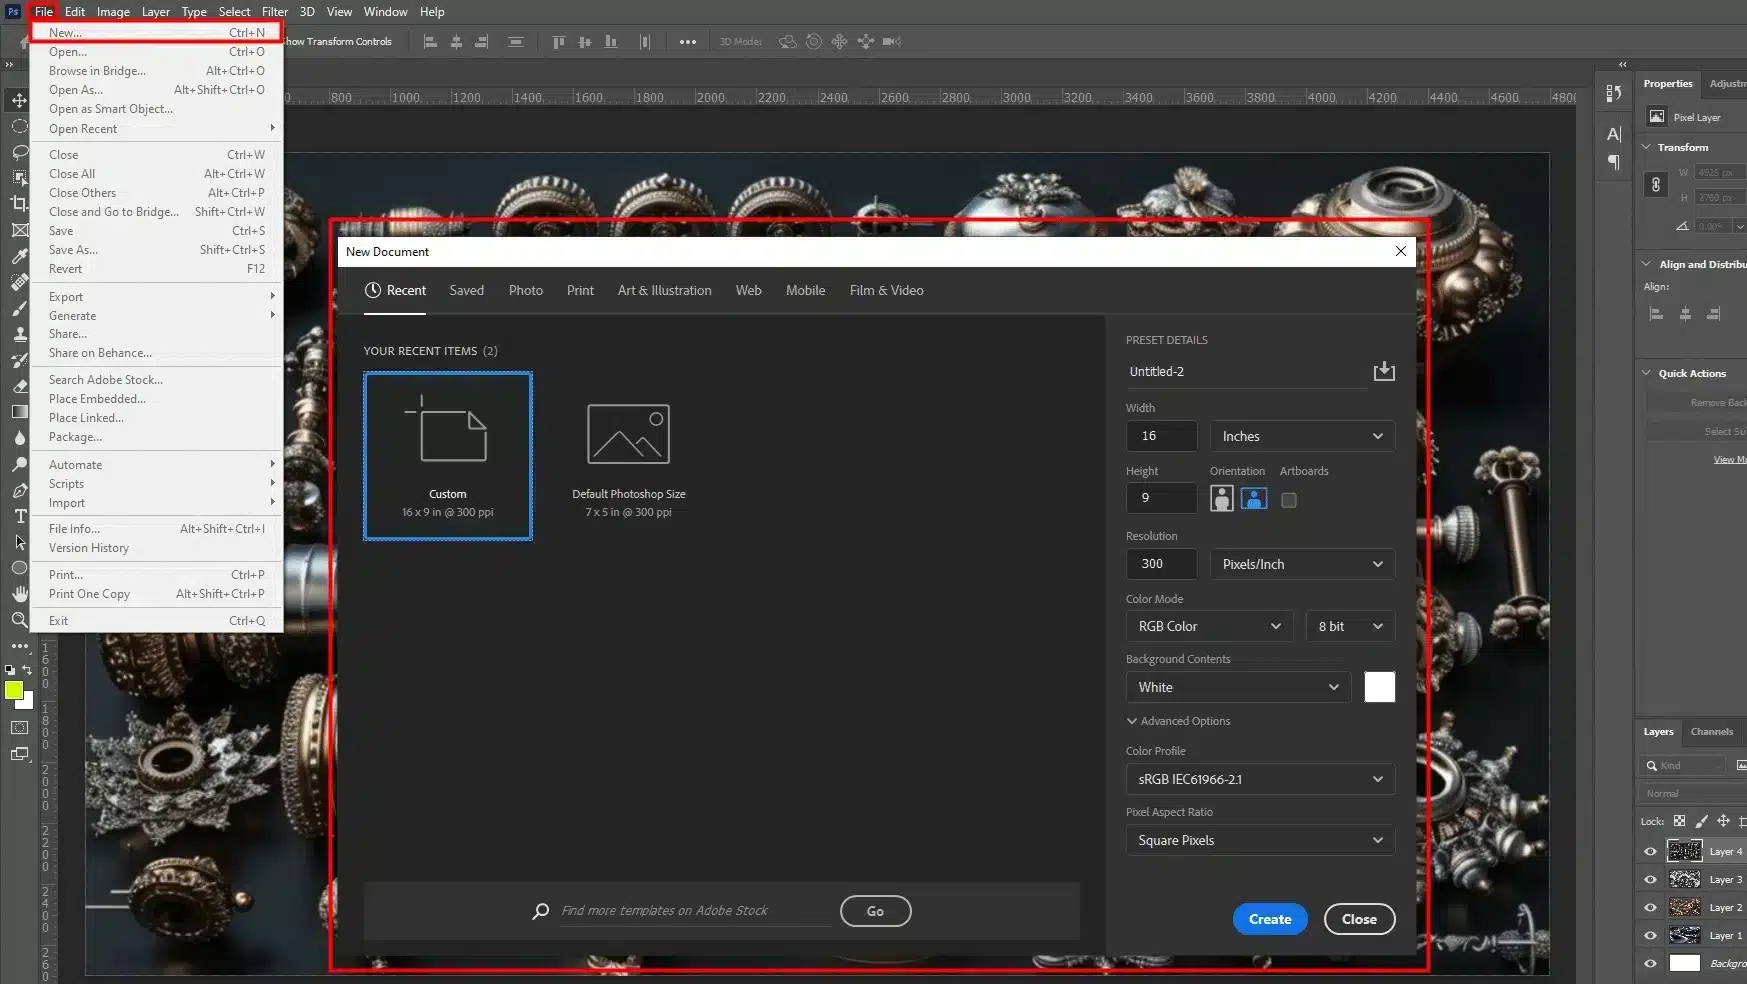
In Adobe Photoshop, first, open a new document. Go to the File menu and click “New“. Set your canvas size and resolution in the dialog box. Click “Create” to open your blank canvas.
Layers Panel
Now, find the Layers panel on the right. This panel is important for working with multiple layers. If it’s missing, open it from the Window menu by selecting “Layers“. This panel tracks your text layer, background layer, and others. Think of it as a well-organized desk.
Arranging Your Panels
Arrange your panels for better workflow. From the menu bar, go to “Window“, then drag and drop panels.
Place the Layers panel, Tools panel, and others where you need them. Remember, a tidy workspace helps you work better.
Customizing Layer Style With Blend Mode
Let’s customize our layer style. Layers are where effects happen. Right-click on a layer and select “Blending Options”.
A new dialog box opens with options like BevelEmboss, Gradient Overlay, and blend mode. We’ll explore these settings more as we go.
Pro Tip: Learn how to use the dialog and text box in Photoshop for an even easier experience.
Locating Important Tools
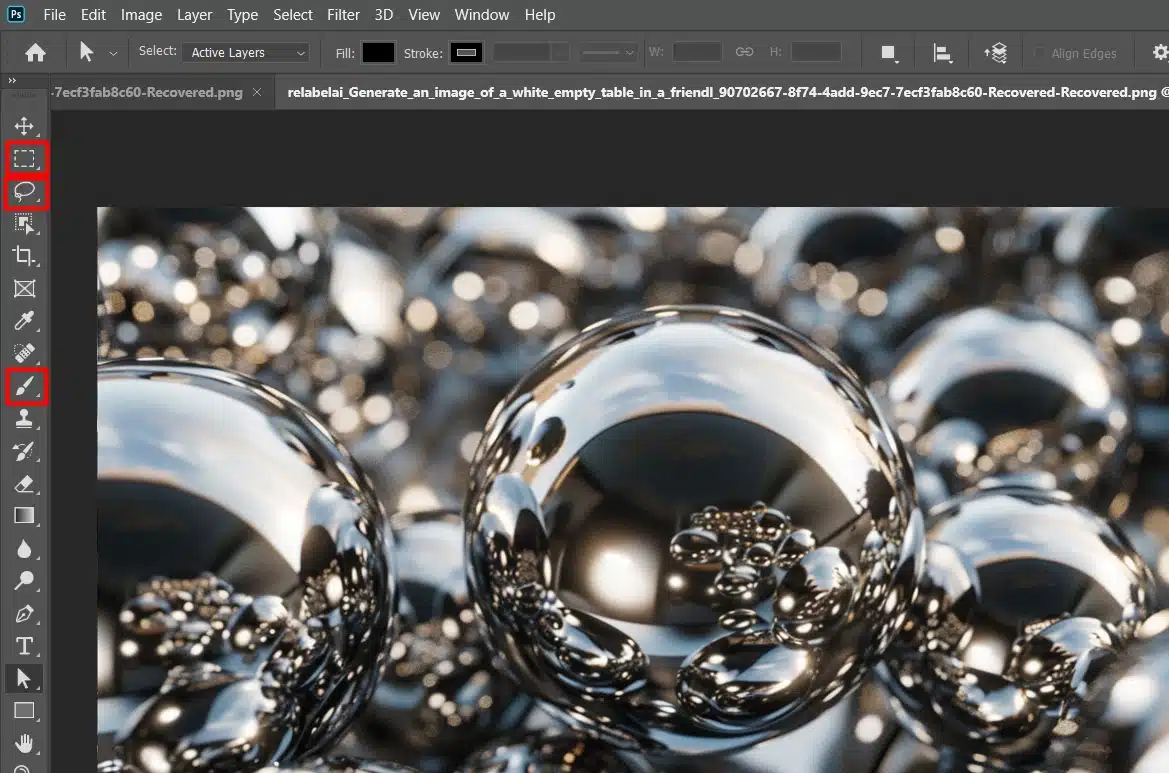
Locating important tools matters. The Tools panel, usually on the left, has items like the Brush Tool, Lasso Tool, and Rectangular Marquee Tool. Knowing where they are helps you use them quickly.
Advanced Layer Techniques
Let’s create something. Using new layers keeps things organized. Press the “New Layer” icon at the bottom of the Layers panel or use the keyboard shortcut Shift + Ctrl + N (Shift + Command + N on Mac).
You’ll see why layers are important when we add a metallic effect.
Creating a Metal Texture Photoshop Tutorial
When using Adobe Photoshop, different text textures require specific steps.
For a Metallic Effect, start with a neutral background, create a text layer, add a metal texture, and adjust the blend mode.
For the High Pass Filter, duplicate the background, apply the filter, and adjust the radius for sharpness. The table below outlines these steps.
Step
Photoshop Metallic Effect
Photoshop High Pass Filter
Start with a new document
Begin with a neutral background for optimal shine.
Open your image in Photoshop.
Use the Type Tool to create a text layer
Create a text layer to serve as the base for the metallic effect.
Duplicate the background layer and convert it to a Smart Object.
Get a metal texture
Find and import a metal texture onto a new layer above the text layer.
Apply the High Pass filter from the Filter menu.
Change the blend mode of the texture layer
Adjust blend mode to “Overlay” or “Multiply” for a metallic appearance.
Adjust the radius to set the sharpness level.
With just a few clicks, these steps help you master Adobe Photoshop effects.
Pro Tip: Use shortcuts to access tools quickly. This saves time and makes editing easier.
Getting Started with Metallic Effects in Photoshop
We start with a strong foundation for our effects.
Think of it like building a house; without a solid base, it all falls apart.
Choosing the Right Colors
First, pick your colors. Open Adobe Photoshop and choose a light and dark gray. These will mix to form our metallic base.
Click the foreground color in the toolbar.
Choose a light gray. Set the background color to a darker gray.
This gives us a good base for the metal texture.
Why gray? Metal reflects light and shadows well. Gray captures these properties nicely.
Applying Gradient Overlay
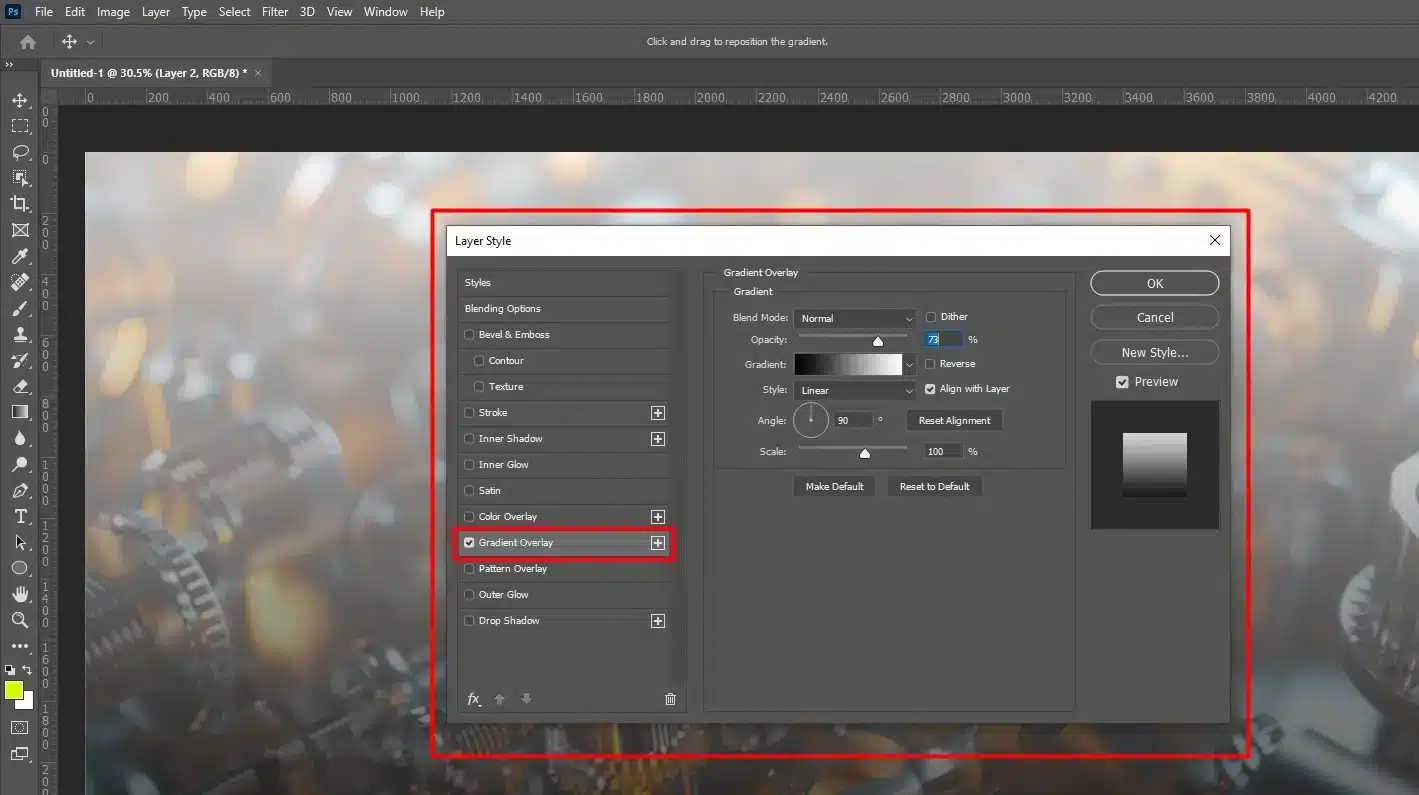
Use the Gradient Overlay. Go to the Layers panel and double-click your new layer. This opens the layer style dialog box.
Select "Gradient Overlay". This blends your two gray tones. In the gradient editor, pick a black to white gradient. Set the angle to 90 degrees. This makes it look like light is hitting the metal surface
Adjust the opacity to control intensity. Play around with the settings until satisfied. The gradient tool mimics how light interacts with metal.
By now, your base layer should look metallic. We’re building the metal text layer step by step.
Gradient techniques are important in graphic design, offering a smooth blend of colors for stunning visuals. Applying overlay can enhance your designs by adding depth and dimension.
Experiment With More Effects
Add depth with Bevel Emboss. Under Layer Styles, click on Bevel Emboss. Set the technique to “Chisel Hard” and depth to 150%.
Adjust the size slider to make the text pop. Tweak the highlight and shadow mode.
The Bevel Emboss adds 3D depth. It’s like sculpting clay; you shape and carve your metal.
Refining and Saving Your Work
Save your work often. You don’t want to lose this progress. Go to ‘File’ and ‘Save As’. Choose a format (like PSD) to keep all layers intact. Name it something easy to remember.
Pro Tip: When adding a new layer, nameit appropriately. This keeps your Photoshop workspace organized and your process streamlined.
An organized workspace leads to better creativity and productivity.
With practice, these steps become second nature. Don’t stress about making it perfect. The more you use Photoshop tutorials, the faster you master these skills.
A friendly piece of advice: it’s good also to start learning Lightroom.
Knowing how to use Lightroom is beneficial because it enhances your photo editing skills, enabling you to create stunning, polished images.
When combined with mastering the Metallic Effect in Photoshop, it allows you to produce high-quality, professional-looking designs with a unique, reflective finish.
Dive in, experiment, and have fun! You now have a foundational metallic effect to work with. Happy Photoshopping!
Adding Texture To Your Metallic Effect in Photoshop
Alright, let’s add some texture to our metallic effect in Photoshop. This step is like giving your project a shiny new coat of paint.
Trust me, it’s easier than it sounds.
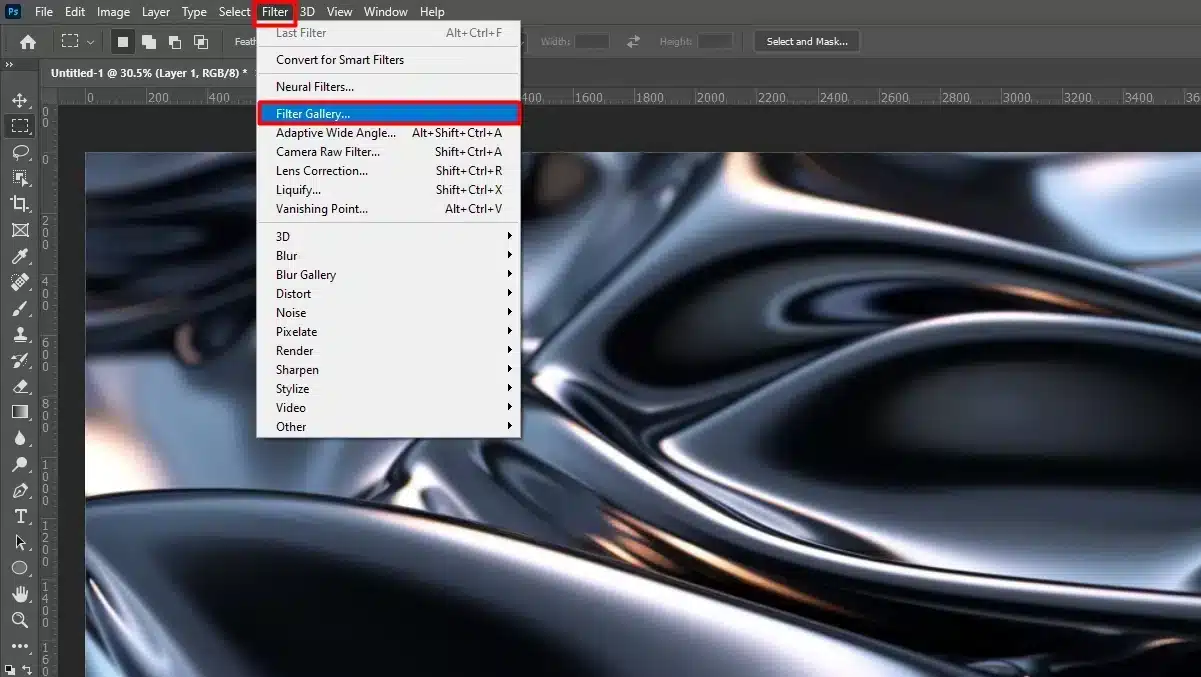
Using Filter Gallery
First, open the Filter Gallery. Go to the top menu, click on “Filter” and then select “Filter Gallery.” A new dialog box pops up. This is where we add textures.
Understanding the various types of filters in Photoshop is significant for creative editing. Using the FilterGallery allows you to preview and apply different filters effectively.
Steps to Apply Texture
Under the Filter Gallery, explore the "Texture" folder. You'll find options like "Grain,""Bas Relief," and "Texturizer." These filters make your metal text look more realistic.
For this tutorial, let's use "Texturizer." Select it and adjust the "Scaling" and "Relief" sliders until you're satisfied. This filter adds a bit of oomph to our metallic effect.
Adjusting Metallic Effect Texture Settings
Once you apply the Texturizer filter, go to your Layers panel. Select the texture layer you’ve just modified. Adjust the “Layer Opacity” to blend it with your metal text layer.
Warping text can add a dynamic touch to your designs. When adjusting metalliceffect texture settings, warping text can enhance the visual impact.
Tips for Blending Textures:
Change the texture layer's blend mode. Try using "Overlay" or "Soft Light." These blend modes make the textures look like they're part of the metal.
If you want more depth, duplicate the texture layer by pressing Ctrl+J (Cmd+J on Mac). Adjust the opacity of the duplicate layer to balance the look. This trick can add more texture without overdoing it.
Remember to save your work! You don’t want to lose this metallic effect in Photoshop, you’ve crafted so far. Click on “File” and select “Save As.” Keep your Photoshop file organized to find things easily later.
Blending Modes can significantly enhance your creative projects by seamlessly blending textures. When blendingtextures, experimenting with different blending modes can yield unique and striking results.
Pro Tip: Use a Layer Mask if you want to erase parts of your texture. This allows you to remove parts of the texture without deleting anything. It’s like having an undo button for specific areas.
Making Your Metallic Effect Text
You’ve added texture to your metal text, and it’s looking good. Let’s make it shinier. We’re diving deeper into making it pop.
Adding Bevel and Emboss
Go to the Layers panel and double-click your text layer. This opens the layer style dialog box.
In the layer style dialog box, find “Bevel and Emboss.” Check the box to enable it.
Set the Style to “Inner Bevel” and the Technique to “Smooth.”
Set Depth to 80-100% and adjust the Size slider to around 5-7 pixels.
Go to the Shading Section:
Set the Angle to 120 degrees and check “Use Global Light.” Choose “Linear” for Gloss Contour.
Set Highlight Mode to “Screen” with opacity around 75%.
Set Shadow Mode to “Multiply” at about 50%.
Save your settings.
See how shiny your text looks?
Now, we refine those highlights.
Fine-Tuning Highlights
Ensure you’re still in the Layer Style dialog box. Navigate to the Bevel and Emboss options and scroll down to "Highlight Mode."
Use the Blend Mode dropdown and select "Screen." Set the opacity to around 75% initially.
If your highlights seem too intense, reduce the opacity a bit. If too dull, increase it.
Go to the Gradient Editor under Layer Styles and select a white gradient to blend naturally with your highlights. Adjust the angle and scale as needed.
For added complexity, duplicate your text layer (Ctrl+J or Cmd+J on Mac). Apply different blend modes or opacity levels to the duplicate layer.
Sharpen your highlights with some motion blur:
Go to Filter -> Blur -> Motion Blur > Set the angle to match your light source and a small distance, maybe 5-10 pixels > Press enter and see the result.
There you have it! By adding bevel and emboss, and fine-tuning your highlights, your metallic text should look great. Try these steps and see for yourself.
You’ll impress yourself, and maybe even some old-timers will wonder what you’re up to.
Pro Tip: Use screen captures to take screen captures of each step you take. This helps when recreating the metallic effect in Photoshop later.
It’s also handy for sharing your progress with others. Plus, it makes you look like a pro!
Final Touches For Metallic Effect in Photoshop
Adding Reflections To Metallic Effect
Let’s add reflections to your metallic text.
This step makes it look more real.
Summary of Steps to Achieve the Metallic Effect in Photoshop
Create a new layer above your current one.
Use the Rectangular Marquee Tool to select where you want the reflection.
Fill this area with white color. Now you have a white rectangle on your new layer.
Go to the Filter menu and choose "Gaussian Blur". Apply a small blur to soften the edges of your rectangle. This makes the reflection look natural.
Lower the opacity of the reflection layer to around 40%. Lowering the opacity helps blend it with the underlying metallic text.
Use the Free Transform tool (Ctrl+T or Cmd+T on a Mac) to resize and position the reflection. Hold down the shift key while dragging the corner handles to keep proportions right.
If needed, use a Layer Mask to erase parts of the reflection that overlap where you don't want it.
Perfecting reflections can make your metal text stand out!
Adjusting Brightness and Contrast
Now, tweak the brightness and contrast of your metallic text to bring out the details and make the text pop.
Select the original text layer.
Go to "Image" in the top menu and choose "Adjustments" followed by "Brightness/Contrast".
In the dialog box, increase the brightness slightly (+10 to +20) and do the same with contrast.
This makes the metallic effect in Photoshop sharper and more prominent. Be careful, too much adjustment will wash out the texture.
Find a balance that looks good.
Optional: Adjust Colors
If you want to change colors, try creating an “Adjustment Layer“. From the Layers panel, click the New Adjustment Layer icon and choose “Hue/Saturation“.
Here, you can tweak the hue, saturation, and lightness of your text.
This is handy if you’re going for a gold effect or another color.
Review your work to make sure everything looks good and is consistent. Once satisfied, save your project.
Tip For Metallic Effect
Organize Your Layers: Renaming each layer helps keep your Photoshop project tidy. It makes finding layers easier when you need to adjust them. Click on the layer name to rename it.
There you have it! Your first metal texture tutorial is complete. Remember, practice makes perfect. Each time you follow these steps, you’ll get faster and better.
Happy Photoshopping! Ready to try another cool effect? Check our other tutorials for more creative ideas.
Frequently Asked Questions
What steps can you take to make something look metallic in Photoshop?
Start by selecting the object or area you want to make metallic.
Add a gradient overlay from the Layer Style panel. Choose metallic colors like silver or gold.
Enhance the metal effect by adding a bevel and emboss effect, which can be found in the Layer Style panel.
Adjust the gloss and shine settings to match the type of metal you're aiming for.
How do you make a shining effect in Photoshop?
Duplicate the layer you want to shine.
Apply a bright color overlay using Layer Style.
Use the Blur tool or a Gaussian Blur filter to soften the edges of the overlay.
Reduce the layer's opacity to create a subtle glow.
Optionally, use the Eraser tool to refine the glow effect
What is the process to create a metal texture in Photoshop?
Create a new layer and fill it with the color that represents the metal base.
Use the Add Noise filter to add granularity.
Apply a Motion Blur to create a brushed metal effect.
Adjust the levels to fine-tune the texture's contrast and brightness.
How to make shiny metallic effect text in Photoshop?
Create your text using the Text Tool.
Apply a metallic gradient overlay from the Layer Style panel.
Add a bevel and emboss effect to give depth to your text.
Enhance the shine by adding a light source effect through the Layer Style panel.
Using the photoshop metallic effect has truly transformed my design projects. The ability to create stunning metal text and intricate metallic effects has added a professional touch to my work.
I highly recommend exploring these techniques to elevate your designs. For more in-depth learning, check out my Photoshop course and Lightroom course.
Happy designing!
>If this article has helped you, then Like and Share it with your friends
$2,061.00Original price was: $2,061.00.$1,061.00Current price is: $1,061.00. 27582
Download Your Free Guide Now!
Discover the secrets of photography with our printable guide! Master essential techniques like aperture, shutter speed, and ISO to create stunning images. Get your free printable PDF now and start turning your snapshots into masterpieces!