
Creating a stunning black night sky in Photoshop can transform your photos into captivating masterpieces.
Imagine turning a simple evening shot into a breathtaking celestial scene. In this article, i will guide you step-by-step through the process, ensuring you achieve that perfect, dramatic night sky effect.
Whether you’re a novice or a seasoned photographer, you’ll find these tips and tricks invaluable.
Ready to elevate your photo editing skills?
Let’s dive in!
Table of Contents
How to Create a Black Night Sky Photoshop
Creating a black night sky in Photoshop can elevate your images to a whole new level, turning an ordinary photo into a stunning celestial scene.
Whether you’re enhancing a night shot or crafting a dramatic backdrop, this process will guide you through each step to achieve that perfect, starry sky.
If you like photography and want to edit your own photos of a black night sky, understanding astrophotography techniques can make all the difference.
Astrophotography involves specialized methods to photograph celestial objects and landscapes under a dark sky.
Overview of Creating Black Night Sky
Creating a stunning black night sky in your artwork or photography involves several key steps.
This guide will walk you through the process, from setting up your canvas or camera to achieving the perfect balance of darkness and star detail.
Create a New Blank Layers
Open your Photoshop file.
Choose New Layer from the layer menu or press Shift+Ctrl+N (Shift+Cmd+N on Mac).
Name your layer and make sure it’s transparent.
If you have a night sky photo and want to replace it with a different night sky from another image, learning to replace a sky can dramatically transform your photos.
This technique allows you to craft stunning, star-filled backdrops, giving your images a professional touch.
Set Foreground and Background Colors
Click on the foreground color swatch and set it to black (#000000).
Set the background color to a dark blue (#0A0A2A).
Fill the Layer with a Gradient
Select the Gradient Tool (G).
Choose the Foreground to Background gradient.
Drag from the top to the bottom of your new layer.
Add Noise Dialog Box for Stars
Make additional blank layers. Go to Filter > Noise > Add Noise.
Set the amount to around 150%, and ensure “Uniform” and “Monochromatic” are checked.
Apply Gaussian Blur
With your noisy layer selected, go to Filter > Blur > Gaussian Blur. Set the radius between 0.5 to 1.0 pixels.
Adjust Levels for Stars
- Press Ctrl+L (Cmd+L on Mac) to open the Levels dialog box.
- Push the middle slider to the right until the noise looks like stars.
- Adjust the black and white point sliders until you have a balanced night sky.
Blend the Star Layer
Change the blend modes of your noisy stars layer to Screen.
Adjust the opacity if necessary.
Refine the Stars
Use a soft eraser to remove stars from unwanted areas.
Duplicate the stars layer if you want a denser star field.
Refining Star Effects and Concluding Adjustments
Add a subtle glow effect to some stars by creating a small white dot on a new layer and applying gaussian blur.
Use the Brush Tool (B) on a new layers set to Overlay blend mode to add faint color variations in the sky.
Pro Tip: Vary the size and intensity of your stars.
Use different blend modes and opacity levels to achieve a natural look.
For more advanced techniques, consider exploring how to use the content-aware fill in Photoshop to remove unwanted elements from your sky or how to apply the gaussian blur in Photoshop for a smoother star effect.
Step 1: Open Your Image
First, open your image in Photoshop.
Launch Photoshop, click “File” in the menu, and select “Open.”
Navigate to your image, select it, and click “Open” again.
When working with a night sky photo and you want to make that black and white effect, mastering black and white shortcuts can enhance your editing efficiency.
Using these shortcuts helps you quickly adjust contrast and tones for dramatic night sky effects.
Pro Tip: For speed, use Ctrl + O on Windows or Command + O on Mac.
Step 2: Prepare Your Layers
Now, get your layers ready:
- Add a new layers by clicking the "New Layers" icon at the bottom of the Layers panel.
- Ensure it has a transparent background. This layer will be where you gonna add stars.
- Set your foreground color to black and background color to dark blue.
- Use a gradient to fill this layer with your chosen colors.
Step 3: Adding Noise to the Black Night Sky
Next, add some noise:
- Select your star layer and go to the "Filter" menu.
- Choose "Noise" and then "Add Noises".
- In the Add Noises dialog box, set the amount to 150%, Uniform, and Monochromatic.
Pro Tip: Use the Gaussian Blur filter for a more realistic effect.
This simulates what you actually see in the night skies.
Step 4: Adjust Levels
After adding noise, adjust the levels to make it look starry:
- Go to "Image" and select "Adjustments" then "Levels".
- Push the black point slider to the right until the grains resemble tiny stars.
Blend Mode Settings
Change the blend mode of the star layer to “Screen”.
This hides the black parts and shows only the stars.
Step 5: Fine-Tune Your Star Field in the Black Night Sky
If you want more density, duplicate your star layer.
Delete unwanted stars using the eraser tool, especially along the edges.
For a natural look, vary the size and intensity of the stars.
Adding Color Variations
Make a new layer, use the Brush tool, and set the blend mode to “Overlay”.
Paint faint colors to mimic real starry night skies.
Final Touch: Add Some Glow
Add a glow effect by creating small white dots.
Then, apply a gentle Gaussian Blur.
Step 6: Duplicate the Background Layer
You’ve got your image open in Photoshop.
Now, let’s duplicate the background layer to keep our original image safe.
Make a New Layers
Select the background layer in the Layers panel, right-click, and choose “Duplicate Layer”
Or use the shortcut Ctrl + J (Windows) or Command + J (Mac)
You’ll see a copy called “Background copy” in the layers list
Why Duplicate?
- It lets us make changes without touching the original image.
- We can experiment on the new layers, and if we mess up, the original stays intact.
- When we combine blending modes, having a duplicate makes it easier to manage and adjust layers.
Trust me, you’ll want to duplicate before moving forward.
Blending Modes
Blending modes come into play later, but first, get comfortable with duplicating. Stay tuned for how we will add stars and other cool effects using this step.
Pro Tip: Naming your layers clearly can save you time later. Here’s a fun name idea for the duplicated layer: “Stars Playground”.
Stay organized, and on to the next step!
Step 7: Add a New Layer for the Black Night Sky
We’ve already duplicated our background layer.
Now, it’s time to add a new layers for our starry sky.
Make a New Layer
Head over to the Layers panel. Click on the “New Layers” icon at the bottom or press Shift + Ctrl + N (Shift + Command + N on Mac). Name it “Star Layer”.
Choosing Background Colors
Set the background colors to black and white by pressing “D” on your keyboard.
Black will be the foreground, and white will be the background color.
Fill the New Layer with Black
Select your star layer in the Layers panel.
Fill it with the foreground color by pressing Alt + Backspace (Option + Delete on Mac). Your new layers is now completely black.
Add Noise
Go to the Menu bar, click on Filter, and choose Noise. Then, select “Add Noise”
- Set the Amount to around 150%
- Ensure “Gaussian” and “Monochromatic” are checked
- Hit OK. Your black layer will turn into a noisy mess.
Apply Gaussian Blur
Go to the Menu bar, select Filter, then choose Blur, and find Gaussian Blur. Set the radius to around 1 pixel and click OK. This will soften the noise a bit, making it look more like stars.
Use Levels to Adjust the Stars
Head to the Menu bar, click on Image, then choose Adjustments, and select Levels.
- Move the black point slider to around 100
- Move the white point slider to around 200
This will fine-tune the appearance of your stars.
Adjusting Blend Modes for Optimal Star Visibility
Go back to your Layers panel. Locate the drop-down menu that currently says “Normal” Change it to “Screen” This blending modes allows the stars to appear over the original image.
If your stars are too bright or too dim, play around with the levels or the opacity of the star layer to get the perfect night sky. Keep tweaking until it looks just right!
For more advanced techniques, you might want to explore how to use the patch tool or experiment with content-aware fill to enhance your starry sky further.
Step 8: Fill the New Layers with Black
Alright, we are almost done.
Now, fill your new layers with black.
This step is a must for making a realistic night sky.
Steps:
- First, make sure your foreground color is black. If it’s not, click on the color swatch at the bottom of the toolbar and set it to black. Once set, you are good to go.
- Next, click on your "Star Layer" in the layers panel.
- Then, press Shift+F5. This opens the Fill dialog box.
- Select "Foreground Color" from the contents dropdown menu and click OK.
Congrats, you have filled your layer with black! It looks empty now, but this black layer is where your stars will shine.
Pro Tip: Don’t forget to adjust the black point and white point in the later steps. This makes your stars stand out against the night sky.
For more advanced editing, consider using the content-aware fill to seamlessly blending elements into your night sky.
Additionally, mastering photoshop shortcuts can significantly speed up your workflow.
Step 9: Add Noise to the Black Layer
To enhance the realism of your night sky, adding noise to the black layer is essential.
This step creates a subtle texture that mimics the natural graininess of the night sky.
It helps to break up the uniformity of the solid black, making the scene appear more dynamic and true to life.
Let's Get Noisy with Our Black Night Sky in Photoshop
Here’s how we do it:
- Select the black layer in the layers panel, now, let's add some noises.
- Go to the top menu, click Filter, then Noise, and choose Add Noises. A dialog box pops up. This is where the fun begins!
- In the dialog box, set the Amount to around 40%. Make sure Distribution is Gaussian and check Monochromatic. This sprinkles the little bits of noises we need.
Why Are We Adding Noise?
Simple. It scatters pixels to look like stars.
Easy, right?
But Wait, There's More:
- Apply a slight Gaussian blur by going to Filter, then Blur, and choosing Gaussian Blur. Keep it subtle - a radius of 0.5 should do the trick.
- Change the blending modes of this layer to Screen for better star blending. Go to the layers panel, find the blending options, and set it to Screen.
And just like that, our night sky sparkles with stars!
Small tweaks make a big difference in creating that realistic look.
Pro Tip: Adjusting the blending modes and playing with the opacity gives you more sway over how the stars appear.
You’re one step closer to mastering this technique.
Learn more about essential tools in Photoshop and how to add texture in Photoshop to elevate your skills further.
Step 10: Apply the Gaussian Blur Filter
We’ve added noises to our night sky in Photoshop.
Now, let’s make those stars pop with a Gaussian blur filter. This step really changes things. Here’s what you do:
Why Gaussian Blur?
Gaussian blur smooths out rough edges. It scatters light, making stars look more natural. Perfect for a realistic night sky.
Steps to Apply Gaussian Blur
- Select your starry layer in the layers panel.
- Go to the top menu, click Filter, then Blur, and choose Gaussian Blur. A dialog box will pop up.
- In the dialog box, adjust the Radius slider to around 0.5 for a subtle blur. This helps blend those stars seamlessly.
Tweaking for Perfection
Adjust the radius in the dialog box as needed.
Sometimes, a little extra blur makes stars sparkle better.
Ensure the layer is still set to screen blend mode for optimal blending. This keeps stars visible against the night sky.
Now, your stars look smoother and more natural.
Small tweaks can transform your image from ordinary to extraordinary.
Pro Tip: If your stars look too blurry, don’t worry. Just reduce the blur radius in the dialog box. Adjust until it feels right.
Step 11: Change the Blend Mode
Changing the blending mode of your layer can significantly alter the overall appearance and enhance the effect you’re aiming to achieve.
Make Your Stars Shine
Time to change the blend modes.
Don’t worry, it’s simple.
Steps to Change the Blend Mode:
- Select your star layer from the layers panel. Click on it.
- Find the drop-down at the top of the layers panel that says “Normal” Click it to see a list of blend modes.
- Change it to Screen. This hides the black background and makes our stars shine. Your sky should now sparkle.
Why Screen Blend Mode?
The Screen blend modes hides blacks and pops whites. Perfect for a night sky edit.
Experiment and Adjust
Try other modes like Lighten or Overlay. Trust your eyes.
Pro Tip: Adjust the opaqueness of your star layer for visibility. Lower it for subtle stars, or max it out for a starry explosion.
Step 12: Add a Layer Mask for the Black Night Sky
Alright, we’ve come a long way!
Now, let’s learn how to add that special touch – layer masks!
Sounds fancy?
Don’t worry, it’s simpler than it sounds.
What is a Layer Mask?
A layer mask helps you hide or reveal parts of your image without deleting anything. You can easily fix mistakes. It’s like a magic eraser.
Adding a Layer Mask
- Select your layer in the layers panel. Found it? Good.
- Click the “Add Layer Mask” icon at the bottom of the panel. It looks like a square with a circle inside it.
- You now have a layer mask. Your layer should look different now.
Using the Layer Mask
Time for some magic:
- Select the Brush Tool. Set the forefront color to black.
- Painted over the areas you want to hide. Black hides parts of the layer.
- Want to bring parts back? Switch the forefront color to white and paint. White reveals hidden parts.
Why Bother?
A layer mask gives you control. It lets you make changes without permanent damage. Imagine painting a starry sky but suddenly realizing you need to remove some stars. Easy fix with a layer mask.
Perfecting Your Brushwork for Realistic Effects
Adjusting the opaqueness of your brush can make this easier. Try out low opacity for subtle effects.
Pro Tip: For a more natural look, use a soft-edge brush when working with your layer mask. Sharp edges can look jarring, especially in black night sky photoshop edits, where smooth edges and seamless transitions are crucial for achieving a realistic effect.
Additionally, using the upper part of the brush settings panel can give you more sway over the softness and size of your brush.
Step 13: Paint with Black on the Layer Mask
Now, let’s talk about what’s next: painting with black on the layer mask.
Sounds fancy?
It’s easier than it sounds.
Achieving Seamless Transitions with the Brush Tool
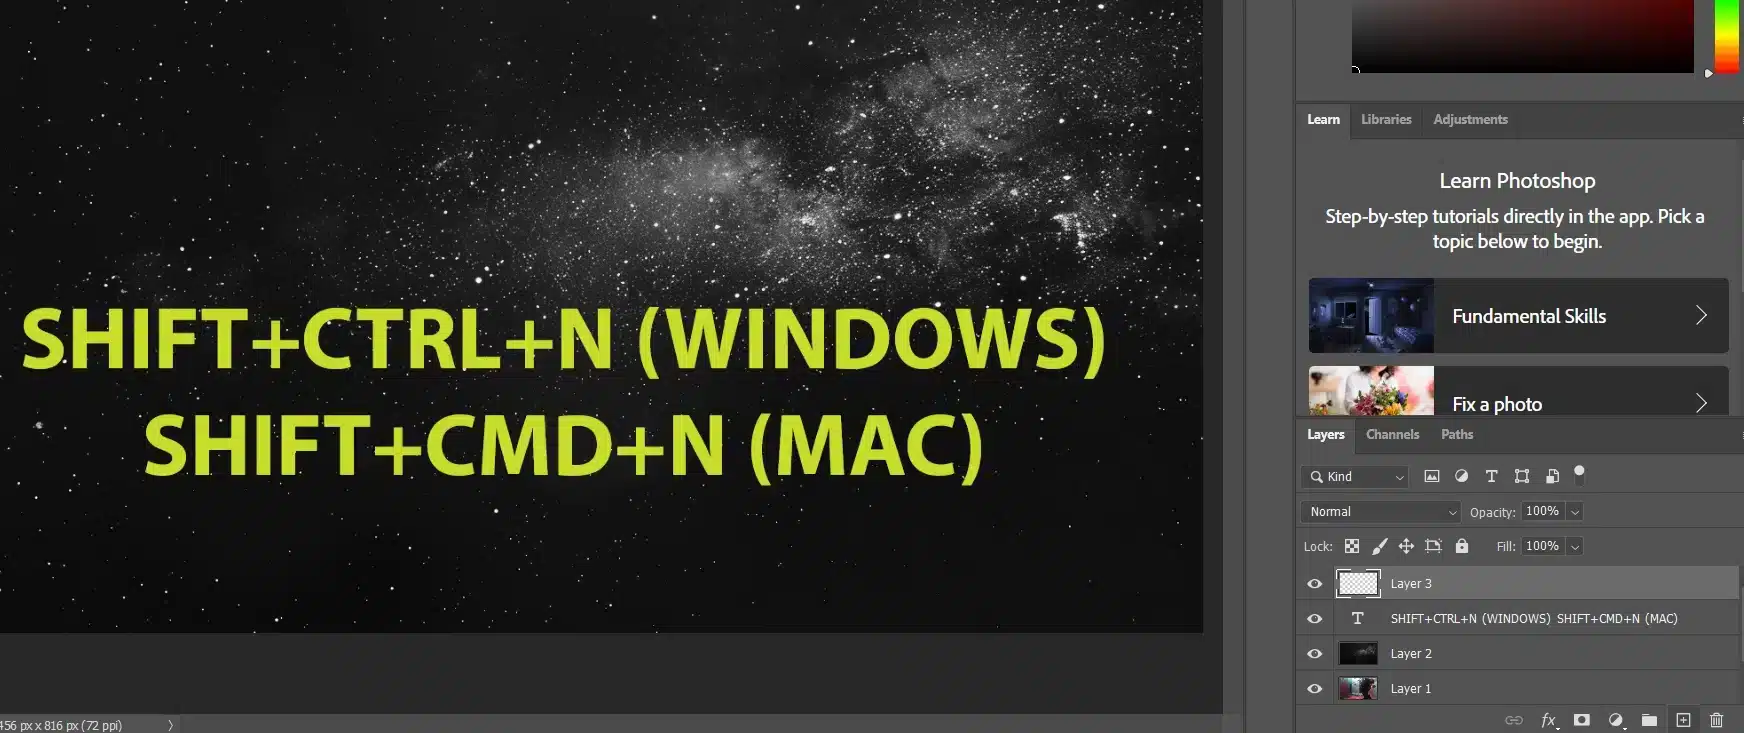
First, make sure your layer mask is selected. You’ll see a white border around it. This means it’s active.
Got that? Good.
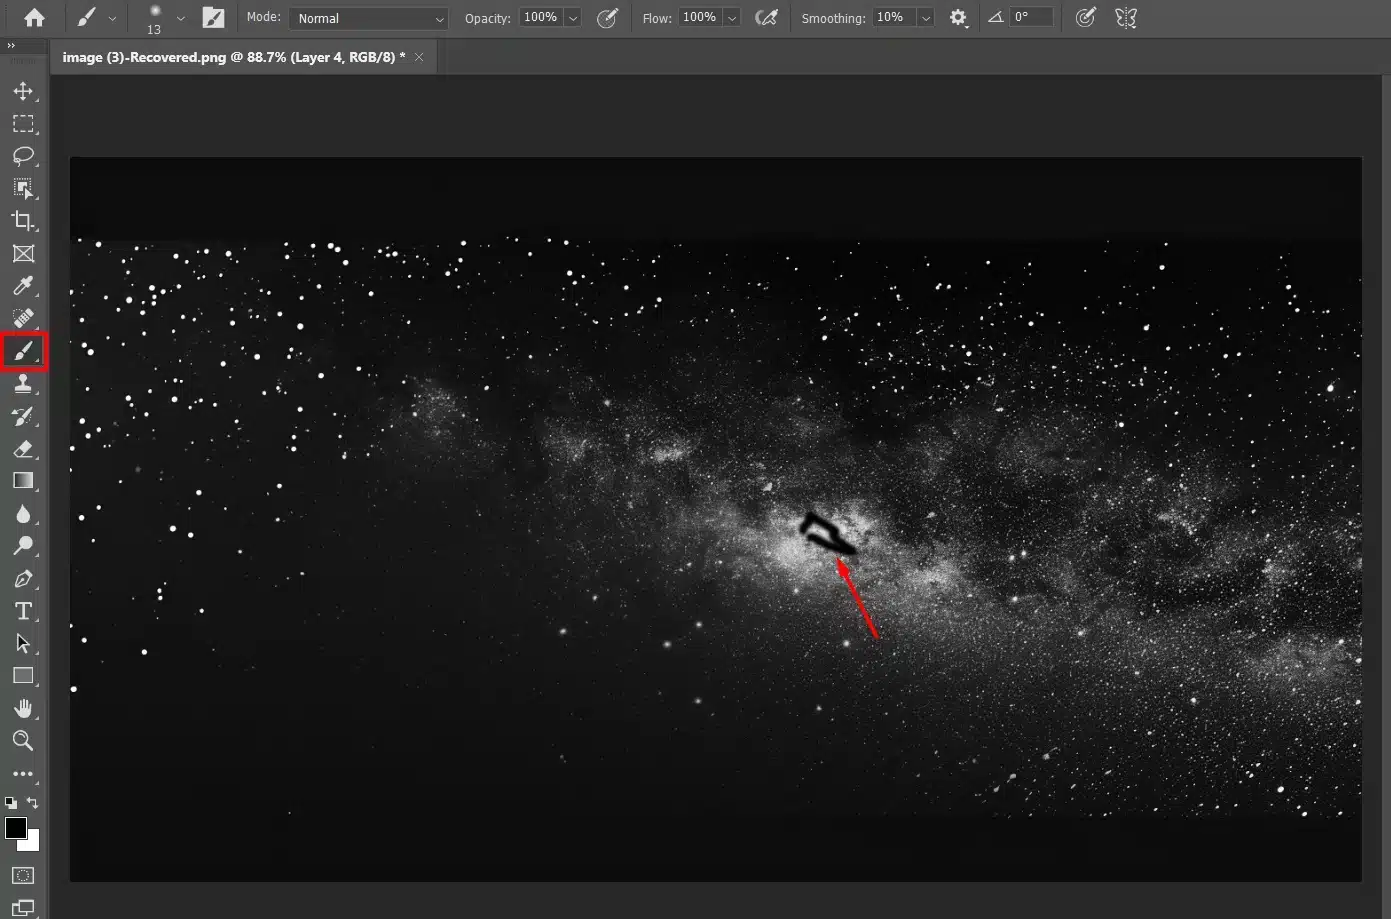
Now, go to the Brush Tool in the toolbar on the left. Select a soft round brush.
Why soft? To avoid harsh edges.
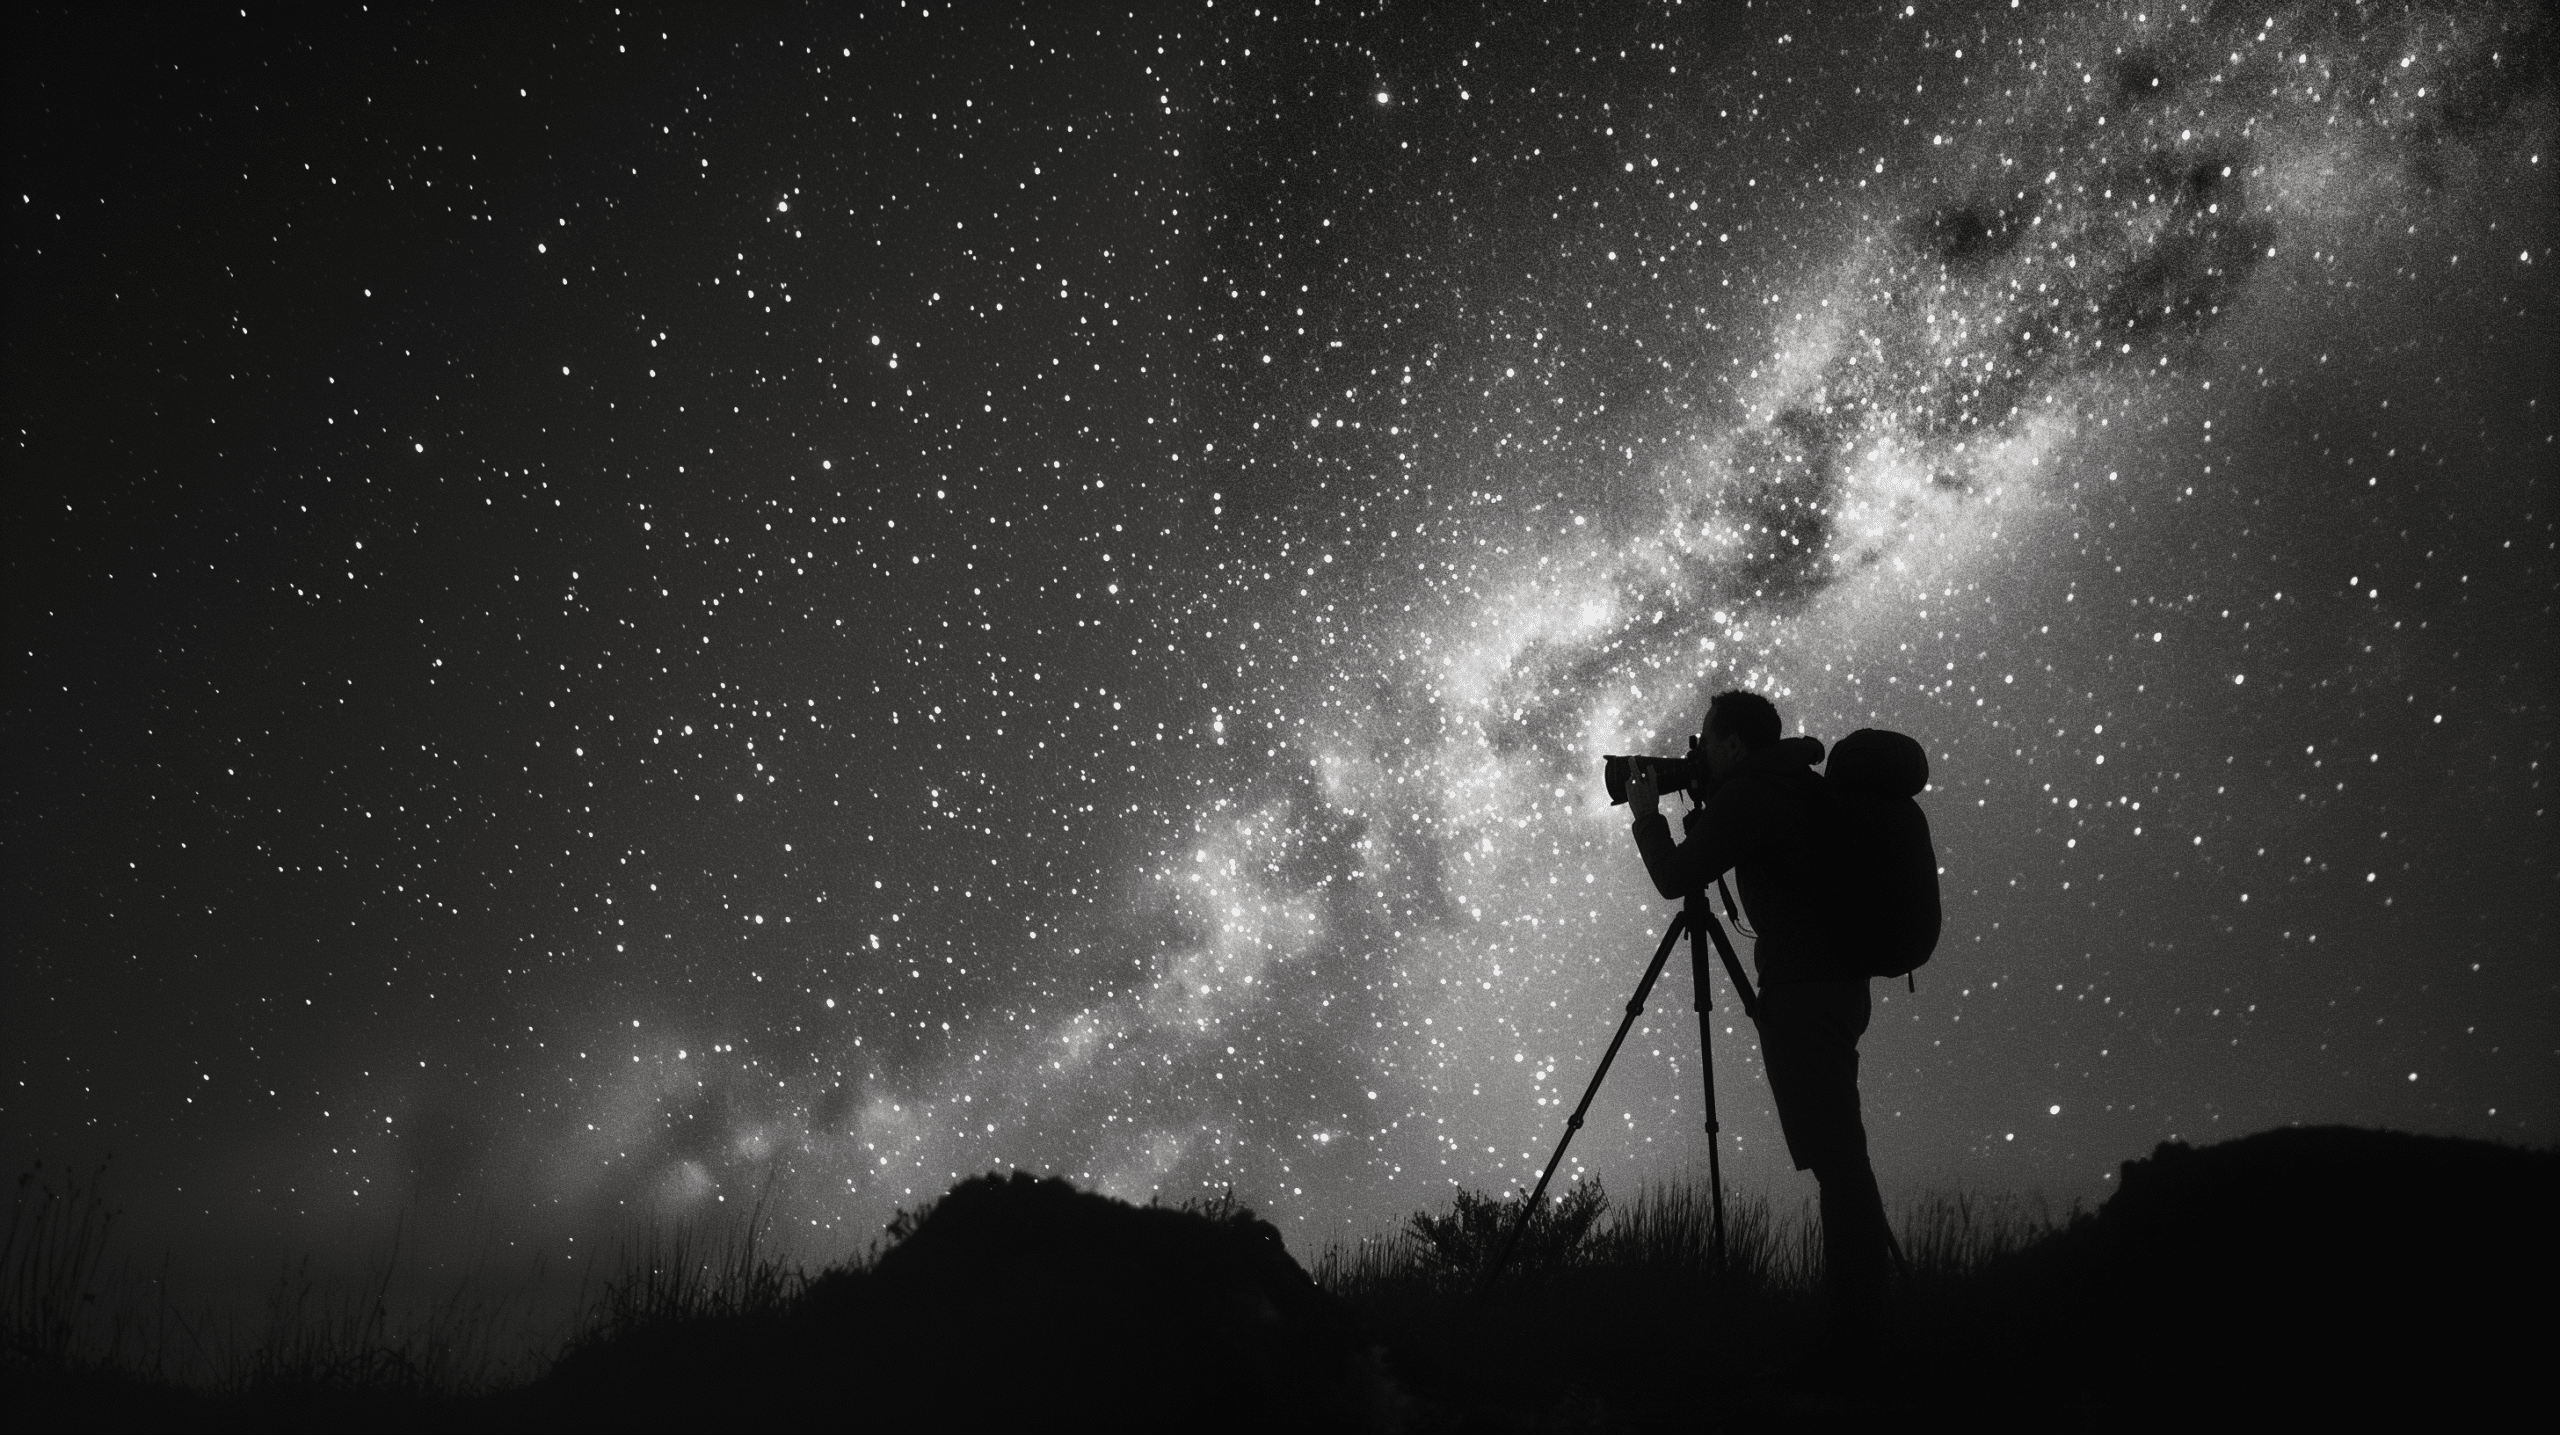
We want smooth transitions in the corner to make our images look natural and seamless, without any hard edges that might distract the viewer.
The key is to ensure that the edges blend perfectly with the surrounding areas, creating a cohesive and visually appealing effect.
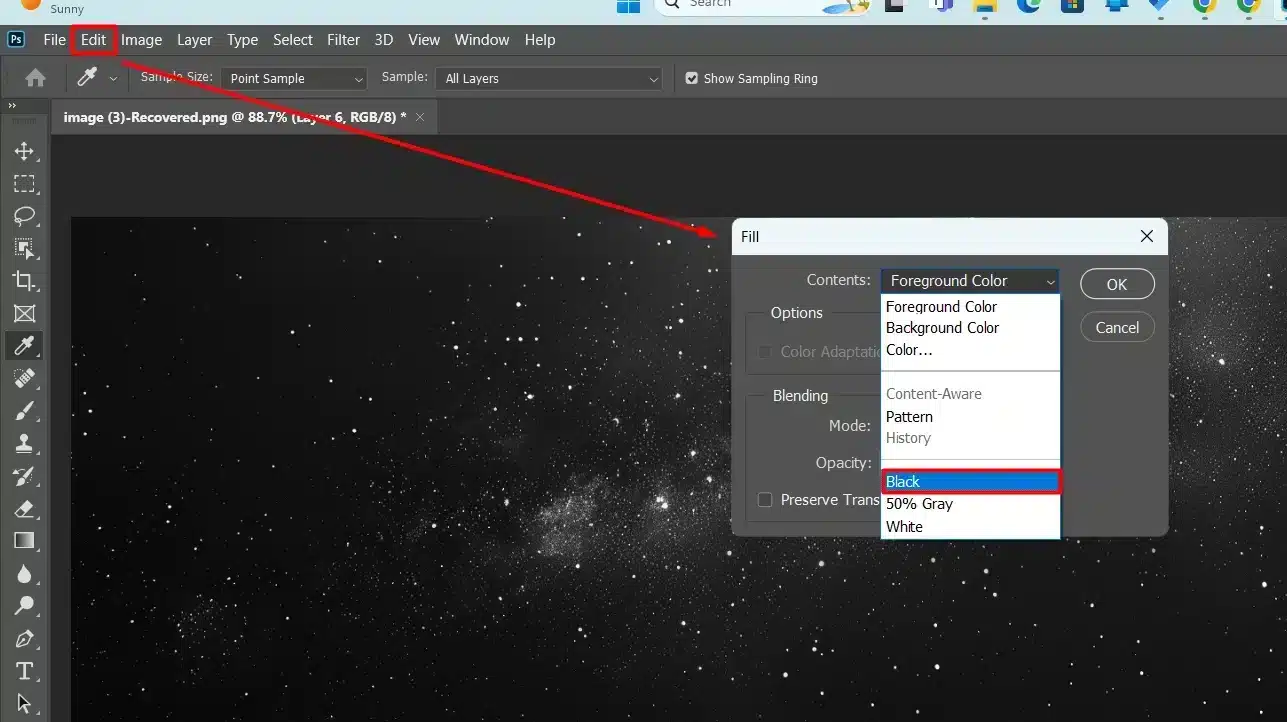
Set your forefront color to black. Look for the two color swatches at the bottom of the toolbar. Click the top square (forefront) and choose black.
Now, let’s get painting.
Use the brush to hide parts of the layer. This creates a blend where the stars don’t overpower the scene. Imagine you’re erasing gently.
The painted black disappear.
You can still bring them back later, so no worries.
If you overdo painting, switch the forefront color to white.
Click the arrow or press ‘X’ key. White reveals parts that were hidden. Try it out and see what happens. It’s like magic.
Your document suddenly looks much better.
Smooth out any rough spots with a lower opaqueness brush.
Check the top toolbar or press numbers on your keyboard to change it quickly.
Why This Matters:
Balanced and bright stars can make your image shine, like adding a bright moon on a clear night. It helps with making sure that our hard work doesn’t look too artificial.
Pro Tip: If you’re using a Mac, “Control-click” to access the brush options quicker.
Makes tweaks fast and easy!
Up next?
We’re almost at the finishing line!
Get ready to add some clouds and further refine your sky. Stay tuned for more in our ongoing Photoshop adventure!
Step 14: Add Stars to the Black Night Sky
In this step, we’ll explore how to add stars to your black night sky in Photoshop. By following these detailed instructions, you can create a stunning starry effect that enhances the realism of your night sky photos.
Step | Description |
---|---|
Add a New Blank Layer | Start by adding a new blank layer in Photoshop for the star effects. |
Fill the Layer with Black | Set the background of this new layer to black to simulate night. |
Add Noise | Apply the Add Noise filter to create the base texture for the stars. |
Apply Gaussian Blur | Use Gaussian Blur to soften the noise, making it resemble distant stars. |
Adjust Levels | Fine-tune the appearance of stars by adjusting the levels to highlight the bright spots. |
Add Color to Stars | Optionally, add subtle color variations to simulate different star temperatures. |
Duplicate Layer | For a denser star field, duplicate the star layer and adjust opacity as needed. |
Ready to make your night sky pop with stars?
Add a New Blank Layer Above the Image
To create stars first, we need a new blank layer.
Go to the layer panel.
Find the ‘Create New Layer’ icon at the bottom.
Click it. You’ve got your new blank layers.
Fill the Layer with Black
Select your new layer.
Go to the top menu and click “Edit”.
Then, choose “Fill”.
A dialog box appears.
Set the contents to “Black”.
Click “OK” Your layer is now set.
Add Some Noise with the Add Noise Filter
We need some texture for our stars.
With the black layer selected, go to the menu and choose “Filter” Then select “Noise” and click “Add Noise” Set the amount to around 50%.
Make sure the distribution is set to Gaussian and Monochromatic.
Blur the Noise with the Gaussian Blur Filter
Our noises needs to be softened a bit. Go to “Filter” then “Blur” and pick “Gaussian Blur” Adjust the slider to around 1 pixel. This smooths out the harshness, so our stars look natural.
Turn the Noise into Stars with a Levels Image Adjustment
Now, let’s turn those blurred pixels into sparkling stars. Press “Ctrl+L” (or “Cmd+L” on Mac) to open the Levels dialog box.
Lets slide the black and white point, slide the black point slider to the right until you start seeing stars.
Slide the white point slider to the left to brighten them.
That how you create stars with noises .
No need to go and add a stars by hand one by one, this is better method to create stars , more random and natural.
Adding a Glow to the Stars in the Black Night Sky
Time to make our stars light up the black sky. Duplicate the star layer by dragging it to the new layer icon.
Change the blend mode to “Screen” Double click the duplicated layer and add an outer glow for that light touch.
Adding Color to the Stars
Make a new layer above your star layer. Change the blend mode of this new layer to “Color” Use a soft brush with low hardness.
Choose painting colors like blue and yellow and gently paint over some of your stars.
This adds variation and life to your night sky.
Your stars should now look fantastic!
Practice and tweak as needed.
Pro Tip: If you’re adding clouds to your stars, remember to lower their opaqueness to keep the stars visible but soft enough to look realistic.
For more detailed tutorials, continue exploring our Photoshop series. If you’re interested in learning more about essential tools in Photoshop or how to use the Gaussian Blur, check out our other articles.
If you are into photography and want to capture stunning images for stars, mastering long exposure techniques is essential. Long exposure photography allows you to capture the movement of stars across the night sky, creating beautiful celestial effects.
Apply the Clouds Filter to the Layer Mask in the Black Night Sky
Let’s dive into adding that dreamy cloud effect to your sky using a layer mask. This step makes your image look more realistic by adding only some clouds in the sky.
Intensifying Clouds with the Clouds Filter
First, select your layer mask where you want your clouds to be.
If you see a white border around it, you’re good to go.
- Go to the top menus, click "Filter" hover over "Render" and pick "Clouds"
If the clouds aren’t intense enough:
- Go back to the "Render" menu and choose "Difference Clouds"
- This will add more clouds, making them denser.
- Repeat until you get the look you want.
This technique brings life to your night sky, making it look as if real clouds are drifting across the stars.
It works well on both Mac and PC.
Pro Tip:
For better mastery over the clouds, use different brush sizes and opaqueness levels.
This lets you paint specific areas, making some clouds denser than others. It adds realism to your work.
Stay tuned for more Photoshop and Lightroom tutorials to boost your editing skills!
Add stars in your images with a mix of tools and techniques will take your creativity to new levels..
Ultimate Enhancements for the Black Night Sky
We’ve added stars, clouds, and even made those stars sparkle.
Now, let’s finish up with the final touches to make our night sky pop.
Enhance the Star Layer
First, go to the layers panel and pick your star layer. Change its blend mode to Screen. This will hide all black areas, only showing the stars.
Adding Depth to the Stars
Next, duplicate your star layer by dragging it to the new layer icon at the bottom of the layers panel.
Adjust the opaqueness of the duplicated layer. Lower it a bit, so some stars appear brighter while others are dimmer. This adds realism.
Introducing Color Variations
Make a new blank layers on top.
Change its blend mode to Color. Select a soft brush with blue color and gently paint over patches of stars. Mix it up with some yellow to mimic different star states.
This method gives your image a more dynamic look.
And there you have it! Your night sky is now full of vibrant stars, subtle clouds, and depth. Remember to save your document frequently to avoid losing your work.
Pro Tip: If the stars look too perfect, they may not appear natural. Use a soft-edged eraser to slightly vary the brightness and positions of a few stars. This creates a more genuine night sky effect.
With these final touches, your image is ready to wow anyone. Follow along with our other tutorials for more tips and tricks to improve your Photoshop and Lightroom skills.
Additional Tips for a Black Night Sky
For an even more stunning effect, consider using the content-aware fill feature in Photoshop to remove any unwanted elements from your image.
Additionally, if you’re working on multiple images, learning Lightroom shortcuts can significantly speed up your workflow.
And that’s it!
You’ve created a stunning starry night sky using Photoshop.
Experiment with these steps to get even better results.
Frequently Asked Questions
How do you make a dark sky in Photoshop?
Making a dark sky in four simple steps:
- Open your image in Photoshop.
- Select the sky area using tools like Quick Selection, Magic Wand, or Lasso.
- Make a new adjustment layer for Exposure or Brightness/Contrast.
- Adjust the settings to lower the brightness or exposure to darken the sky.
How to create a starry night sky in Photoshop?
To create a starry night sky follow these steps:
- Start with a dark sky background by following the steps above to darken the sky.
- Add a new layer and fill it with black.
- Go to Filter > Noise > Add Noise, adjust the amount to around 25%, and set the Distribution to Gaussian.
- Use Levels (Image > Adjustments > Levels) to isolate the stars by moving the black and white input sliders close to each other.
- Change the blending mode of the layer to Screen to make the black invisible, leaving only the stars.
How do I change the sky to night in Photoshop?
Changing the sky by following these steps:
- Open your image and select the sky as described in the first question.
- Create a new adjustment layer for Hue/Saturation.
- Adjust the hue to a cooler tone and decrease the saturation to give a night effect.
- Optionally, add a Brightness/Contrast adjustment layer to darken the sky further if needed.
How to make a starry sky in Photoshop?
To create a starry sky follow these steps:
- Follow the steps from the \"How to create a starry night sky in Photoshop?\" section to add stars to your sky.
- Enhance the effect by adding a glow to the stars: Go to Layer Style > Outer Glow and adjust the settings for size and opacity to your liking.
- Experiment with different colors in the Layer Style settings to produce variations of star effects.
Conclusion
Creating a black night sky in Photoshop can truly transform your images into something magical.
With the steps outlined, you can add a realistic, starry sky to any photo, making it look like a scene straight out of a movie. I’ve found this technique incredibly useful for adding a dramatic touch to my own work.
Remember, you can always improve your skills further.
For more detailed tutorials, check out the Photoshop course and the Lightroom course.
Happy editing!
Read more about Photoshop: