While both are powerful, Photoshop excels in detailed text watermark creation. Knowing the strengths of each tool can enhance your creating a text watermark in Photoshop project.
Opening Your Image in Adobe Photoshop
To begin, open your image in Adobe Photoshop.
Go to the "File" menu at the top left corner of the screen and select "Open".
Choose the watermark image from your folder and click "Open".
Using the Text Tool
Click on the “Type Tool” from the toolbar on the left side of the screen. This tool allows you to create your text watermark.
Click anywhere on your image to start typing your watermark text.
Customizing Your Text Watermark
Once you’ve added the text, you can customize it.
Use the options at the top of the screen to change the font, size, and color of your text.
You can also add effects like a "Drop Shadow" or adjust "Opacity" to make the photoshop watermarking more stylish.
Positioning the Watermark
After customizing your text, click the “Move Tool” in the toolbar.
Drag the text to position the watermark where you want it on your image.
You can use the "Free Transform" option (Ctrl+T or Cmd+T) to resize the text if needed
You can also use the “Brush tool” to select area for the effect drop shadow.
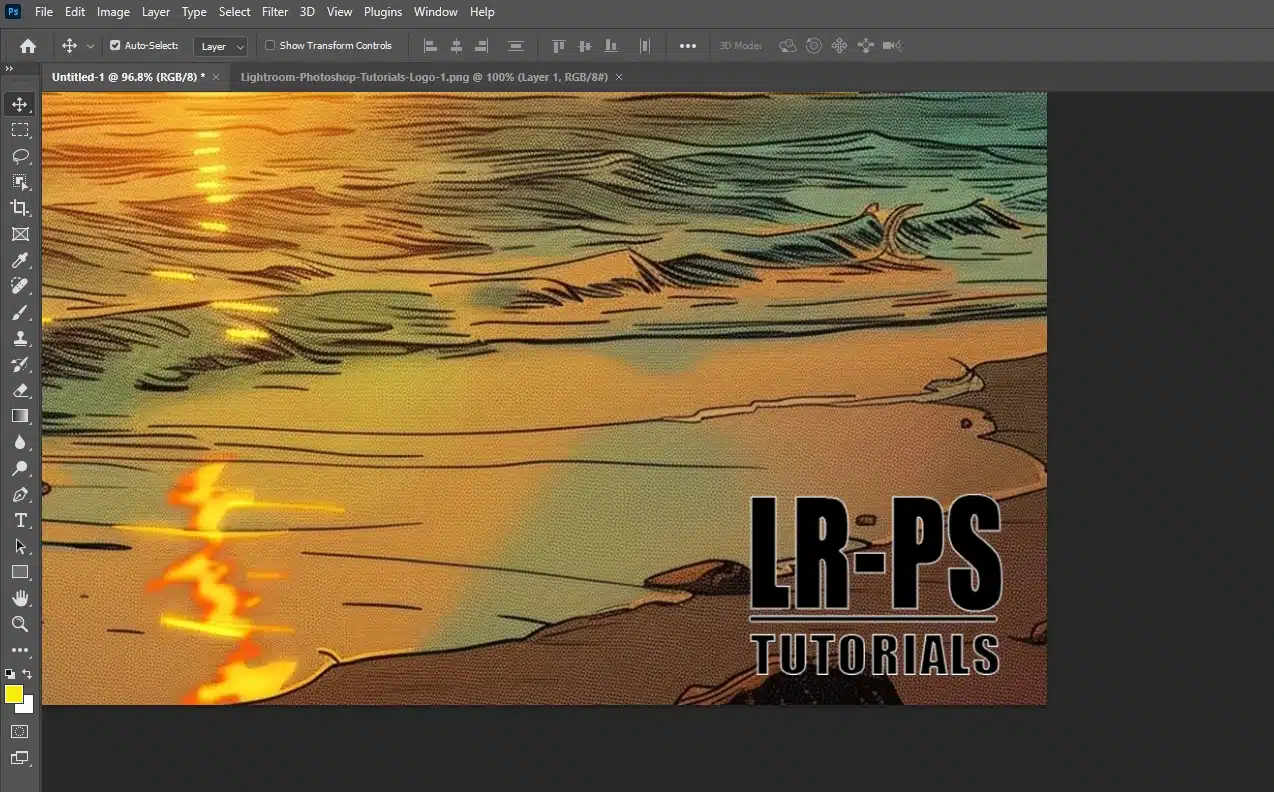
Creating a Graphic Watermark in Photoshop
Adding a graphicwatermark to your photos is a great way to protect your work and maintain your brand identity.
This type of watermark typically includes a logo or a custom graphic that can be applied to multiple images.
If you’re using Photoshop, the replace color tool can help ensure your watermark stands out against different backgrounds
Designing Your Graphic Watermark
First, open your preferred design software and create the watermark in photoshop. This could be a logo or text with your copyright notice.
Aim for simplicity so the watermark doesn’t distract from your images. Save the watermark file as a PNG with a transparent background.
This makes it easy to reuse it on different photos.
This skill helps seamlessly blend your watermark with various backgrounds.
Importing the Graphic into Photoshop
Open your Photoshop document where you want to add the watermark. Import the PNG file by dragging it into the workspace.
This action automatically creates a new layer for the watermark. You can view this in the Layers panel on the right-hand side.
Pro Tip: For further customization, familiarize yourself with the quick selection tool to easily adjust the watermark’s placement, or use Photoshop masking to refine its appearance and ensure it blends seamlessly with your images.
Placing the Graphic Watermark on a Transparent Background
Use the Move Tool to position the watermark where you want it on the image. Resize using Free Transform (Ctrl+T or Cmd+T).
Adjust the opacity in the Layers panel to make it blend seamlessly into the photo. You may also want to change the blend mode to ensure the watermark brush doesn’t appear too harsh.
Pro Tip: Create a Photoshop action to automate the add watermarks to save time.
Additional Tips for Effective Watermarking
Consider using smart objects in Photoshop to maintain the quality of your watermark when resizing pictures. This allows for non-destructive editing, ensuring your watermark remains crisp and clear.
For effective watermarking, consider using transparent text to achieve a subtle yet visible mark. This technique ensures your watermark is integrated smoothly into the design without overpowering it.
Additionally, you can explore different blending modes in Photoshop to find the perfect balance between visibility and subtlety.
Making Your Watermark Transparent
Now, let’s take a look at adjustingopacity. To perfect making your watermark transparent, mastering object selection is necessary.
This tool helps isolate your watermark efficiently, ensuring a clean and professional finish.
Combining object selection with transparency techniques elevates the quality of your watermarks.
Adjusting Opacity on the Watermark
Opacity controls how see-through your watermark appears.
Follow these steps:
Select your new layer with watermark in the Layers panel.
Find the Opacity slider at the top of the Layer panel.
Drag it left to make the watermark more see-through.
Generally, keeping the opacity around 30-50% works well for most photographs.
This way, your watermark in Photoshopis visible enough to protect your photo but doesn’t detract from the image itself.
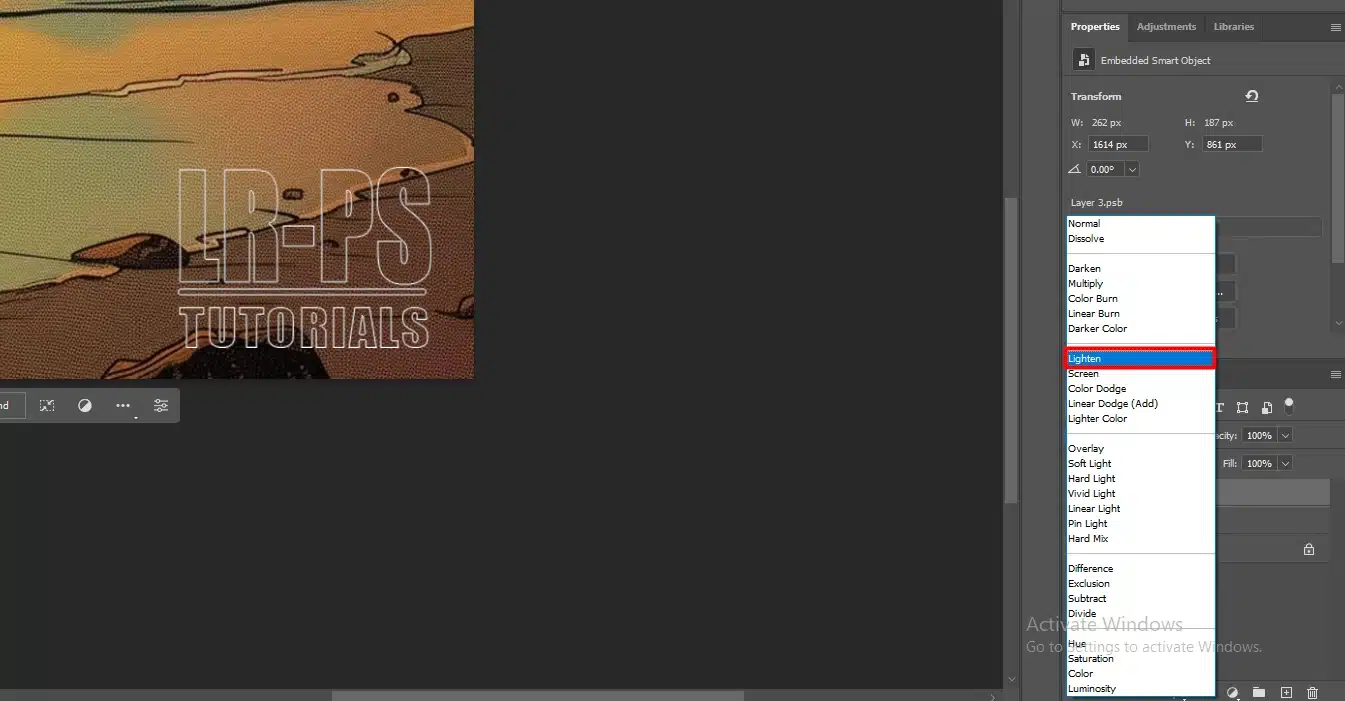
Using Blending Modes in the Layers Panel
Blending modes help integrate your watermark more naturally with your photo.
Follow these steps:
With the watermark layer selected, locate the dropdown menu that usually says "Normal".
Click this drop-down menu and try out different blending modes like "Overlay" or "Soft Light".
Each mode has a different effect on how your watermark interacts with the new layer below it.
Using Smart Objects
Converting your watermark in Photoshop into a smart object can offer more flexibility.
Follow these steps:
With the watermark layer selected, locate the dropdown menu that usually says "Normal".
Click this drop-down menu and try out different blending modes like "Overlay" or "Soft Light".
Pro Tip: Store your watermark in the Creative Cloud Library for quick access across projects.
To enhance using smart objects, you can also warp text for more dynamic designs.
Saving and Exporting Your Watermarked Images
When you finally finish watermarking your image, saving and exporting become the next crucial steps.
Here’s a comparison table to help you choose the right file format based on your needs:
File Format
Best For
Pros
Cons
JPEG
Web use
Good compression, widely supported
Potential quality loss with compression
PNG
Images with transparent pixels
Retains quality, supports transparency
Larger file size than JPEG
TIFF
Print
Lossless compression, preserves detail
Large file size
PSD
Ongoing projects
Keeps all layers editable
Not suitable for web use
Let’s walk through the process of choosing the right file format and exporting for different uses.
Choosing the Right File Format
Selecting a suitable file format ensures that your watermark in Photoshop remains intact and your image quality stays high.
Here’s what to consider:
JPEG: Ideal for web use, with good compression but potential quality loss.
PNG: Best for images with transparent pixels, retains quality.
TIFF: Excellent for print due to lossless compression, preserving detail.
PSD: Keeps all layers editable, great for ongoing projects.
Remember to choose the format based on whether the image is headed for the web or print.
Exporting for Web and Print
Different export settings suit various purposes.
I’ll guide you through the basics.
For Web:
Go to the file menu bar, select Export, and then Save for Web (Legacy).
Choose JPEG, PNG, or GIF from the dialog box.
Adjust the quality settings.
Click Save and select a folder on your computer.
This method ensures your images load quickly online without significant quality loss.
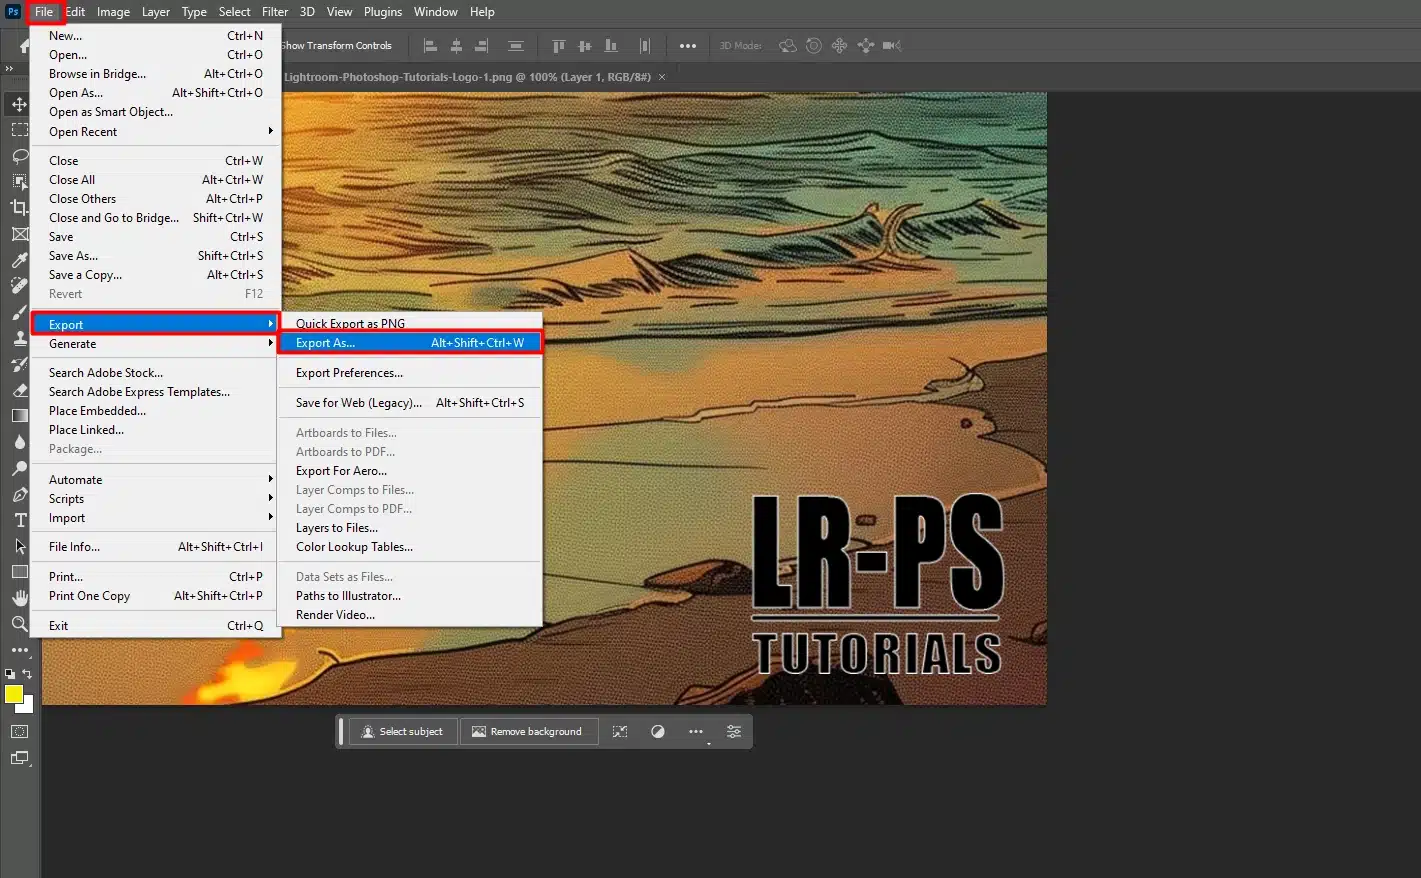
For Print:
Go to the file menu bar, select Export, and choose Export As.
Select TIFF or PDF from the dialog box.
Adjust the resolution settings, ideally 300 dpi for print.
Click Export All and save it within an organized folder.
This process guarantees your images print in high resolution.
Pro Tip: Save time by using the Creative Cloud Library to store and easily apply your watermarks across multiple projects.
Frequently Asked Questions
How do I add a watermark to Photoshop?
Adding a watermark in few easy steps:
Open your image in Photoshop.
Select the 'Text Tool' and type your watermark text.
Adjust the font, size, and position as needed.
Reduce the opacity to make the watermark less conspicuous.
Save your image with the watermark.
How to make a transparent watermark in Photoshop?
Steps to make the watermark transparent:
Open your image and create a new text layer for your watermark.
Type the text for the watermark.
Adjust the layer's opacity slider to make the watermark transparent.
Position the watermark as desired on the image.
Save the final image with the changes.
How do you create a watermark?
Creating a watermark in few steps:
Choose the image or text you want to use as a watermark.
Open Photoshop and load the primary image.
Add the watermark image or text over the primary image.
Adjust opacity and positioning to integrate the watermark subtly.
Save your work to preserve the watermark.
What is the shortcut key for watermark in Photoshop?
Photoshop does not have a dedicated shortcut key for adding watermarks.
You can create a custom action for watermarking and assign a shortcut key to that action.
To do this, record an action of you inserting a watermark, then go to 'Actions Menu' > 'Action Options' and set a function key for the action.
In conclusion, adding a watermark in Photoshop is a straightforward way to protect and brand your images. By using text or graphic watermarks, you can ensure your work is recognized and safeguarded from unauthorized use.
My personal experience has shown that a well-placed watermark can make a significant difference in maintaining your creativeownership. For detailed guidance, check out my Photoshop Course and Lightroom Course. They provide hands-on tutorials to enhance your editing skills.
$2,061.00Original price was: $2,061.00.$1,061.00Current price is: $1,061.00. 27584
Download Your Free Guide Now!
Discover the secrets of photography with our printable guide! Master essential techniques like aperture, shutter speed, and ISO to create stunning images. Get your free printable PDF now and start turning your snapshots into masterpieces!