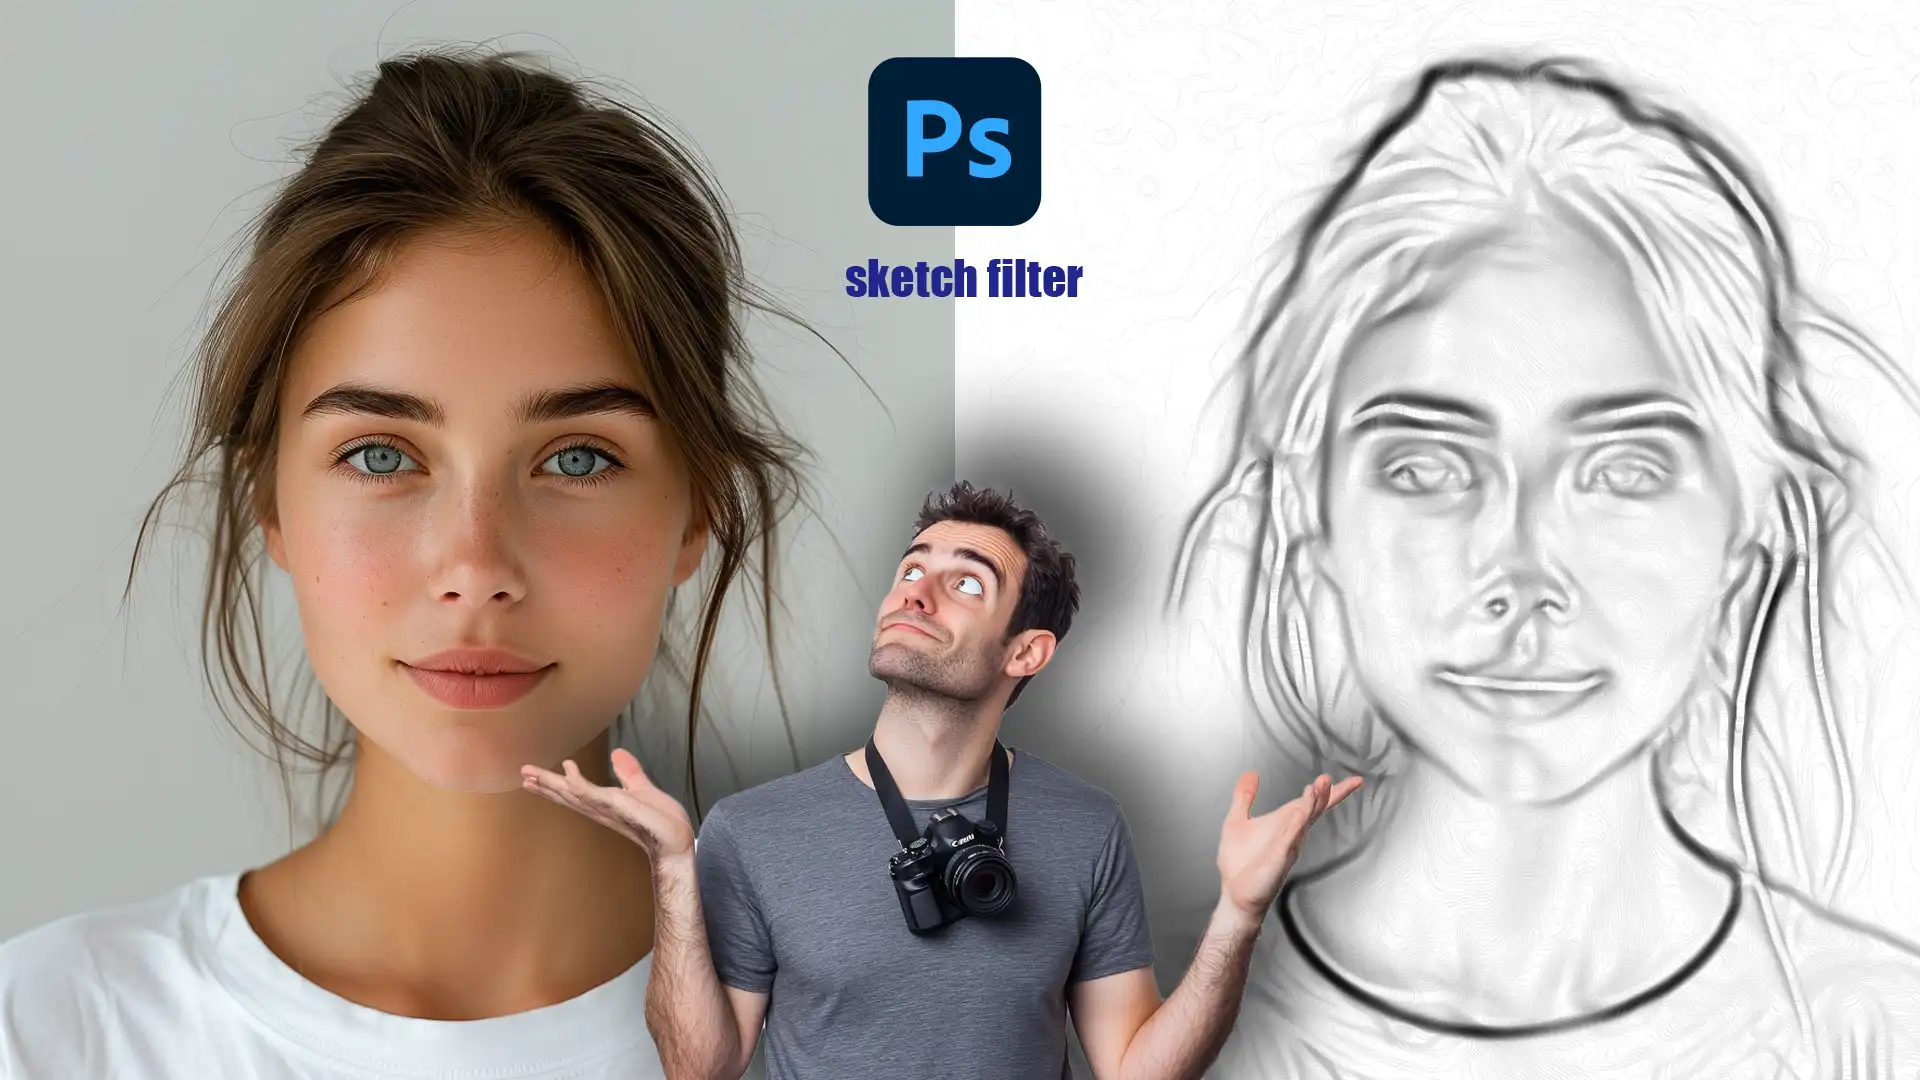
Sketch Filter Photoshop: Everything You Need to Know
Sketch Filter Photoshop: Everything You Need to Know
Photoshop’s sketch filter transforms creative dreams into reality in just a few clicks.
This tool offers a wide range of artistic possibilities, enabling you to convert everyday images into works of art.
Whether you are enhancing personal memories or creating unique graphics for projects, mastering the sketch filter can open up new horizons in digital creativity.
Let’s dive into the exciting world of photo editing with Photoshop’s sketch filter and see just how easy and fun it can be!
Table of Contents
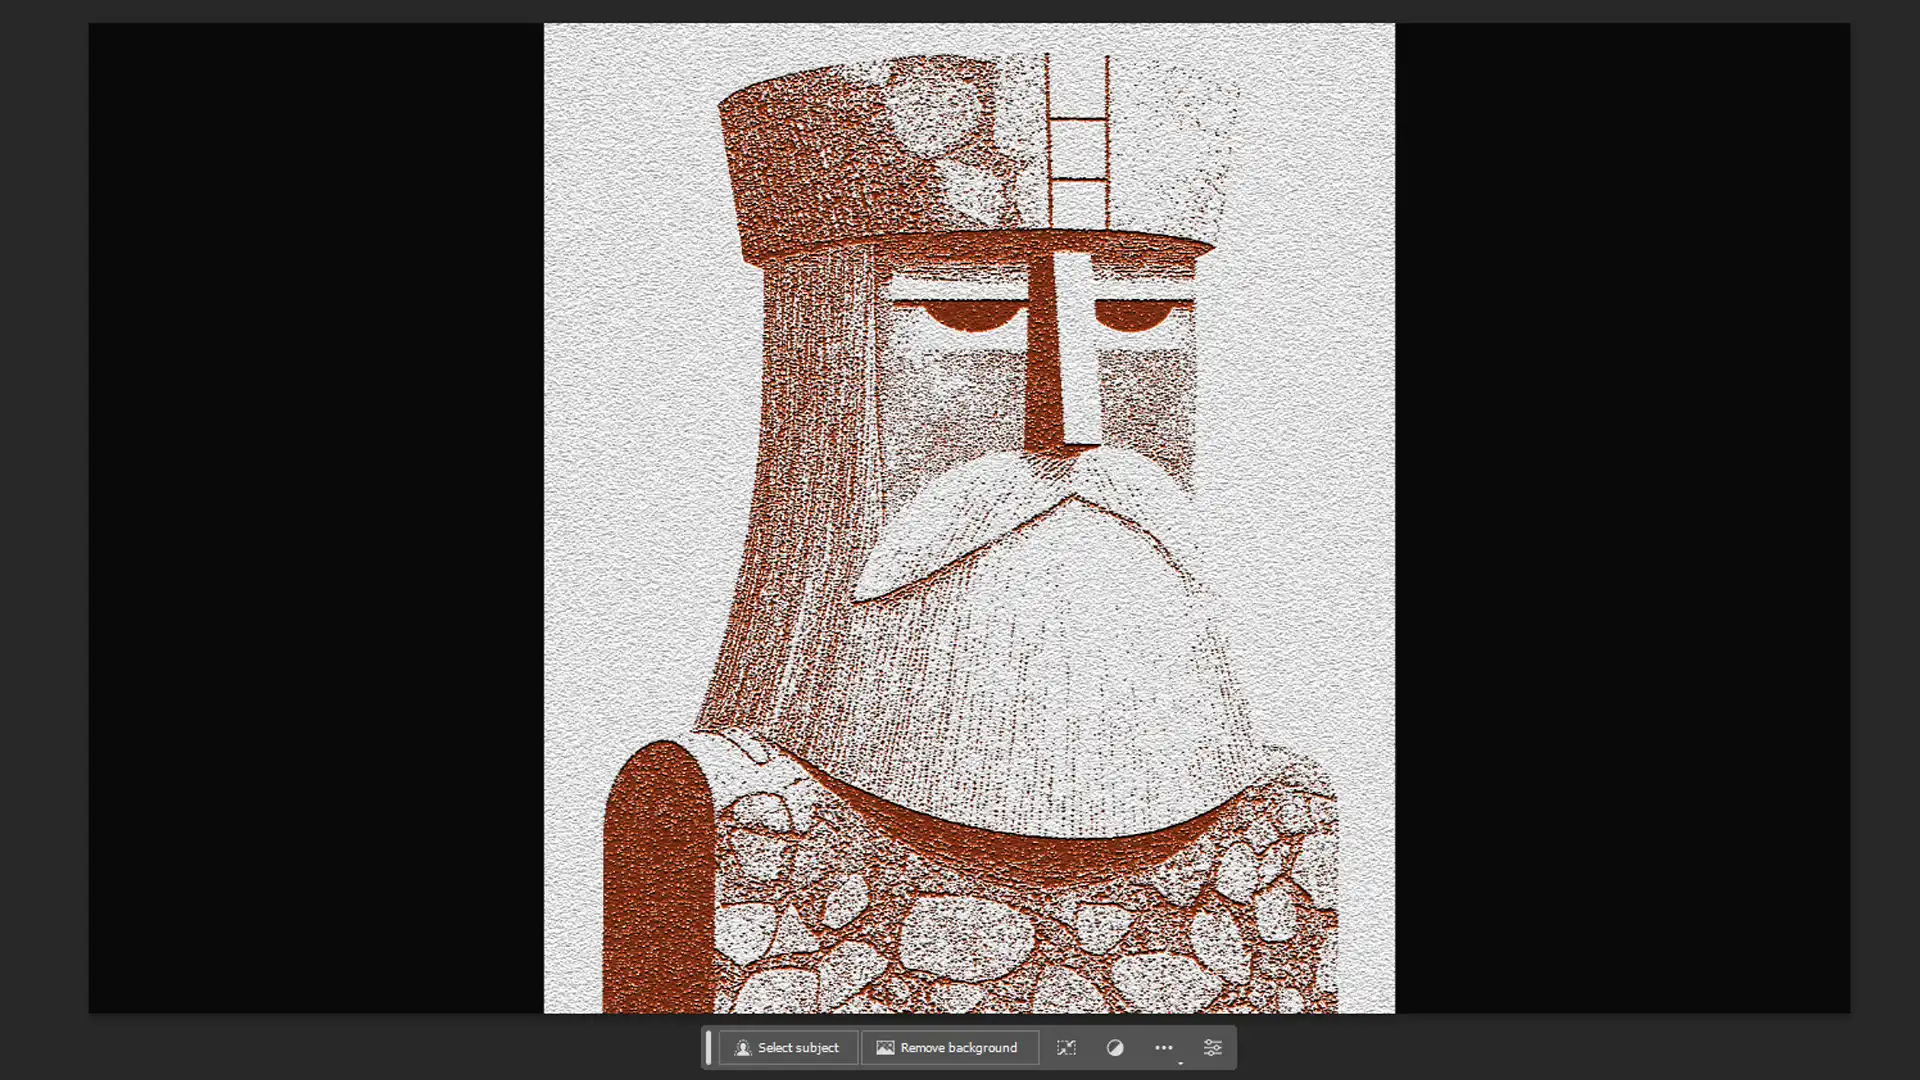
How to Use Sketch Filter in Photoshop
Using the Sketch Filter in Photoshop can transform your photos into artistic pencil sketches with just a few steps.
This written tutorial will walk you through the process, from opening your image file to applying the perfect sketch effect.
Opening Your Image File
To transform your image into a stunning pencil sketch, open your desired photo in Adobe Photoshop.
Navigate to the ‘File’ menu and select ‘Open,’ or simply drag and drop your file into the workspace.
Ensure your image is set as the background layer, which will serve as the base for applying the sketch filter. Make sure the background layer is locked so you can create non-destructive edits on new, fully editable layers above it.
More flexibility is provided when adjusting different aspects of your image.
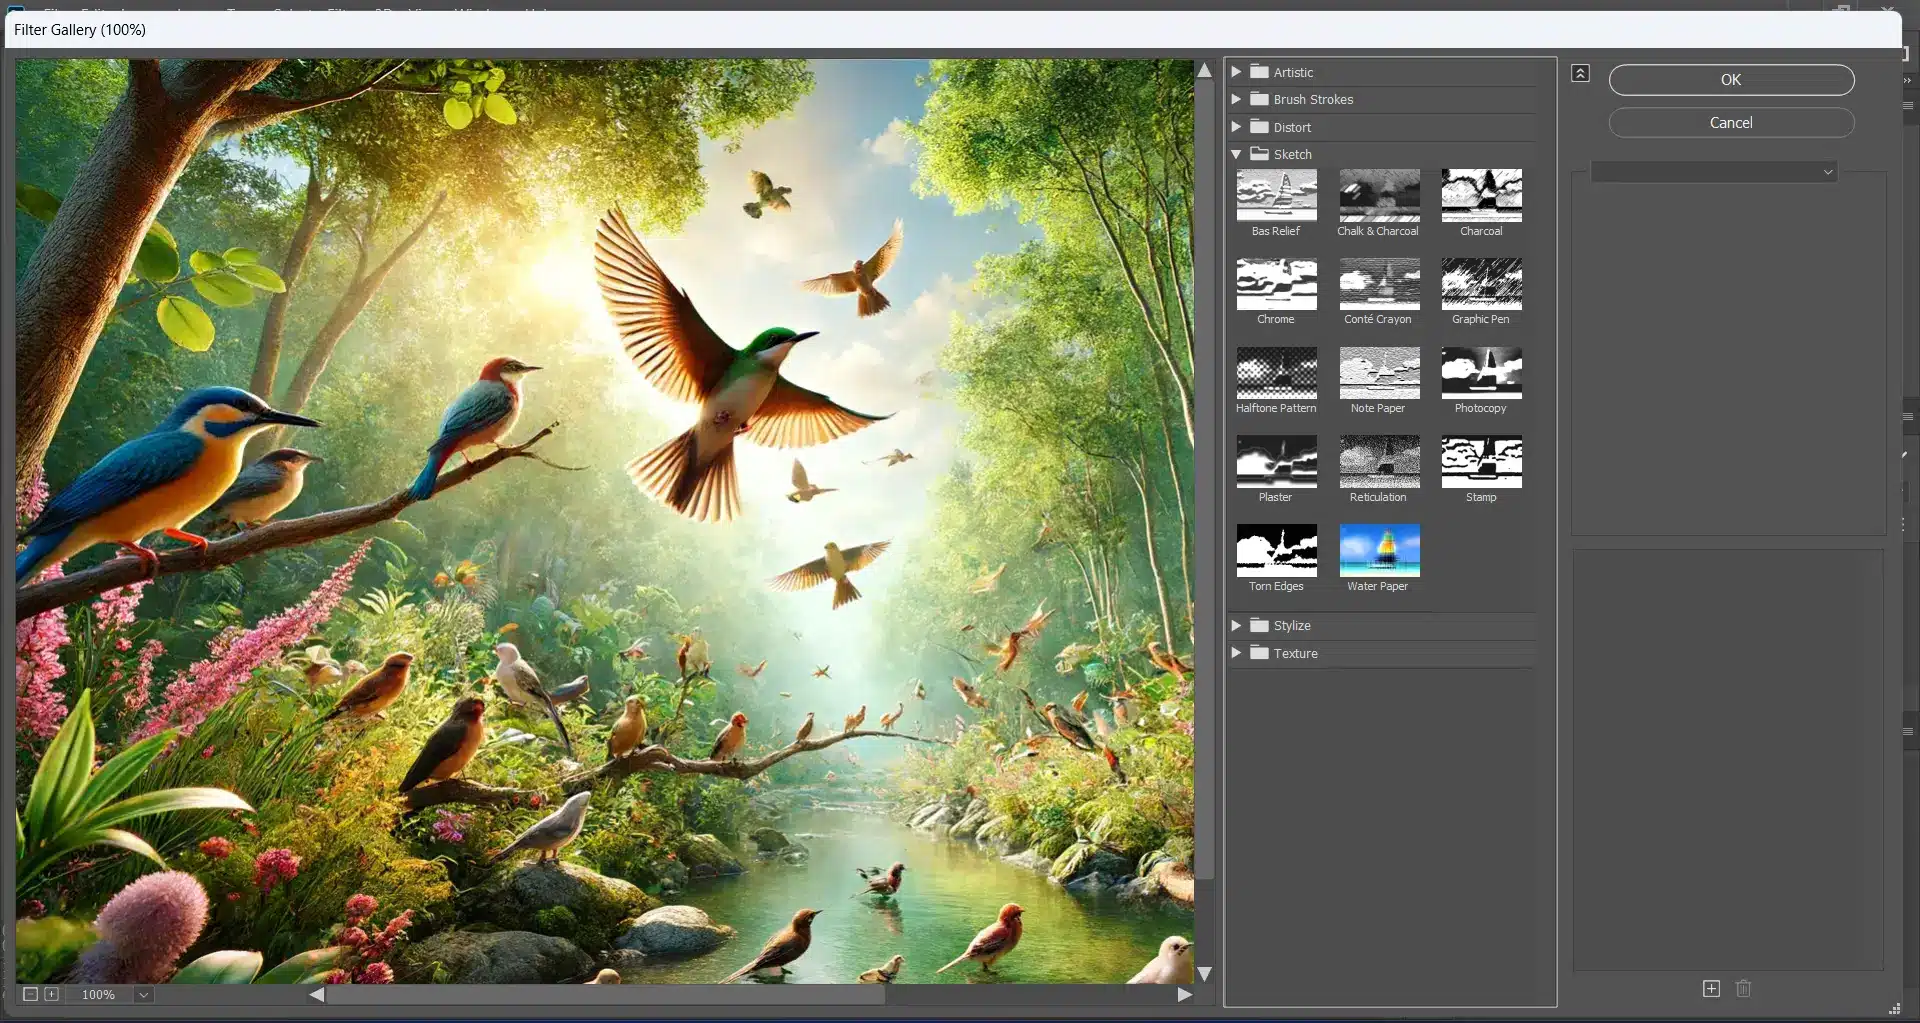
Applying the Sketch Filter Effect
Once your image is ready, go to ‘Filter’ > ‘Filter Gallery’ and choose the ‘Sketch’ option. This instantly transforms your photo into a hand-drawn style, mimicking artistic sketches.
You can view the transformation in real time and make adjustments as needed to perfect the effect.
Adjusting Filter Settings for Best Results
To tailor the sketch effect to your vision, you can tweak its settings through simple adjustments within the dialog box that appears with this filter.
The flexibility of the sketch effect allows you to fine-tune every detail until the desired outcome is achieved using the sliders and options available in the properties panel.
Modifying Sketch Density
The density adjustment controls how detailed or bold your pencil sketch appears.
For stronger outlines or dramatic scenes, increase the density for darker, more prominent lines.
Working with the layers panel can help you manage these adjustments effectively by keeping changes organized.
Altering Light Direction and Texture
Light direction can significantly impact how shadows play across your sketched image, enhancing depth and dimension.
Meanwhile, modifying texture settings adds finer details or smoothens skin in Photoshop, making it pivotal in achieving either a rough-hewn look akin to drawing on watercolor paper or a sleek outcome indicative of sketching on glossy paper.
Through these steps, not only can you transform standard photos into unique pencil sketches using Photoshop’s powerful tools, but also tweak them meticulously until they fulfill your creative needs.
Feel free to experiment with different layers and blending modes available in your layers panel to find new looks and effects!
Resolving Common Issues with the Sketch Filter in Photoshop
The Sketch Filter in Photoshop is a dynamic tool favored by many digital artists and photographers because it can transform photos into pencil sketch art.
However, occasionally users encounter issues such as blurriness or overexposure, which can diminish the impact of the final artwork.
First, ensure that your background layer is duplicated. This allows you to revert any changes if necessary.
Check your document resolution under Image > Image Size. A higher resolution may help retain detail in pencil sketches.
Adjust your sharpness by using an adjustment layer, which can be added by clicking the adjustment layer icon at the bottom of the Layers panel. Use options like smart filter or Unsharp Mask through Filter > Sharpen.
Manage layer visibility and effect intensity by toggling visibility icons next to each layer in the layers panel, which helps isolate issues affecting clarity.
If these steps do not resolve the blurriness, consider adding an extra adjustment layer specifically tailored to enhancing details with localized contrast tweaks found under Enhance Detail in the Camera Raw filter options.
Pro Tip: When applying gaussian blur, make sure to adjust the settings carefully in the Gaussian Blur dialog box to avoid losing too much detail and to maintain a realistic pencil effect.
Fixing Overexposure in Sketch Filter
An overexposed sketch can lose important details indispensable for achieving realistic pencil shading effects; here’s how to fix it:
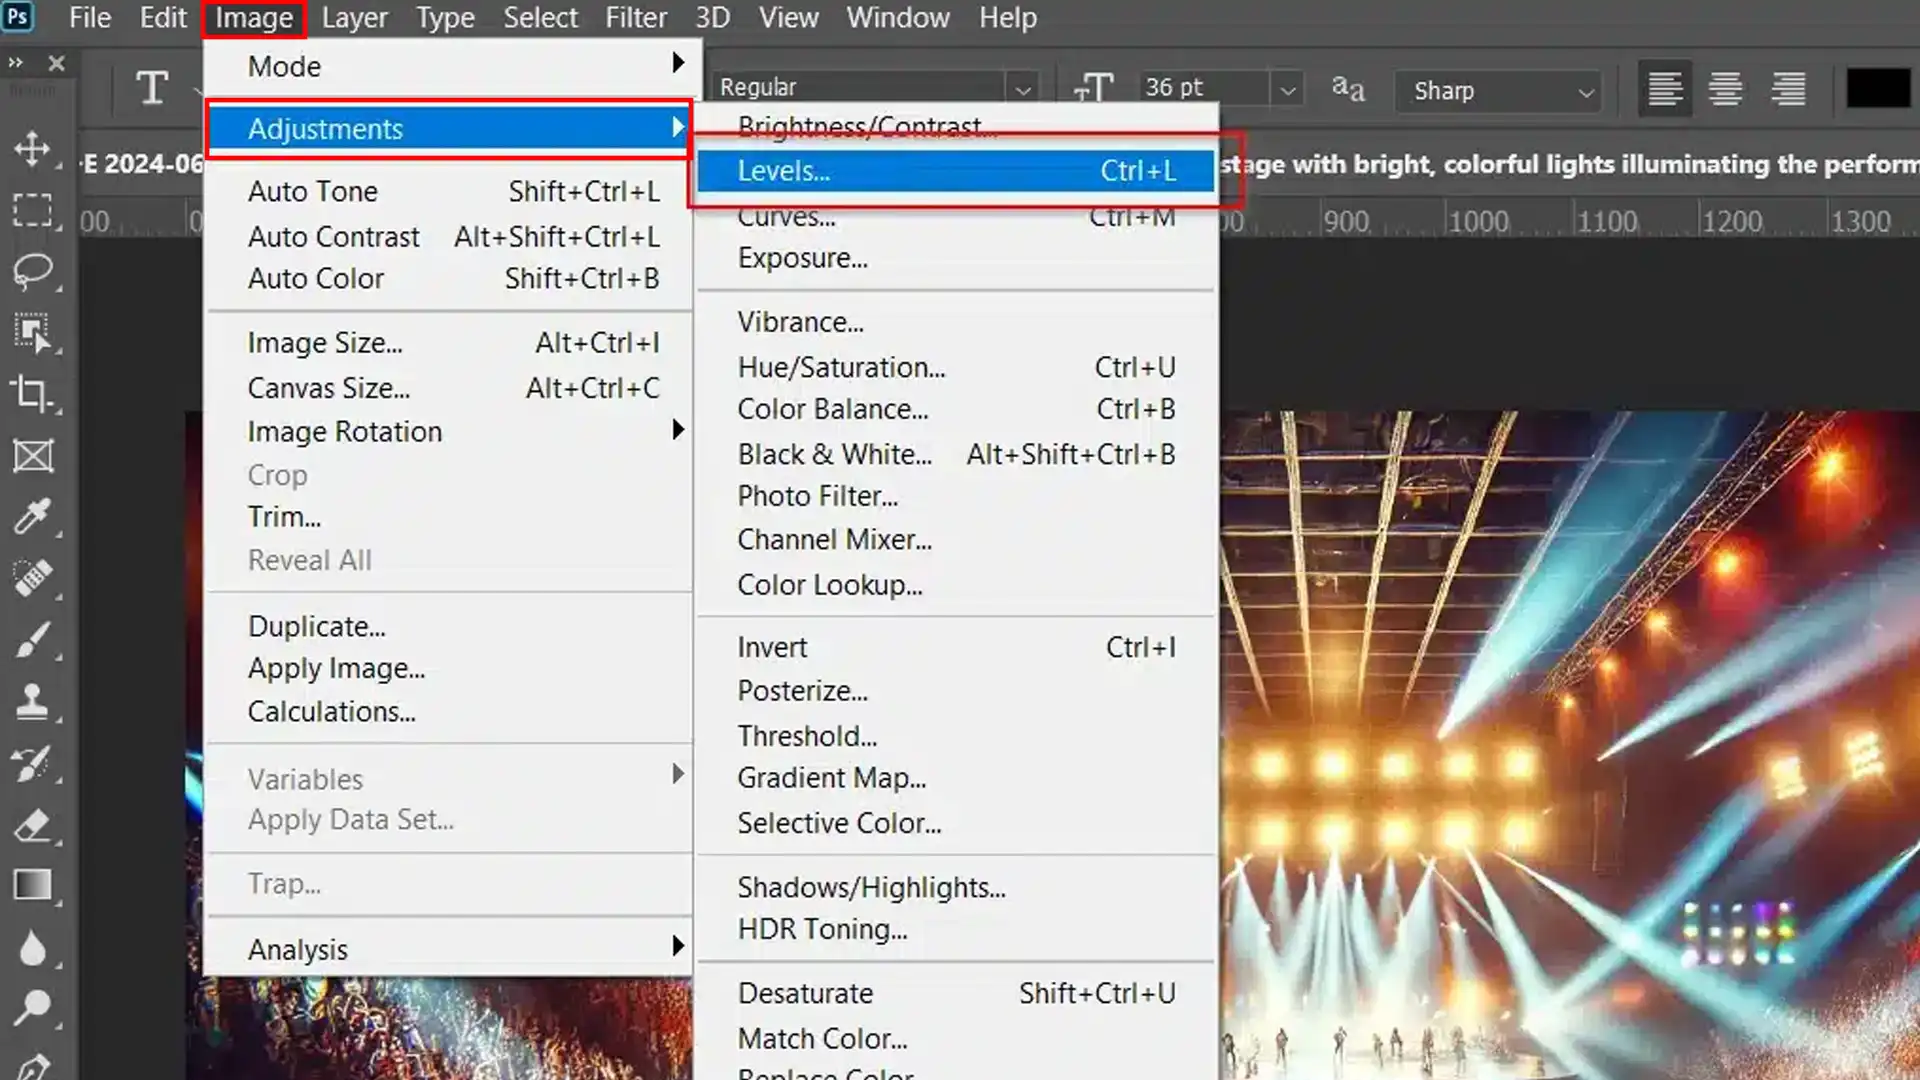
Start by re-examining your original image's exposure levels before applying elements like the sketch Photoshop action.
Add an Adjustment Layer (Image > Adjustments), then select Levels or Curves to manually correct exposure. Using targeted sliders within these tools, focus particularly on midtones and highlights.
Utilize the blending modes; switcng the layer blend mode to Multiply or Darken might offer a fast fix for dimming overly bright areas without needing extensive manual adjustments.
Revisit your initial sketch filter settings, and decrease brightness and contrast within the filter’s dialogue box if necessary.
Ultimately, execute final adjustments such as adding subtle shading or changing opacity levels among individual layers until you attain the desired result concerning exposure levels that satisfy both realism and artistic touchpoint criteria.
Advanced Techniques Using The Sketch Filter in Photoshop
The Sketch Filter in Photoshop and Lightroom provides a unique approach to enhancing images with artistic flair.
Known for converting digital photos into pencil sketches, this tool can be combined cleverly with other filters or used as part of a composite image to elevate the aesthetic and creative quality of your work.
Combining Sketch with Other Filters
Integrating the Sketch Filter with various other filters can produce stunning results for creating more complex and layered visual effects.
Start by applying the Sketch Filter from the filter gallery to turn your photo into a pencil sketch.
Next, experiment with blending modes to see how they interact with the underlying layers and adjust the look of the top layer.
For example, using the Graphic Pen filter along with the Sketch adds a sophisticated yet visually appealing drawn detail.
Additionally, you can use the Color Dodge blending mode in the settings to allow for non-destructive edits
Consider adding an adjustment layer, such as Levels or Brightness/Contrast, to fine-tune the overall look.
Employing a Solid Color Fill Layer set to blending mode ‘Color Dodge’ injects vivid colors into specific areas without overriding the original sketch detailing.
You can also use a solid color fill layer set to different blend modes, such as Multiply or Overlay, to further control the color intensity and depth across your artwork.
Applying a color filter over your composition can enhance certain hues and provide a cohesive color palette throughout your artwork, adding an extra layer of depth and character to your final piece.
Creating a Composite Image
The creation of composite images using the Sketch Filter involves merging different photographs while maintaining cohesive aesthetics across different layers.
Start by using the Sketch Filter on each individual image within your project.
Maintaining each element on its own layer allows for better control over blending and positioning.
Use adjustment layers via the adjustment layer icon to balance light, contrast, and color.
Carefully place elements in Photoshop’s layer landscape and use tools like Layer Mask and smart object selection for seamless integration.
Using sketch techniques with other Photoshop features lets creators express unique, eye-catching, and engaging visions.
Remember, combining filters or composites should enhance, not overpower, your original vision in Photoshop.
Optimizing Sketch Filter Effects for Different Image Types
The sketch filter photoshop capability enriches the artistic potential of digital images, transforming regular photos into evocative artworks.
Implementing this feature effectively depends greatly on the type of image you are working with.
Here, we explore how to fine-tune the sketch filter application for portraits and landscapes, enhancing each photo’s unique elements.
Best Practices for Portraits
When applying a sketch Photoshop effect to portraits, it’s important to emphasize facial features while retaining expressiveness.
Begin by creating a new layer over your original photo to apply your edits non-destructively. This allows you to edit portraits in Lightroom first for optimal exposure and color balance before bringing them into Photoshop for detailed sketch effects
Use the graphic pen filter with the selection tool to select a subtle stroke detail from the properties panel that enhances facial lines without hardening the person’s features.
Focus on maintaining a realistic yet artistic representation of human features.
Play with the blending mode; often, setting this to "multiply" can add depth. You might want to watch a video tutorial on different blending mode options for more nuanced effects
Consider adding a levels adjustment layer or perhaps use tools like "burn" and "dodge" to accentuate lighting, enriching character involvement in your portrait sketches.
If needed, adjust the foreground color to a darker shade before applying the sketch effect to better suit the mood of the portrait.
These tutorials can guide you on creating complex compositions by using multiple layers, masks, and adjustment layers, enabling more sophisticated and polished portrait sketches.
Adjustments for Landscape Photos
For landscapes, where broad scenes comprise intricate elements like foliage, water bodies, and architecture, clarity and texture differentiation make significant impacts.
Start with importing your landscape image into Photoshop and duplicate it onto a background copy layer for safety.
Use wider strokes within the sketch filters to adequately represent broader components (e.g., mountains or cloud formations).
Introduce an adjustment layer icon, avoiding flattening effects and keeping skies and waters distinct but integrated seamlessly. Use the top layer to apply effects selectively, ensuring the foreground color is properly set to highlight important areas.
A tweak using a combination of high-pass filters settled under soft light in combination layers could highlight sharper, refined edges or textures, particularly seen in natural scenes.
Both portraitures and landscapes benefit significantly from experimenting with various editable parameters, such as setting opacity in top layers or modifying foreground colors via color picker tools.
This ensures that every subtle change aligns perfectly with the creative objectives of achieving realistic yet striking sketch art outcomes in Photoshop.
How to Resize and Prepare Images Before Applying Sketch Filter
Before applying a sketch effect to your images in Photoshop, it’s important to properly resize and prepare them to ensure the best possible outcome.
This preparation involves selecting the right resolution and cropping the image effectively to suit the sketch effect that you intend to apply.
Selecting the Right Resolution
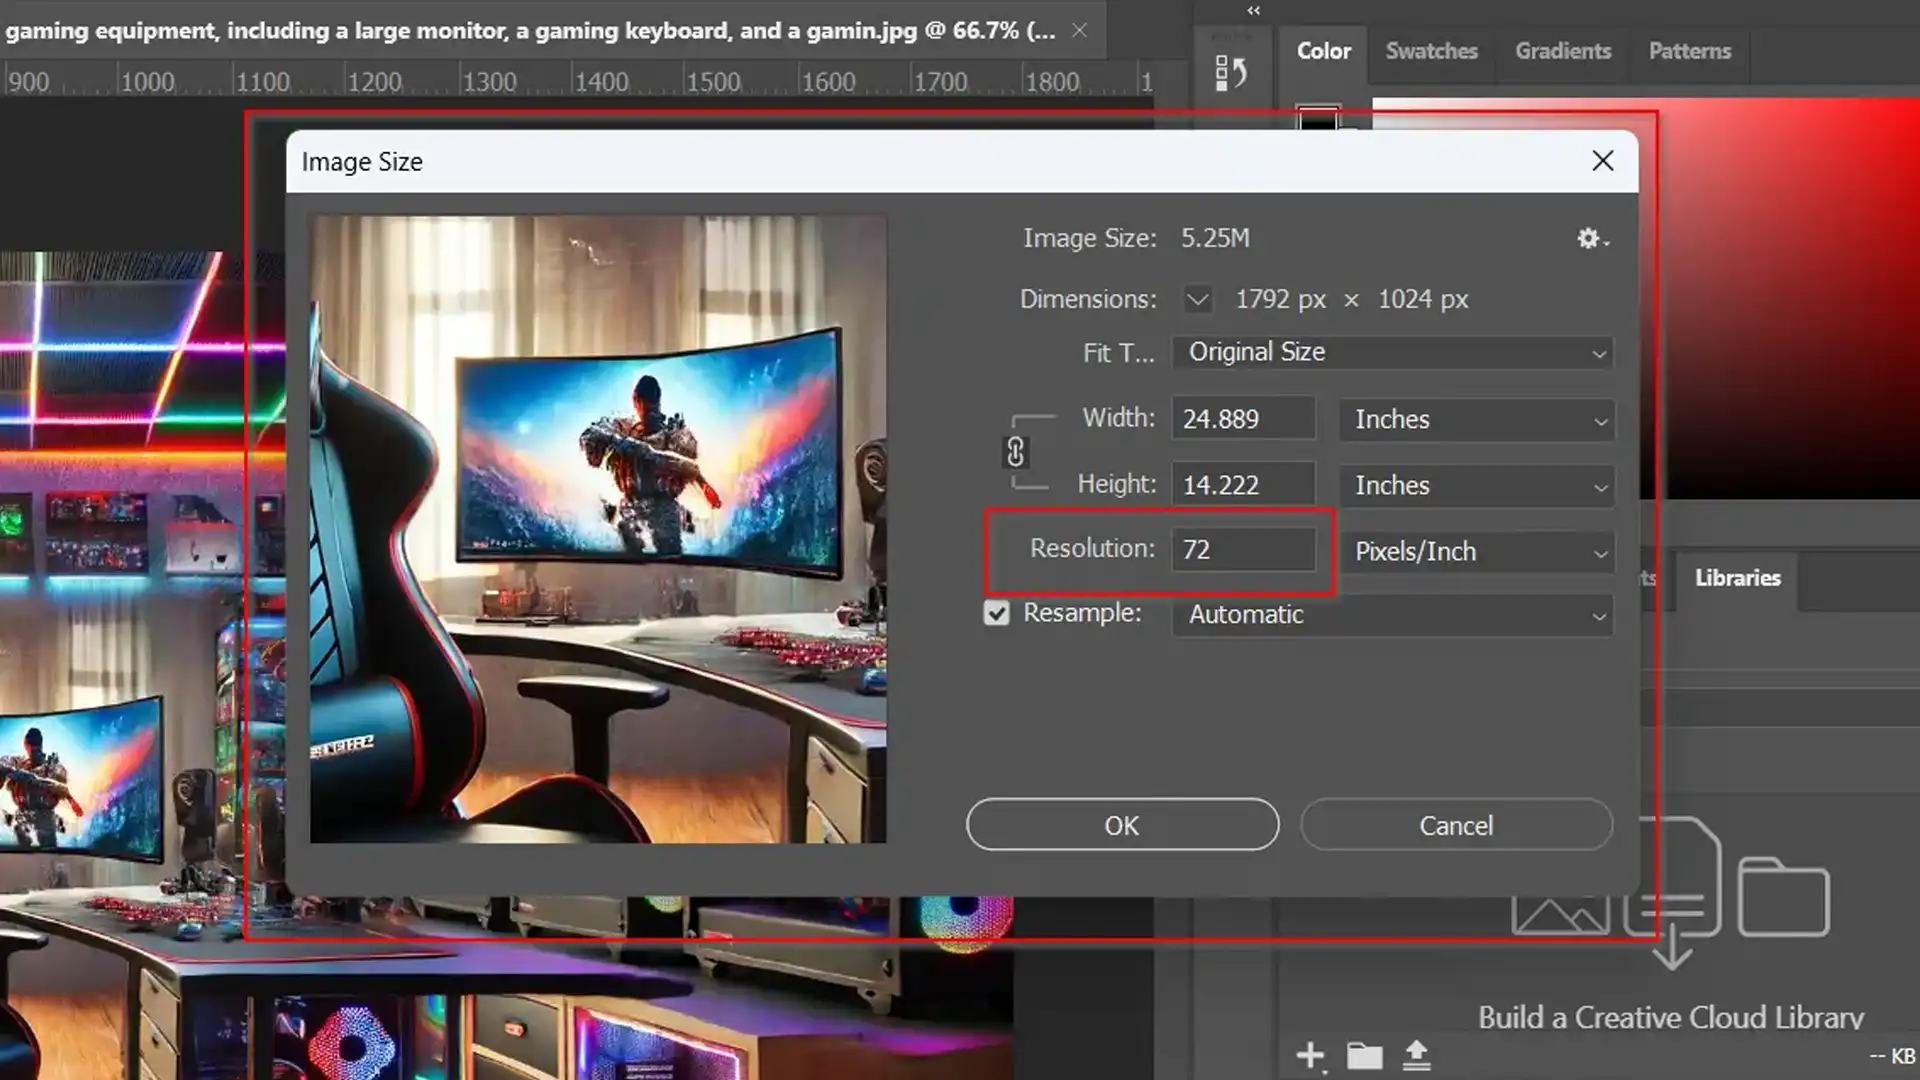
When preparing for a pencil sketch photo, resolution plays a pivotal role in the clarity and detail of your final artwork.
High-resolution images allow more detailed sketch effects, so aim for at least 300 dpi if you plan to print your artwork.
For digital use, 72 dpi often suffice, but don’t go below this, as it can lead to pixelated results.
To adjust the resolution:
Open your image in Photoshop.
Navigate to Image > Image Size.
Enter your desired resolution in the Resolution box.
Ensure that "Resample" is unchecked to maintain the quality of your original image.
Click 'OK' to apply changes.
Remember, adjusting the resolution might change the dimensions of your image, which brings us to our next significant step: cropping.
Cropping Images for Optimal Results
Cropping can dramatically affect the composition and focus of an image intended for a sketch effect.
It allows you to highlight the subject effectively or remove unwanted parts from the edges, enhancing overall impact.
When cropping, it’s important to work on a background copy layer to preserve the original image.
This also allows for better blending with all the other layers, ensuring that each element interacts seamlessly, especially when adjustments like a blending mode are applied for added effects.
Custom-size or choose a preset ratio in the top layer settings bar that suits your desired output.
Adjust handles around your photo; reposition within the frame as needed by dragging.
Double-click inside the cropped area or press the Enter/Return key to commit the crop.
For compositions requiring precision where elements extend close to image boundaries, such as intricate details on product photos or focal points near edges (eye contact zones), consider using additional refinements:
Apply a new levels adjustment layer post-crop: Enhance contrast subtly via Image > Adjustments > Levels.
Tweaking shadows and highlights with the levels adjustment layer enhances features critical before initiating any detailed sketch work, like graphic pen filter applications on background layer scenarios, especially when emulating dark-themed artworks.
After resizing images and cropping appropriately, ensuring proper preparation will make applying sophisticated sketch effects smoother, producing eye-catching results without unnecessary hindrance during artistic modifications.
Remember, these steps ensure each element, from initial layer adjustments through each refine phase, is optimally set up to yield refined artistic outputs, making robust base preparations paramount even before actual filter applications commence.
Customizing Brushes for Unique Sketch Effects
Customizing your brushes in Photoshop can dramatically enhance the sketch effect, providing unique textures and stroke patterns that elevate your digital artwork.
Understanding how to tweak brushes to your needs allows for greater artistic expression and finer detail work, making your sketch effect stand out even more.
Choosing the Right Brush
Now selecting the appropriate brush is important when aiming for specific sketch styles.
$2,061.00Original price was: $2,061.00.$1,061.00Current price is: $1,061.00. 27583
Download Your Free Guide Now!
Discover the secrets of photography with our printable guide! Master essential techniques like aperture, shutter speed, and ISO to create stunning images. Get your free printable PDF now and start turning your snapshots into masterpieces!