Creating a radial blur effect in Photoshop can transform your images, adding dynamic movement and focus.
In this guide, I’ll walk you through the steps to achieve this stunning effect, ensuring you control your edits.
Let’s dive in and explore how to create a radial blur effect in Photoshop, making your images stand out.
Table of Contents
How to Create a Radial Blur Effect in Photoshop
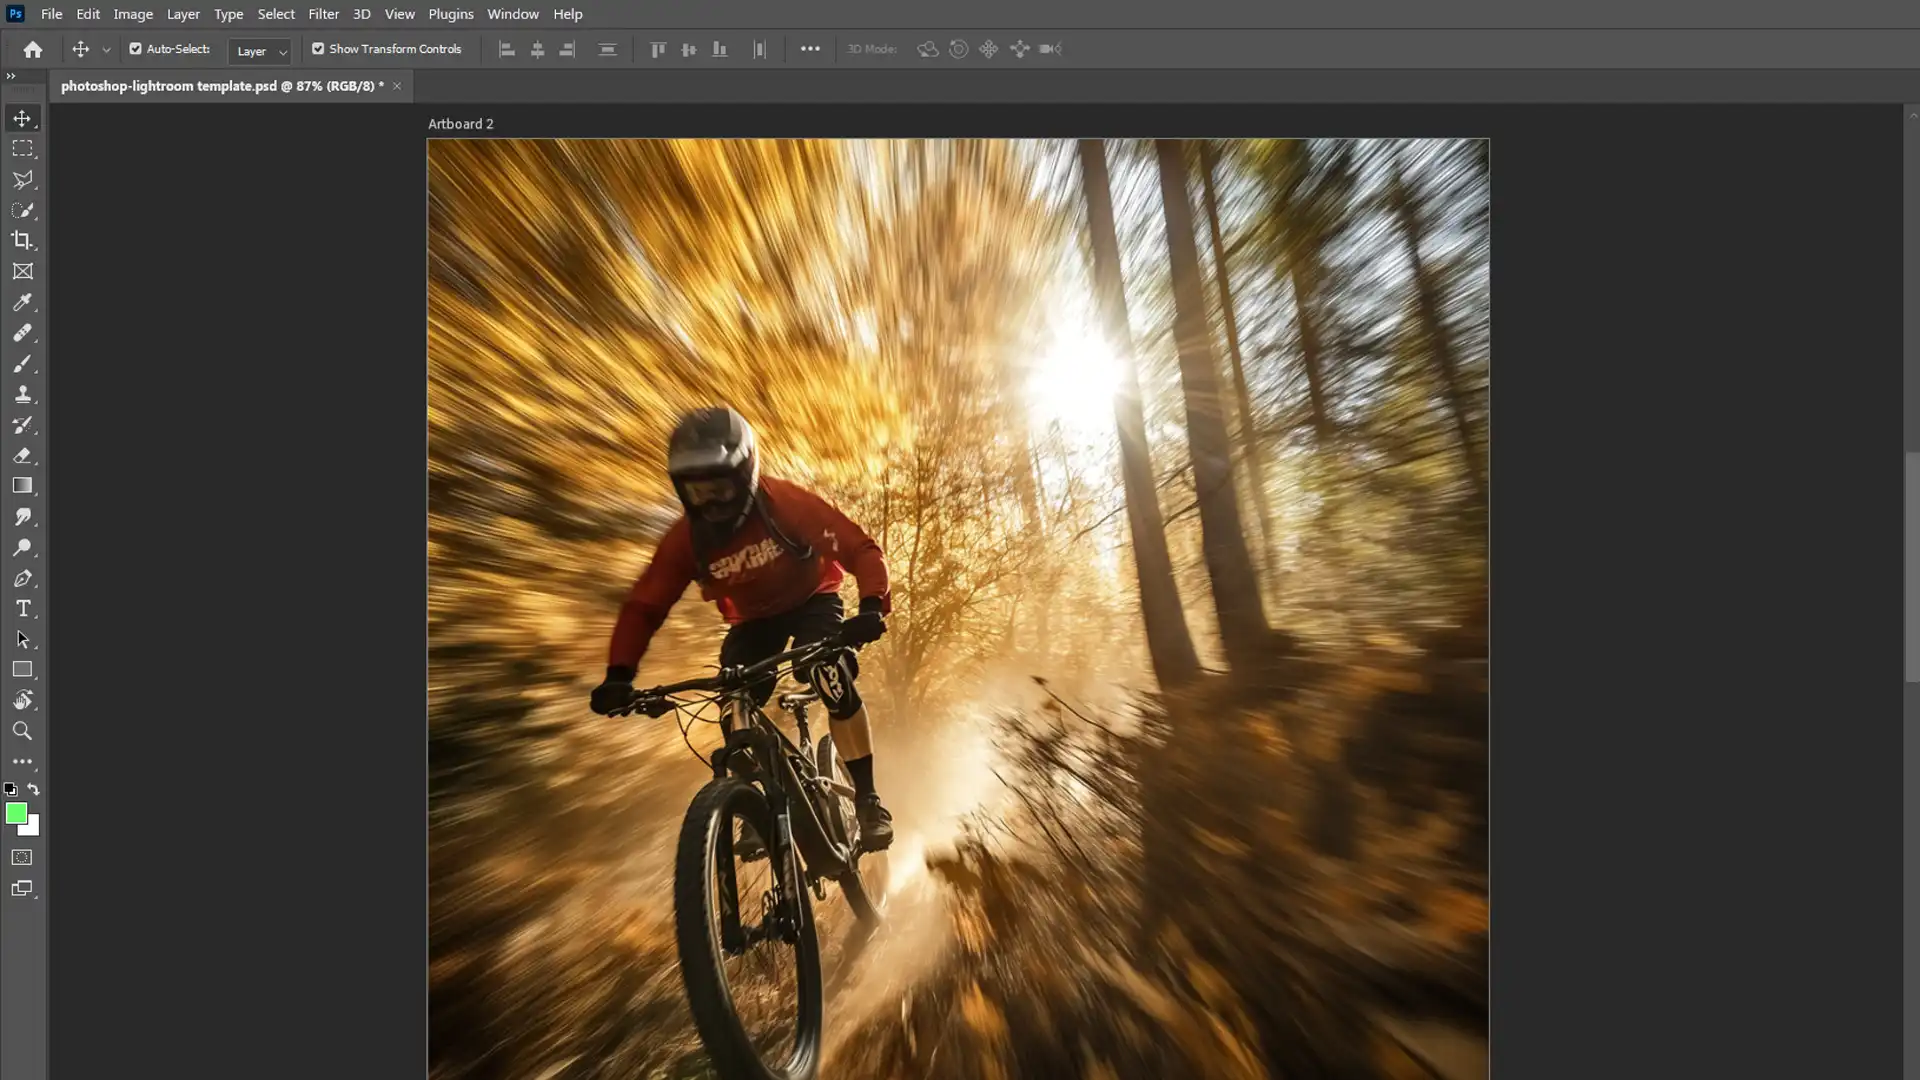
Powerful technique that adds motion and focus to your images. Radial blur can dramatically enhance the visual impact of your photos by simulating a spinning or zooming effect, drawing the viewer’s eye to a central point of interest.
Step 1: Convert the Background Layer into a Smart Object
First, you need to convert your background layer into a smart object.
This step allows you to make adjustments without altering the original image.
Right-click on the background layer and select “Convert to Smart Object.” Once you do this, your background layer is protected and ready for non-destructive editing.
Pro Tip: This allows you to adjust the blur later without damaging your image.
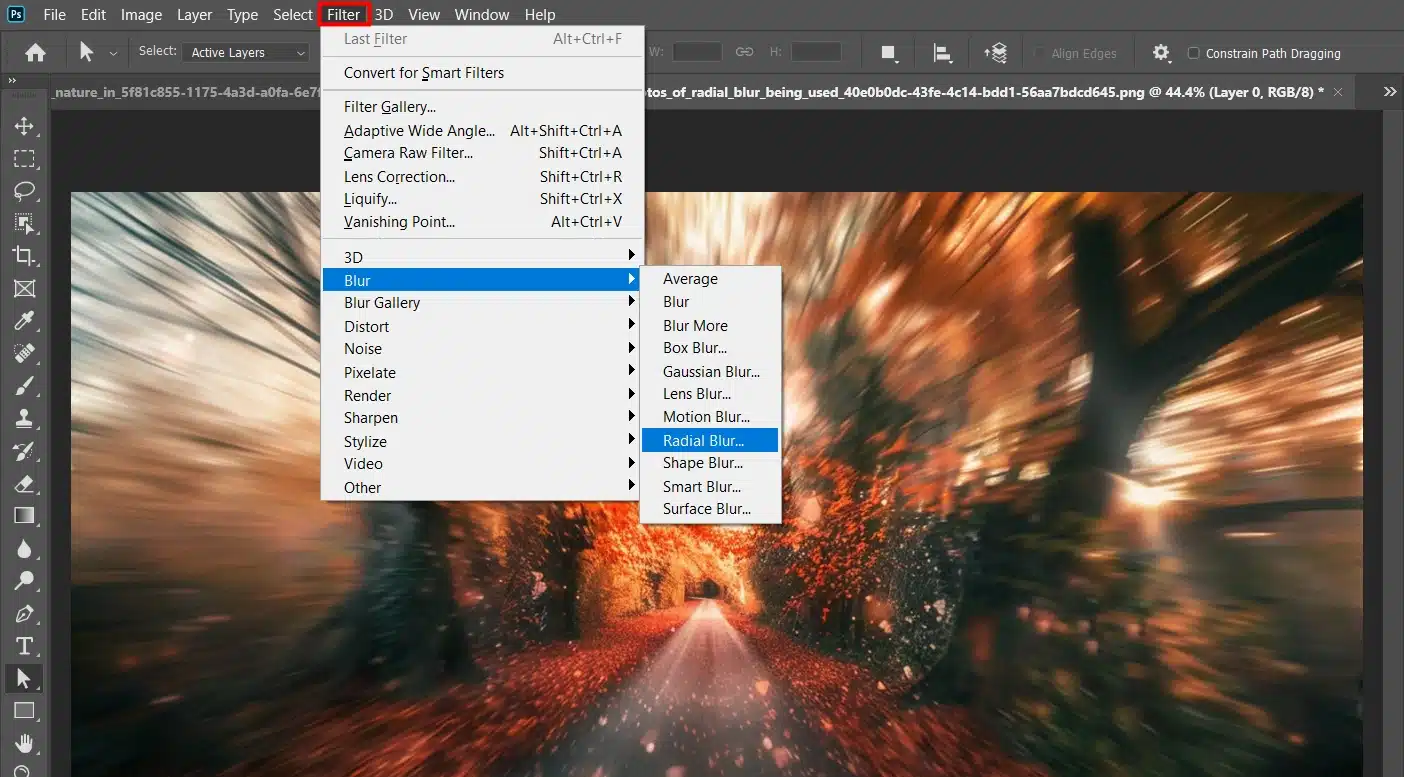
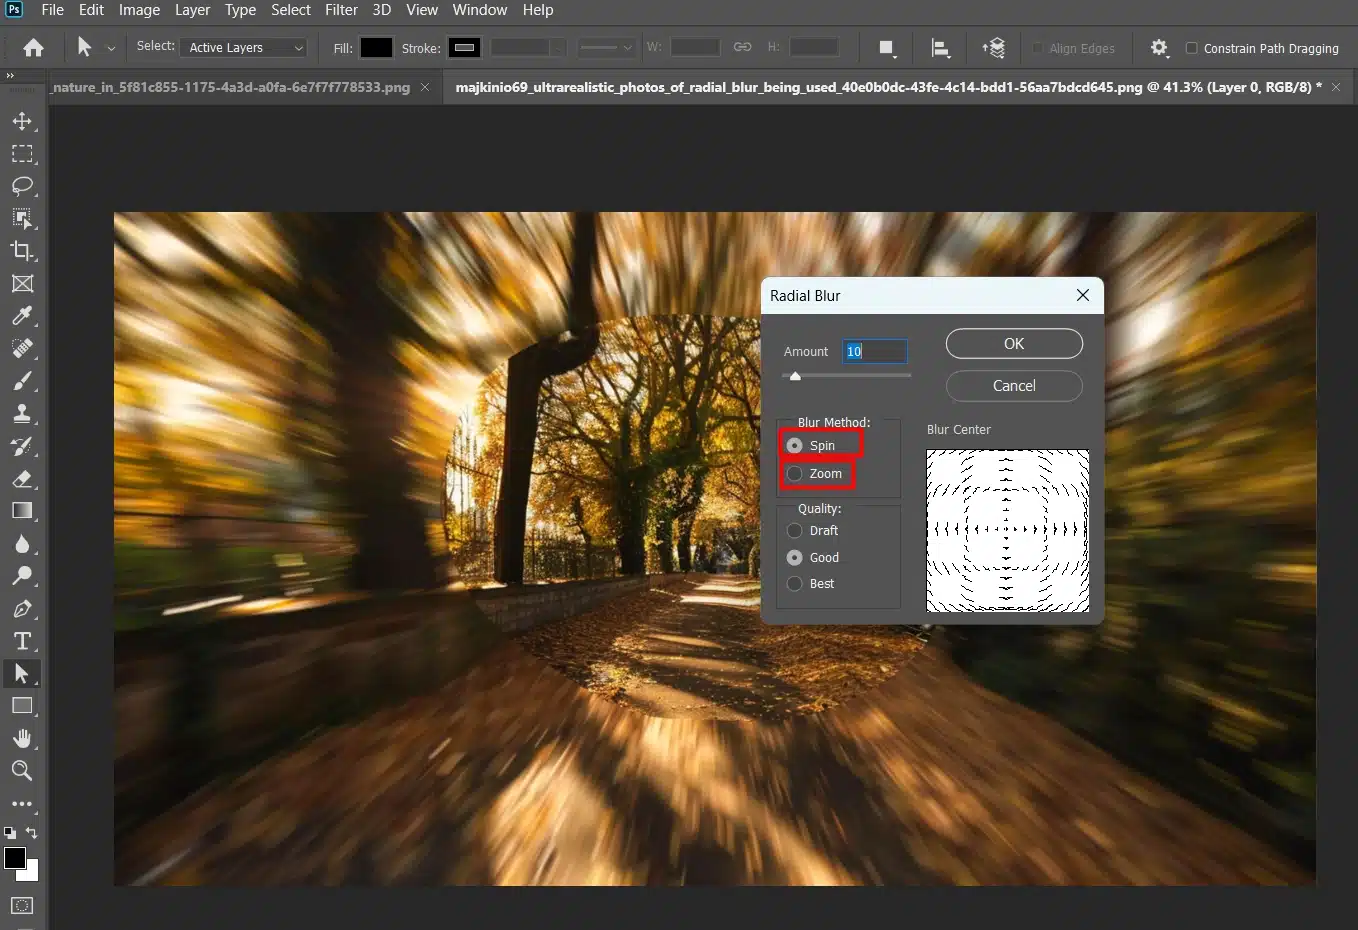
Next, let’s add the blur effect to the background. Navigate to the top menu to Filter> Blur > Radial Blur.
A radial blur dialogue box will appear, allowing you to set the amount of blur and choose between the “Spin” or “Zoom” blur methods. Adjust these settings to your liking, then click “OK” to apply the radial blur to your image.
Explore the dynamic technique of motion blur to complement radial blur effects in your projects.
Step 3: Adjust the Radial Blur Smart Filter as Needed
If the blur effect isn’t quite right, don’t worry! You can easily make changes. Double-click on the Radial Blur filter in the Layers panel. This action re-opens the filter settings, allowing you to tweak the blur amount or change the center point.
Continue to fine-tune until you’re satisfied with the effect.
Step 4: Select the Smart Filter's Mask
To control which parts of your image are blurred, you’ll need to use the smart Filter’s mask. Click on the layer mask thumbnail next to the radial blur filter in the Layers panel.
This mask will help you achieve precision in your blur effect, enabling you to highlight or hide specific areas as needed.
Step 5: Select the Gradient Tool
With the mask selected, it’s time to grab the gradient tool. You can find it on the left side of your screen or simply press ‘G‘ on your keyboard.
The Gradient Tool is essential for smooth transitions between blurred and sharp areas of your image.
Step 6: Choose a Radial Gradient
In the options bar at the top of the screen, select the radial gradient.
This gradient will make your blur radiate outward evenly from a central point.
It’s perfect for creating a spotlight effect on your main subject.
Step 7: Select the Black to White Gradient
From the gradient picker, choose the black to white gradient. In this gradient, black conceals the blur while white reveals it.
This selection allows you to create a smooth transition in your blur effect, making it look more natural.
Step 8: Apply the Gradient to Your Main Subject
Now, drag out a gradient from the center of your main subject to the outer edge. Do this in one smooth motion.
This step effectively applies the radial blur in a controlled and precise manner, highlighting your subject.
Step 9: Lower the Filter's Opacity
Finally, go to the Layers panel and adjust the opacity of the radial blur filter. Lowering the opacity helps to blend the blur effect seamlessly into your final image. This subtle adjustment ensures the effect is not overpowering and integrates well with your overall composition.
Pro Tip: Saving your work frequently is a good habit. It allows you to backtrack if something doesn’t go as planned and ensures you don’t lose your progress.
Mastering both Photoshop shortcuts and Lightroom shortcuts can streamline your workflow when applying radial blur in Adobe, allowing for quicker adjustments and enhanced creative control!
Choosing the Right Editing Software
When comparing Photoshop and Lightroom, it’s essential to understand the strengths and limitations of each software.
Photoshop excels in advanced editing and creative flexibility, while Lightroom is designed for ease of use and efficient photo management.
Here’s a brief comparison highlighting key aspects of both:
Aspect
Photoshop
Lightroom
Radial Blur Availability
Yes
No, needs plugins
Layer Management
Advanced with smart objects
Basic adjustment layers
Customization
Highly customizable
Limited customization
Ease of Use
Steeper learning curve
User-friendly
Creative Flexibility
Combines multiple effects
Focused on photo enhancement
File Management
Detailed editing
Manages large collections
Integration
Integrates with Adobe products
Great for photo management
Radial Blur Effect with Boris FX
Learning to create radial blur images will add a dynamic and professional touch to your images. With the help of Boris FX Optics and Adobe Photoshop, this process becomes straightforward.
Follow these steps to achieve the radial blur effect.
Load Up Photoshop and Open a New Project
Open Adobe Photoshop on your computer. If it’s not installed, download it from Adobe’s website.
Once Photoshop is open, create a new document:
Go to the top menu bar.
Select File > New.
Choose your document size and settings.
Click OK.
Insert The Image You Wish To Add Radial Blur To
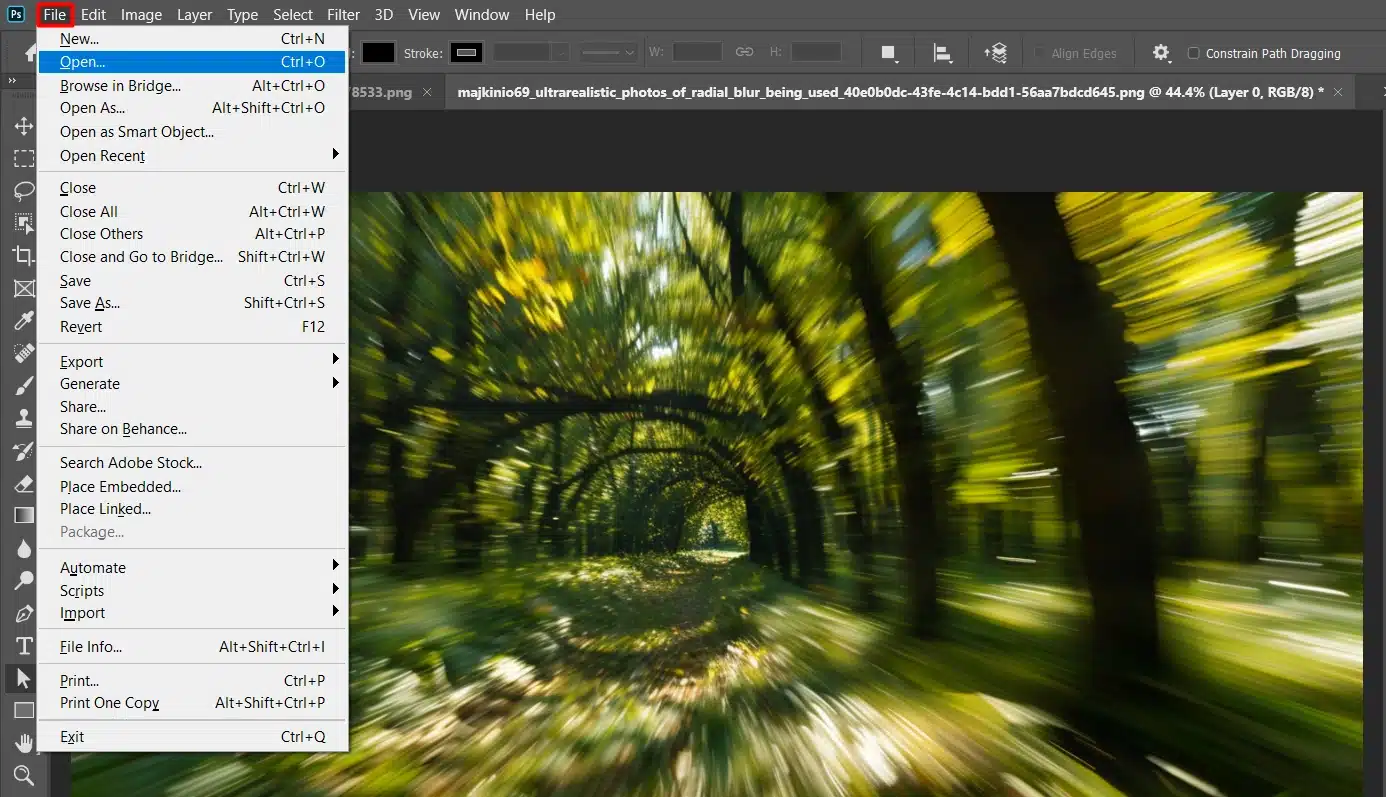
Open the image you want to apply the radial blur to:
Go to the File menu.
Select Open.
Browse and choose the image file.
Click Open. The image will appear in a new tab within Photoshop.
Load Up Optics and Add The Radial Blur
With your image open in Photoshop, load Boris FX Optics:
Navigate to Filter> Boris FX Optics.
The Optics interface will open.
Add the radial blur effect:
In the Optics interface, go to the Effects panel.
Select Blur > Radial Blur.
Adjust the settings to achieve your desired blur effect.
Once satisfied with the effect, click Apply to return to Photoshop.
Enhancing Effects with Boris FX
Boris FX stands out as a comprehensive visual effects suitethat caters to a wide range of needs, from simple color correctionsto advanced particle effects, making it indispensable for both straightforward enhancements and complex visual effects projects.
Its seamless integration with popular video editing platforms like Adobe After Effects, Premiere Pro, and DaVinci Resolve allows users to incorporate sophisticated effects directly within their primary editing environment, streamlining the creative process.
Advanced Techniques
Lets explore some advanced techniques that can significantly enhance your proficiency with complex editing software such as Photoshop and Lightroom.
From intricate layer masking and blending modes to sophisticated brush controls and automation scripts, these techniques are designed to push the boundaries of digital art and photography.
Using Layer Masks
Layer masks in Photoshop are essential tools that help you control which parts of your image get affected.
They work like scissors, allowing you to selectively apply effects without altering the entire image. For instance, if you want to apply a radial blur effect, layer masks can help you target specific areas.
Steps to Use Layer Masks:
Select your radial blur filter in the layers panel.
Click on the layer mask thumbnail next to it.
With the layer mask selected, use the brush tool to paint over areas you want to reveal or hide. Black hides the blur; white shows it. This helps with intricate details.
Gradual Blur Techniques with Brush Settings
Adjusting the brush tool:
Combine the brush tool with a low opacity setting to gradually build up your blur. This makes a smooth transition between the blurred and sharp areas.
Experiment with different brush sizes for more control. This technique allows for creative results.
Combining with Other Effects
Why stop at a radial blur? Combining effects can make your photos stand out.
Try mixing radial blur with other filters like motion blur or Gaussian blur. Open the blur dialogue box under filters to explore options. Each one changes your image differently.
Zoom Blur
Adding a zoom blur:
Add a zoom blur to your radial blur for dynamic movement.
Add a duplicate layer and change its blend mode for more depth. Transform your original image without much effort.
When you duplicate layer in a non-destructive manner, it preserves the original data, allowing for flexible edits on a separate layer without altering the underlying image.
Layering Multiple Effects
Steps for layering multiple effects:
In the layers panel, add a new layer for each effect. This keeps everything organized and lets you adjust settings anytime.
Convert to a smart object before applying complex layers. Smart objects keep your original photo intact.
Creative Combinations:
Play with layer masks and gradients to highlight key parts of your photo. This combo turns simple images into compelling stories. The options are endless, so experiment.
Pro Tip: Don’t rush when using layer masks in Photoshop. Take your time to build up your blur effect slowly and precisely. This makes your final image look polished and professional.
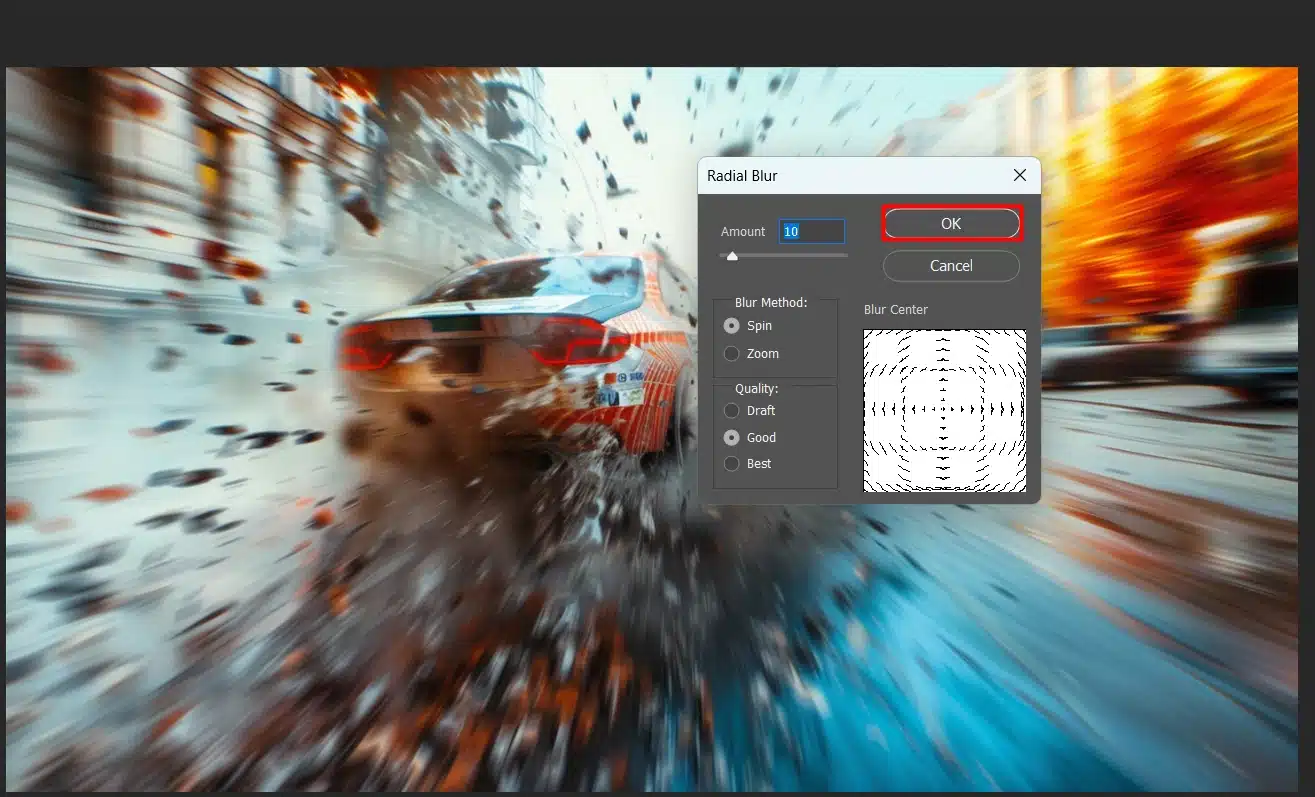
Adjusting the Blur Method and Quality
Choose either spin or zoom under the blur method. Set the amount value to control how much blur you want. For better image quality, select “Best” under quality.
Pro Tip: Use a layer mask to precisely position your radial blur. This helps focus attention on your subject while subtly blurring the rest.
Blurring backgrounds techniques is key to adjusting the blur method and quality, ensuring your subjects stand out with professional finesse.
Common Mistakes to Avoid When Applying Radial Blur in Photoshop
Let’s discuss some common mistakes when working with radial blur in Photoshop.
Trust me, I’ve been there, and these tips will help you avoid some pitfalls!
Not Using Smart Filters
A major mistake is not using smart filters. Always convert your layer into a smart object before applying any effects.
It’s like a safety net, keeping your original image intact.
This allows you to make adjustments later without damaging the original photo. To convert your layer, right-click on it and select “Convert to Smart Object.”
Overdoing the Radial Blur Effect
Less is often more when it comes to radial blur. It’s easy to get carried away and apply too much blur, making your image look odd and unrealistic.
Apply the radial blur effect sparingly. Start with a small amount and gradually increase it, checking how it looks each time. This way, you can maintain a natural and balanced look.
Ignoring the Center Point
The location of your blur’s center point is crucial. Always set your central point carefully, typically where you want the main focus; usually your subject.
In the radial blur dialog box, adjust the center points to control the final effect. Misplacing it can lead to an unbalanced composition.
Using Only One Layer
Using a single layer can limit your control over the blur effect. Instead, work with multiple layers.
Create a duplicate of your background layer and apply a radial blur filter to the duplicate.
This way, you can adjust the blurred background layers independently while keeping your original layer clean and untouched.
Skipping the Radial Gradient Tool
Don’t skip the radial gradient tool! This tool is essential for blending the blur smoothly into your image.
With the mask selected, drag out from the center point to the edge of your main subject.
This technique ensures a smooth transition between the blurred and sharp areas.
Choosing the Wrong Filter Settings
Radial blur filter settings can be tricky. It’s important to set the amount value wisely to achieve the right balance between motion blur and clarity.
Too much blur can obscure important details, while too little might not give the desired effect.
Always double-check your settings and make adjustments as needed.
Additional Tips
Always use CTRL+S to save your work frequently.
There’s nothing worse than losing hours of progress due to a technical glitch or an unexpected shutdown.
Combine Filters for Unique Effects
For a creative touch, consider combining the radial blur with other filters. For example, you can add a motion blur or gaussian blur to create unique and interesting effects.
This layering of filters can give your images a professional and artistic look.
By avoiding these common mistakes and following these tips, you can create stunning radial blur effects in Photoshop. Remember, practice makes perfect, so experiment with different settings and techniques.
Frequently Asked Questions (FAQs)
How to Get Radial Blur in Photoshop?
Open your image in Photoshop.
Go to the 'Filter' menu.
Select 'Blur' and then choose 'Radial Blur'.
Adjust the settings to your liking and click 'OK' to apply.
What Does Radial Blur Do?
Radial blur adds a circular blur effect around a chosen point in your image.
It can highlight a focal point or create a sense of motion.
How Do You Add Radial Blur to a Picture?
Open the picture in Photoshop.
Navigate to 'Filter' > 'Blur' > 'Radial Blur.'
Set the blur amount and blur method.
Choose the blur center and click 'OK' to apply.
How Do You Gaussian Blur a Radius in Photoshop?
Open the image in Photoshop.
Select 'Filter' from the menu, then 'Blur,' and choose 'Gaussian Blur.'
Adjust the radius slider to control the amount of blur.
In conclusion, incorporating radial blur into my photo editing has significantly improved my work, making my images more dynamic and engaging.
It’s a simple yet powerful technique to bring your photos to life.
To master this and many other Photoshop skills, check out my Photoshop Course and Lightroom Course. Both courses offer detailed guidance to enhance your editing skills.
Those interested in Adobe tools can learn more about Lightroom and even further enhance their knowledge.
Radial blur has been a game-changer for me and can be for you, too.
Happy editing!
If this article has helped you, then Like and Share it with your friends
$2,061.00Original price was: $2,061.00.$1,061.00Current price is: $1,061.00. 27584
Download Your Free Guide Now!
Discover the secrets of photography with our printable guide! Master essential techniques like aperture, shutter speed, and ISO to create stunning images. Get your free printable PDF now and start turning your snapshots into masterpieces!