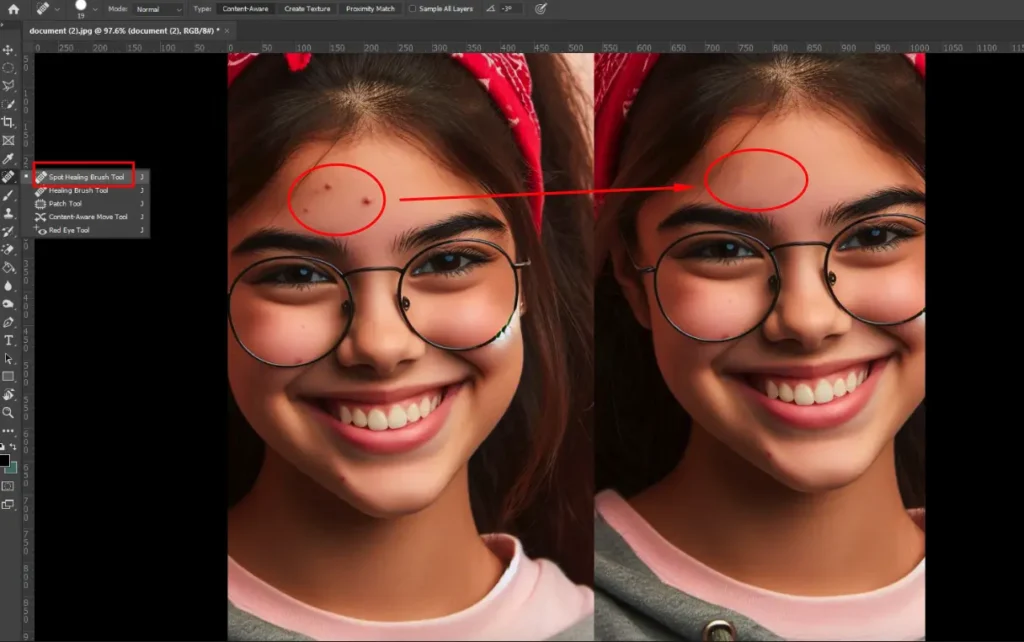
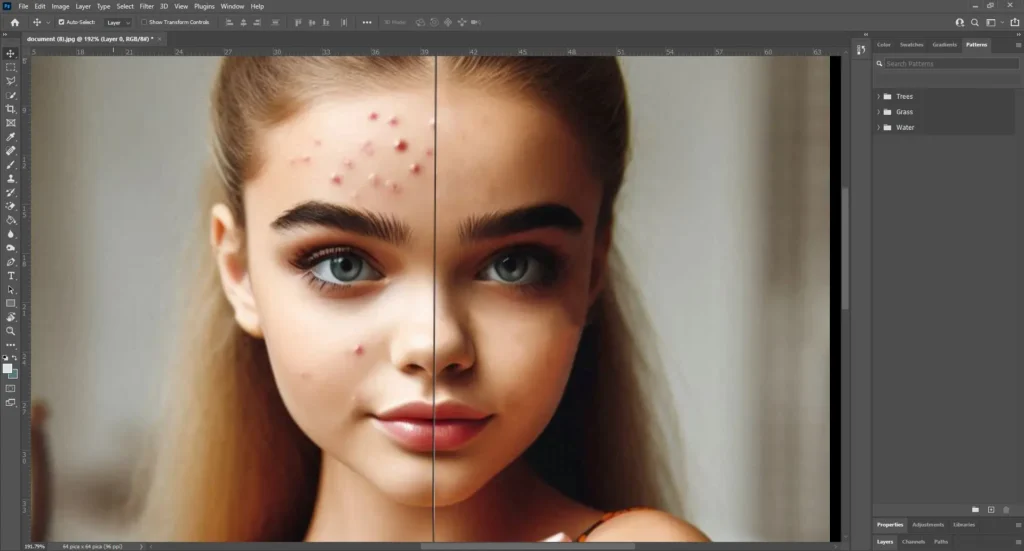
| Spot Healing Brush |
Quick and easy to use, great for minor corrections. |
Limited control can sometimes create unnatural spots. |
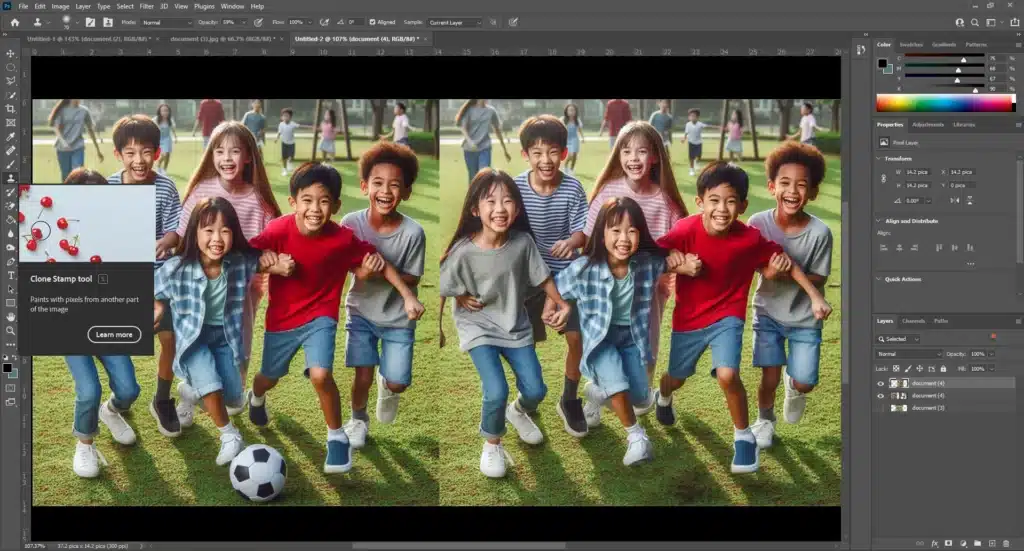
| Clone Stamp Tool |
Precise control retains texture. |
Time-consuming, requires skill for natural results. |
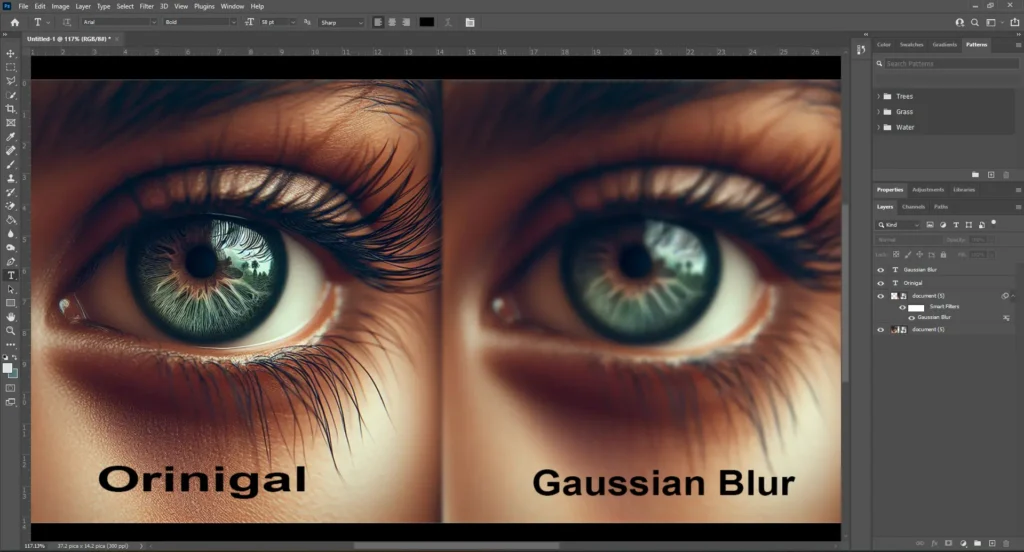
| Gaussian Blur |
Easy to utilize, effective for general smoothing. |
Can remove too much detail, resulting in a plastic look. |
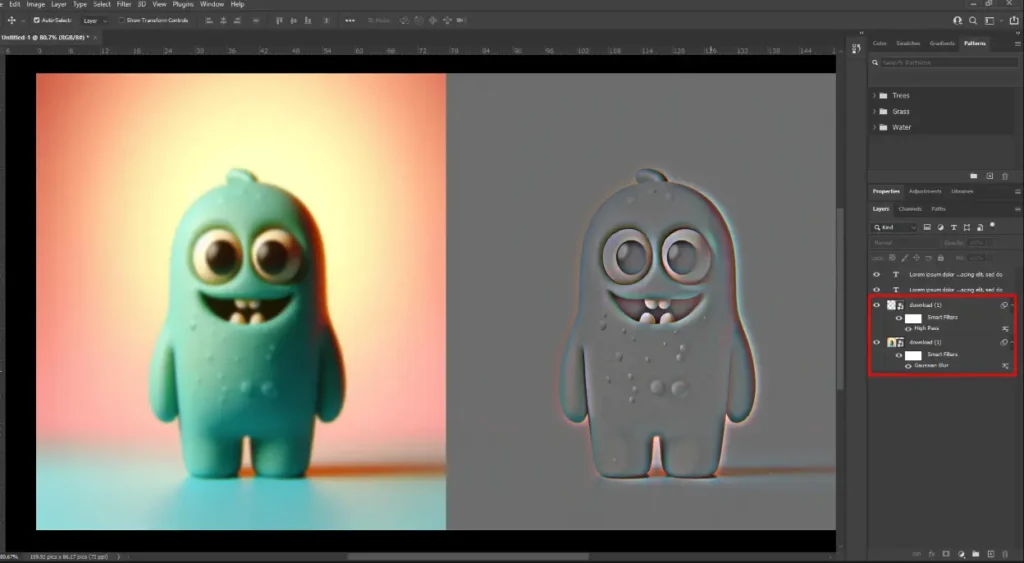
| Frequency Separation |
High level of control, maintains texture. |
Complex, time-consuming, requires practice. |
| Neural Filters |
Quick and user-friendly, impressive results with minimal effort. |
Limited manual control, results can sometimes look over-processed. |