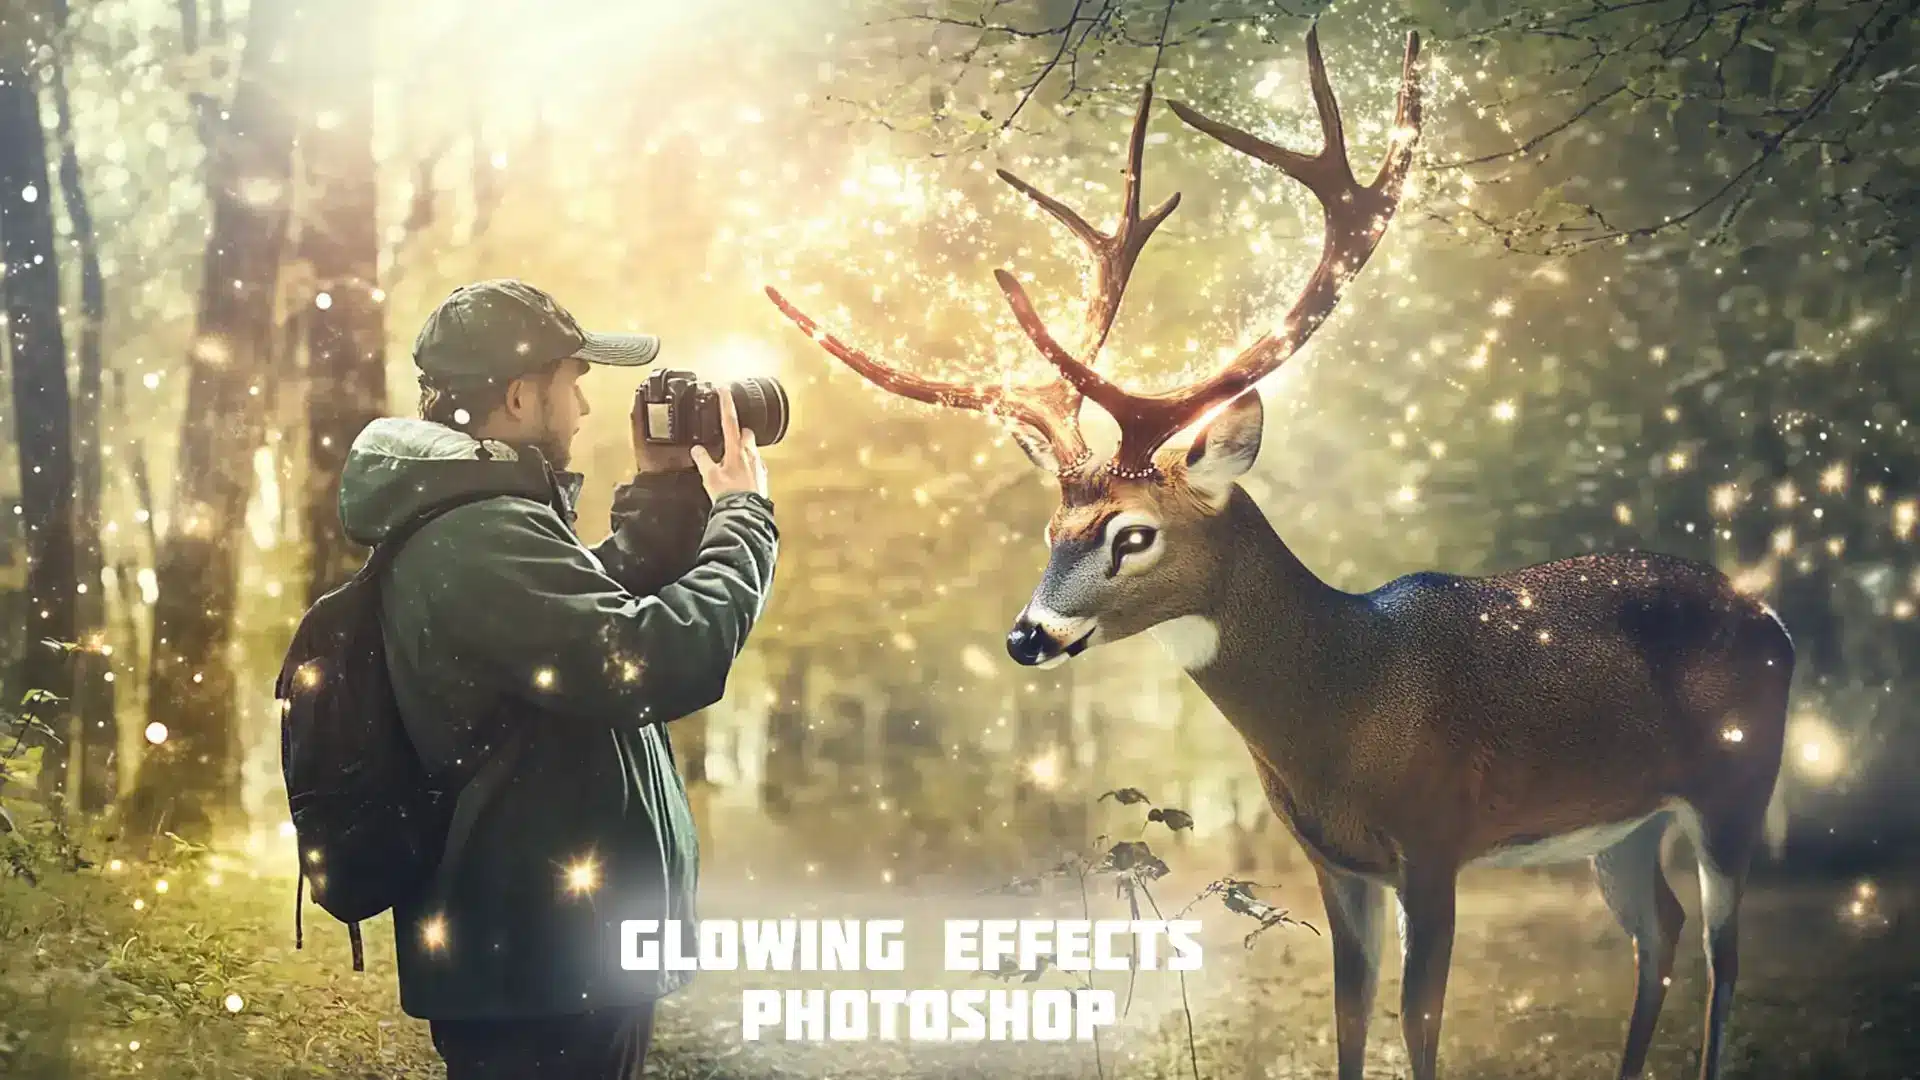
Mastering Glowing Effects Photoshop: A Comprehensive Guide to Neon Artistry
Mastering Glowing Effects Photoshop: A Comprehensive Guide to Neon Artistry
Have you ever wanted to make your digital artwork look like it’s real glowing neon with the glowing effects in Photoshop?
Photoshop can help color your creations with some amazing glowing effects.
This tool isn’t just for expert designers; even if you’re starting out, adding these effects is simpler than you thought.
In this guide, we’ll walk through some easy steps that will bring radiant life to any image, turning simple lines into stunning, light-filled art that seems to leap off the screen.
Let’s dive right in and light up our designs with vibrant intensity!
Table of Contents
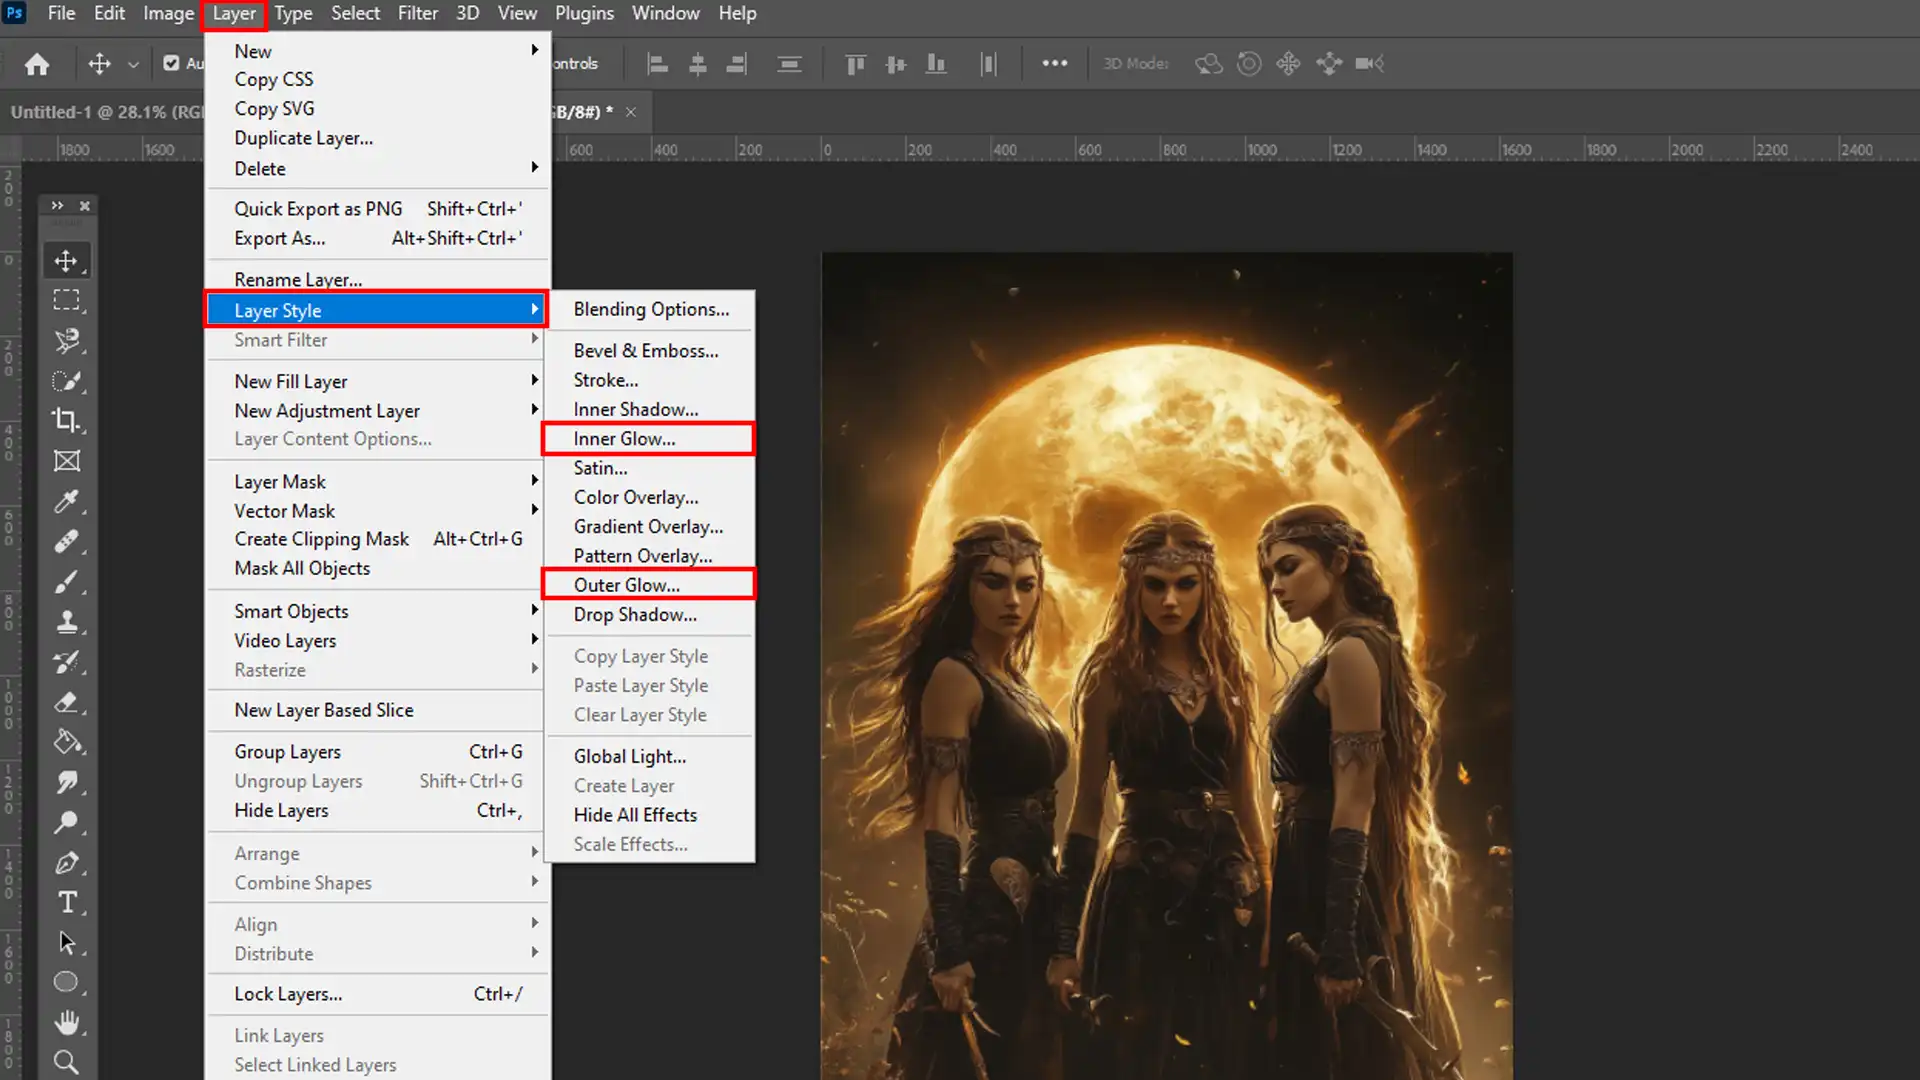
How to Apply and Customize Glowing Effects in Photoshop
Creating the perfect glowing effectsin Adobe Photoshop can transform a plain image into something spectacular.
This article will guide you through selecting the righttools, tweaking parameters, and strategically using layers to amplify glow intensity.
Selecting the Right Tools for Glowing Effects
To start enhancing your photos with the glow effect in Photoshop, it’s important to pick suitable tools within Photoshop.
Important tools include the Brush tool and Layer Styles, which provide various options like Outer Glow or Glow Effects.
Each tool caters to different aspects of adding luminosity, making them indispensable for generating glow effects.
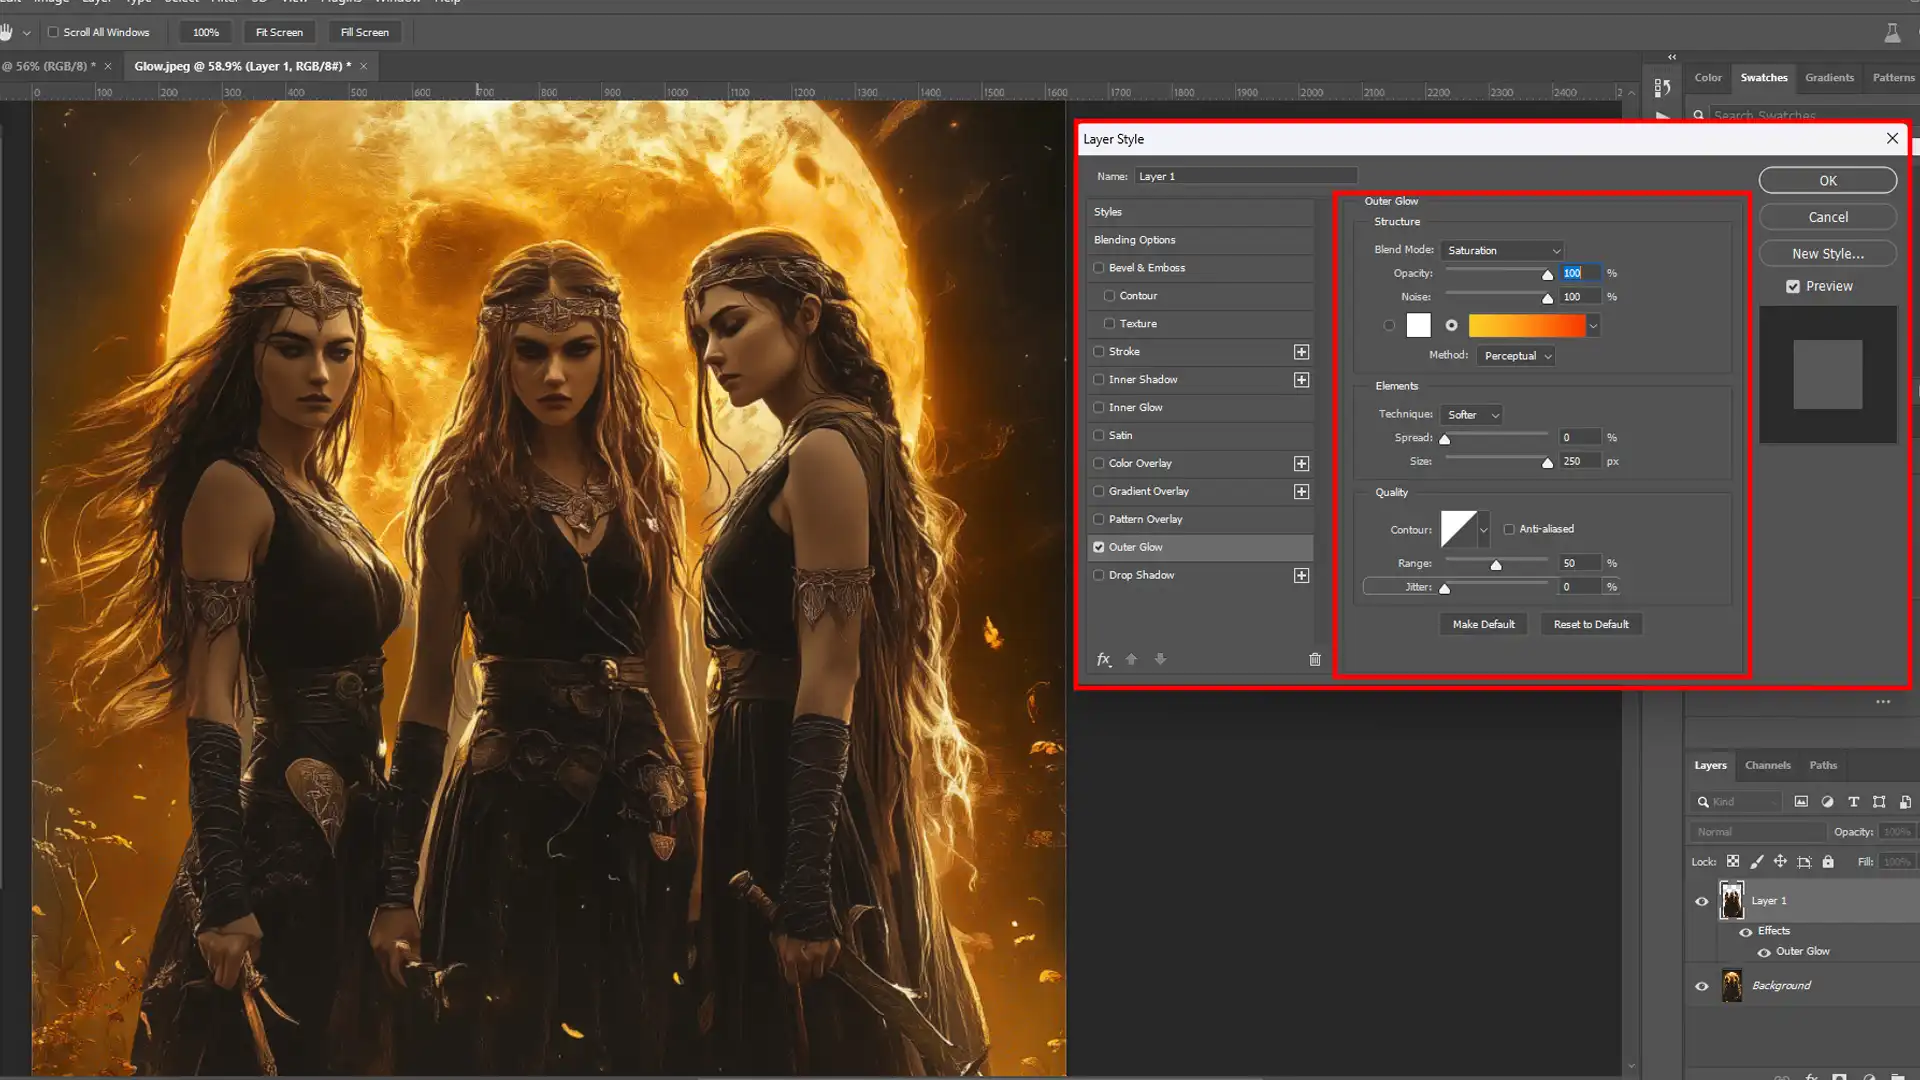
Adjusting Glow Parameters for Optimal Effect
Once you’ve selected your tools for the glow effect in Photoshop, adjusting parameters such as size, spread, and opacity is important to achieving the desired intensity and spread of the glow effect.
The Outer Glow setting lets you fine-tune how much light emits from object edges. Under Color Dynamics, experiment with settings like range and jitter for nuanced control over your glow effect.
Using Layers to Enhance Glow Intensity
Boosting the intensity of your glow in Photoshop can be achieved by layering effects.
By duplicating layers and applying the same color glow multiple times, you can amplify the luminosity and create a more striking visual.
Enhance your skills with our comprehensive Photoshop layering tutorial for using layers to enhance glow intensity. Discover techniques to create vibrant, luminous effects that make your designs pop.
Let’s delve into how blend modes help in finding the perfect mix for your design.
Blend Modes: Finding the Perfect Mix
You can add more detail on how blend mode specifically contributes to the visual effects, perhaps explaining the difference in results between using different blend modes like “Overlay” vs “Soft Light” for different types of glow.
These blending modes in Photoshop allow underlying layers to interact uniquely with applied glows, enhancing the overall brightness without altering the originalcolors too harshly.
Opacity Adjustments for Subtle Enhancements
Manipulating the layer opacity is beneficial for subtle effects. Lowering opacity helps integrate glows more naturally into images without overpowering other elements. While this might sound minor, it’s a potent tool for professional-level edits.
By utilizing these methods, choosing the appropriate tools, configuring their settings meticulously, and employing various layer techniques, you can masterfully enhance photos with beautiful glowing effects and light effects in Photoshop.
How to Create a Neon Glow Effect for Texts and Shapes?
The neon glow effect in Photoshop offers a vibrant look that can make your text and shapes pop with brilliant, glowing colors.
To effectively demonstrate these changes, we can ‘add glow show with before and after’ images within this tutorial.
This visual comparison will guide you through the process of creating these luminous effects using various tools and settings, helping you see the impact of each modification directly.
Setting Up Your Document for Neon Effects
Before adding any glow effects, it’s important to properly set up your Photoshop document to support high-quality visuals.
Start by adjusting the background layer to a black color, which will serve as your primary canvas.
Then, create a new layer on which you’ll apply the neon effect. Increase the resolution to about 300 dpi to ensure your graphics remain crisp and clear even at higher zoom levels.
This setup not only prepares the background layer for optimal contrast but also enhances the intensity of the neon colors.
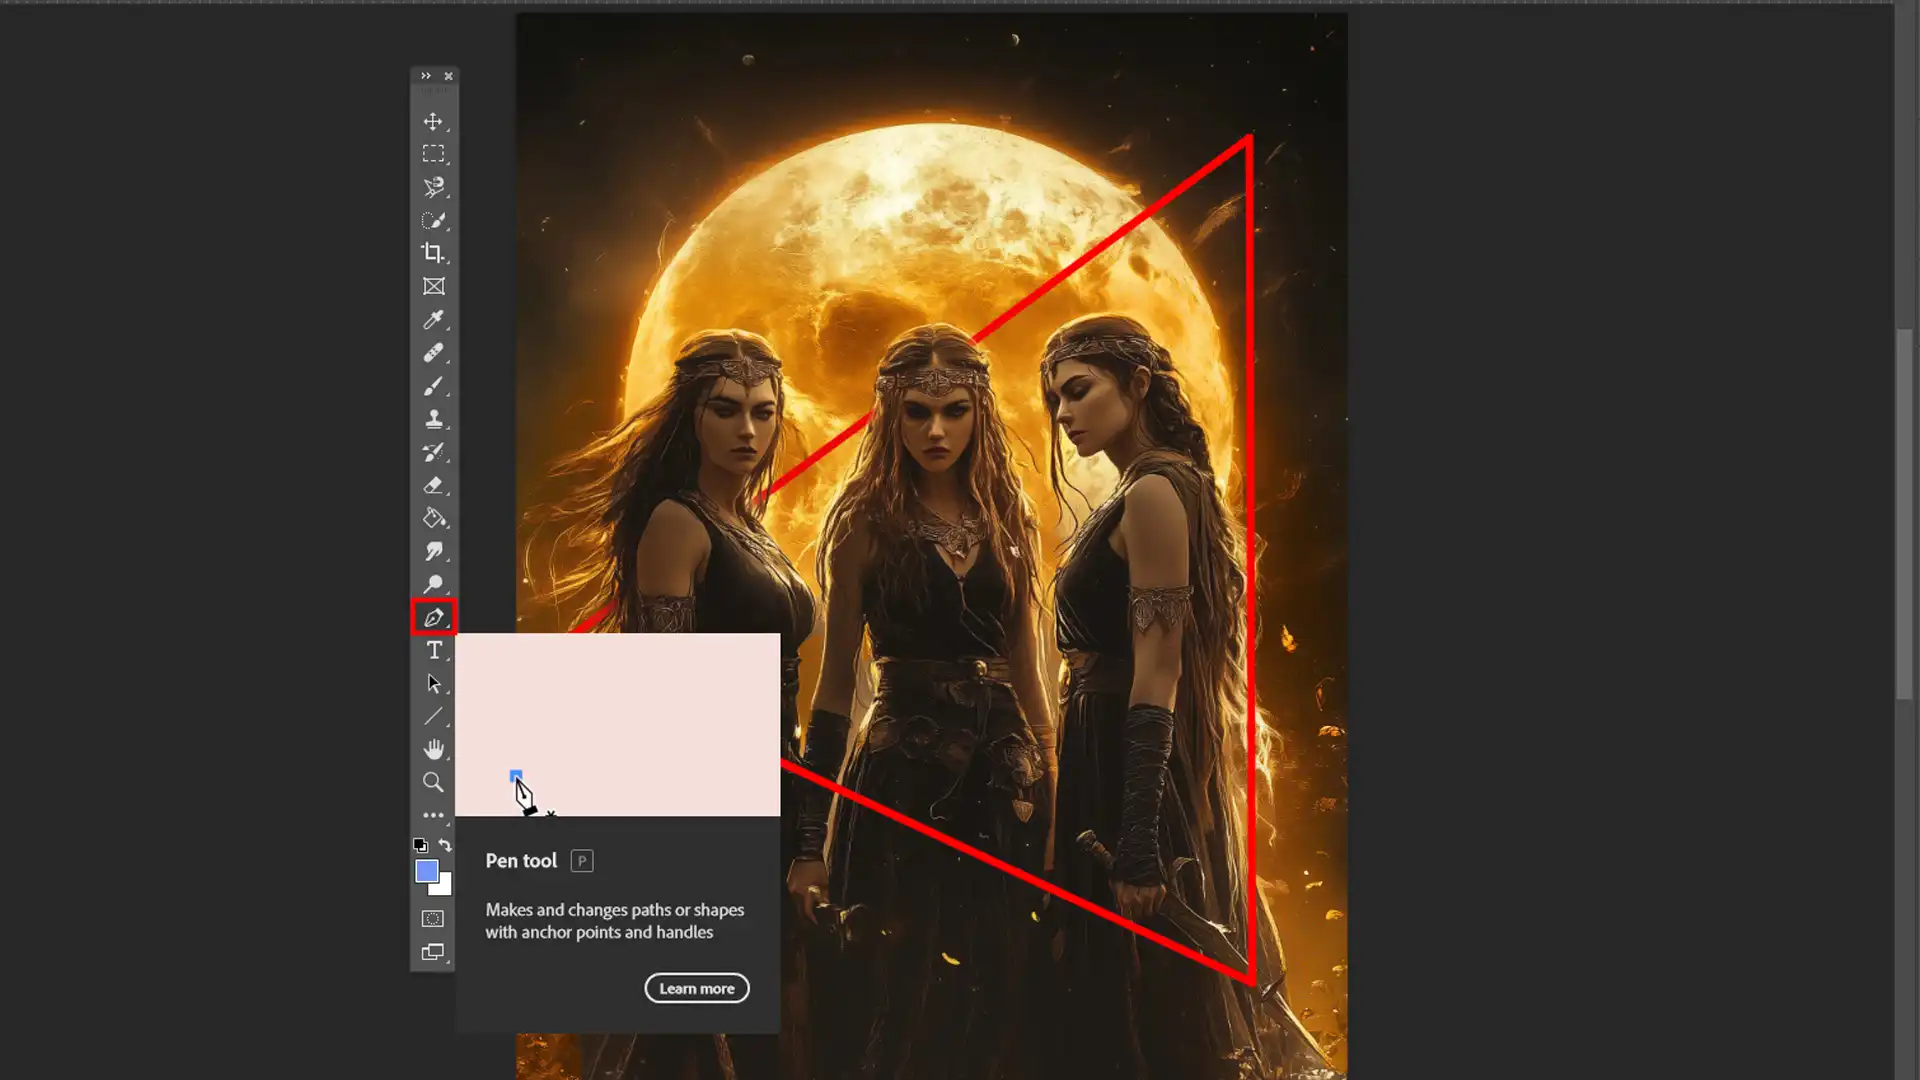
Create an eye-catching movie poster Photoshop project by setting up your document for neon effects.
Learn essential tools in Photoshop to organize layers and configure settings, ensuring vibrant neon visuals that make your poster truly stand out.
Applying and Modifying Layer Styles for Neon Glow
Creating a captivating neon glow effect involves applying and adjusting layer styles in Photoshop.
By manipulating the effect layer, you can enhance the brightness and realism of the glow effect in Photoshop within your design.
Mastering Photoshop layer styles is necessary for applying and modifying layer styles for neon glow. This technique enhances your designs with vibrant, eye–catchingeffects, making them truly stand out.
Let’s begin by choosing colors for maximum impact.
Choosing Colors for Maximum Impact
Selecting the right colors is important for achieving an effective neon look. Use bright, saturated hues like electric blue, hot pink, or lime green.
To add a glow effect in Photoshop, first, ensure your text or shape is a rasterized layer. Rasterizing the layer allows for more flexibility when applying and modifying effects. Double-click on the rasterized layer to open the Layer Style dialogue box.
Additionally, apply a drop shadow to enhance the depth and make the neon glow effect stand out more prominently, ensuring it becomes the focal point of your design.
Here, you’ll incorporate an outer glow using a blending mode such as ‘Screen‘ or ‘Linear Dodge(Add)’ depending on how intense you want the glow to be.
Adjust color settings by choosing a harmonised shade that complements your original color choice.
Master Photoshop color matching for choosing colors for maximum impact. Utilize tools and techniques to harmonize your palette, ensuring your designs are visually striking.
Using Path Options for Precise Text and Shape Glow
Utilizing path options for texts and custom shapes can sharpen the appearance of your neon effect.
When applying layer style, opt for “Stroke Path” with tools like the ellipse tool or brush tool set on a ‘Hard Round’ setting with low flow.
This method allows for a more controlled application of glow around specific edges, enhancing both visibility and precision in emitting light from your designs.
Pro Tip: To further elevate your neon design, experiment with different Photoshop text effects that can complement the glow.
Combining layer styles like Bevel & Emboss or adding textures can provide additional depth and complexity, making your neon elements even more striking and visually dynamic.
Soft Glow and Glow Effects for Atmospheric Effect
Creating a soft glow effect in your photos, guided by tips on photography lighting, can transform an ordinary image into one filled with mood and emotion.
This technique, often used to achieve a glow in Photoshop, leverages the power of subtlety to impart a dreamy, ethereal quality that’s particularly effective in portrait and landscape photography.
Choosing Images Suitable for Soft Glow Effect
Selecting the right image for applying a soft glow is important. Choosing images suitable for soft glow effects, particularly in newborn photography, where gentle lighting enhances the delicate features.
Look for pictures with gentle lighting in blend modes. Images shot during golden hour or those with diffused light work wonderfully, as they naturally contain a softness that complements this effect.
Techniques for Implementing a Soft Glow: Layer Blurring Techniques
To apply a sparkling glow, start by duplicating your original layer to preserve the non-edited version of your image. On the duplicated layer, employ Layer Style to subtly enhance the visual effects.
Through the Layer Style menu, apply a gentle drop shadow and a soft glow, adjusting parameters to achieve the desired depth and luminosity.
This method allows for non-destructive edits, making it easier to experiment with different settings.
Next, use a gaussian blur in Photoshop on the duplicate layer; this creates the foundation of our glowing effect. Adjust the blur intensity depending on how subtle or intense you want the glow to be.
To intensify the glow effect, continue duplicating layers that have the Gaussian Blur applied. Each additional layer amplifies the luminosity, allowing you to build up the glow gradually.
Adjusting Saturation and Brightness for Mood Setting
Adjusting saturation and brightness plays a significant role in setting your image’s mood.
Reduce saturation slightly to avoid colors becoming too overpowerly vibrant due to the glow effect. Simultaneously, tweak brightness subtly to enhance highlights without washing out detail.
By using these techniques judiciously, including the application of a curved layer, you can add beautiful atmospheric effects to your photos.
The curves layer is important for subtly adjusting the light levels, enhancing both the glow and the overall mood of the image, thus elevating its emotional impact and visual appeal.
Pro Tip: For an even more refined look, consider applying tips on photography lighting to complement your glow effects.
Proper lighting enhances the glow’s effectiveness, balancing highlights and shadows to create a cohesive and visually pleasing image.
Advanced Glow Techniques: Creating Fire and Light Flares
Creating dynamic glow effects in Photoshop allows photographers and graphic artists to elevate their images with a touch of realism or fantastical brilliance.
This advanced tutorial will delve into specific techniques for crafting fire effects and simulating light flares using various tools in Photoshop, enhancing the visual impact of your projects.
Utilizing Brushes and Filters for Fire Effects
To create compelling fire effects, start by selecting a suitable brush that mimics the erratic nature of flames.
From your brush presets, choose a soft brush for subtle transitions or a speciality flame brush for more pronounced features. With your chosen brush, paint over a new layer, allowing flexibility to adjust the effect without altering the original photo.
Next, incorporate color dynamics to replicate natural variation in flames. Utilize an orange-red color palette and subtly vary hues to reflect realistic fire properties.
Add a drop shadow to the flame layers to create an illusion of depth and to enhance the perception of the flames rising off the background.
Enhance this effect with filters like Gaussian blur or add layers of outer glow from the Layer Style menu to intensify the fiery illusion.
To seamlessly blend your fiery creation into the background image, experiment with different blend modes. “Screen” or “Lighten” often yields visually pleasing results, allowing underlying layers to interact effectively with the newly painted flames.
Create captivating flame text effects in Photoshop by utilizing brushes and filters for fire effects. Master techniques to add realistic flames, enhancing your text with dynamic, fiery visuals.
Simulating Realistic Light Flares with Blending Options
For light flares, including creating lens flares in Photoshop, that mimic real-world photography aesthetics, leverage blending options alongside adjustment layers.
Start by placing a bright light source on a new layer; this could be as simple as a white brush spot or an imported glare graphic.
Apply a layer mask to the bright light source layer to control the intensity and edges of the glow.
Use radial gradients on the layer mask to feather outwards, effectively softening and blending the light for a more natural effect.
Adjust blending options – particularly experimenting with ‘Screen‘ or ‘Add‘ blending modes – which typically produce strong results in scenarios involving direct light simulations.
Animating Flares for Dynamic Imagery
If you wish your lens flares to be not just static but also dynamic, suggesting motion or flickering, a straightforward animation can be achieved within the Photoshop timeline panel.
Create several duplicates of your flare layer (duplicate), adjusting opacity and using slight horizontal shifts between frames to suggest movement.
When satisfied, export this animation either as a GIF or through rendering video file formats supported by Photoshop. Thus, you can add vibrant, lifelike behaviours to what was previously static imagery, producing standout visual elements within your digital compositions.
Tips for Refining and Finalizing Glowing Effects in Photoshop
After you’ve applied the initial glowing effects Photoshop techniques, it’s important to review your work. This ensures that your final image remains cohesive and visually striking.
Reviewing Your Work for Consistency
Assess the overall balance of the glow effect across your image. Check that the intensity and colors are uniform, which helps maintain a professional look.
It is important to apply consistent glow effects in Photoshop throughout your project.
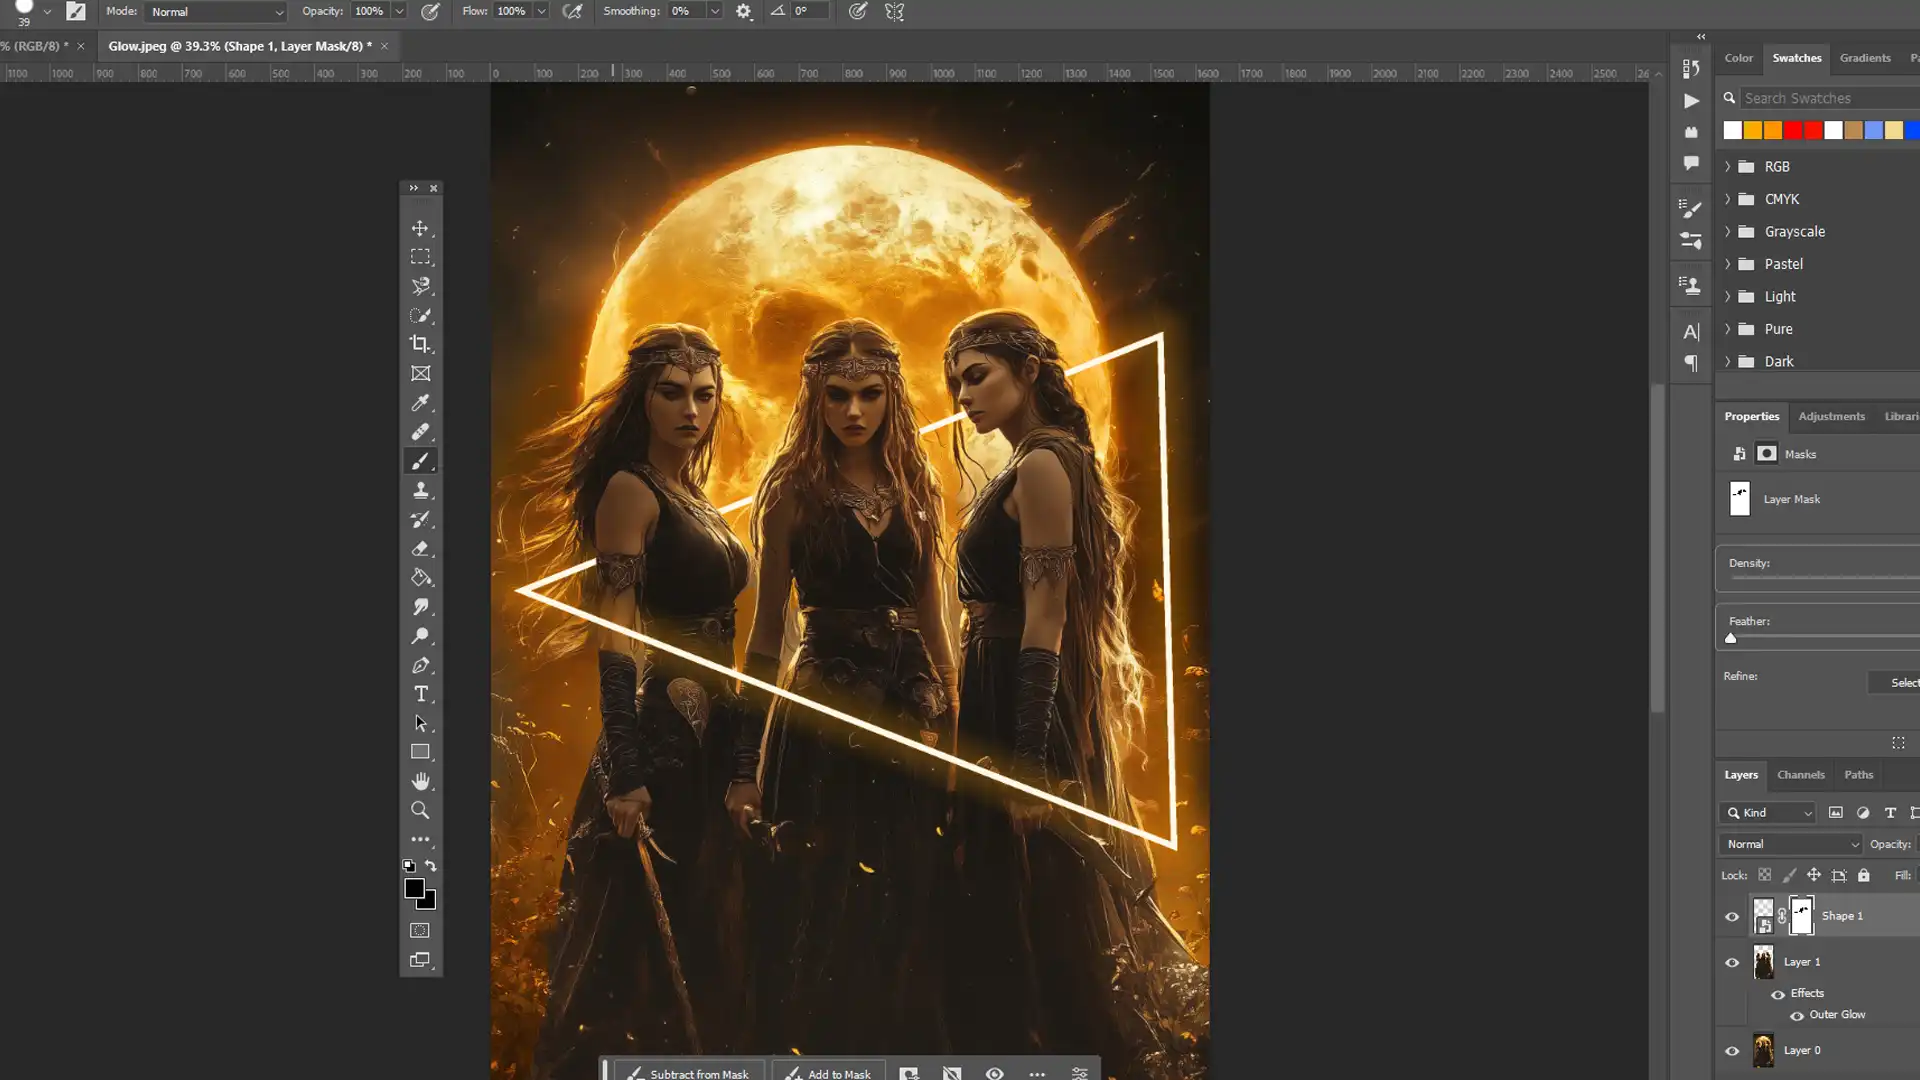
Look closely at how each layer interacts; adjustment layers may be necessary to achieve a seamless blend across all elements.
Verify layer masks are properly aligned.
Ensure that blending mode options complement each other, enhancing the visual appeal.
Fine-Tuning Layers for a Polished Look
Refinement of layers is important to achieving a sophisticated finish. Here, every detail matters. Each layer and each pixel contributes to the overall quality of your output.
Firstly, enhance contours or highlights using refined techniques such as layer style or subtle drop shadows to elevate visual depth.
If your drop shadow appears too intense, consider adjusting its opacity or spread for a more natural look.
Using Adjustment Layers and Layer Masks for Last-Minute Tweaks
Incorporating an adjustment layer or two towards the end of your editing process can help finely tune color dynamics or contrast levels without permanently altering underlying pixels.
This non-destructive method allows flexibility in experimenting with different looks before finalizing:
Adjustment Type
Description
Purpose
Curves Adjustment Layer
Subtly tweak brightness and contrast.
Enhances overall image contrast and brightness to improve visual impact.
Hue/Saturation Adjustments
Richen colors where necessary.
Adjusts and enhances the color intensity and balance for more vibrant imagery.
Fine-tuning involves iterative checking and adjusting until everything sits perfectly on screen, including the strategic use of a curves layer.
This adjustment layer is important for refining the glow effects, as it allows you to precisely manipulate the contrast and exposure to enhance the glow’s visual impact.
This includes the precise application of a layer mask to ensure seamless blending of the glow effect across different layers and the careful placement of drop shadows to ensure that they contribute to the realism and three-dimensionality of the glowing effects without overwhelming them.
Frequently Asked Questions
How to give a glowing effect in Photoshop?
To create a glowing effect in Photoshop, first select the Layer you wish to modify. Next, navigate to Layer Styles and choose Outer Glow.
Experiment with the settings, adjusting the Size and Spread to achieve your desired glow. This technique easily adds light and brilliance to any object or text.
How to add an outer glow filter?
Adding a glow filter in Photoshop involves selecting the layer you wish to affect and then proceeding to the Filter Menu. Select the option labelled Blur, and then choose Gaussian Blur.
Adjust the Radius to create a soft, halo-like effect around your layer for an immediate glow. Blend modes such as Screen can enhance this effect.
How to do the glow effect?
To create a glow effect in Photoshop, select your object or text, then duplicate the layer for non-destructive editing. Go to the Layers panel, click FX, and choose Outer Glow.
Customize the glow by adjusting the color, size, and spread for the desired intensity. Once you’re satisfied with the effect, click OK and save your work.
What is the glow effect plugin for Photoshop?
The Glow effect plugin for Photoshop intensifies the brightness and adds a radiant light effect to images directly through the Plugins option. You can also combine this with an appropriate blend mode to achieve a more striking visual result.
Mastering glowing effects in Photoshop opens up endless creative possibilities. I remember a project where I created a neon-themed poster for a local event, using these techniques to make the text and shapes vibrant and luminous.
If you’re looking to step up your Photoshop skills and learn more about glowing effects in Photoshop, check out my Photoshop Course.
You’ll get all the tips and tricks to create vibrant and eye-catching designs. And if you’re into photo editing, my Lightroom Course is a great resource to explore.
$2,061.00Original price was: $2,061.00.$1,061.00Current price is: $1,061.00. 27584
Download Your Free Guide Now!
Discover the secrets of photography with our printable guide! Master essential techniques like aperture, shutter speed, and ISO to create stunning images. Get your free printable PDF now and start turning your snapshots into masterpieces!