Are you wondering how to make sky in Photoshop look stunning?
You’re in the right place! In this guide, I’ll walk you through simple yet effective steps to transform your photos. Imagine turning dull skies into vibrant masterpieces with just a few clicks. Intrigued?
Keep reading, and by the end, you’ll have the skills to elevate your images to a whole new level.
Table of Contents
How to Replace Sky in Photoshop
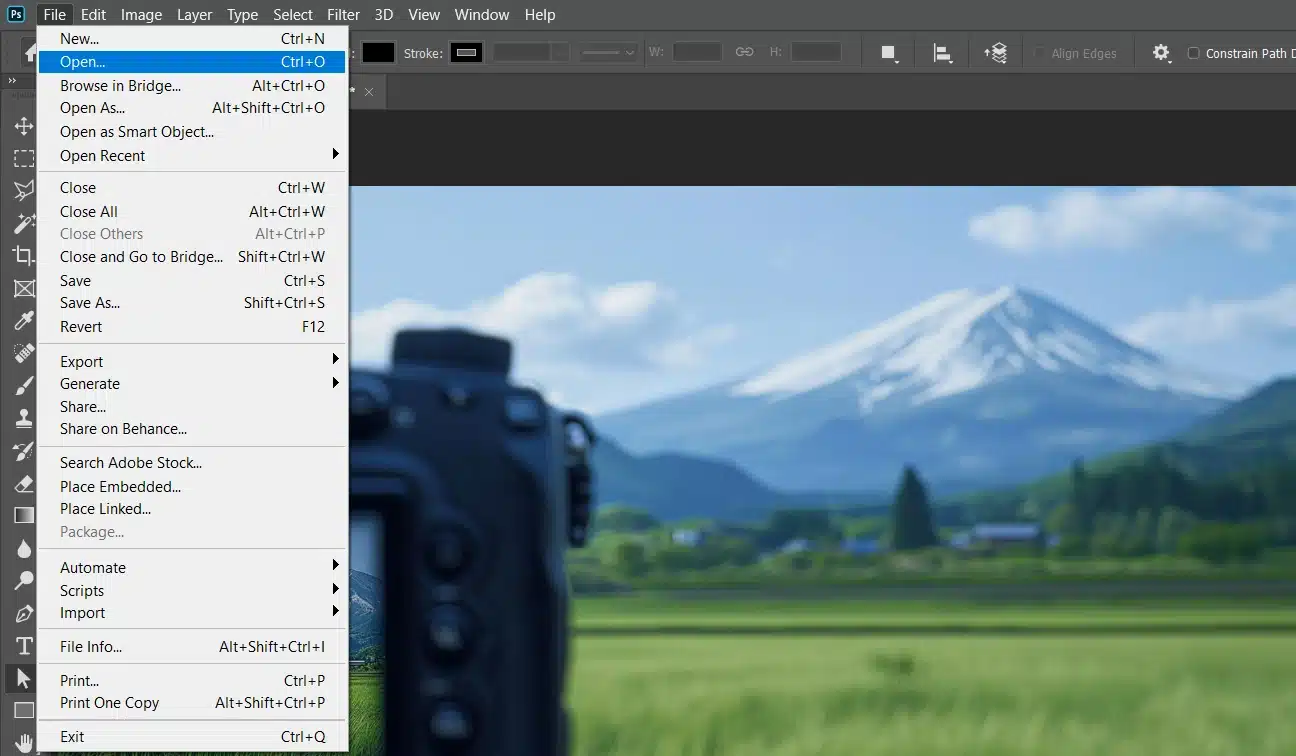
First, open your image in Adobe Photoshop. Make sure you can see both the original image and the new sky you’re planning to use. If you don’t have a new sky image yet, look for “sky overlays.” They offer great options for creating a new sky.
Adjusting the Sky
With the new sky selected, you can make further adjustments.
The Sky Replacement dialog box allows you to tweak the brightness and contrast. You can also shift the “foreground color” to match it with the rest of the image. The tool offers a “fade edge” option to make the transition between the two images seamless.
Working with Layers
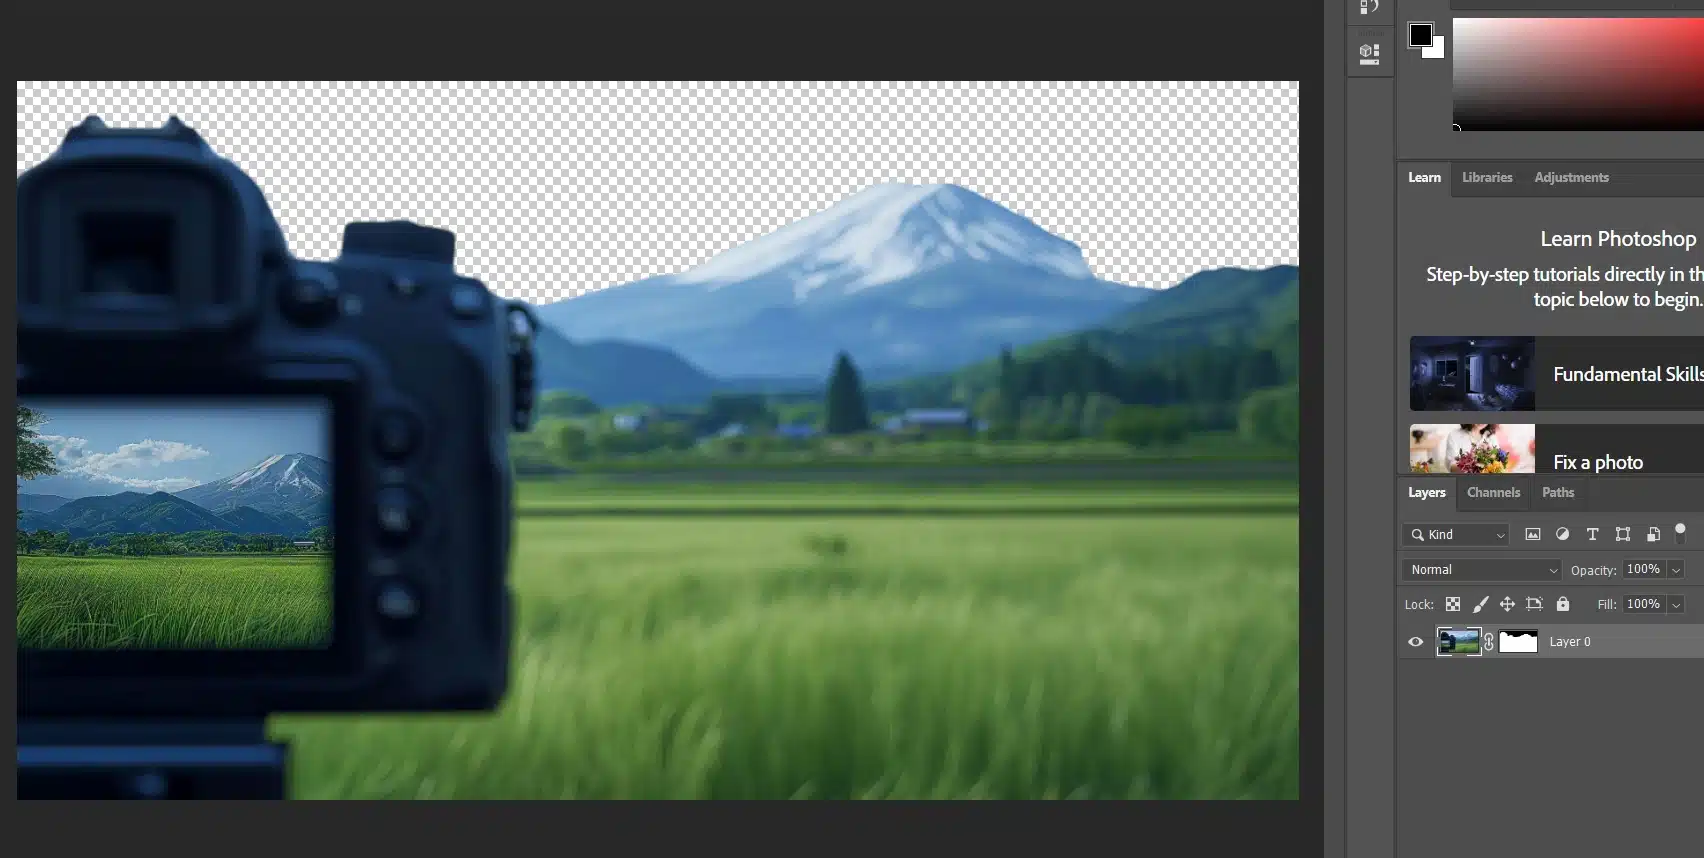
Open the “Layers Panel” to see all the active layers. You’ll notice a new layer has been created.
This is where you can fine-tune your adjustment layer and gradient layer settings.
By playing with these adjustments, you improve the blend between the original image and the new layer.
Ensure you use the “Brush Tool” to refine any edges that may not look right.
Fine-Tuning Your Sky with Adjustment Layers
Once you’re satisfied with how your sky looks, consider adding an “adjustmentlayer” to enhance the final image.
A good adjustment might involve tweaking the “brightness” or using the “GradientTool” to achieve a more dramatic effect.
Always go back to the “LayersPalette” to ensure each alteration adds to the image’s overall quality.
Pro Tip: Always keep a duplicate layer of your original image before making any changes.
This allows you to compare the before-and-after effects more efficiently and revert if needed.
Using Photoshop's Sky Replacement Tool
Open your image in Adobe Photoshop. Click “Edit” in the top menu, then choose Sky Replacement from the dropdown.
Have your new image ready. This tool is easy to use and doesn’t need expert skills.
If you’re new to Photoshop, consider checking out some Photoshop resources to get familiar with the basics.
Picking a Sky
Click ‘Sky Replacement,’ and a box pops up. Choose a sky from the default images or upload your own by clicking “Custom.”
Pick a sky that matches your original photo.
Exploring advanced photo editing techniques, you might want to explore the difference between Photoshop and Lightroom to understand which software suits your needs better.
Adjusting the Sky
After picking your new sky, adjust it:
Use the brightness and contrast sliders for a good fit.
Adjust the foreground color to blend naturally with the rest of the image.
Use the fade edge option for a smooth transition.
If you like to make more precise color adjustments, you can also explore the replace color tool.
This tool is particularly useful for fine-tuning colors and ensuring your new skyblends seamlessly with the rest of your image.
Pro tip while using the layer mask:
For better results, use the layer mask to refine edges with the brush tool. This gives a cleaner finish. Always keep a duplicate layer of the original image to compare or revert if needed.
Follow these steps to make your photos look more dramatic and appealing.
If you want to learn Photoshop, I recommend this guide to enhance your knowledge of Photoshop and editing photos.
Manual Sky Replacement Techniques
When it comes to replacing skies in Photoshop, there are several techniques you can use.
Depending on your comfort level and the specific needs of your photo, you can choose from methods like using layers and masks, different selection tools, or blending with adjustment layers.
Below is a comparison of these techniques, including the tools needed, steps involved, and difficulty levels.
Once selected, create a fresh layer and fill it with a bright color like red. This helps you see what you are masking.
Click on the “Layer Mask” icon at the bottom of the layers palette. This allows for non-destructive photo editing. With your “Gradient Tool,” click and drag to blend it.
Alternate between a black and white gradient to refine the mask.
Blending the Sky
Blending the sky seamlessly into your photo is a crucial step in creating realistic and visually appealing images. Here are some steps to follow:
Create a new layer and import your chosen image. Place it below the mask layer. Press and hold the shift key while resizing to keep the proportions.
Set the "Blending Mode" of the sky layer to "Overlay" or another appropriate mode for better integration. Use the "Opacity Slider" to adjust the transparency until it looks natural.
For more adjustments, add an adjustment layer like brightness/contrast or hue/saturation to tweak the foreground colors. This enhances the overall look.
Enhancing Your Sky with Additional Elements
To add drama to your image, incorporate some clouds or a sunset from a separate layer.
Adjust the blending mode and opacity to integrate seamlessly.
Check the edges of the sky replacement. Use the soft brush tool on the mask layer for fine-tuning.
Zoom in and out to ensure there are no hard edges or unnatural transitions.
Save your edited photo as both a PSD file (to keep layers) and a JPEG for easy sharing.
This keeps your work editable for future tweaks.
Pro Tip: Always keep the original image untouched by duplicating layers before making any changes.
This way, you can start fresh if needed.
Tips and Tricks for Realistic Sky Replacement
Let’s dive into some helpful skyreplacement tips that will make your photo pop. If you’ve ever looked at a photo and wished, itwas more dramatic, you’re in the right place.
Choose the Right Sky
First things first, you need to choose the perfect sky. Don’t just slap any onto your photo.
Look for one that fits the mood and lighting of the original image. Here some thing to notice before you pick a photo:
Find a sky that matches the lighting of your original photo.
Avoid skies that clash with the mood of your picture.
Using the Photoshop Sky Replacement Tool
Adobe Photoshop obliges replacing blue skies easily. Go to the drop-down menu, click “Edit,” and select the sky replacement option.
This tool does most of the heavy work for you, making it one of the quickest ways to replace in Photoshop.
If you’re interested in more advanced photo editing techniques, you might want to explore more on astrophotographytechniques to take better pictures of skies.
This guide offers insights on capturing stunning night sky images, which can complement the replacement skills in Photoshop.
Quick Steps:
Open Photoshop.
Go to "Edit" and select "Sky Replacement."
Follow the prompts to replace it.
Create Realistic Blends
To make it look natural, use the blend mode and layer mask features.
The blend mode helps integrate the sky, while the layer mask allows you to fine-tune the edges. This is particularly helpful when blending skies with trees or buildings in the foreground.
Adjust Effects
Don’t forget to tweak the adjustment layers.
Use brightness, contrast, and hue/saturation to match the new adjustments with the rest of your image. Adjustment layer ensures that the colors blend seamlessly.
Blend Foreground and Background Colors
Sometimes the foreground color doesn’t match the new sky. Adjust these colors for a smoother transition.
A quick way to do this is by using the gradients tool. Drag the tool across the foreground for a smooth blend.
This method enhances the overall look of your photo editing. Some easy-to-follow steps:
Use the gradient tool for smooth color transitions.
Match the foreground colors with the new sky.
Final Touches
Add extra details like clouds or sun rays. You can paint these in or blend them from another image.
Don’t overdo it; a little goes a long way.
Pro Tip: Always keep a copy of your original image.
This way, if things go south, you’ve got a backup to revert to.
By following these simple steps, you’ll master the art of replacement in no time.
Remember, practice makes perfect, so keep experimenting and don’t be afraid to get creative.
Want to enhance your skills further?
Check out some shortcuts to make your learning process easier.
You can get by few ways inspired by other graphic design, looking from other pictures, or from artificial intelligence.
Common Mistakes to Avoid
If you’re diving into sky replacement in photo editing, there are some common pitfalls to watch out for. I’ve spent too many hours making these mistakes so you don’t have to.
Let’s save frustration and get your skies looking amazing in no time.
Using the Wrong Sky
First, you need to choose a sky that fits your photo’s lighting and mood.
A bright sunny sky won’t fit a gloomy, rainy day scene. Always match the colors with the background lighting for a natural look. This small detail can make all the difference.
Ignoring the Foreground
Don’t ignore the foreground when you replace the sky. Ensure your foreground elements blend seamlessly with.
Use the adjustment layer to tweak lighting and shadows appropriately. If the foreground looks off, the whole new image will seem fake.
Overlooking the Transition
The transition area between the current sky and the new one is crucial.
A rough edge stands out and will ruin your picture. Use a soft brush to refine edges, or employ the gradient tool for smoother transitions. Pay attention here to keep the look realistic.
Forgetting Adjustment Layers
Adjustment new layers are your best friends in sky replacement.
They help you fine-tune brightness, contrast, and saturation. Don’t skip this step. It ensures your new sky blends perfectly with the rest of your image.
Neglecting Multiple Layers
Always use new layers when working on your photos. Keep the original intact. This way, you can go back and correct mistakes without starting over. This practice is essential, especially if you’re new to Adobe Photoshop.
Pro Tip: Always save a copy of your originalimage before you start editing. Trustme, having a backup can savetime and headaches. Happy editing!
Remember to explore using the gradient tool, which allows you to create stunning effects by blending colors to enhance your replacement.
Frequently Asked Questions
How to do sky in Photoshop?
To make a sky in Photoshop, follow these steps:
Open your image in Photoshop.
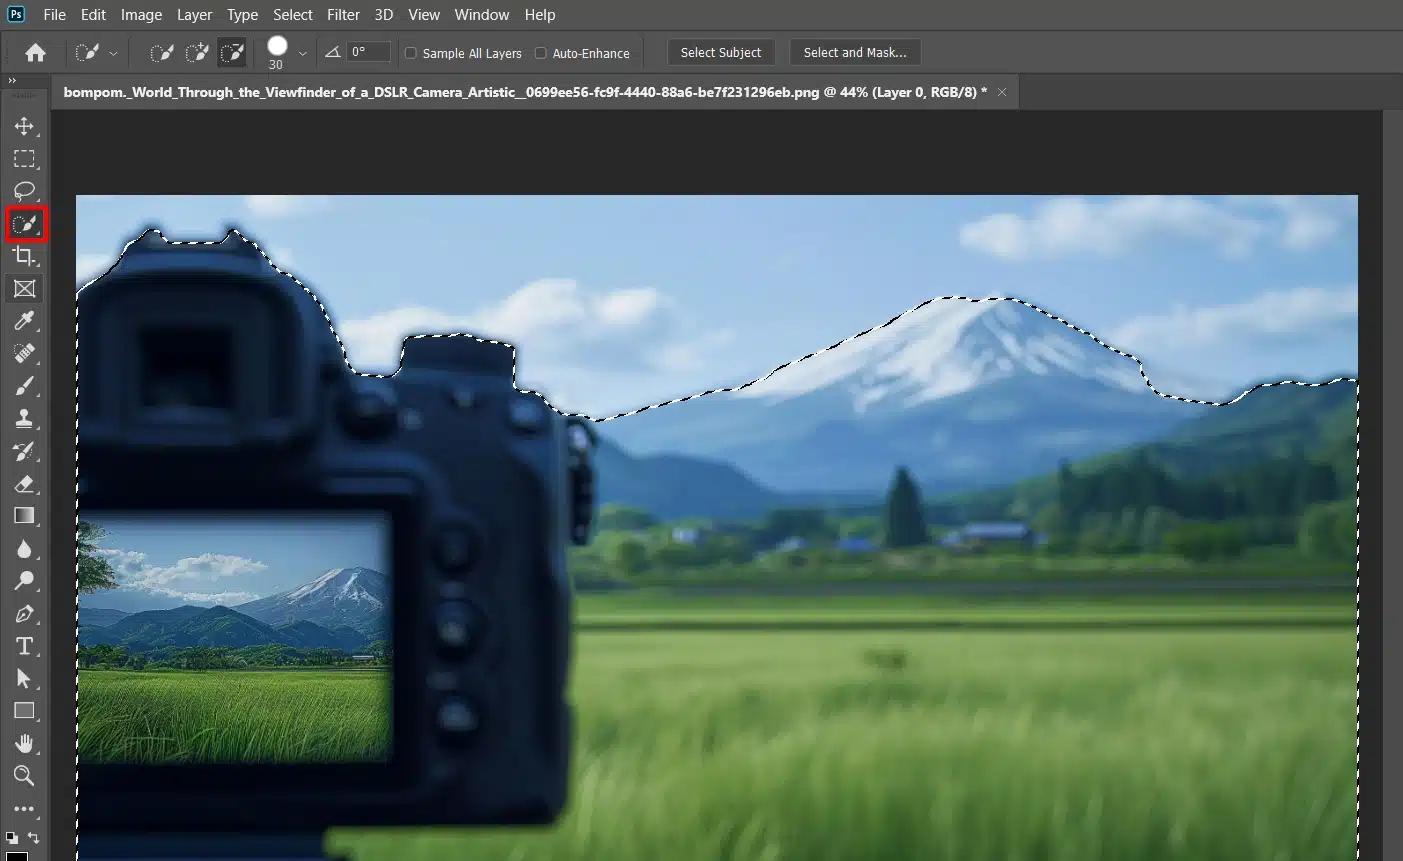
Select the sky area using the Quick Selection Tool or the Magic Wand Tool.
Adjust the appearance by navigating to Image > Adjustments. Here you can tweak brightness, contrast, and saturation to enhance the sky.
How do you make a clear sky in Photoshop?
Start by selecting the sky using a suitable selection tool.
Once selected, go to Filter > Noise > Reduce Noise to smooth out the sky.
Enhance the clarity by increasing the contrast or adjusting the levels (Image > Adjustments > Levels).
How to make sky more vibrant in Photoshop?
To make your sky more vibrant in Photoshop, follow these steps:
Select the sky portion of your image.
Adjust the vibrance and saturation for the selected area by choosing Image > Adjustments > Vibrance.
Use the Hue/Saturation adjustment to further refine the colors.
How do you make a sky star in Photoshop?
Create a new layer for the stars.
Fill the layer with black using the Paint Bucket Tool.
Go to Filter > Noise > Add Noise, adjust the amount to around 25%, and set the distribution to Gaussian and check the Monochromatic box.
Use Image > Adjustments > Levels to make the stars more prominent by moving the black and white input levels sliders.
Optionally, add a Gaussian Blur (Filter > Blur > Gaussian Blur) to slightly soften the stars.
Learning how to make sky in Photoshop has really changed how I edit my photos. It’s amazing how a simple skyreplacement can make a photo look so much better.
I remember the first time I replaced a dullsky with a vibrant one it made the whole image pop!
If you want to get even better at this and other cool Photoshop tricks, you should definitely check out my Photoshop Course. It’s full of tips and techniques that will take your editing skills to the next level.
And if you’re also into Lightroom, my Lightroom course is perfect for you.
$2,061.00Original price was: $2,061.00.$1,061.00Current price is: $1,061.00. 27584
Download Your Free Guide Now!
Discover the secrets of photography with our printable guide! Master essential techniques like aperture, shutter speed, and ISO to create stunning images. Get your free printable PDF now and start turning your snapshots into masterpieces!