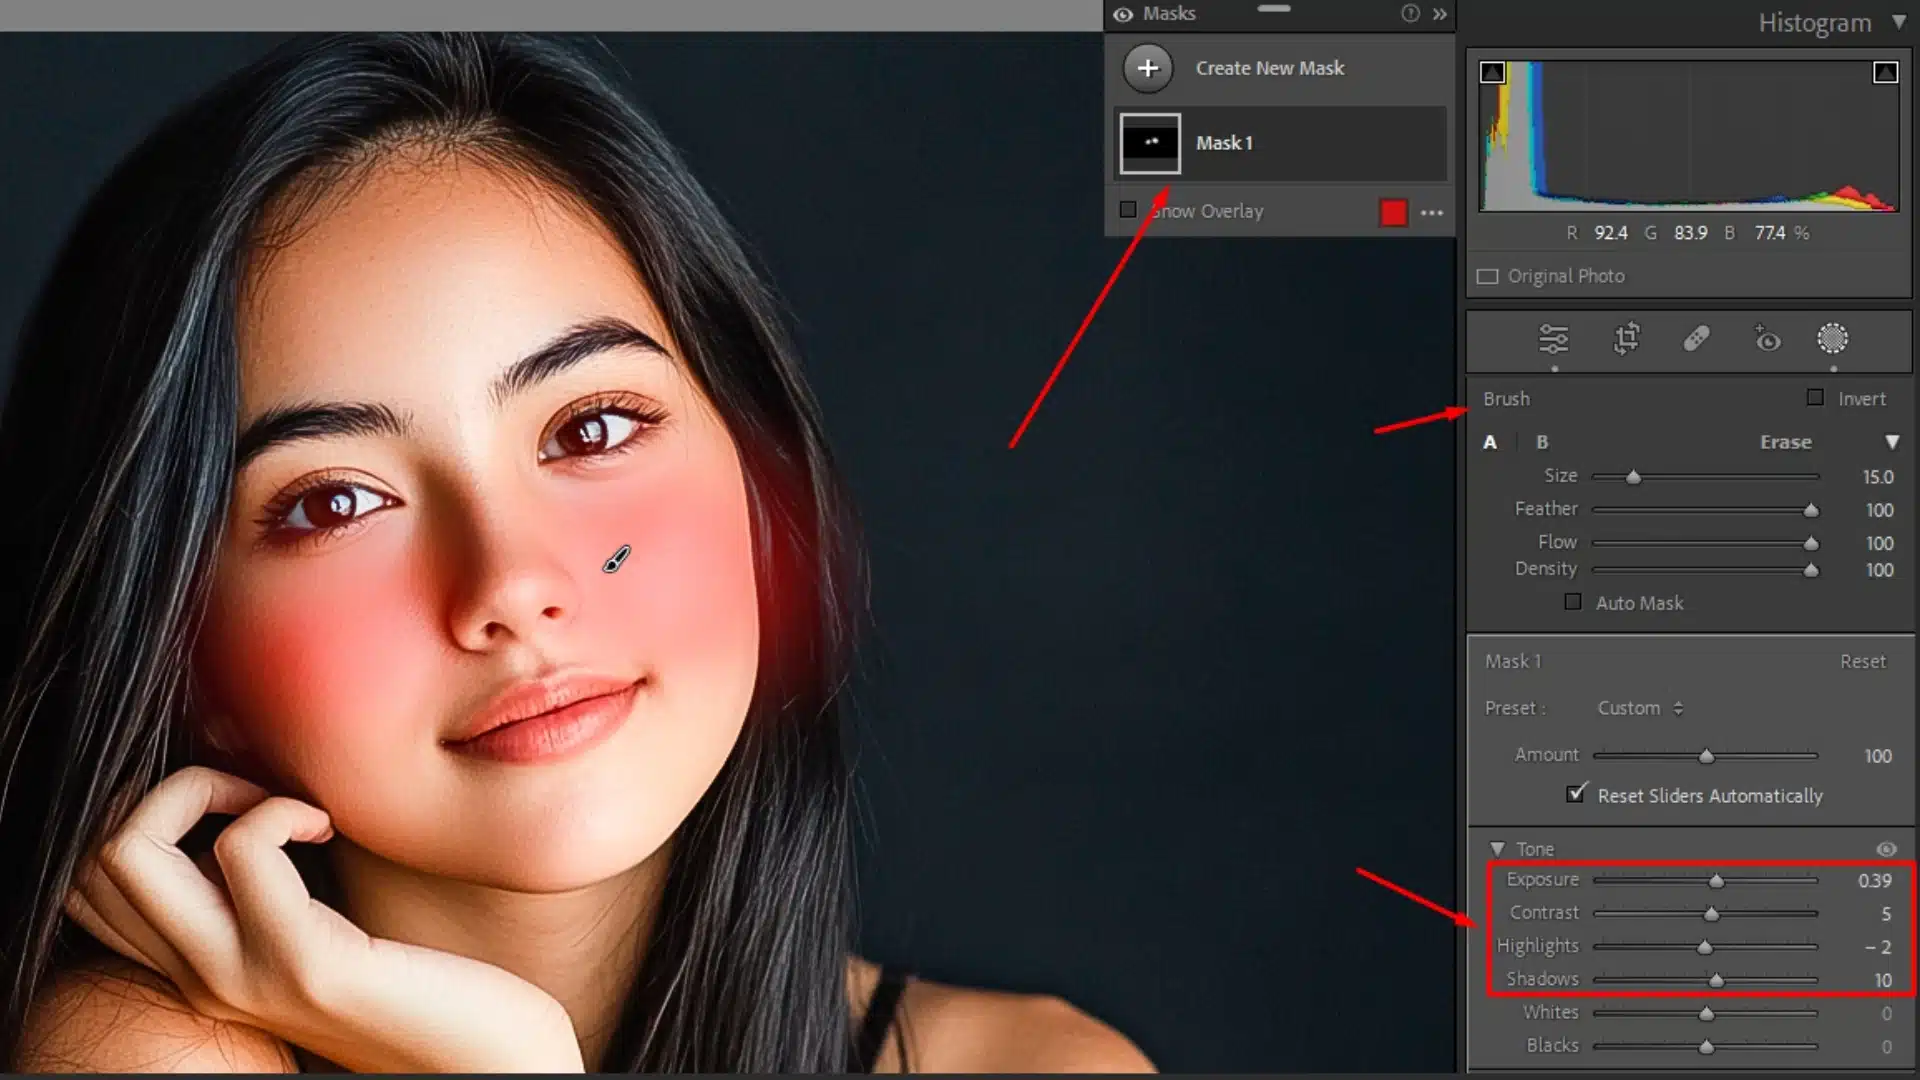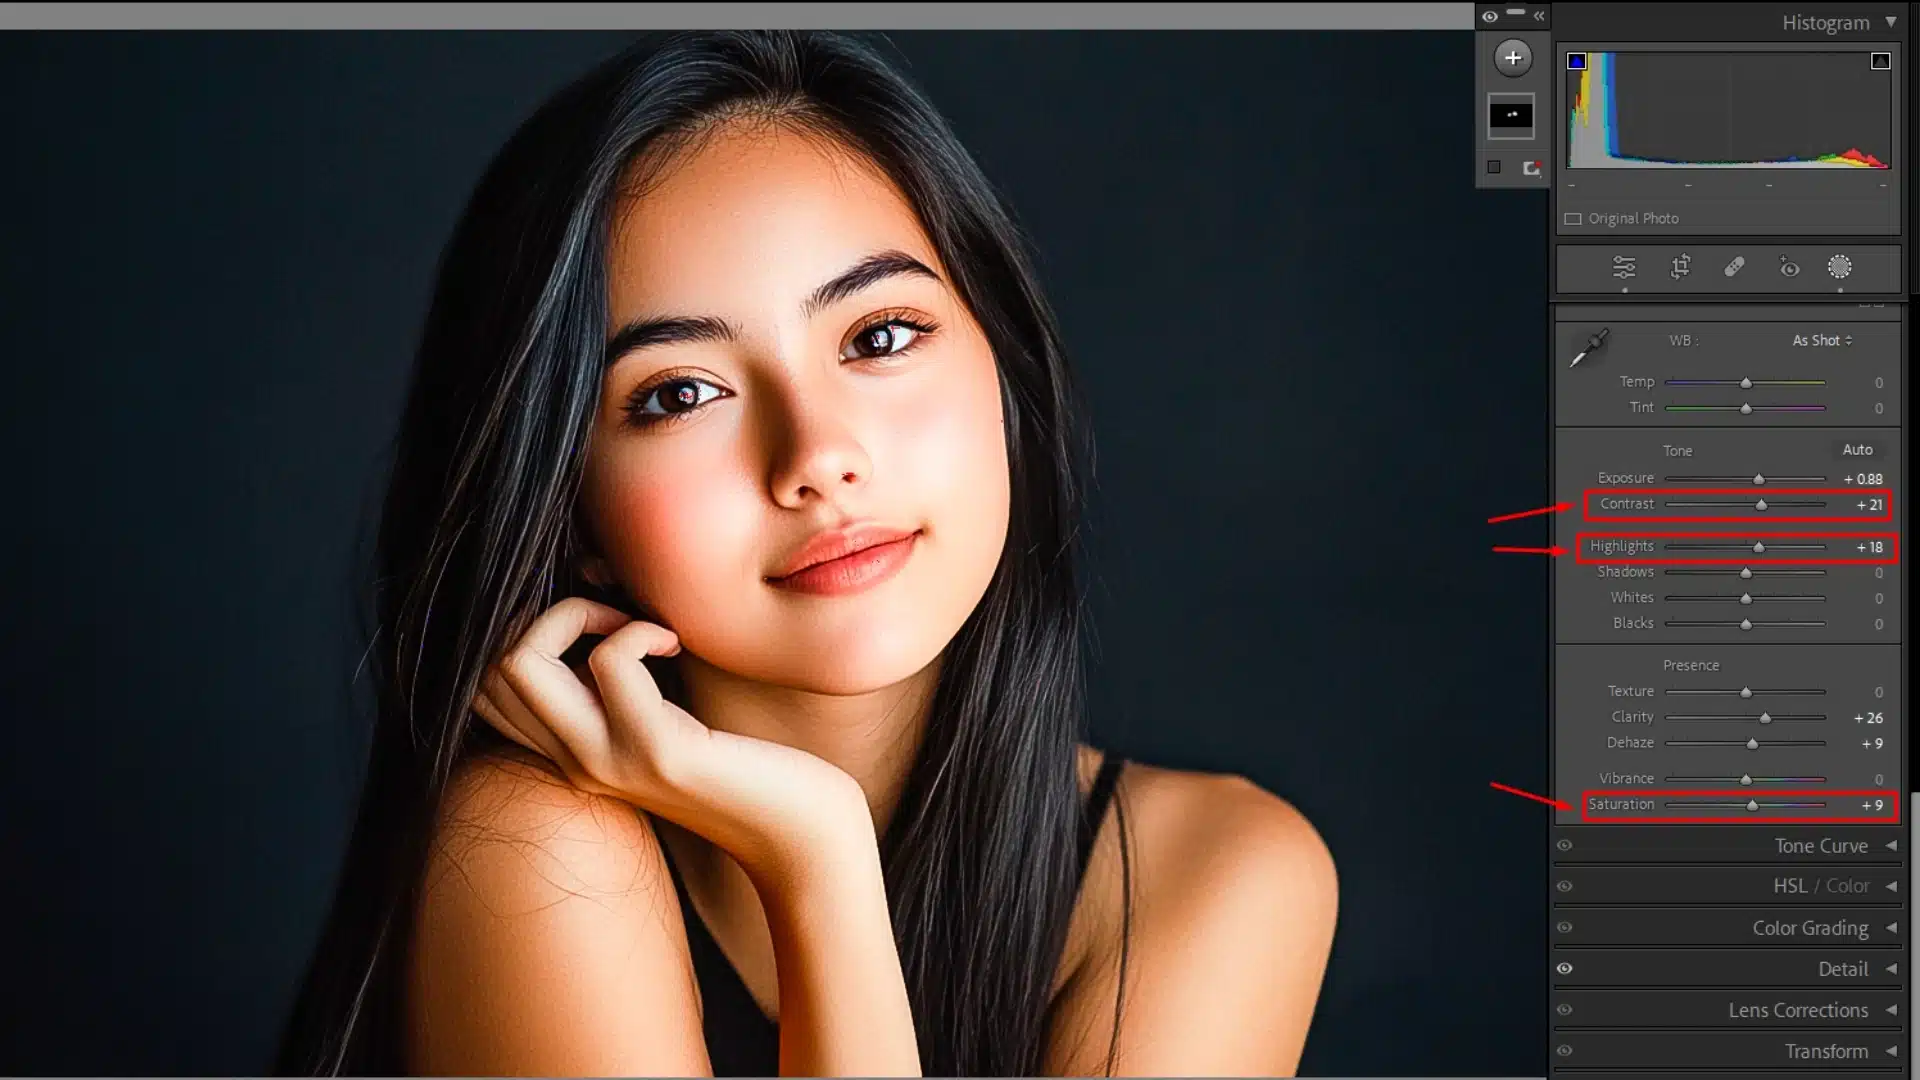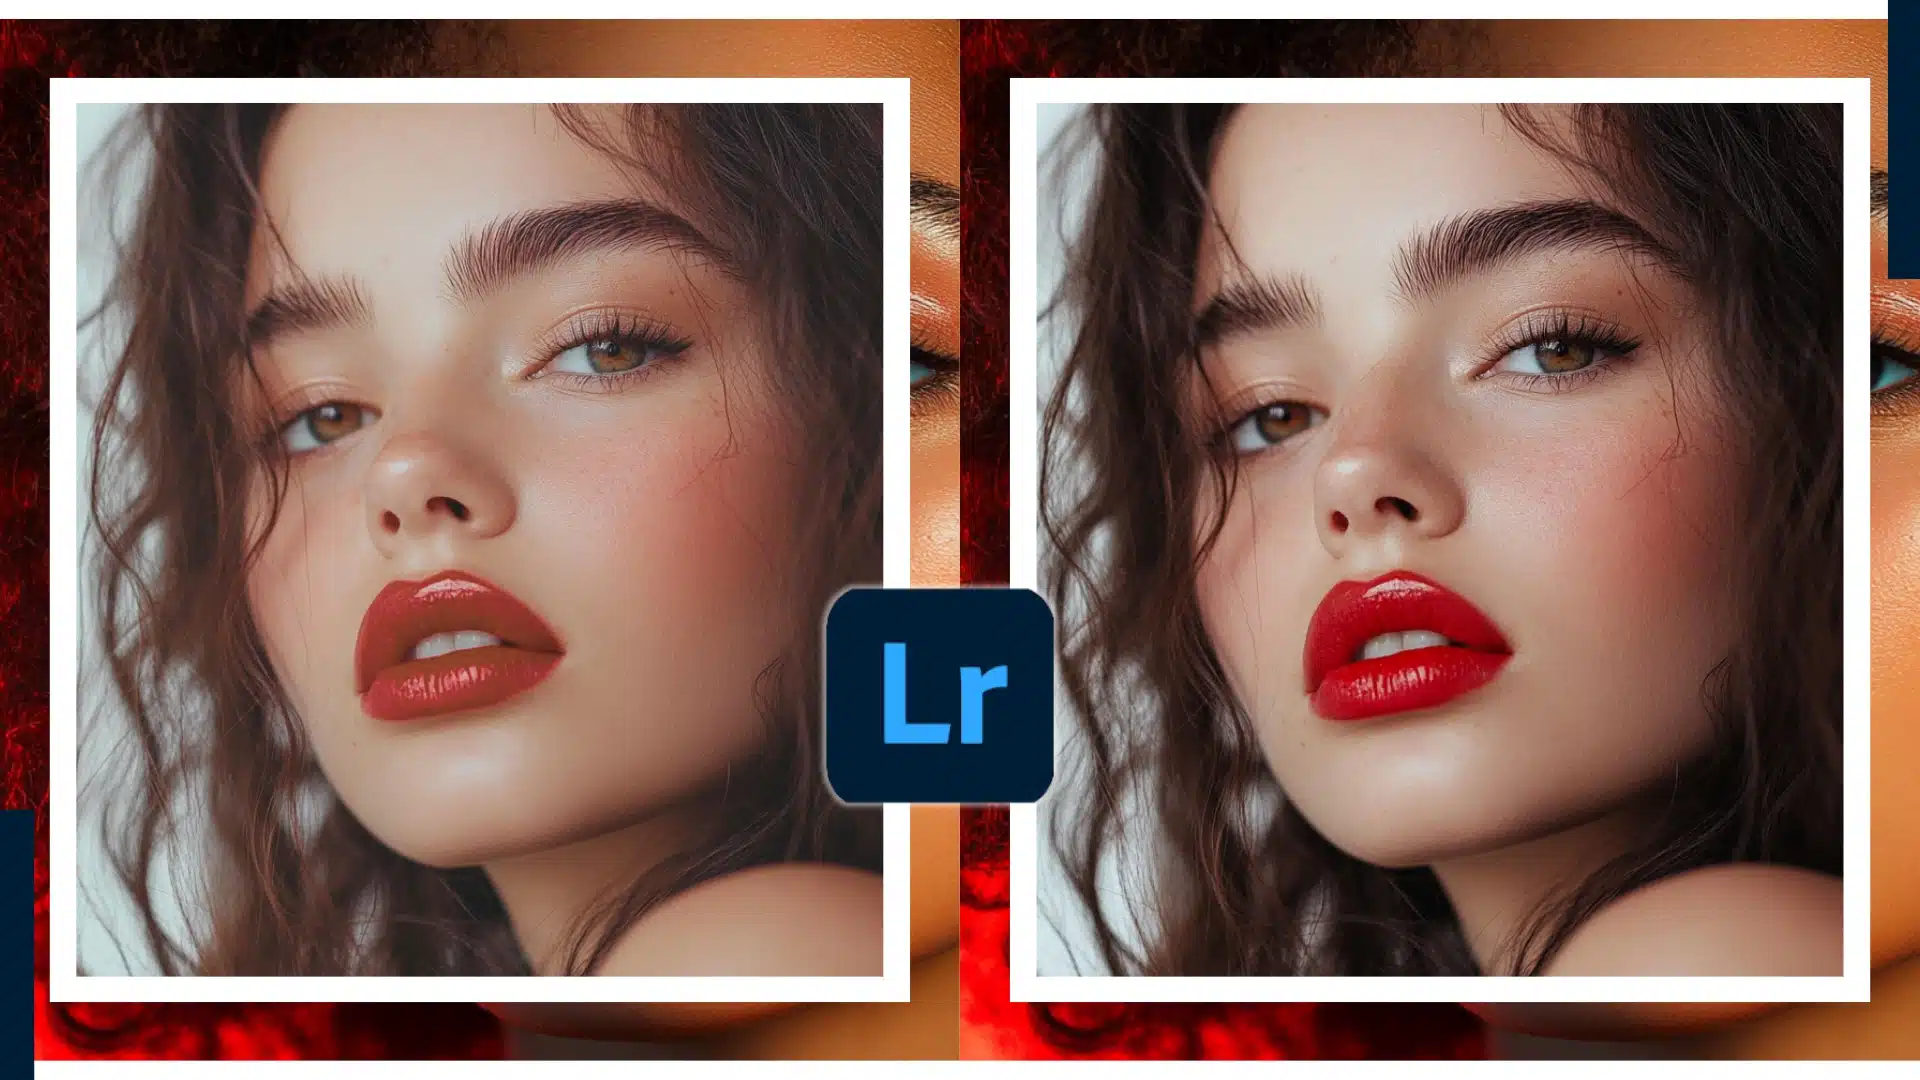
Curious about how to make photos look glossy in Lightroom? It’s easier than you think! Lightroom has tools that can give your photos a bright, shiny look with just a few clicks. Even if you’re new to editing, you can make your pictures stand out with a smooth, glossy finish.
In this article, you’ll learn about the steps, tools, and techniques that give your pictures a polished and glossy look. We’ll also show you useful comparisons, tips, and tricks to help you make the most of your edits.
Table of Contents
Understanding Glossy Photo Effects in Lightroom
Creating a glossy effect in Lightroom involves making adjustments that give your photos a sleek, shiny appearance. The goal is to enhance the image’s sharpness, brightness, and overall clarity while maintaining its natural look. Glossy photos often have a polished feel, making them stand out in a professional portfolio or on social media
When making photos glossy, you work with a few key tools. These tools allow you to balance light and shadows, sharpen the image, and add a soft, bright glow for that glossy finish. If your image contains distracting elements, consider removing the background to better highlight your subject. Understanding how to make photos look glossy in Lightroom involves mastering these techniques for the best results.
Key Tools for Glossy Effects in Lightroom
Here are three tools and settings that help you achieve a glossy look:
| Tool | Purpose | When to Use | Example |
|---|---|---|---|
| Clarity Slider | Enhances texture and definition in photos | Use to add sharpness and detail without overdoing it | Increasing Clarity in a landscape for more texture |
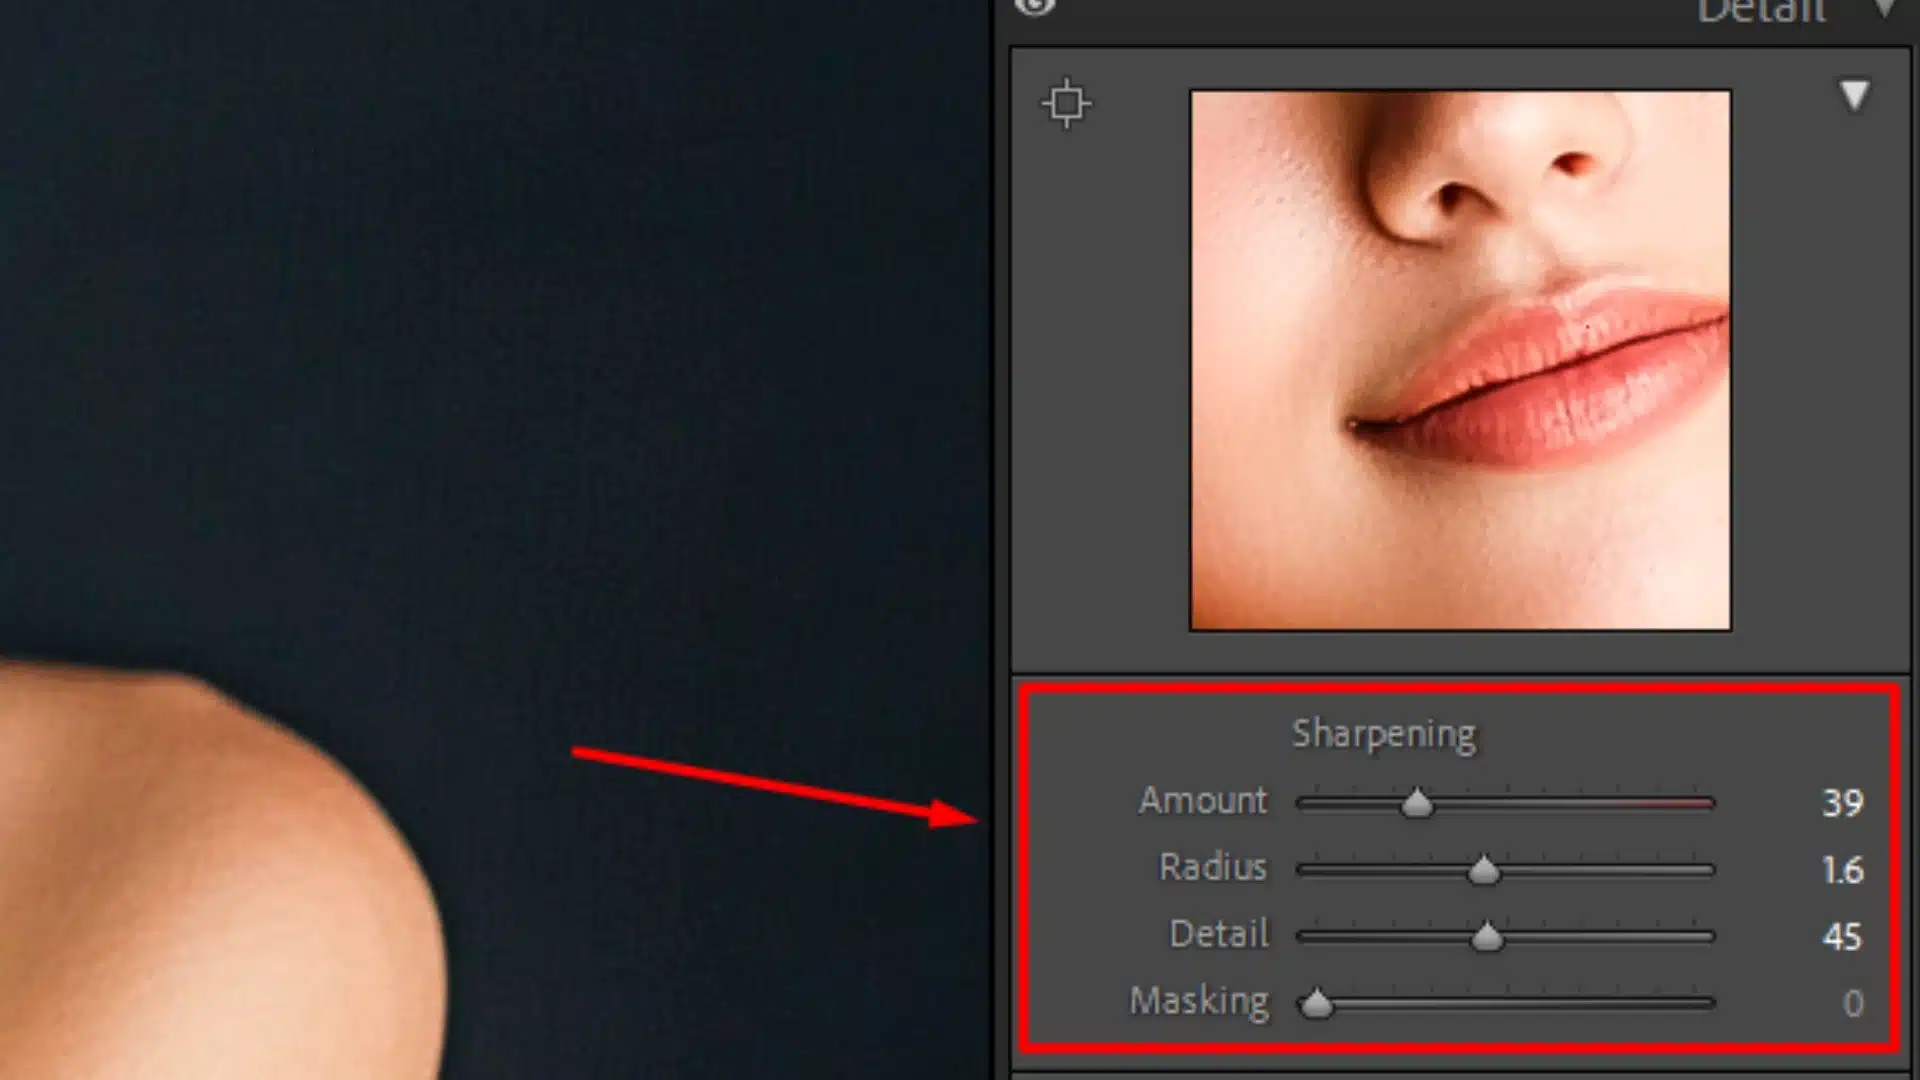
| Sharpening | Increases contrast along edges for a crisper image | Ideal for photos that need to look clear and precise | Sharpening portraits for clearer facial features |
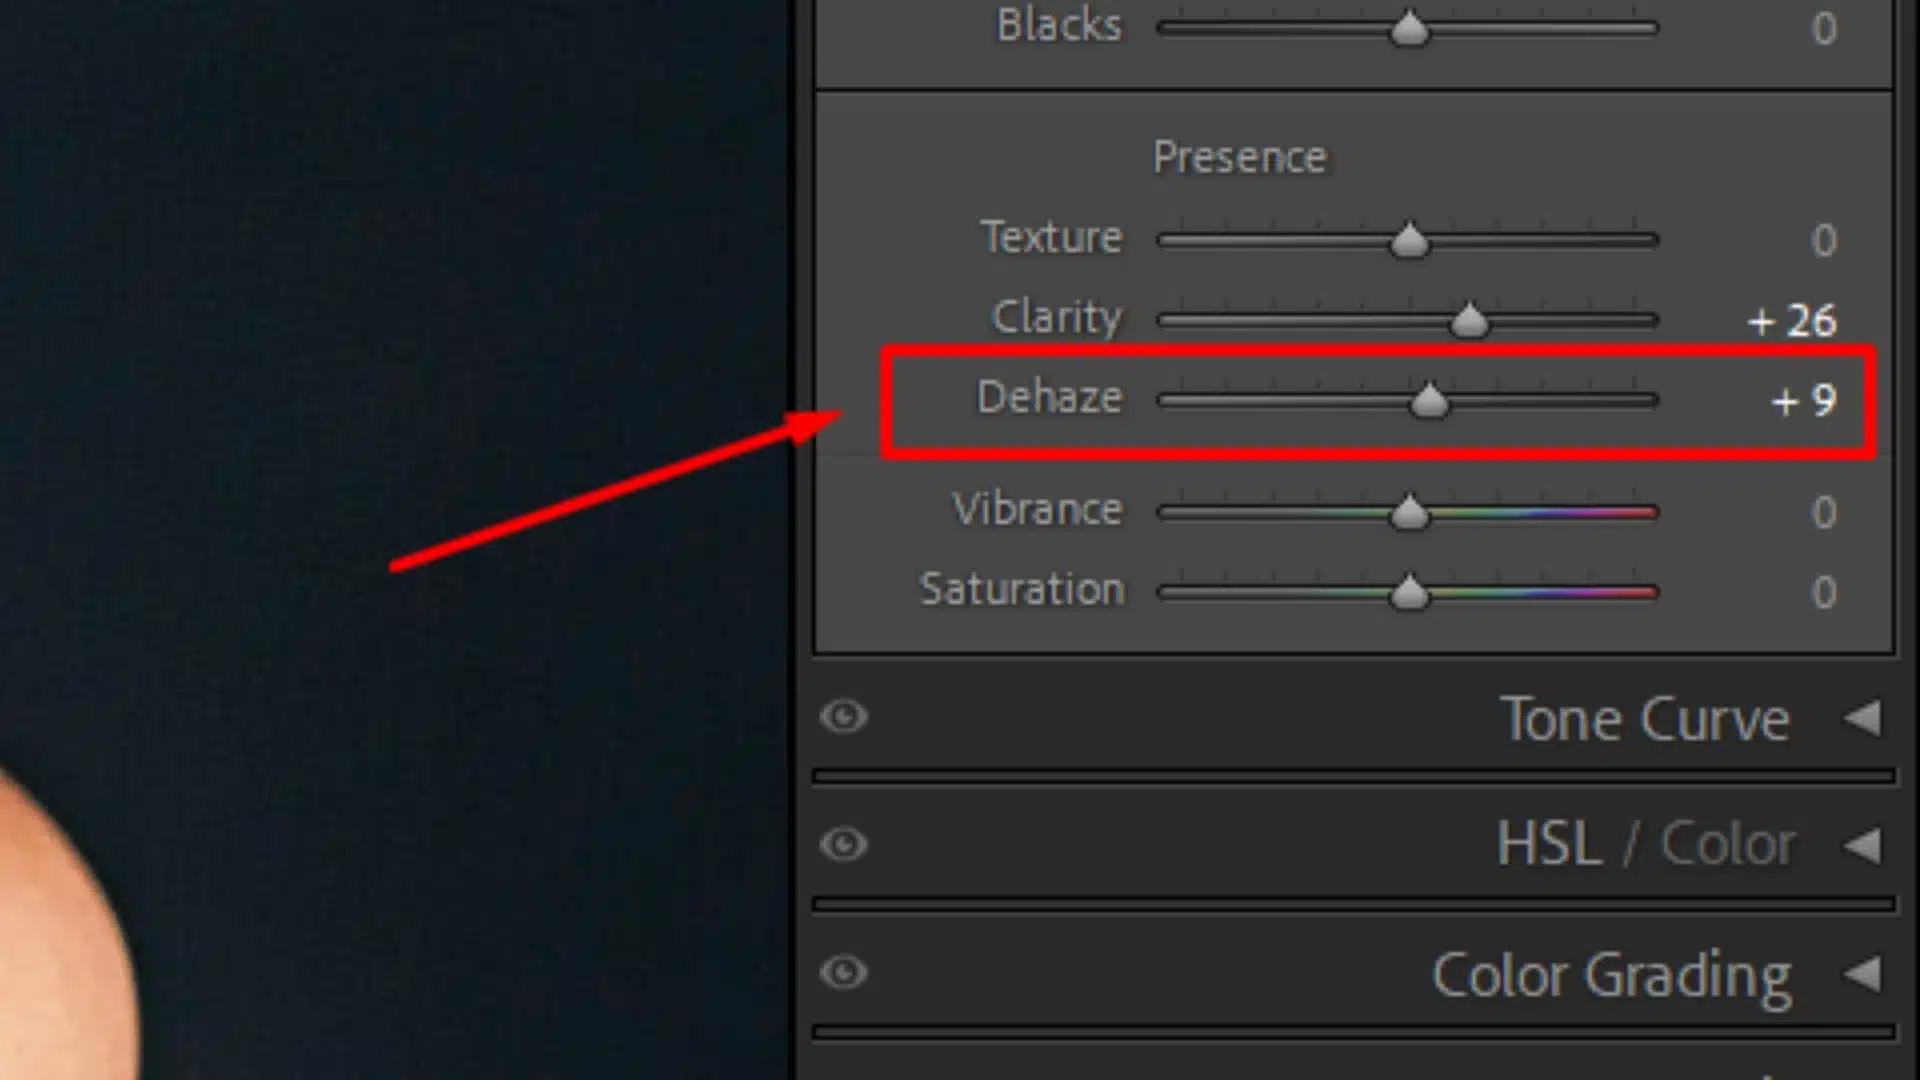
| Dehaze Tool | Reduces atmospheric haze to improve image clarity | Use for outdoor or foggy scenes to add brightness | Clearing fog in landscape photos for a vibrant look |

