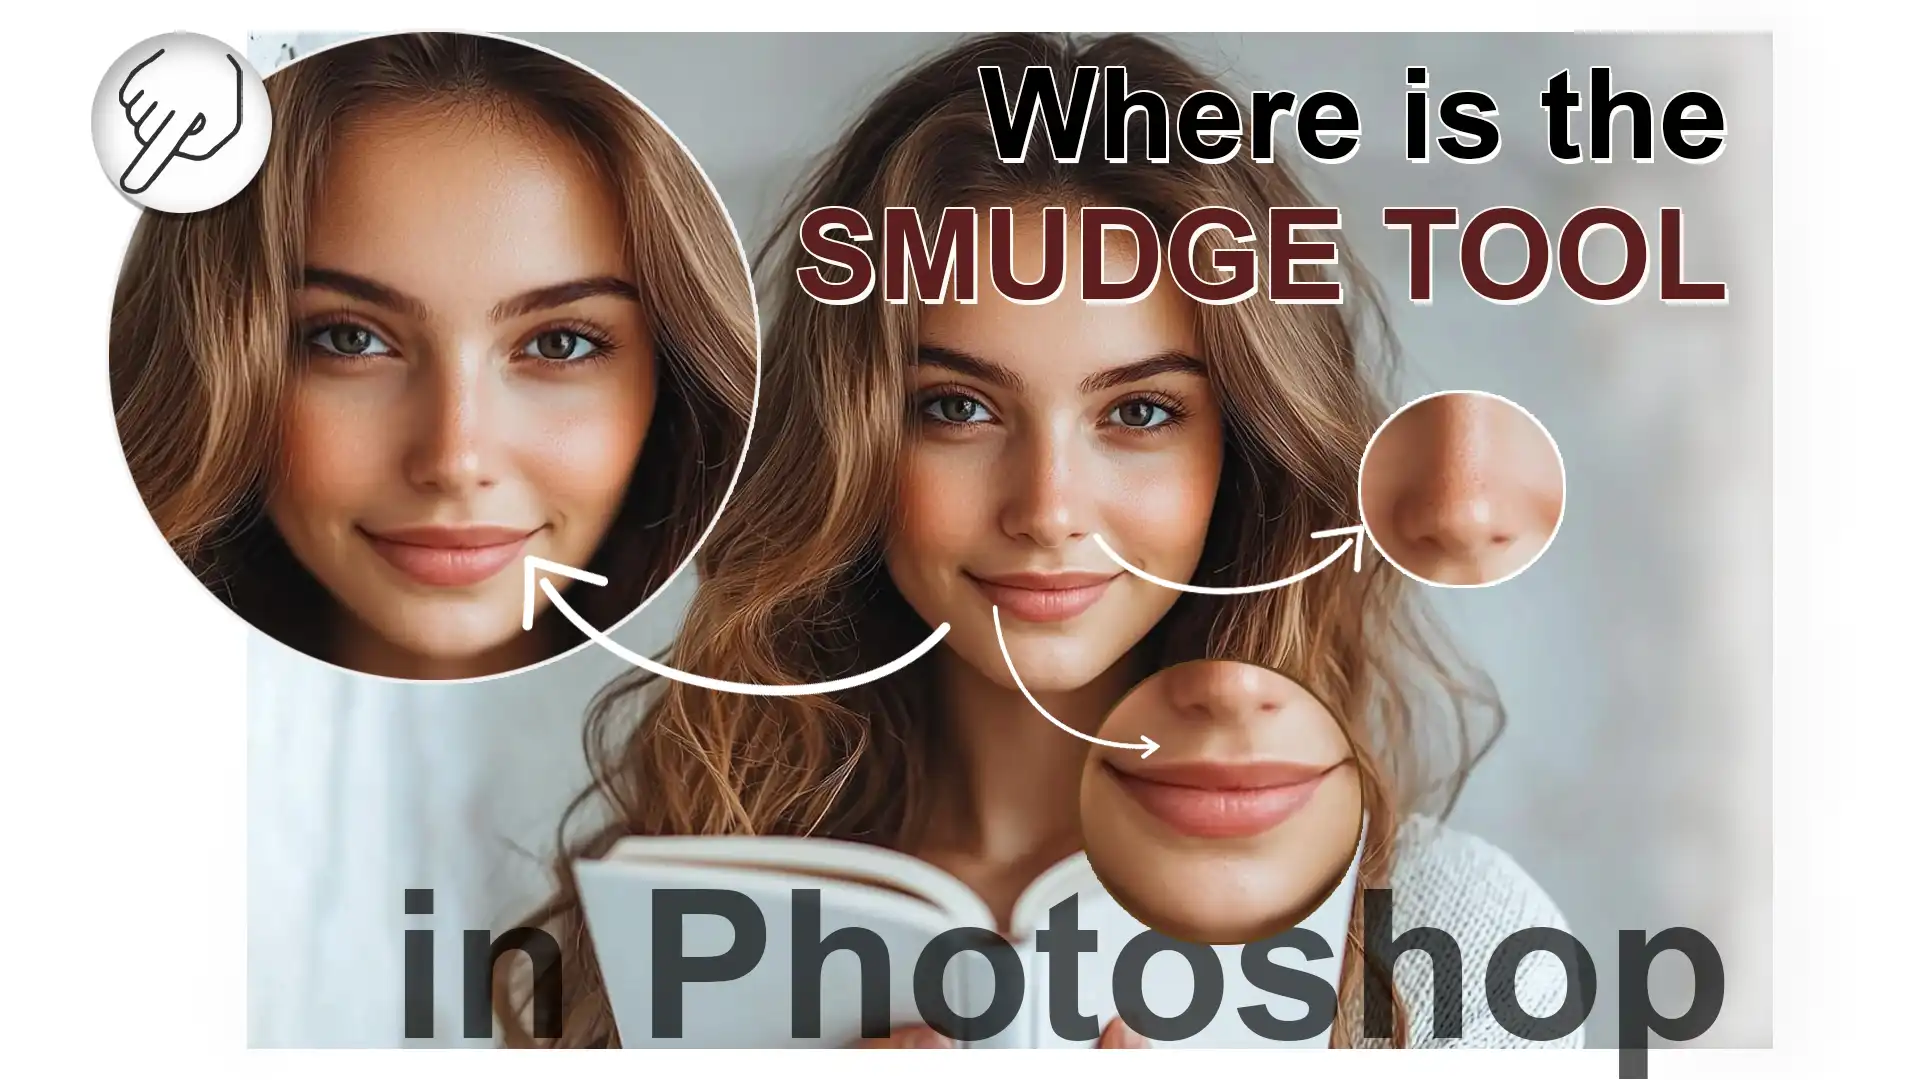
Have you ever wondered “where is the smudge tool in Photoshop?” The smudge tool is a hidden gem that lets you blend colors and create unique textures, making your work stand out.
Are you eager to learn how to locate and effectively use this tool to enhance your images? Imagine the possibilities once you unlock this feature, bringing your artistic visions to life with ease.
Dive into this guide, and you’ll discover not just where to find the smudge tool, but also how to use it like a pro.
Let’s embark on this creative journey together and elevate your skillset in Photoshop.
Table of Contents
What is the Smudge Tool in Photoshop?
The smudge tool in Photoshop acts as a digital finger that blends colors together, much like smudging wet paint with your hands.
It’s primarily used by artists for painting and photographers for image corrections. Its main function is to manipulate colors by moving and mixing them around an image.
Why Use the Smudge Tool?
The smudge tool can adjust small defects in images, softly blend away harsh lines, or create a soft effect on photos.
For artistically inclined users, it mimics the look of an oil painting. By using it for blending colors, you can add shadow and depth, or even create definition between two similar colors.
This tool can be particularly useful when working with different types of photography, such as self portrait photography or landscape photography, where subtle color transitions enhance the overall image quality.
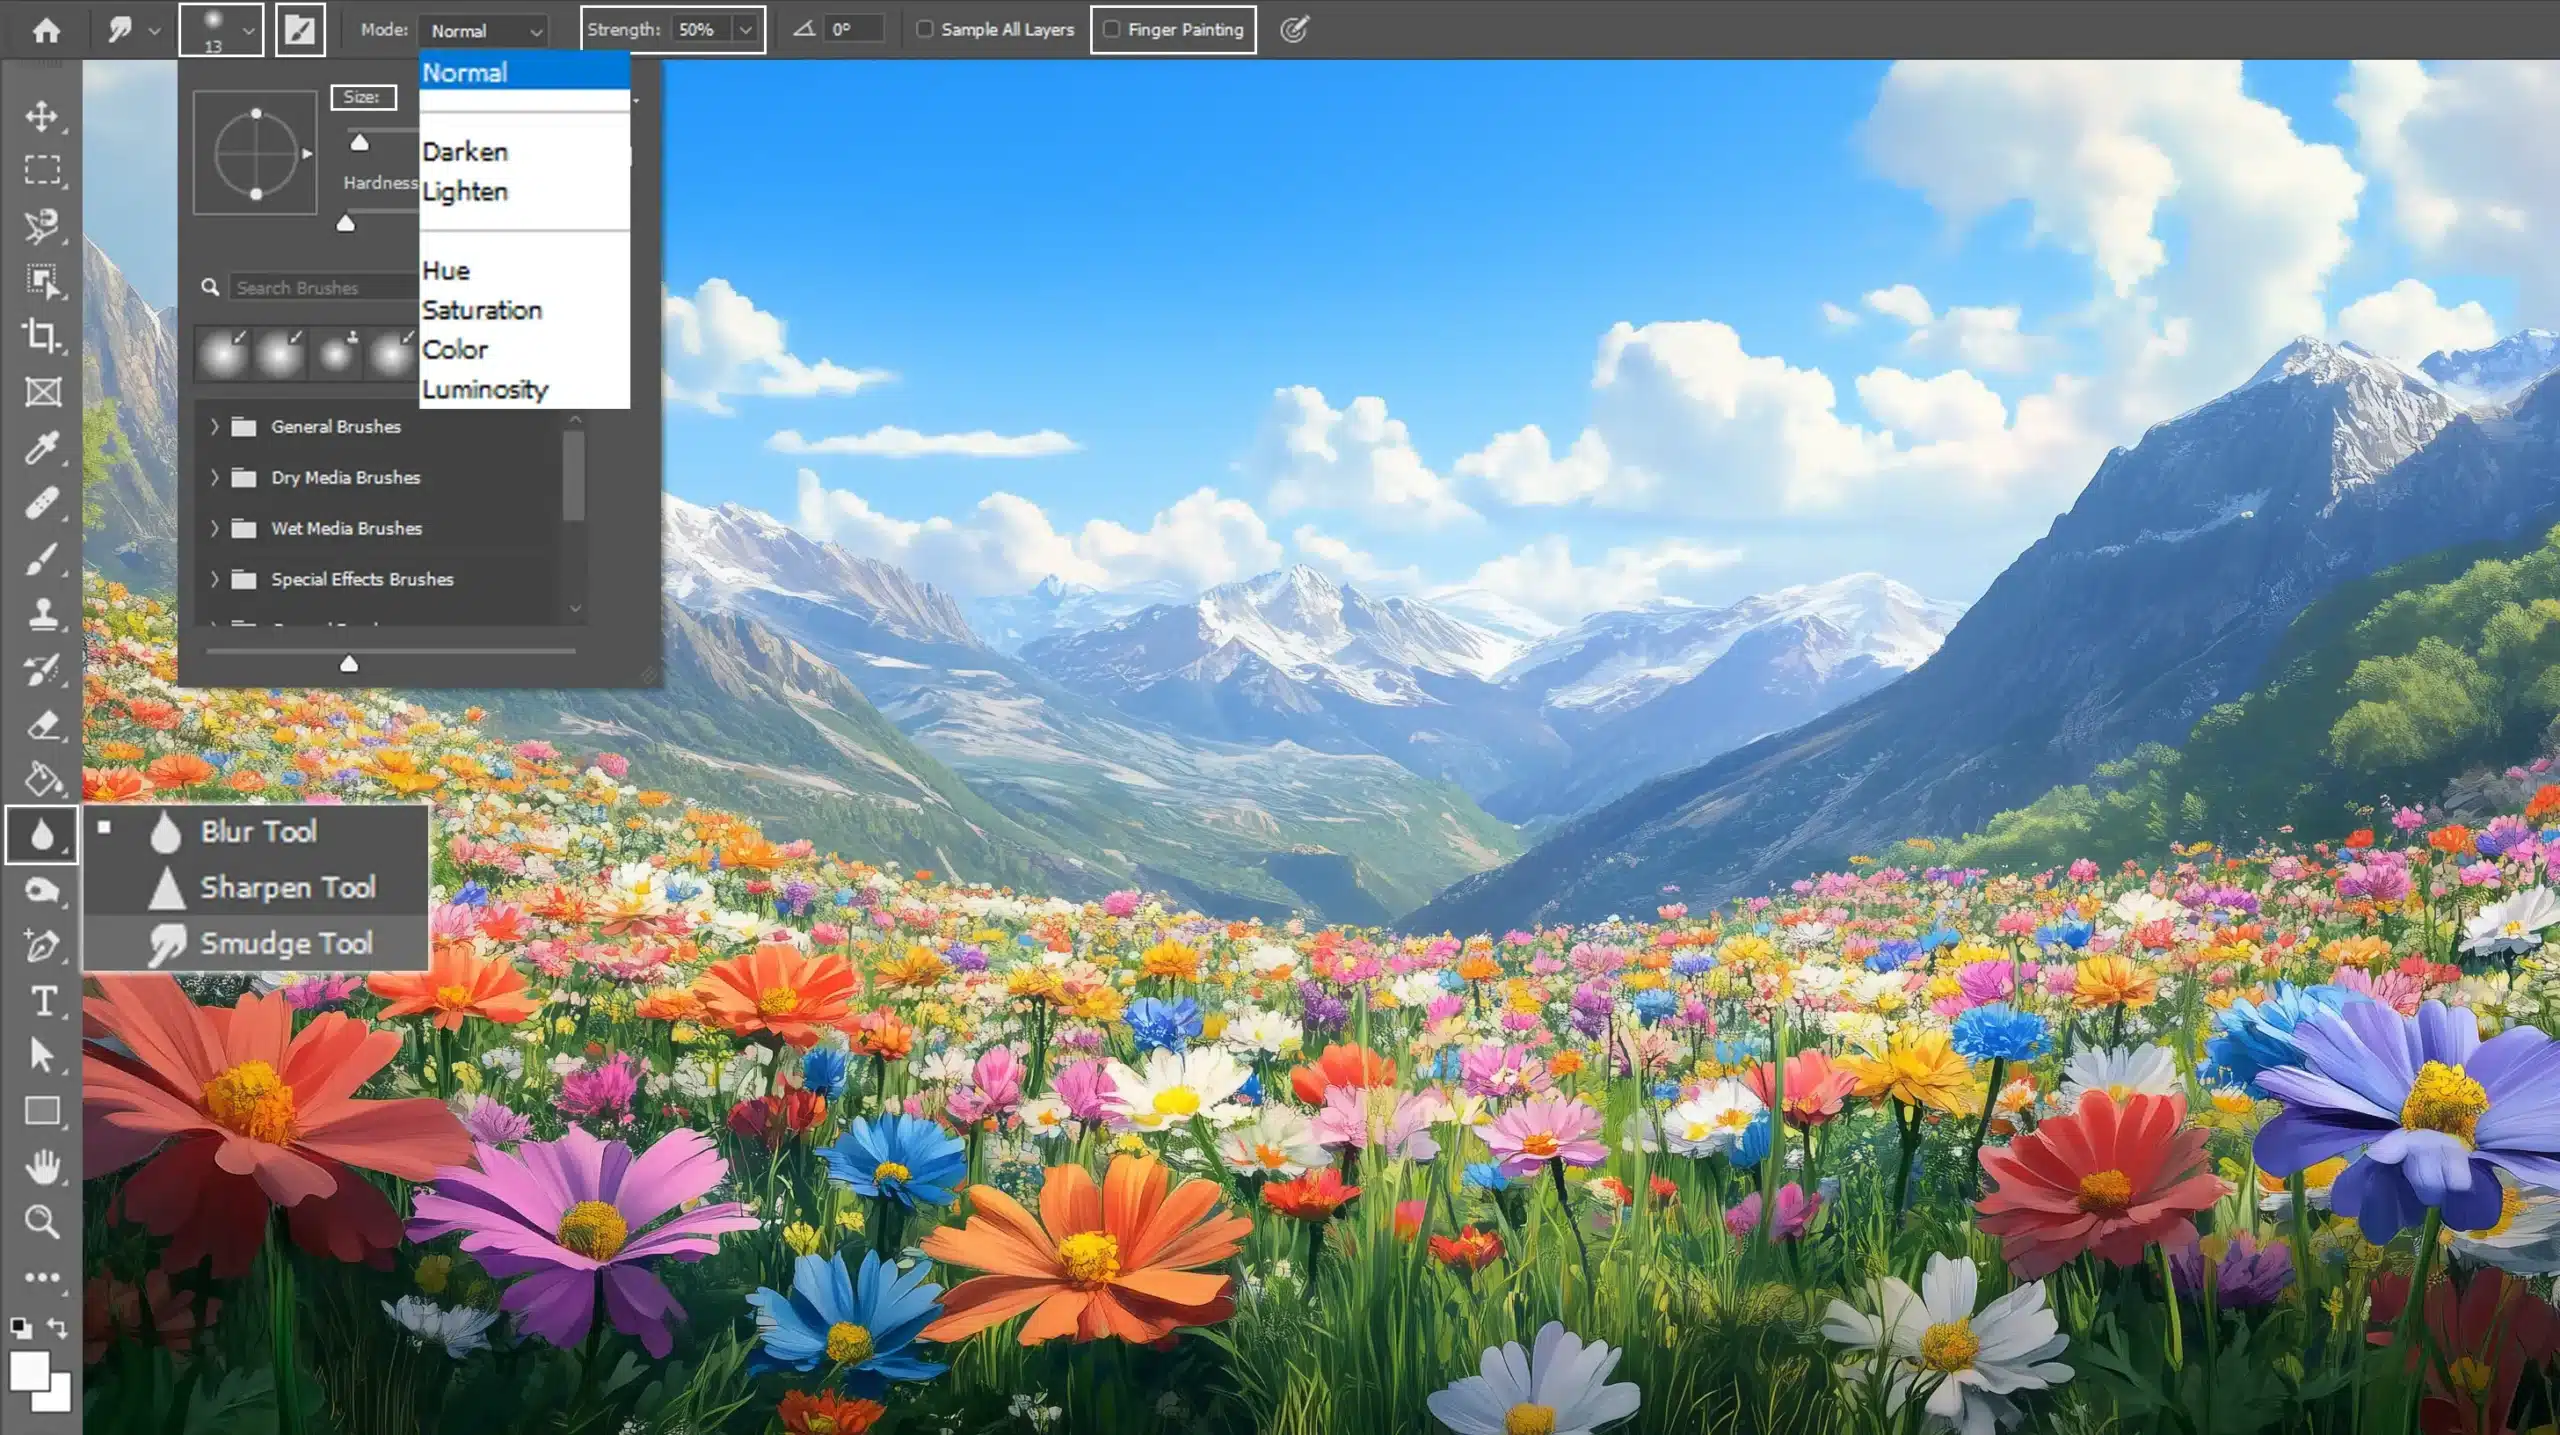
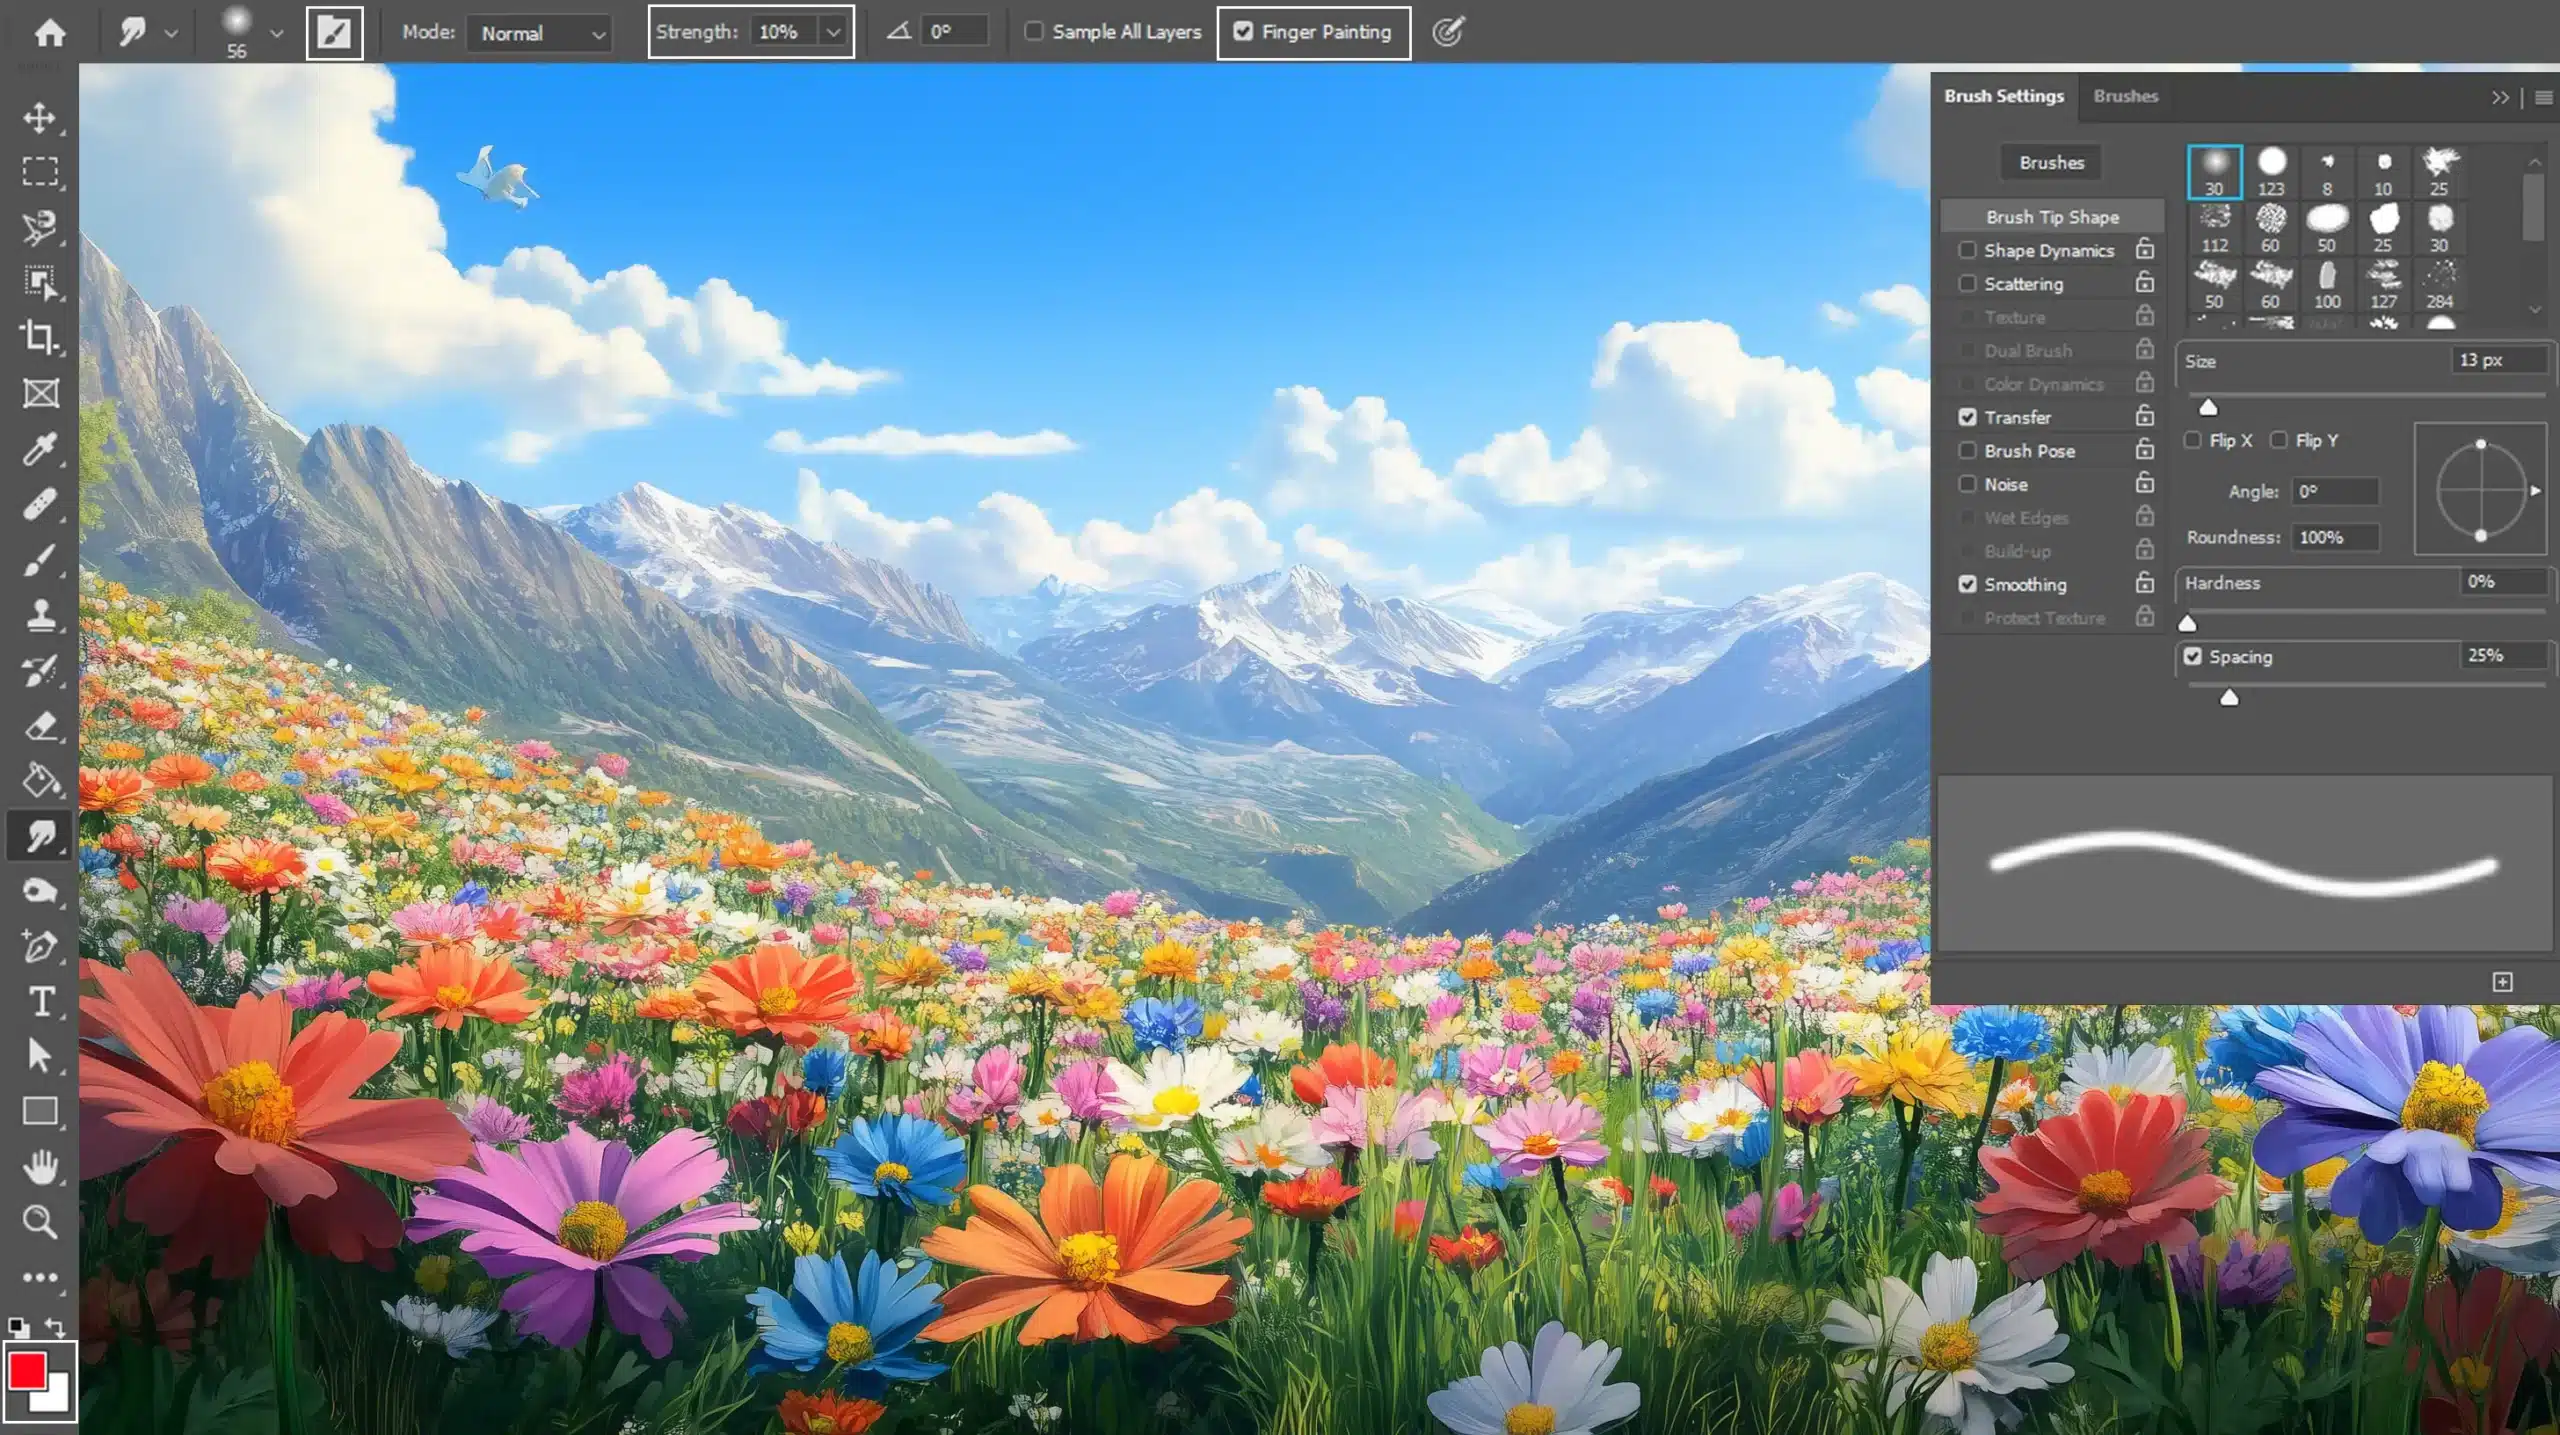
Finding the tool is easy once you know where to look. The smudge tool in Photoshop is nestled in the menu bar among other tools like the blur tool and the sharpen tool.
To use the smudge tool, check the drop menu situated in the tool options bar.
If you don’t see it immediately, you might need to click and hold the icon or use the keyboard shortcut, usually “R,” if the default hasn’t been changed.
Pro Tip: Knowing Photoshop shortcuts, as well as Lightroom shortcuts, can significantly speed up your workflow and make your editing process more efficient.
Customizing Your Toolbar
If your toolbar doesn’t feature it, Photoshop allows you to customize your toolbar.
Head to Edit > Toolbar to manage your tools.
Tips on How to Use the Smudge Tool
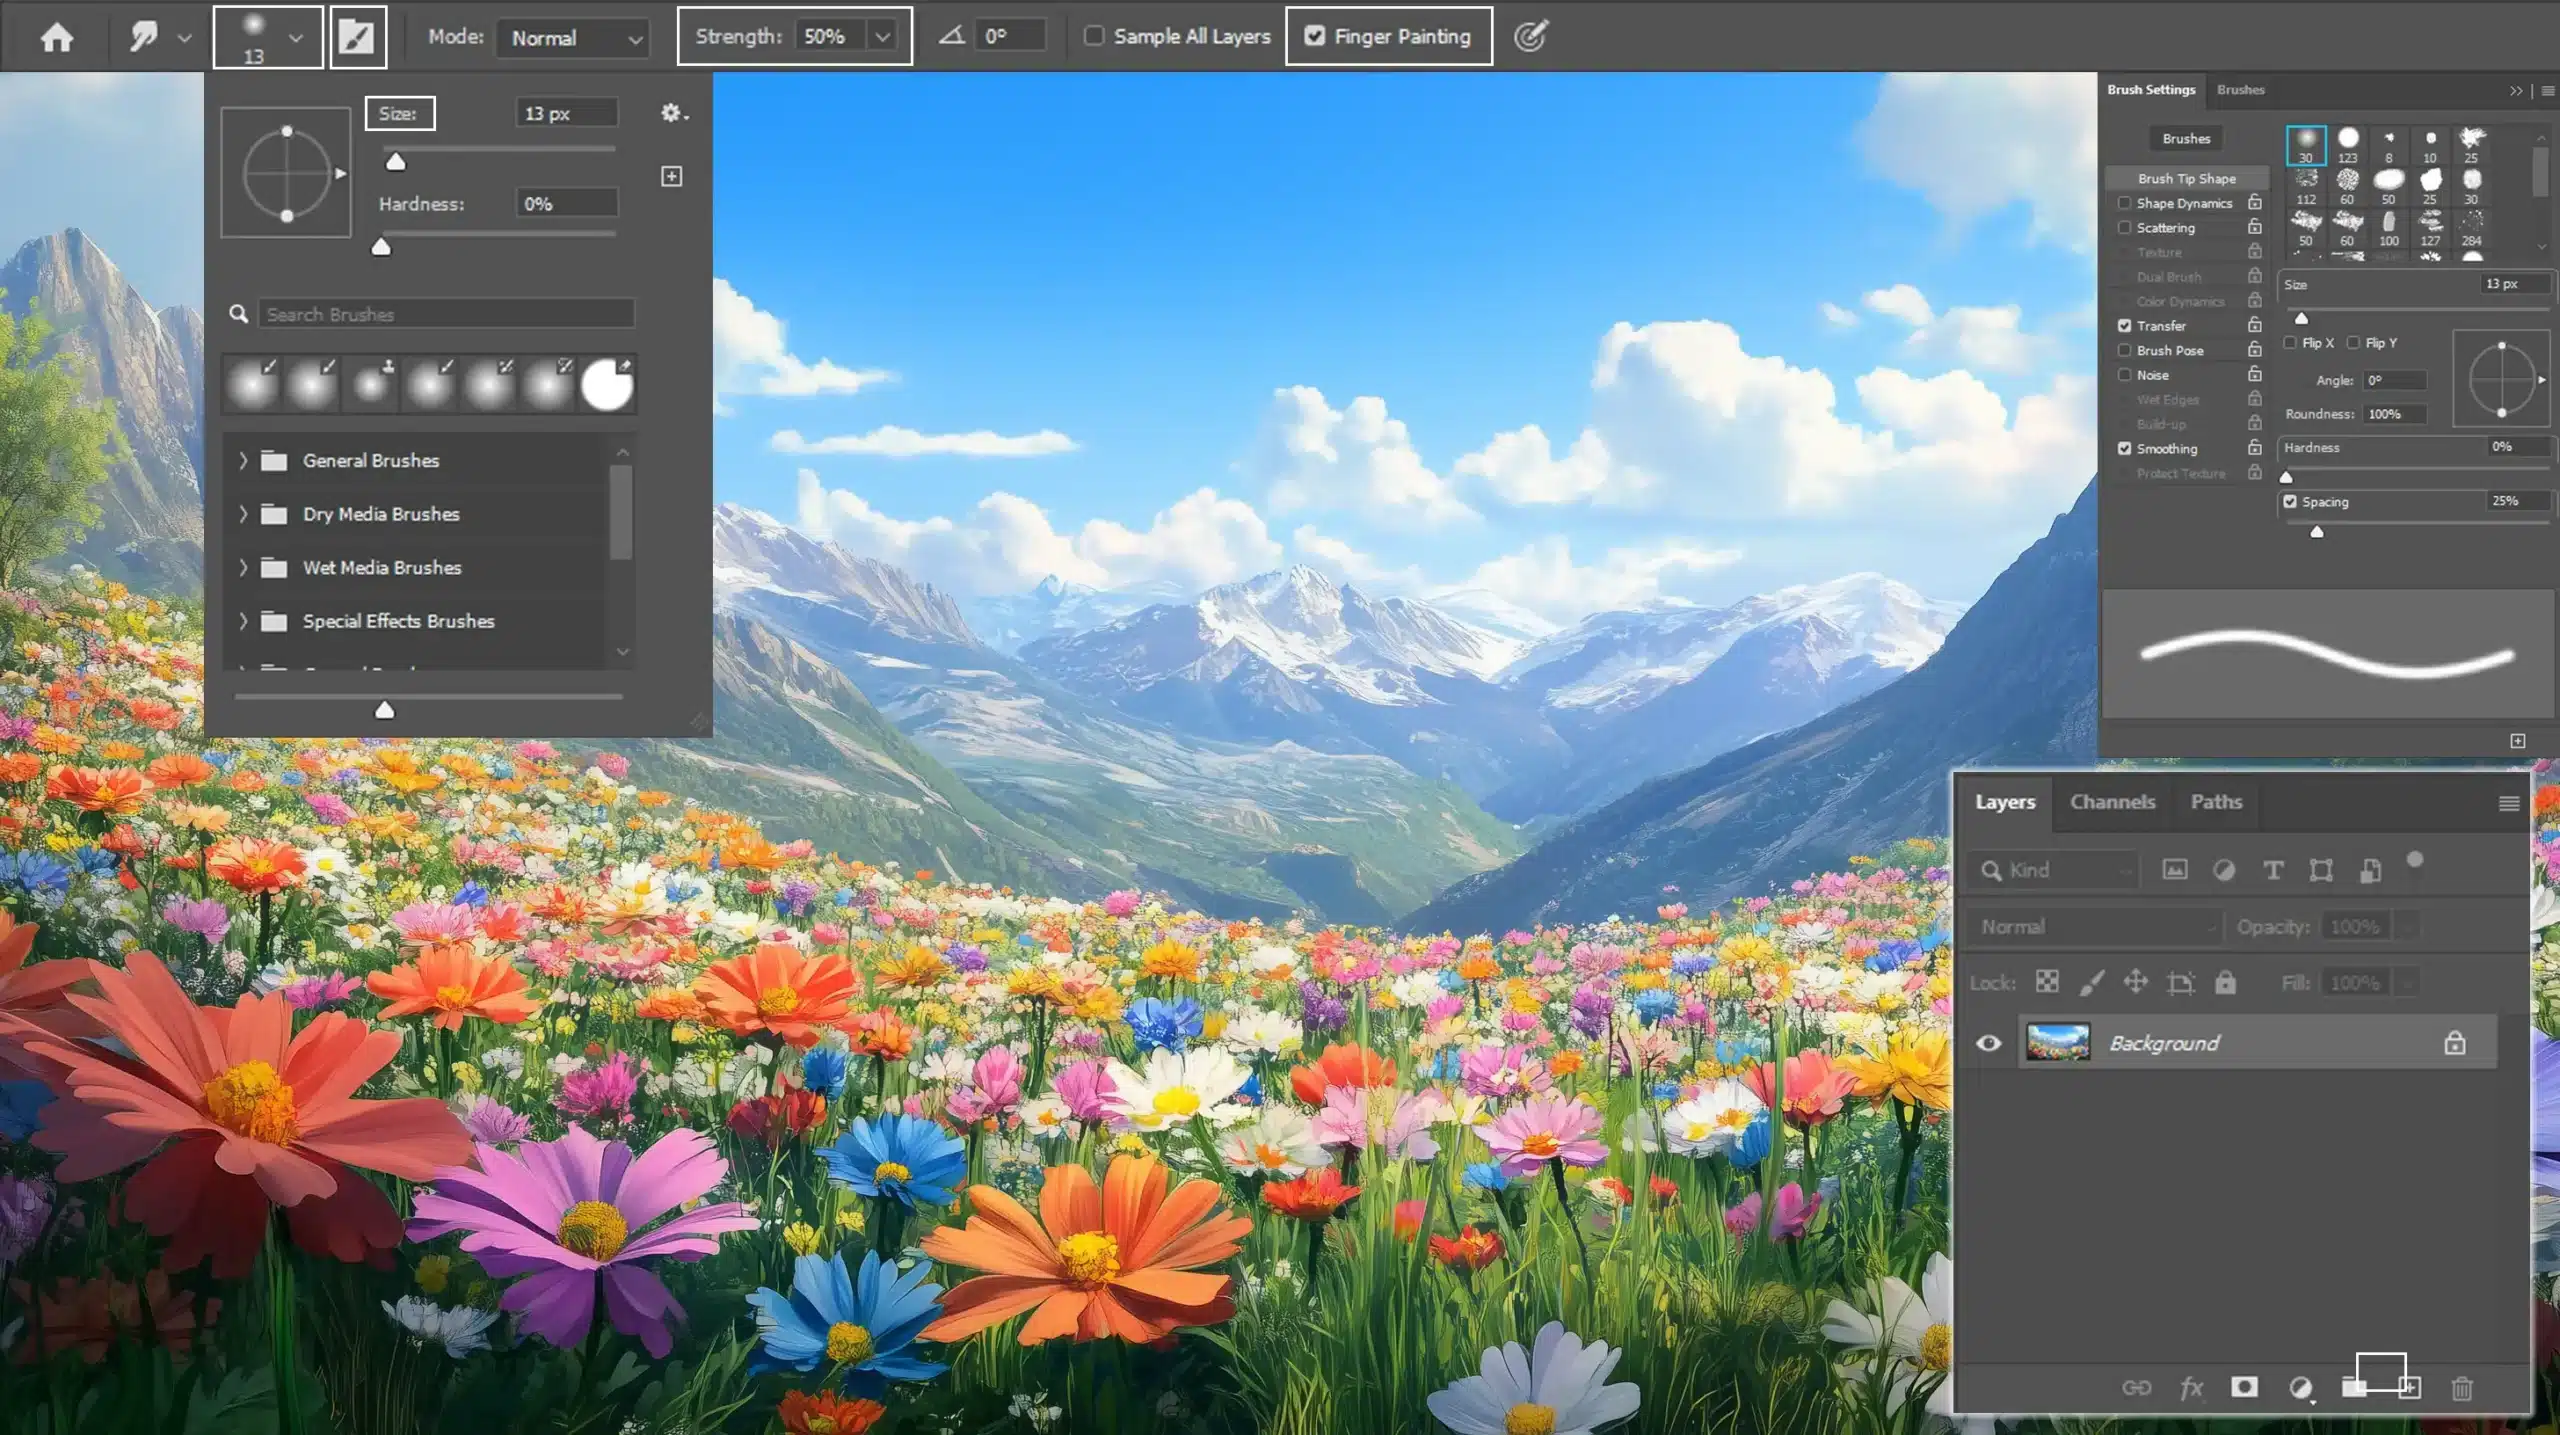
To get the most out of the smudge tool, it’s important to customize the settings based on your project needs. Here are a few simple adjustments you can make to enhance your results.
Adjust brush options for changes to brush tip and brush size, where a different brush tip can give varied effects.
Consider turning on the finger painting checkbox for artistic blurring with the foreground color.
The options bar provides significant customization. You can adjust the strength setting, which affects how strong your smudge is.
The mode drop-down allows changes to the blending mode and how colors interact.
Pro Tip: Always check your active layer. Mistakenly working on the wrong layer can lead to unwanted surprises.
Also, always remember to deselect finger painting if a more neutral smudge is needed for tasks like preserving detail.
Finger painting in the context of Photoshop might sound odd at first.
When you think about this technique, you probably imagine dipping your fingers into pots of wet paint and creating art on paper. The digital version happens when you use the smudge tool in Photoshop and activate the finger painting checkbox.
This action allows the tool to apply the foreground color as it smudges, simulating the act of pressing a finger into wet paint.
Techniques for Finger Painting
To achieve better results with finger painting in Photoshop, it’s helpful to adjust the tool settings and explore additional features. Here are some practical steps to guide your creative process.
Adjust the brush size: A larger brush moves the foreground color across a wider area, while a smaller one allows precise adjustments.
Explore different brush options: Photoshop offers various textures and shapes that can change your painting style entirely. Understanding the essential tools in Photoshop can enhance your ability to create unique effects.
Utilize the drop menu in the tool options bar: Here, you'll find options to modify the strength of the smudge and select an appropriate blending mode.
Pay attention to visible layers: Use layers to prevent unwanted changes to your base image.
Experiment with related tools: Tools such as the blur tool and others found alongside it can add a unique touch to your work when you use the smudge tool.
Remember, when you use the smudge tool in Photoshop, it’s a lot like working with real-life paints; it’s all about experimenting. Light setting adjustments, the influence of a nearby shade of dark colors, and careful choice of brush options can dramatically influence your final result.
Pro Tip: When experimenting, start by duplicating your layer. It lets you practicetechniques without fear, preserving your original image. Don’t forget to save your work often!
Creative Uses of the Smudge Tool
The Smudge Tool offers endless possibilities for adding artistic effects to your images. Below are some creative techniques you can try to experiment with textures and styles.
Creating Unique Textures
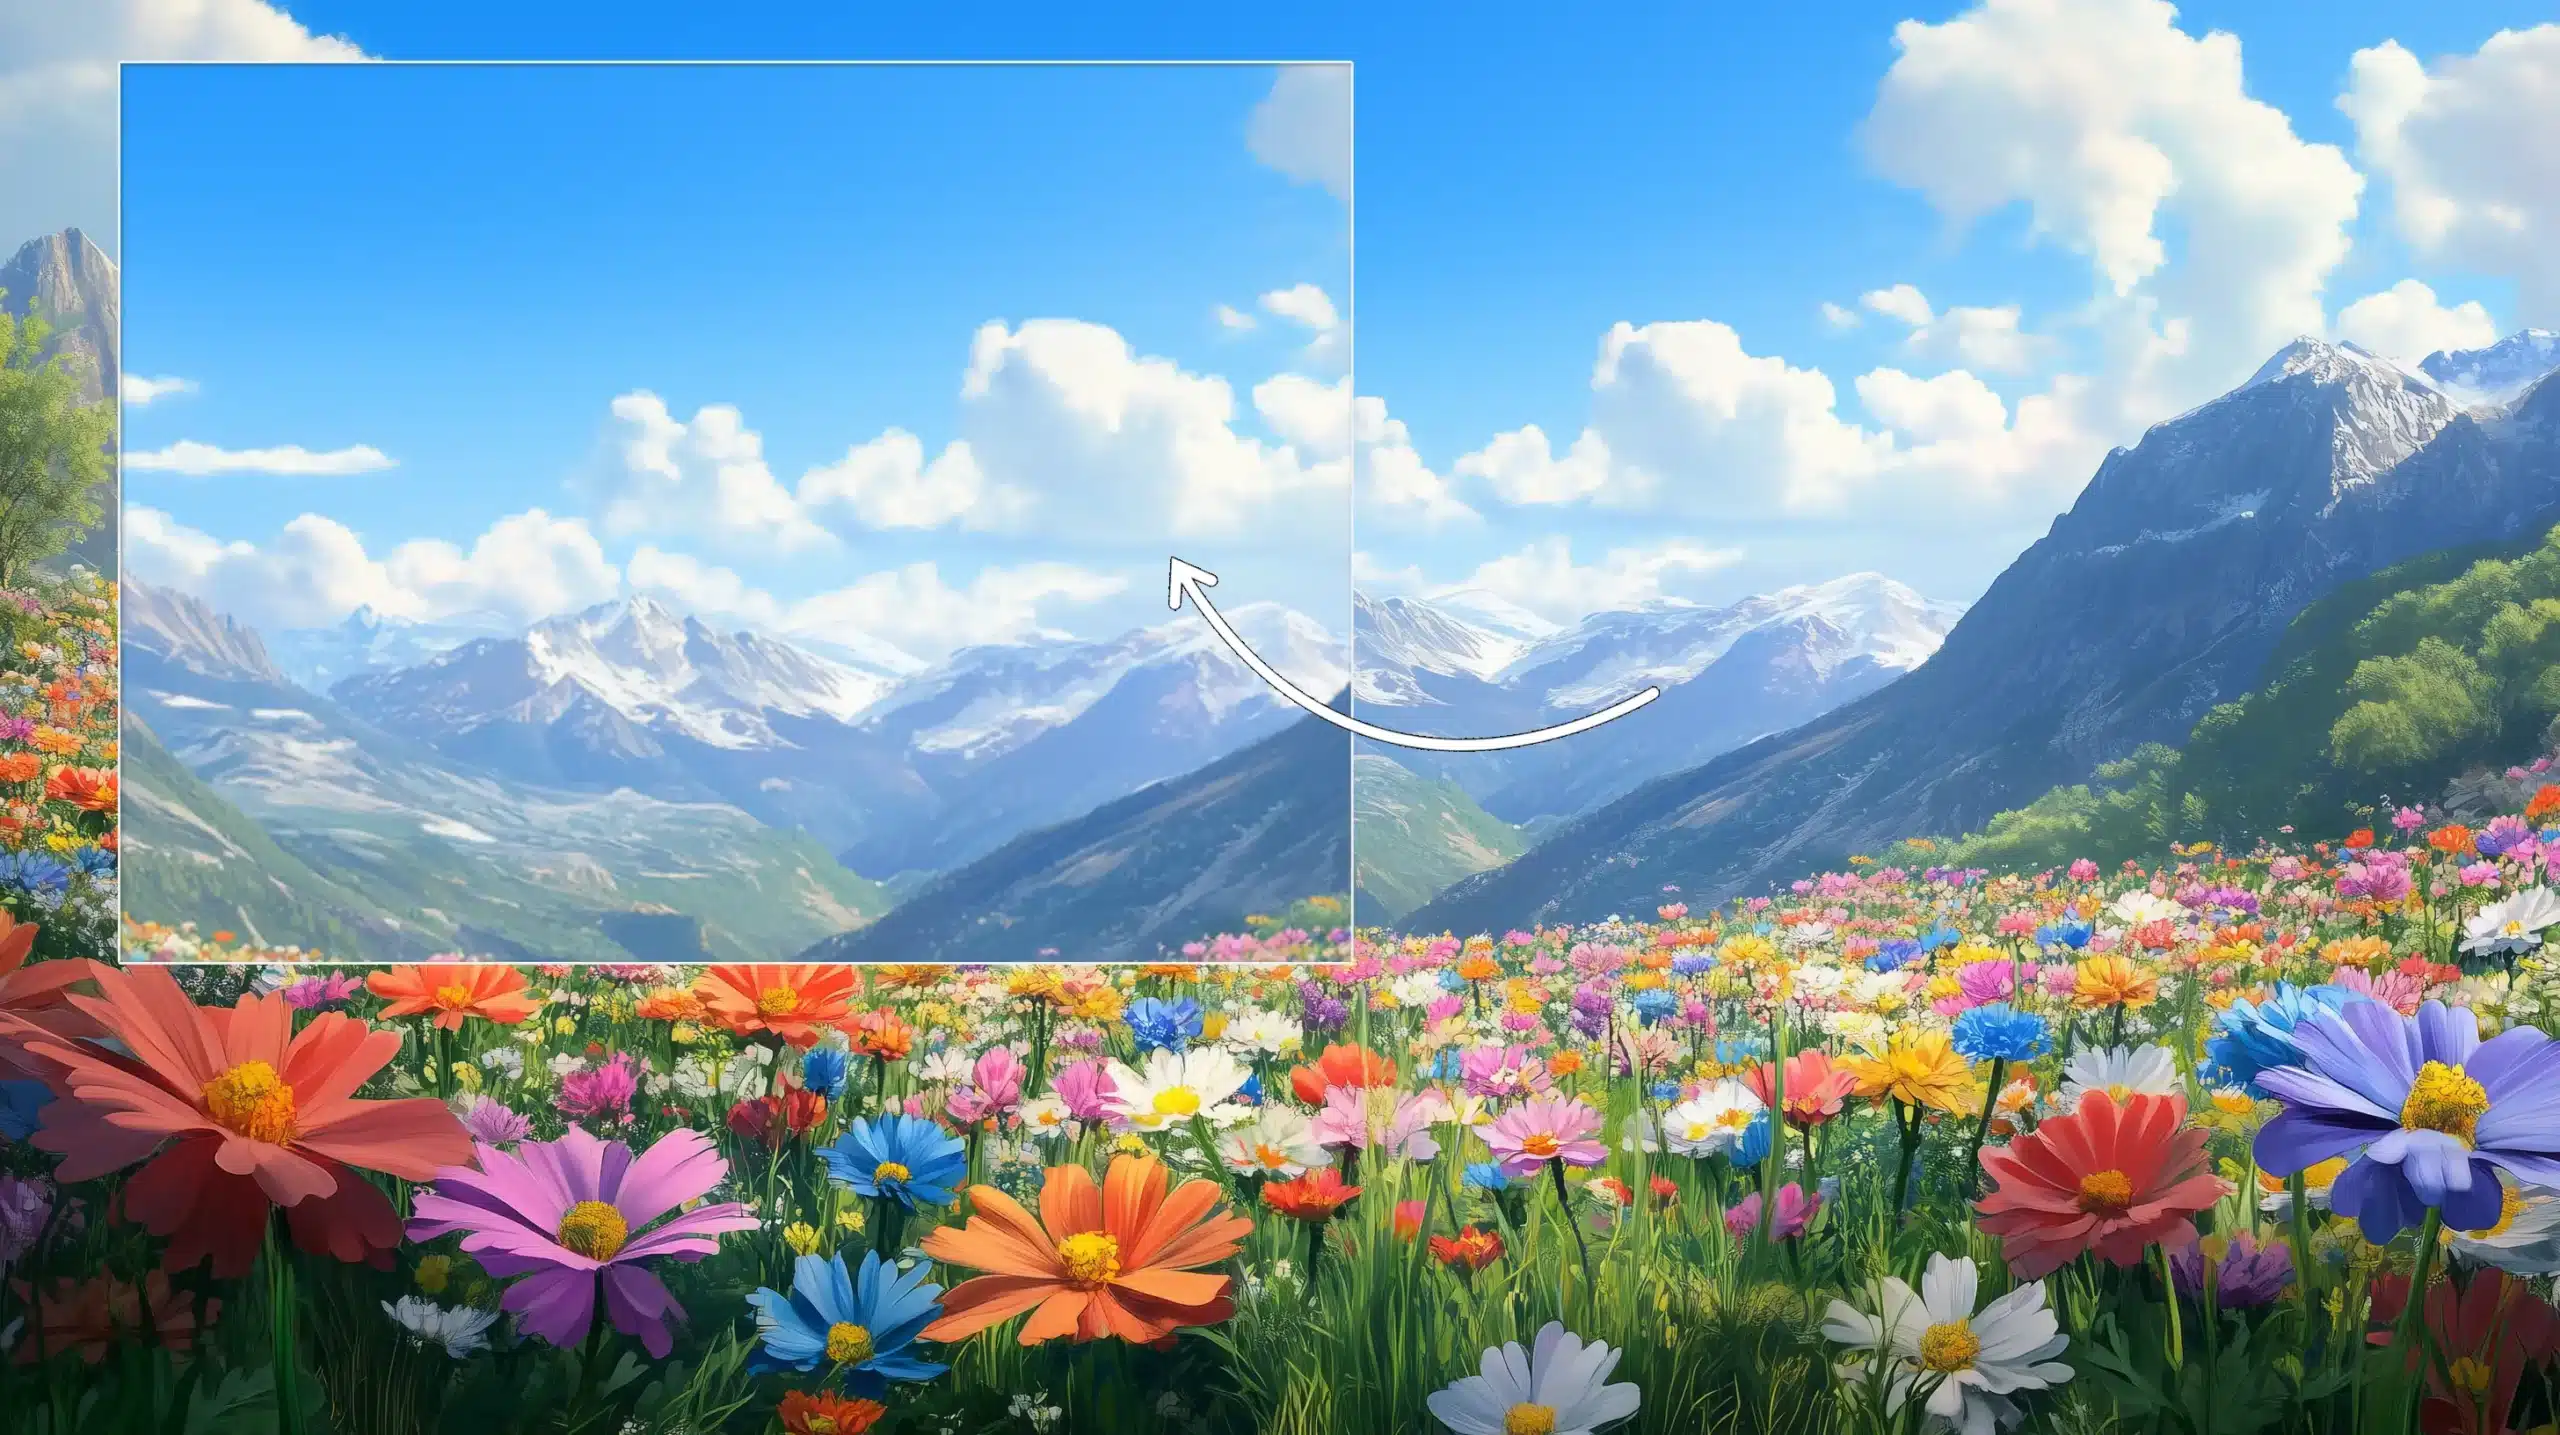
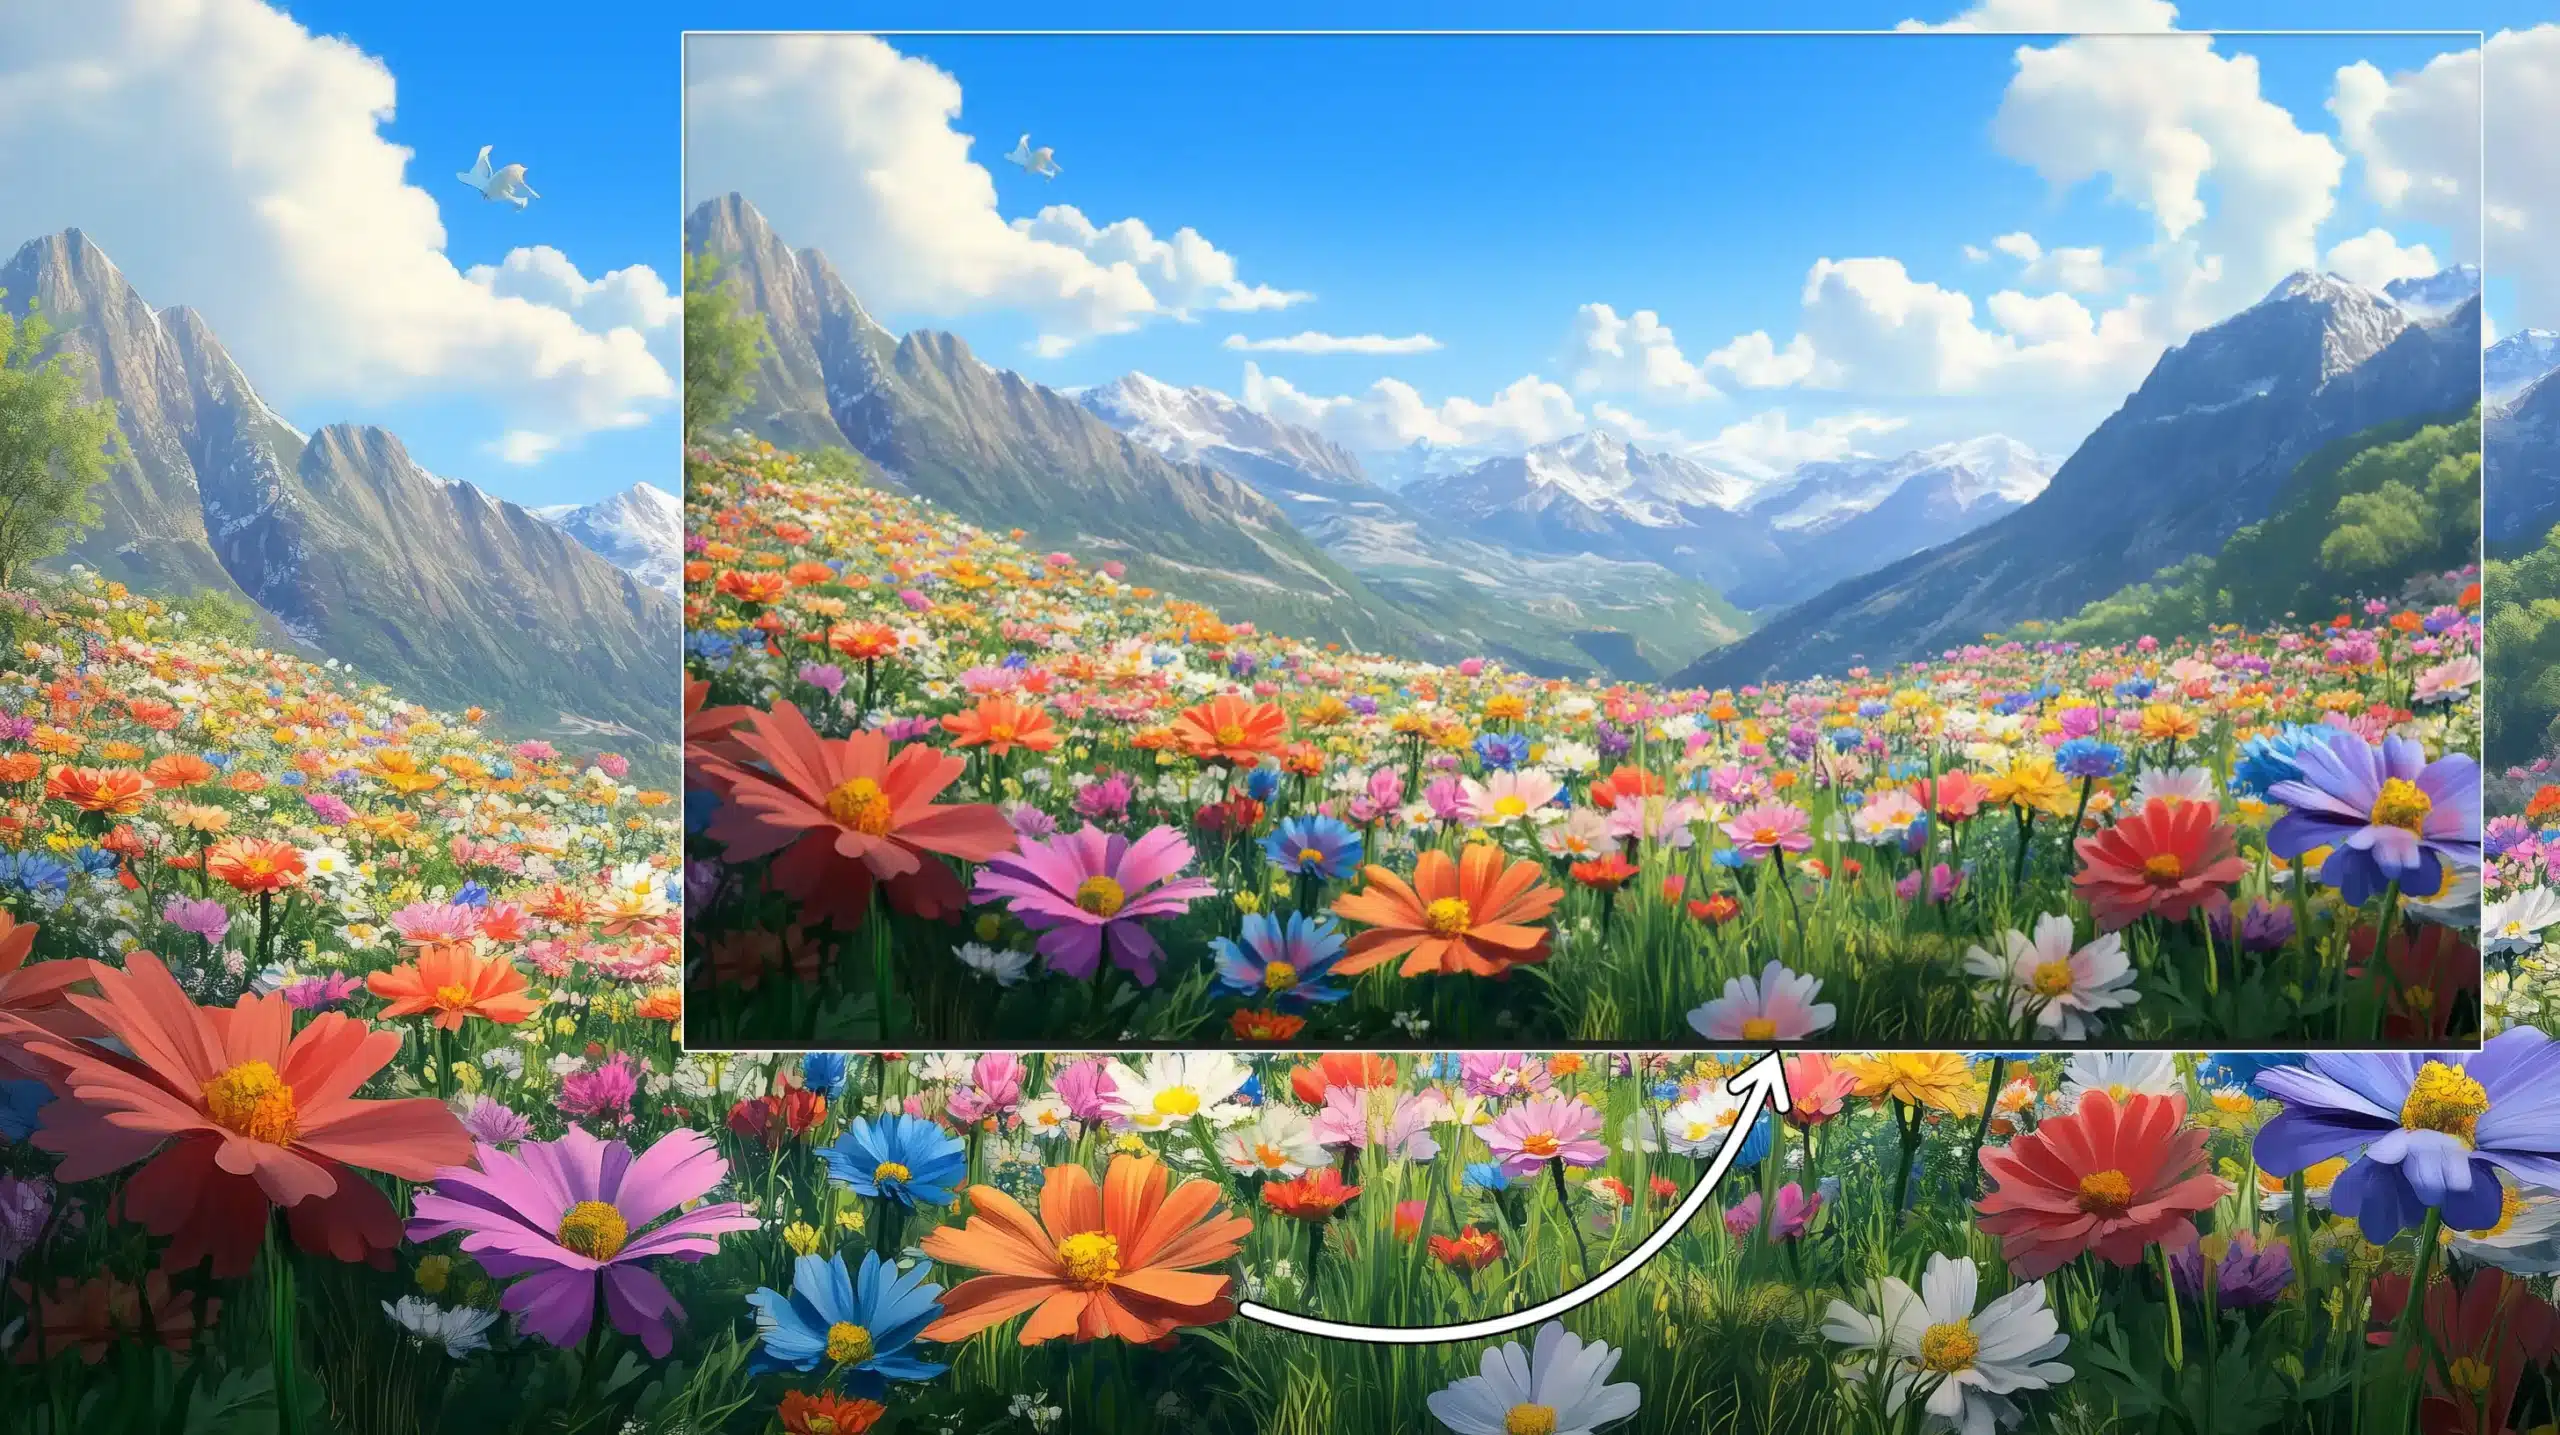
The smudge tool in Photoshop can make textures pop. Those ordinary photos transform into artsy creations.
When you use the smudge tool, it spreads pixels around. This creates swirling lines and shapes, almost like real-life brushstrokes.
It’s easy to go from a regular photo to a creative masterpiece.
Before diving into advanced techniques, it’s important to get comfortable with the basics. Here’s a quick guide to help you start using the smudge tool effectively for creative blending.
Select the smudge tool from the drop menu in Photoshop.
Play around with it and blend those elements!
Want to mimic fabric or wood? Drag the colors and start seeing unique patterns forming.
The best part? You don’t lose the original image.
Just work on a new layer. Check that layers checkbox, and you’re good to go.
Feel free to explore, make mistakes, and create. Each smudge influences the texture differently.
Pro Tip: Check out Lightroom as well in case you ever need to switch between softwares.
Steps for Blending Colors
Blending colors with the smudge tool can create smooth transitions and unique effects. Follow these steps to achieve seamless color gradients with just a few simple strokes.
Pick up some red and drag it across to the blue.
Next thing you see, it’s a beautiful gradient.
Simple movements make vast differences. The smudge tool makes that magic happen.
Remember to enable the layers checkbox. Leave the original intact by working on new layers. Experiment freely without fear.
Pro Tip: Always keep an eye on brushsize when you use the smudge tool.
A larger brush affects wider areas. Smaller brushes, however, are perfect for precision details.
The smudge tool offers a great way to blend and smooth areas in your images. Let’s explore a few tips that can help you make the most of it in your editing process.
Enhancing Your Workflow
The smudge tool in Photoshop often becomes a secret weapon for creating unique visual effects. Its ability to blend colors offers artists the magic touch they need.
Using Different Brush Sizes in Photoshop
Choosing the right brush size can greatly impact your results when using the smudge tool. Here’s a quick guide to help you experiment with different brush sizes and achieve various effects in your edits.
Select the smudge tool from the toolbar.
Utilize different brush sizes by clicking the drop down menu on the top to adjust.
Smaller sizes offer precise details, while larger sizes cover big areas quickly.
Managing layers effectively allows you to stay organized and make changes without affecting the entire image. Follow these tips to keep your workflow smooth and flexible.
Work layer by layer to easily revert changes.
If you mess up, it’s just one click away to undo.
Remember, it’s never perfect on the first try. We learn, and we move on!
Troubleshooting Common Issues
What if your smudge tool doesn’t seem right? Fear not!
Sometimes it’s only a matter of adjusting some settings.
Brush Settings
Adjusting your brush settings is key to controlling the intensity of your edits. Fine-tune the strength to suit your style and ensure smooth blending for the best results.
Double check if your ‘Strength’ percentage is too high or too low. Find it at the top of your workspace.
Ideal strength is around 50%, but feel free to adjust according to your style.
Tool Malfunctions
If the tool isn’t working at all, consider resetting preferences. Go to Edit in the menu, drop down, and select Preferences. It’s like a refresh button for mishaps.
Saving and Updates
Maintaining your progress and keeping Photoshop up-to-date is essential for a smooth workflow. These steps help ensure your work stays safe and the software runs efficiently.
Always save your work incrementally to avoid losing progress.
In my journey to mastering photo editing, discovering where the smudge tool in Photoshop is was a game changer.
The smudge tool, nestled in the tool options bar with the blur and sharpen tools, opened up a new realm of creativity for me, allowing subtle blending and seamless transitions in my images. It transformed how I approached editing, offering precision and control I hadn’t experienced before.
If you’re looking to enhance your skills, I highly recommend checking out my courses. The Photoshop course provided me with comprehensive insights and techniques that elevated my work. Similarly, the Lightroom course was instrumental in understanding the nuances of photo editing and management.
Whether you’re a beginner or a seasoned editor, these courses are invaluable in expanding your creative toolkit.
Happy editing!
If this article has helped you, then Like and Share it with your friends
$2,061.00Original price was: $2,061.00.$1,061.00Current price is: $1,061.00. 27582
Download Your Free Guide Now!
Discover the secrets of photography with our printable guide! Master essential techniques like aperture, shutter speed, and ISO to create stunning images. Get your free printable PDF now and start turning your snapshots into masterpieces!