Sepia Filter in Photoshop for Nostalgic Effects

Want to give your photos that classic, aged look? The sepia filter in Photoshop is your secret weapon. In this guide, I’ll share a way to achieve the perfect vintage effect for your photos, from the quick and easy to the more customizable. We’ll have options for both beginners and people who like to tinker a bit more. Let’s dive in and add some timeless warmth to your photos!

Table of Contents

Why Use a Sepia Filter in Photoshop?

Close-up of a laptop screen showing a photo editing software applying a sepia filter to a landscape photo. The screen displays the transition to warm, brownish hues. The laptop is on a wooden desk with a cup of coffee, a notebook, and a pen, with natural light and blurred greenery in the background.

The Emotional Impact of Sepia Filter

Using this in photography goes beyond merely changing the color tones of an image. Here are several reasons why this is popular among photographers:

Using this in Photoshop allows photographers to harness these benefits easily and emotional impact of their photos.

Applying Sepia Filter Using Photo Filter Adjustment Layer

A person working on a desktop computer with photo editing software open, applying a sepia filter to a portrait photo using an adjustment layer. The workspace includes a keyboard, mouse, cup of coffee, notebook, and natural light from a nearby window, with plants and decorative items around the desk.

This is a non-destructive method. Here’s a table with detailed guide on how to apply a sepia filter using this method.

Steps Description Details
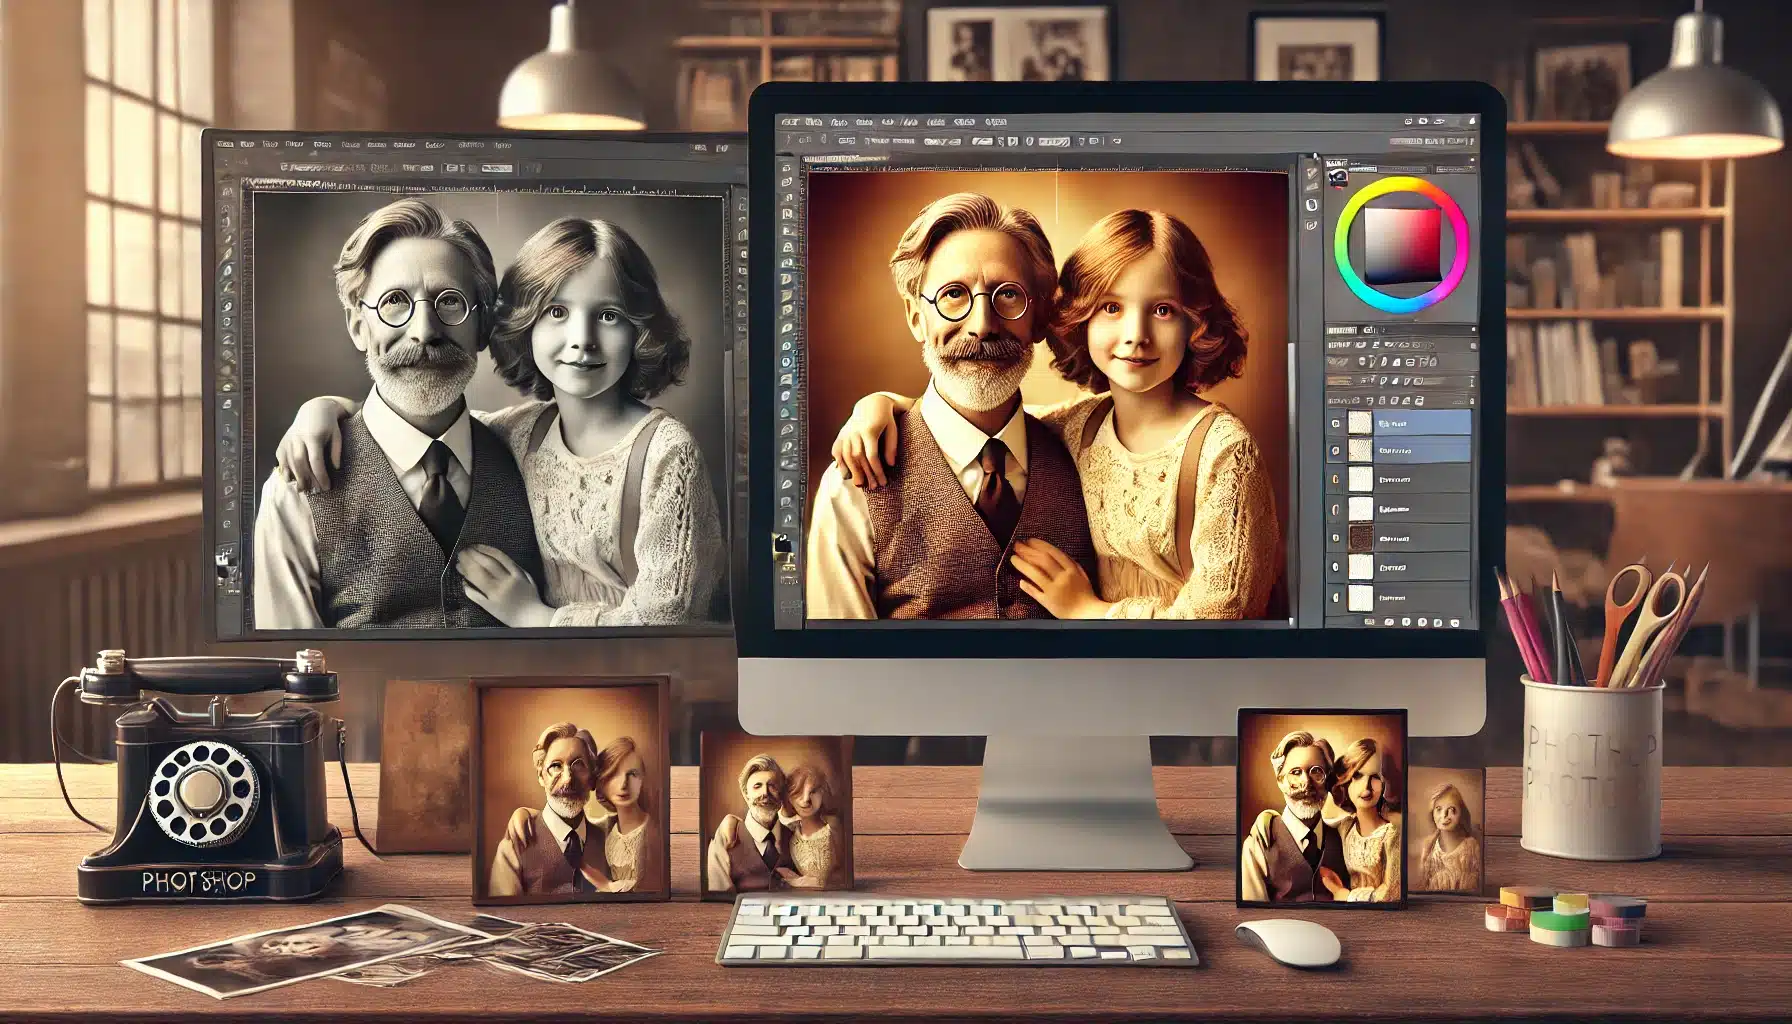
Step 1: Load Your Image Launch Photoshop and load the image you want to edit. Launch Photoshop from your desktop or start menu. Once opened, go to File > Open, and navigate to your image.
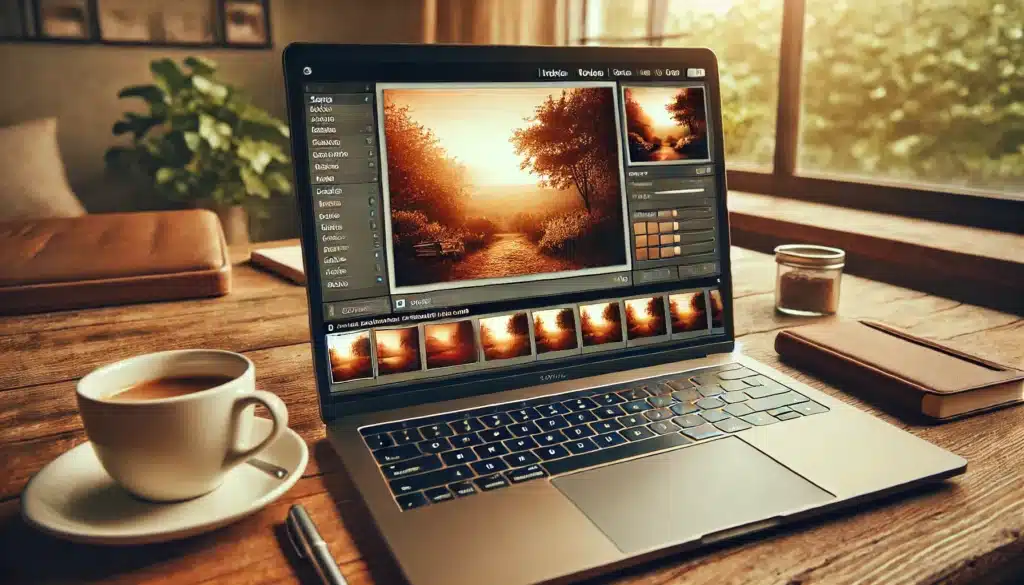
Step 2: Convert to Grayscale (Optional) Convert to grayscale to ensure a more uniform antique effect. Go to the Layer drop-down menu. Select New Adjustment Layer > Black & Gray. Adjust the color sliders.
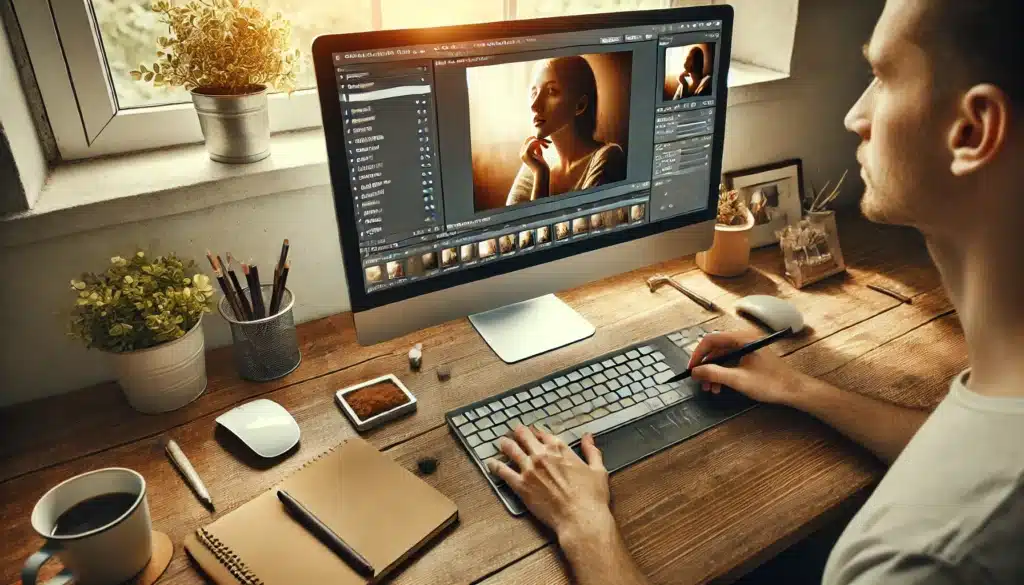
Step 3: Add the Photo Tint Layer Add a Photo Tint Layer and select a brown tone. In the Layers panel, click on the Adjustment Layer button (half-filled circle icon) at the bottom. Select Photo Tint from the list. In the Photo Tint settings, pick a brown tone from the filter options.
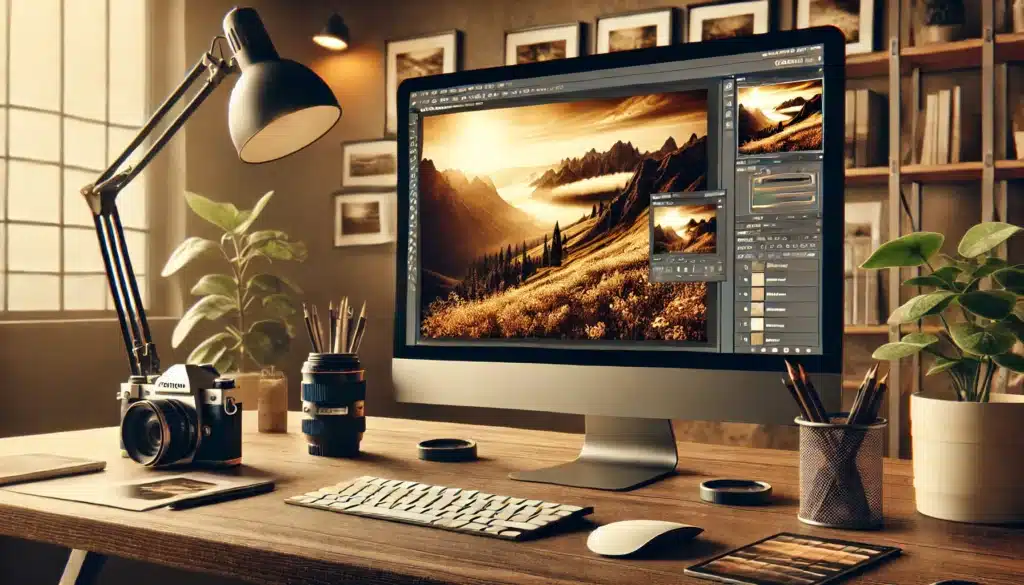
Step 4: Modify the Density Control the intensity of the brown tone and maintain overall exposure. Use the Density slider to control the intensity (typically around 40%). Check the Preserve Luminosity box.

Let’s discuss in detail:

Open Your Image

Convert to Black and White (Optional)

Learn the black and white shortcut to make this easier.

Add the Photo Filter Adjustment Layer

Settle the Density

By following these steps, you can effectively apply a sepia filter to your images in Photoshop.

Common Questions about Sepia Filter

Photoshop-Masterclass-Advanced-Editing-Layer-Manipulation

How to Make a Sepia Effect?

Where is Sepia in Photoshop Elements?

Where Can I Find Sepia Effect?

The sepia tone can be found in various photos editing software.

What Color is a Sepia Tone?

A sepia tone adds a warm brownish shade to pictures, mimicking old photographs with a reddish-brown hue. This creates a nostalgic, antique feel, resulting in a timeless and visually appealing aesthetic.

Conclusion: Sepia Filter in Photoshop

Landscape view of the final sepia filter-toned image displayed on a computer screen in a modern workspace with photography equipment.

Creating sepia-toned photographs is a favorite technique of mine for adding nostalgia and warmth. I once restored an old family portrait in Adobe Photoshop, adding a sepia filter that highlighted its rich details and gave it a cherished, timeless quality. This experience shows the  power of sepia toning.

To master these techniques, check out our comprehensive Photoshop Course and Lightroom Course. Get step-by-step guidance and expert tips to refine your skills and achieve professional results. Join us to elevate your photography!

If this article has helped you, then Like and Share it with your friends!

Facebook
Twitter
LinkedIn
Pinterest

Have a nice photoshoot!
Read more about: Photo Editing with Lightroom and Photoshop

Download Your Free Guide Now!

Discover the secrets of photography with our printable guide! Master essential techniques like aperture, shutter speed, and ISO to create stunning images. Get your free printable PDF now and start turning your snapshots into masterpieces!