Struggling to select a background in Photoshop?
You’re not alone.
In this post I’ll show you simple steps to make the editing like a breeze, making your images pop like never before.
Stay with me and you’ll learn tips and tricks to take your Photoshop skills to the next level.
Ready to get started?
Let’s go!
Table of Contents
Quick Selection Tool
The Quick selection tool is the way to go. It’s like a magic wand that helps you select parts of your image fast.
- Open your image: Open your image in Photoshop.
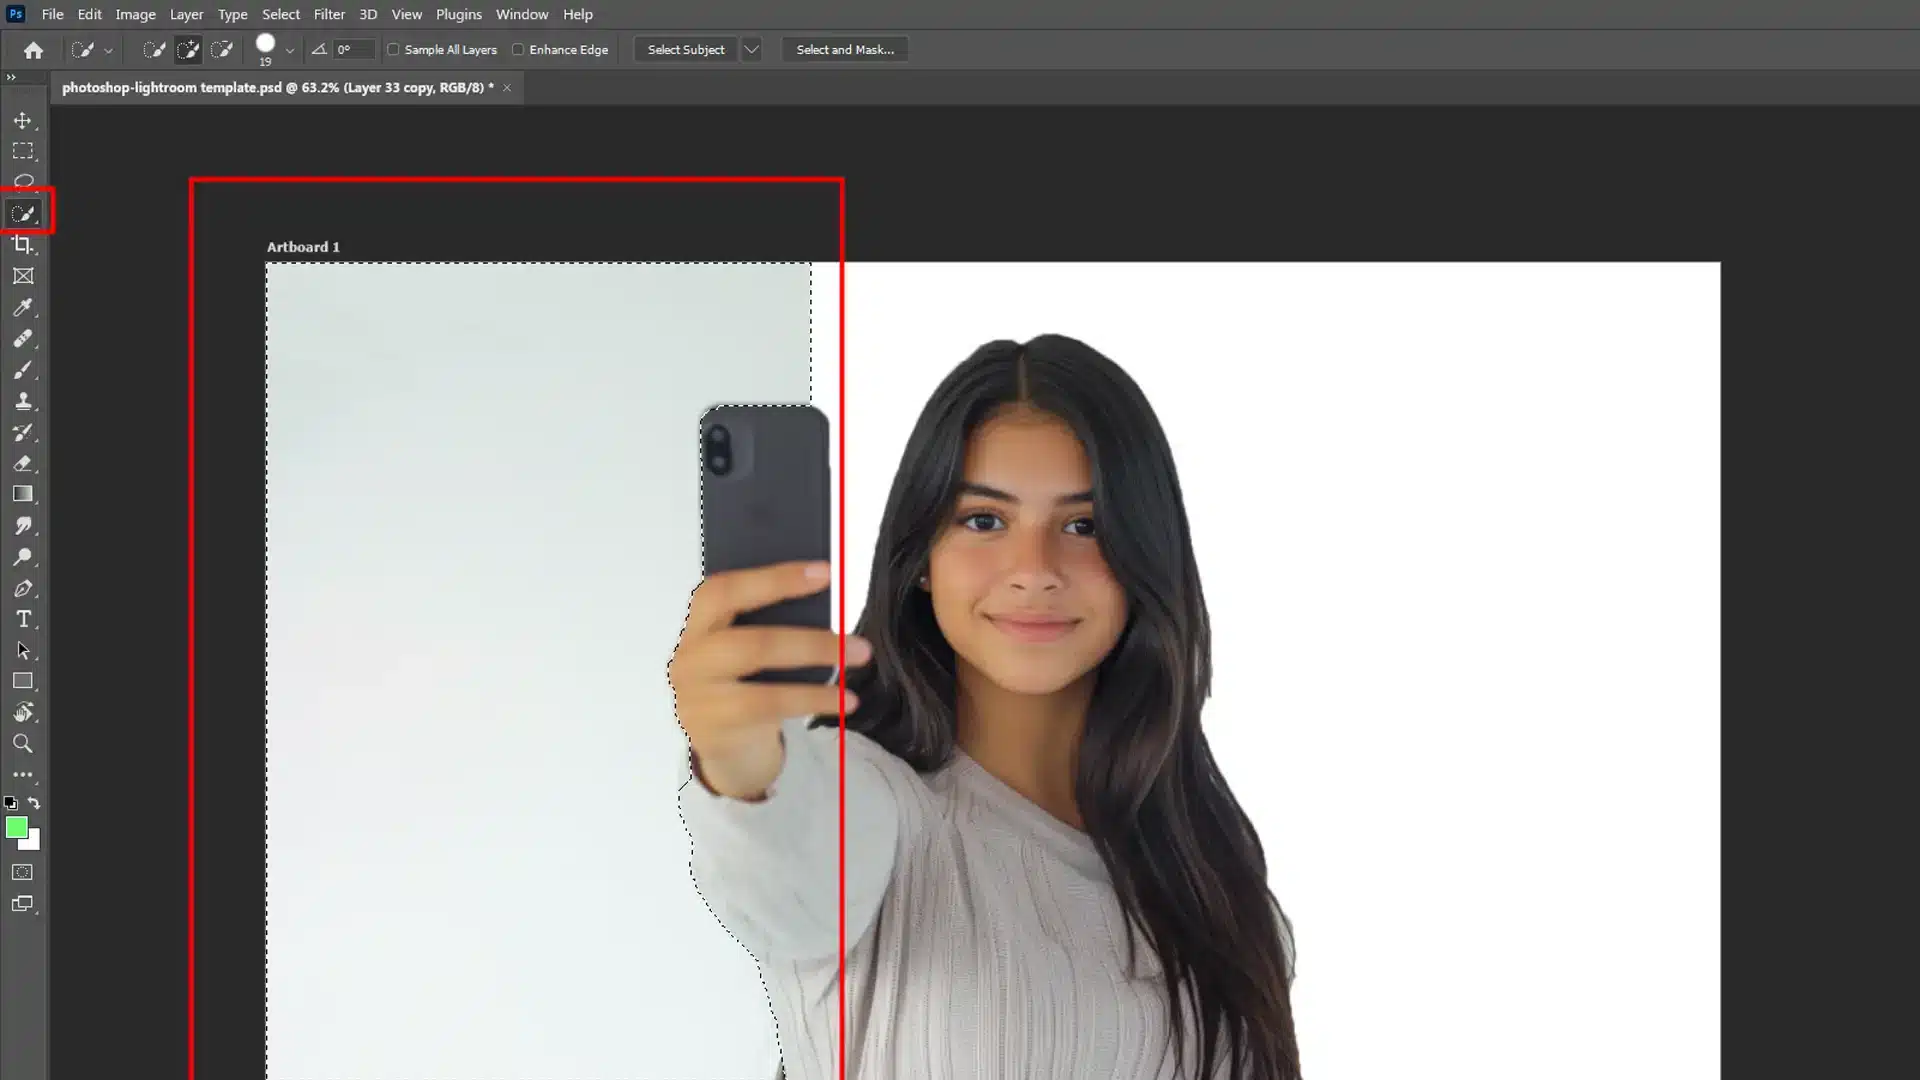
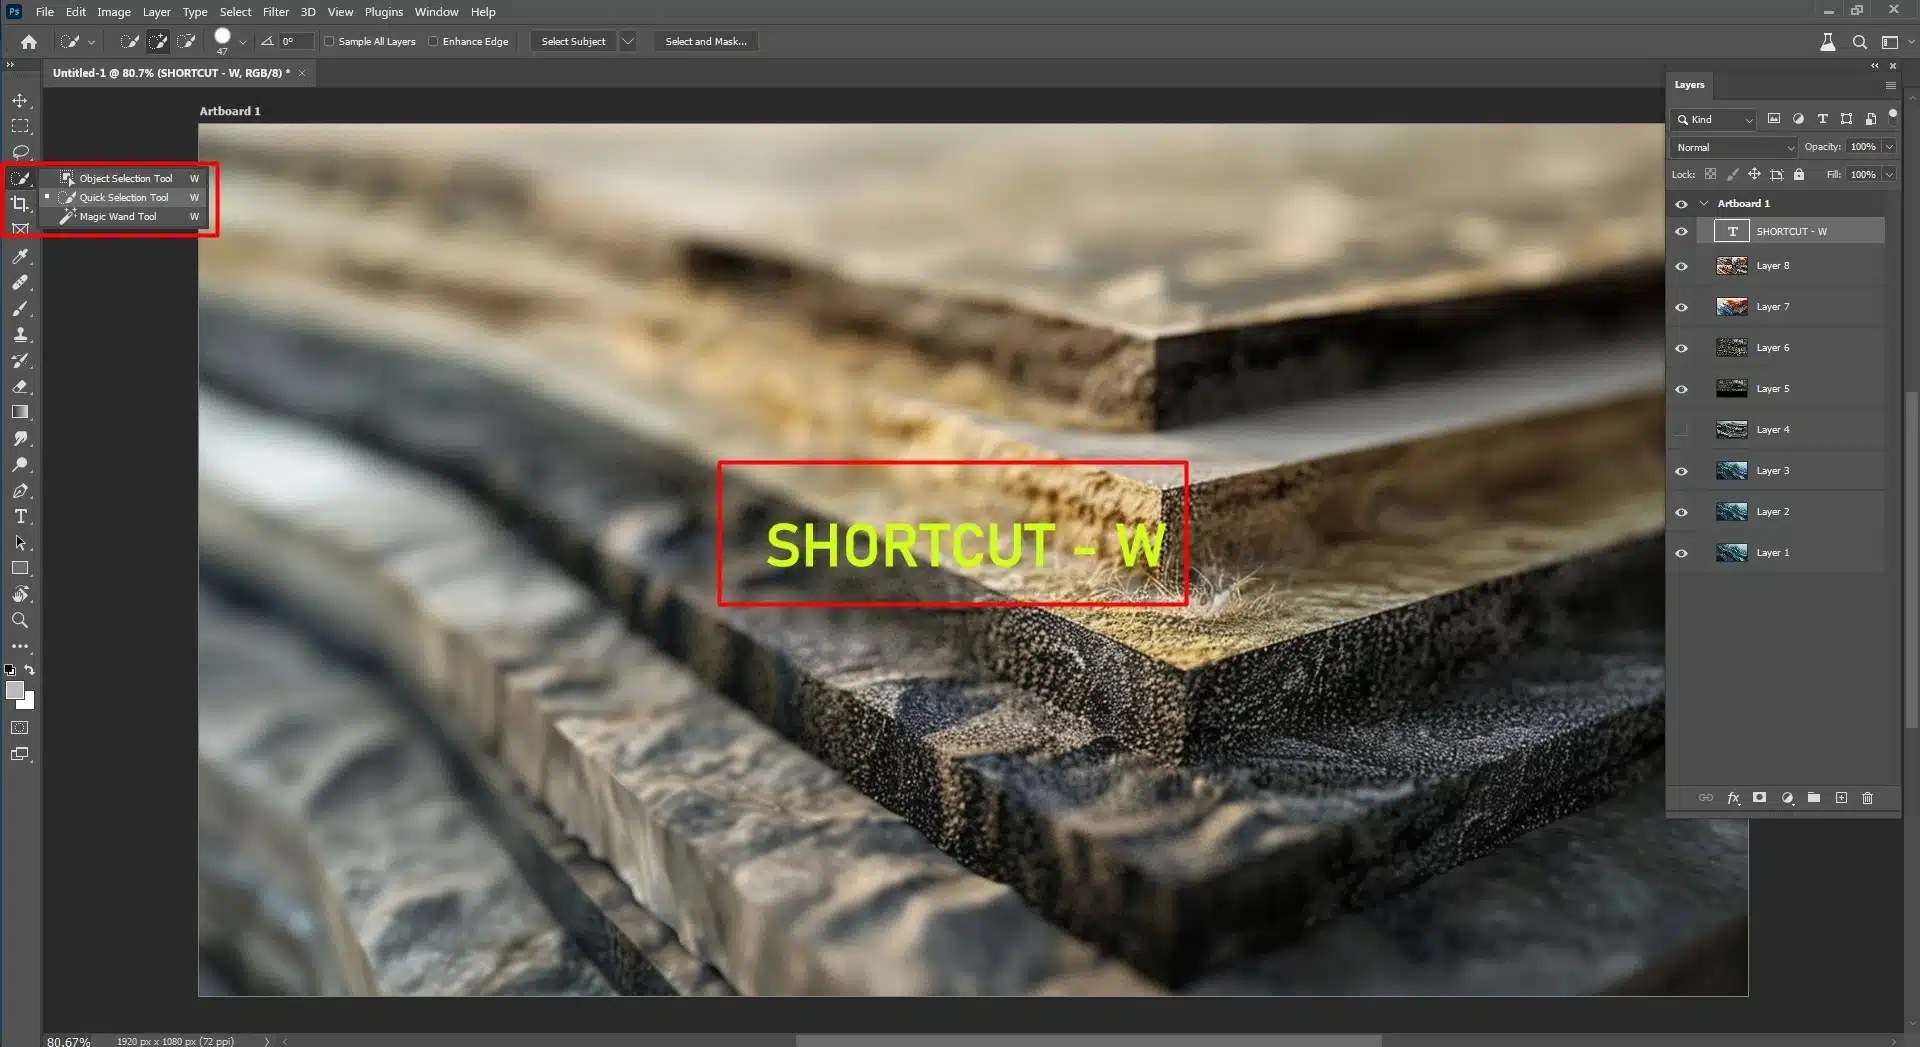
- Select the Quick Selection Tool: It's in the toolbar on the left or press W on your keyboard.
- Click and drag: Click and drag over the area you want to select. The tool will do the rest.
Pro Tip: If you select too much, hold down the Alt key and click to deselect.
Refine Your Selection with the Select and Mask Workspace

Now that you have your initial selection, it’s time to refine the edges.
-
Open the Select and Mask Workspace: Go to the Menu Bar and select Select > Select and Mask.
-
Use the Refine Edge Tool: This tool will get tricky edges, like hair or fur.
-
Adjust the Settings: Play with the Radius and Smooth sliders in the Properties Panel to get a better selection.
Remove Background in Photoshop
Now that you have your selection let’s remove the background. Here’s how:
-
Firstly, Add a New Layer Mask: Press the Add Layer Mask button at the right bottom of the Layers Panel. This will hide the background.
-
Then, Use the Brush Tool: Select the Brush Tool (press B on your keyboard) and paint over any areas that need tweaking.
Pro Tip: Use a soft brush for smooth transitions.
Add a New Background Photoshop
Afterwards, you need to add a new background to your project. Here’s how to do it:
- Firsly, Add a New Background Layer: Go to the Layers Panel and click the New Layer button.
- Then, Drag and Drop: Drag your new background in.
- Finally, Position the Background: Use the Move Tool (V key) to position the new background behind your subject.
Pro Tip: Adjust the Opacity of the new background layer to blend in with your subject.
Photoshop Background Eraser
Here is how to utilize it:
- First, Select the Background Eraser Tool: In the toolbar or E key.
- Then, Adjust the Settings: In the Options Bar, set the Sampling to Continuous and the Limits to Find Edges.
- Finally, Erase Background: Click and drag over the background.
Pro Tip: Use high tolerance for solid complex backgrounds and low tolerance for detailed ones.
Pen Tool
For more precise selections, the Pen Tool is your best friend. Here’s how to access it:
- Firstly, Select the Pen Tool: P key.
- Secondly, Create a Path: Click to create anchor points around the subject.
- Finally, Convert Path to Selection: Right-click and Make a Selection.
Pro Tip: Use the Shift Key to add to your selection and the Alt Key to subtract from it.
Final Touches with Layer Masks
Layer masks are non-destructive editing.
- Add Layer Mask: Click the Add Layer Mask button in the Layers Panel.
- Use the Brush Tool: Paint with black to hide and white to reveal.
How to open layers panel
The Layers panel is highlighted in the lower right.
If the Layers panel is not appearing on your screen, you can access it by going up to the Window menu in the Menu Bar along the top of the screen and choosing Layers.
Quick Actions for Background Photoshop Selection
When working in Photoshop, mastering shortcuts can greatly enhance your efficiency.
The table below provides a comparison of shortcuts for both Mac and Windows users for various techniques.
These shortcuts will help you quickly access and utilize essential tools, allowing you to streamline your workflow and focus on your creative process.
| Technique | Shortcuts (Mac) | Shortcuts (Windows) |
|---|---|---|
| Using Quick Selection Tool | W | W |
| Refining with Select and Mask | Cmd + Opt + R | Ctrl + Alt + R |
| Using Background Eraser Tool | E | E |
| Using Pen Tool | P | P |
| Object Selection Tool | W | W |
| Magic Wand and Lasso Tools | W (Magic Wand), L (Lasso) | W (Magic Wand), L (Lasso) |
| Layer Masks for Refinement | Opt + Click Layer Mask | Alt + Click Layer Mask |
Using the Object Selection Tool
The object selection tool is super helpful and will save you time. Here’s how to use it:
- Firstly, Open Your Image: Open your image in Photoshop.
- Then, Select the Object Selection Tool: In the left toolbar or press W on your keyboard. It's the one that looks like a rectangle with a dotted line.
- Finally, Draw a Rectangle: Click and drag to draw a rectangle around the object you want to select. Photoshop will automatically select the object inside.
Refining the Selection
Now that you have your initial selection, it’s time to refine it for a cleaner look. This step is important, especially if you’re dealing with tricky edges like hair or fur.
- Open the Select and Mask Workspace: Go to the Menu Bar and select Select > Select and Mask. This will open a new workspace to refine your selection.
- Use the Refine Edge Tool: This tool is great for those tricky edges. It's in the toolbar on the left.
- Adjust the Settings: Experiment with the Radius and Smooth sliders in the Properties Panel to get a cleaner selection. The Radius slider helps detect edges better, and the Smooth slider makes the edges less jagged.
How To Manually Select Background Photoshop Techniques

Using the Magic Wand To Select Background Photoshop
Now, let’s start using the magic wand to select a background in Photoshop. This tool is great for determining areas of similar colors.
- Open Your Image: Open your image in Photoshop.
- Select the Magic Wand: You can find it in the toolbar on the left or press W.
- Click on the Background: Click on the background area you want to select. The Magic Wand will select areas of similar colors.
Example: Let’s say you have an image of a blue sky with some clouds. Click on the blue sky, and the Magic Wand will select all the blue areas.
Lasso Tool
Now, let’s talk about the lasso tool. This tool is great for freehand selections, and you have more control over the areas you want to select.
- Firstly, Open Your Image: Open your image in Photoshop.
- Now, Select the Lasso Tool: You can find it in the toolbar or press L.
- Then, Draw Around the Area: Click and drag around the area you want to select. This tool is excellent for irregular shapes.
Pro Tip: For more precision, use the polygonal lasso Tool (press Shift + L to cycle through the Lasso Tools). You can click and create straight lines around your selection.
Pen Tool
For the most precise selections the Pen Tool is your best friend. It takes a bit more time but it’s worth it.
- Open Your Image: Open your image in Photoshop.
- Select the Pen Tool: Press P.
- Create Anchor Points: Click to create anchor points around the subject you want to select. Click and drag to create curves.
Select background Photoshop And Mask Workspace
The Select and Mask workspace in Photoshop is a great tool for refining selections.
This feature is particularly beneficial when dealing with different types of photography, such as portrait or wildlife photography, where fine details matter.
Select and Mask Workspace

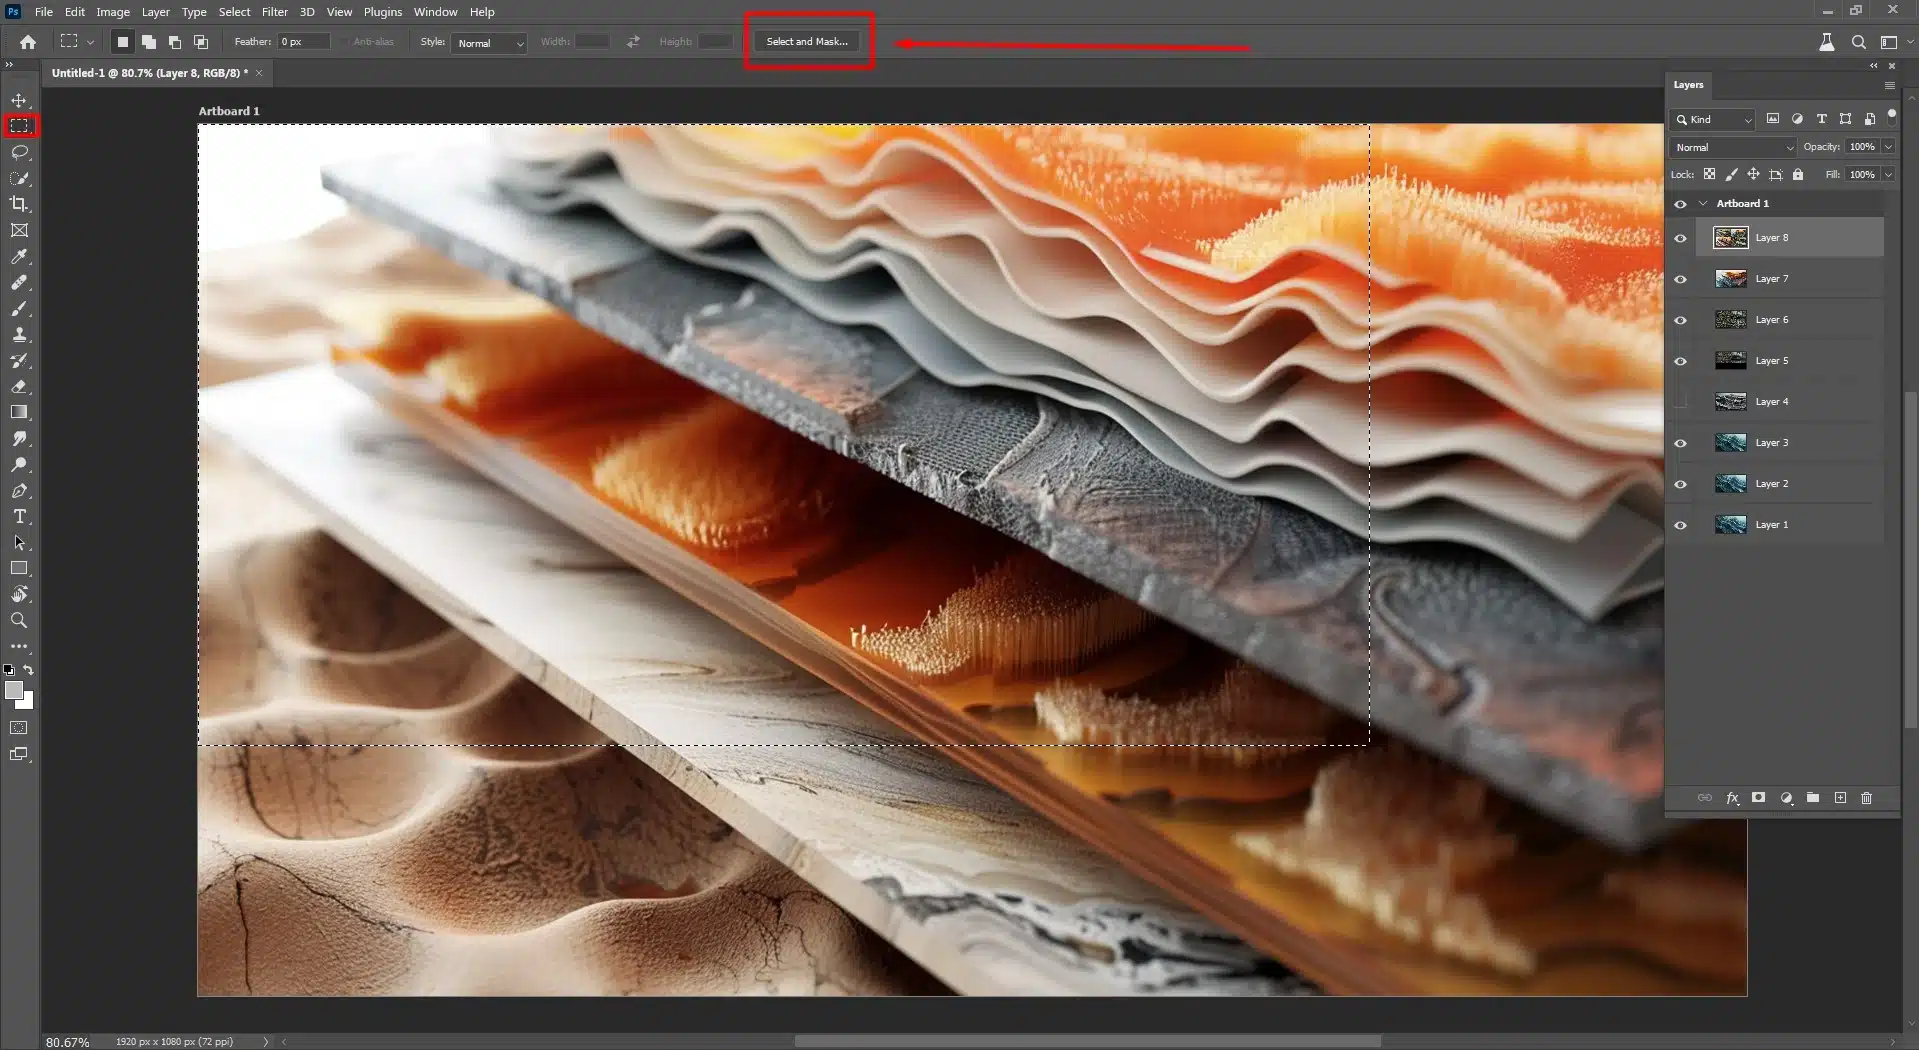
To access the Select and Mask workspace, make a rough selection with any selection tool.
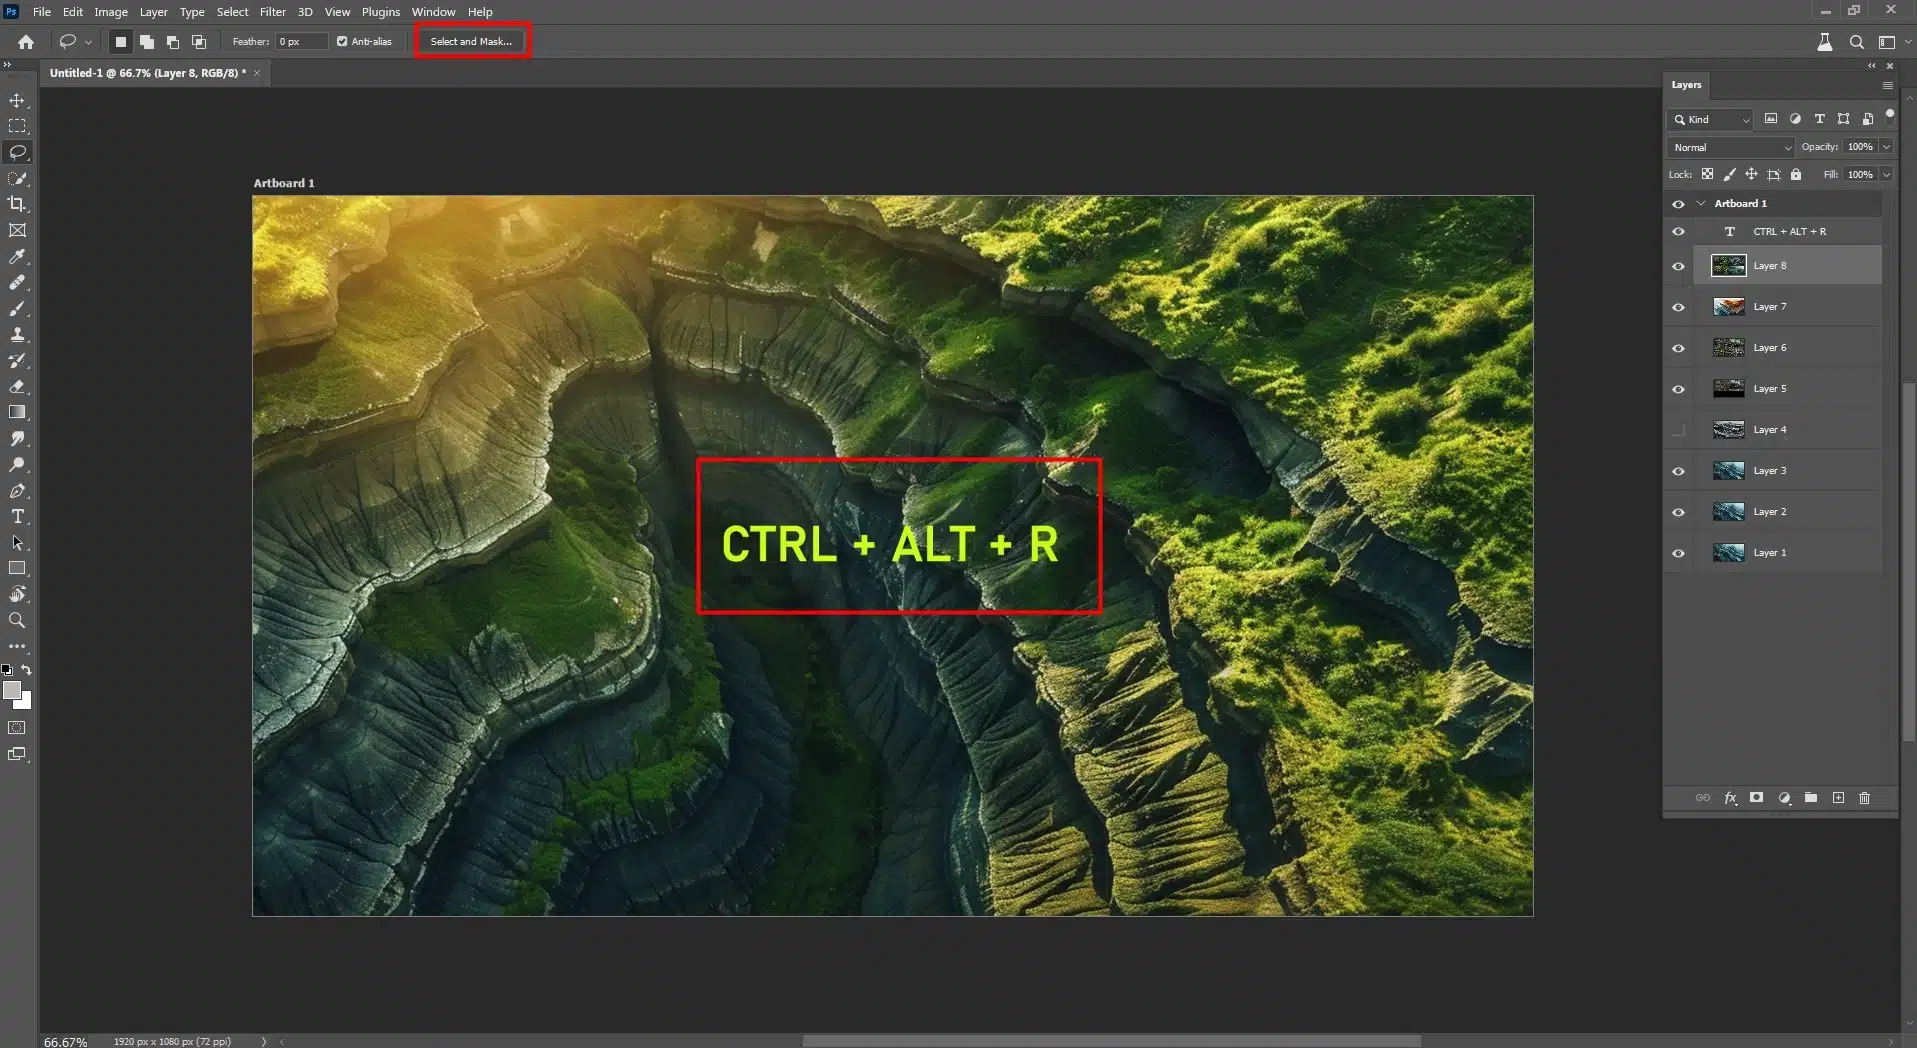
Then click on the Select and Mask button in the options bar.
Or use the keyboard shortcut Ctrl+Alt+R (Cmd+Option+R on Mac). This will open the workspace where you can refine your selection.
View Mode
Once in the Select and Mask workspace, you can adjust the View Mode to see your selection better.
Choose from Overlay, On Black or On White.
I prefer Overlay to see the selection against the background. Adjusting the view mode helps you make precise adjustments.
Global Refinements
In the Global Refinements section you can make further adjustments to your selection.
Use the sliders like Smooth, Feather, Contrast and Shift Edge. These will refine the edges of your selection.
For example increasing Contrast will make the edges sharper and Feather will soften them.
Once done click OK and you’ll be back in the main workspace with your refined selection.
Using the Photoshop Background Eraser Tool
Setting up the Background Eraser Tool
First you need to set up the tool. This tool helps you to erase background quickly. Select the tool from the left toolbar.
Brush Tool Settings
Once you have the tool selected, set your brush settings. This is where you get precision while erasing.
You can change the brush size and hardness to match your subject’s edges.
Refine Edges
After erasing the background you might need to refine the edges. Use the Refine Edge to smooth out the rough areas. This will give you a clean look.
Frequently Asked Questions

How do I select a background image?
Selecting the right background image involves a few straightforward steps:
- First, Consider the Resolution: Choose high-resolution images to ensure they look good on all devices.
- Then, Check Compatibility: Make sure the background fits well with the elements in the foreground.
- Finally, Test Different Options: Try out several images to see which one best fits your needs.
How do I extract the background of an image in Photoshop?
Extracting a background in Photoshop can be done by following these steps:
- First, Open Your Image: Load the image from which you want to remove the background.
- Then, Select the Background: Use selection tools like the 'Quick Selection Tool' or 'Magic Wand Tool' to select the background you want to remove.
- Now, Refine Edge: Click on 'Refine Edge' to adjust the edges of your selection for a cleaner cut.
- Finally, Delete or Hide the Background: Press delete to remove the selected area or hide it by clicking on the eye icon next to the background layer.
How do I select and copy a background in Photoshop?
To select and copy a background in Photoshop, you can use these simple steps:
- Open the Image: Start by opening your image in Photoshop.
- Select the Background: Use the 'Magic Wand Tool' or 'Lasso Tool' to select the background.
- Copy the Selection: Right-click the selection and choose 'Copy' or press down Ctrl+C (Cmd+C on Mac).
- Paste the Background: Open a new document or another image and press down Ctrl+V (Cmd+V on Mac) to paste the background.
How do I change the background of a picture in Photoshop?
Changing the background of a picture in Photoshop involves:
- Firstly, Open the Image: Load the original image in Photoshop.
- Then, Remove the Current Background: Use the 'Quick Selection Tool' to select the background and press delete.
- Now, Insert a New Background: Open the new background image in Photoshop, copy it, and paste it behind the foreground image layer in the original image.
- Finally, Adjust as Needed: Move and transform the new background to fit well with the foreground.
These steps should guide you through common tasks in Photoshop related to backgrounds, making the process simpler and more efficient.
Conclusion
Using the selection feature in Adobe technique has been a game changer for me.
From my experience, it allows me to easily isolate subjects and create stunning visuals with a transparent background.
Trust me, it will revolutionize your editing process.
And, if you’re looking to enhance your skills, I highly recommend checking out this Photoshop course and this Lightroom course.
Happy editing!
Read more about Photoshop:


