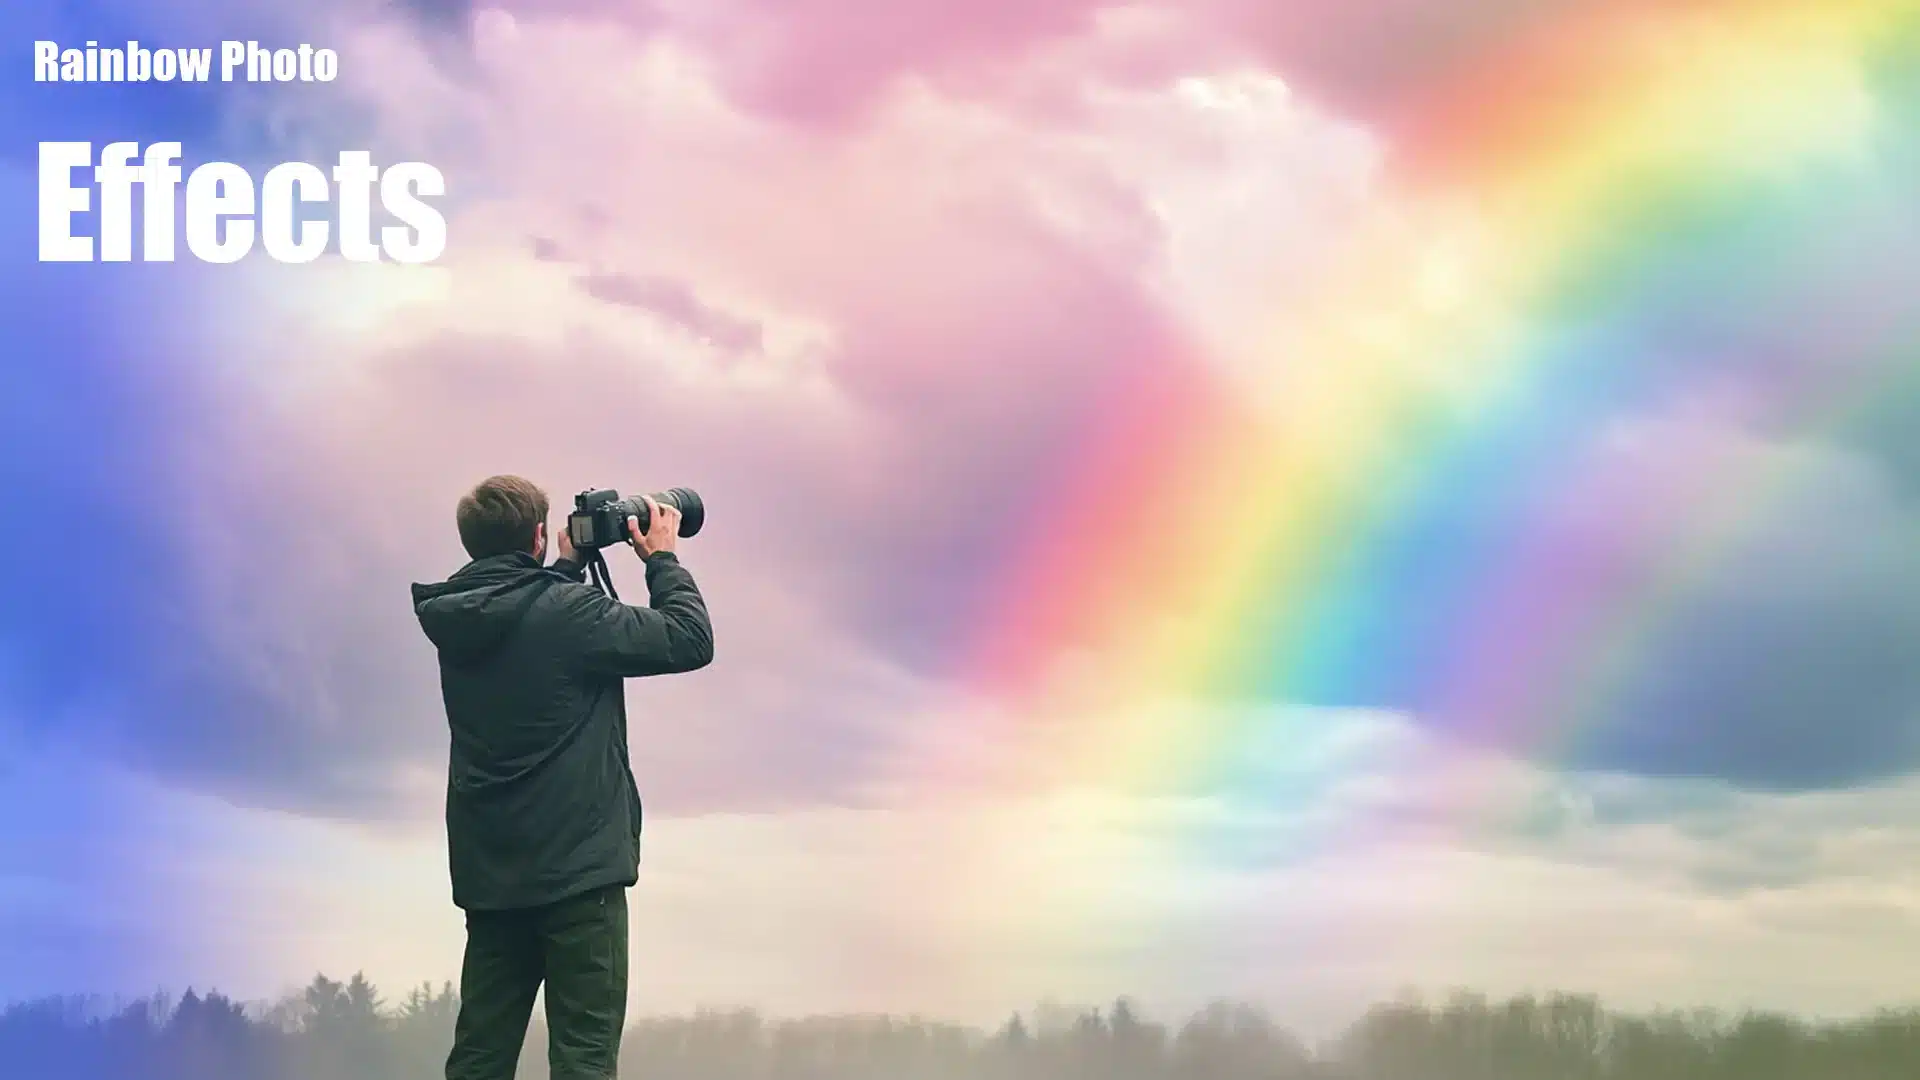
Creating stunning visuals can be a game-changer, and rainbow photo effects are an incredible way to add vibrant, eye-catching elements to your images.
Imagine transforming your ordinary photos into extraordinary pieces of art that captivate anyone who sees them.
In this guide, I will walk you through the steps to achieve dazzling rainbow effects using Photoshop and Lightroom.
Whether you’re a seasoned photographer or just starting out, these techniques will elevate your creativity and make your photos stand out.
Get ready to dive into a colorful journey and discover how easy it is to add a splash of rainbow color magic to your pictures.
Keep reading to unlock the full potential of your photo editing skills!
Table of Contents
How to Apply Rainbow Photo Effects
Are you ready to bring some magic into your photos?
Let’s jump right in and I’ll walk you through the steps to get those vibrant rainbow light filter and rainbow background with gradient techniques such as the rainbow gradient technique.
It’s easier than you think, and I promise you’ll love the results.

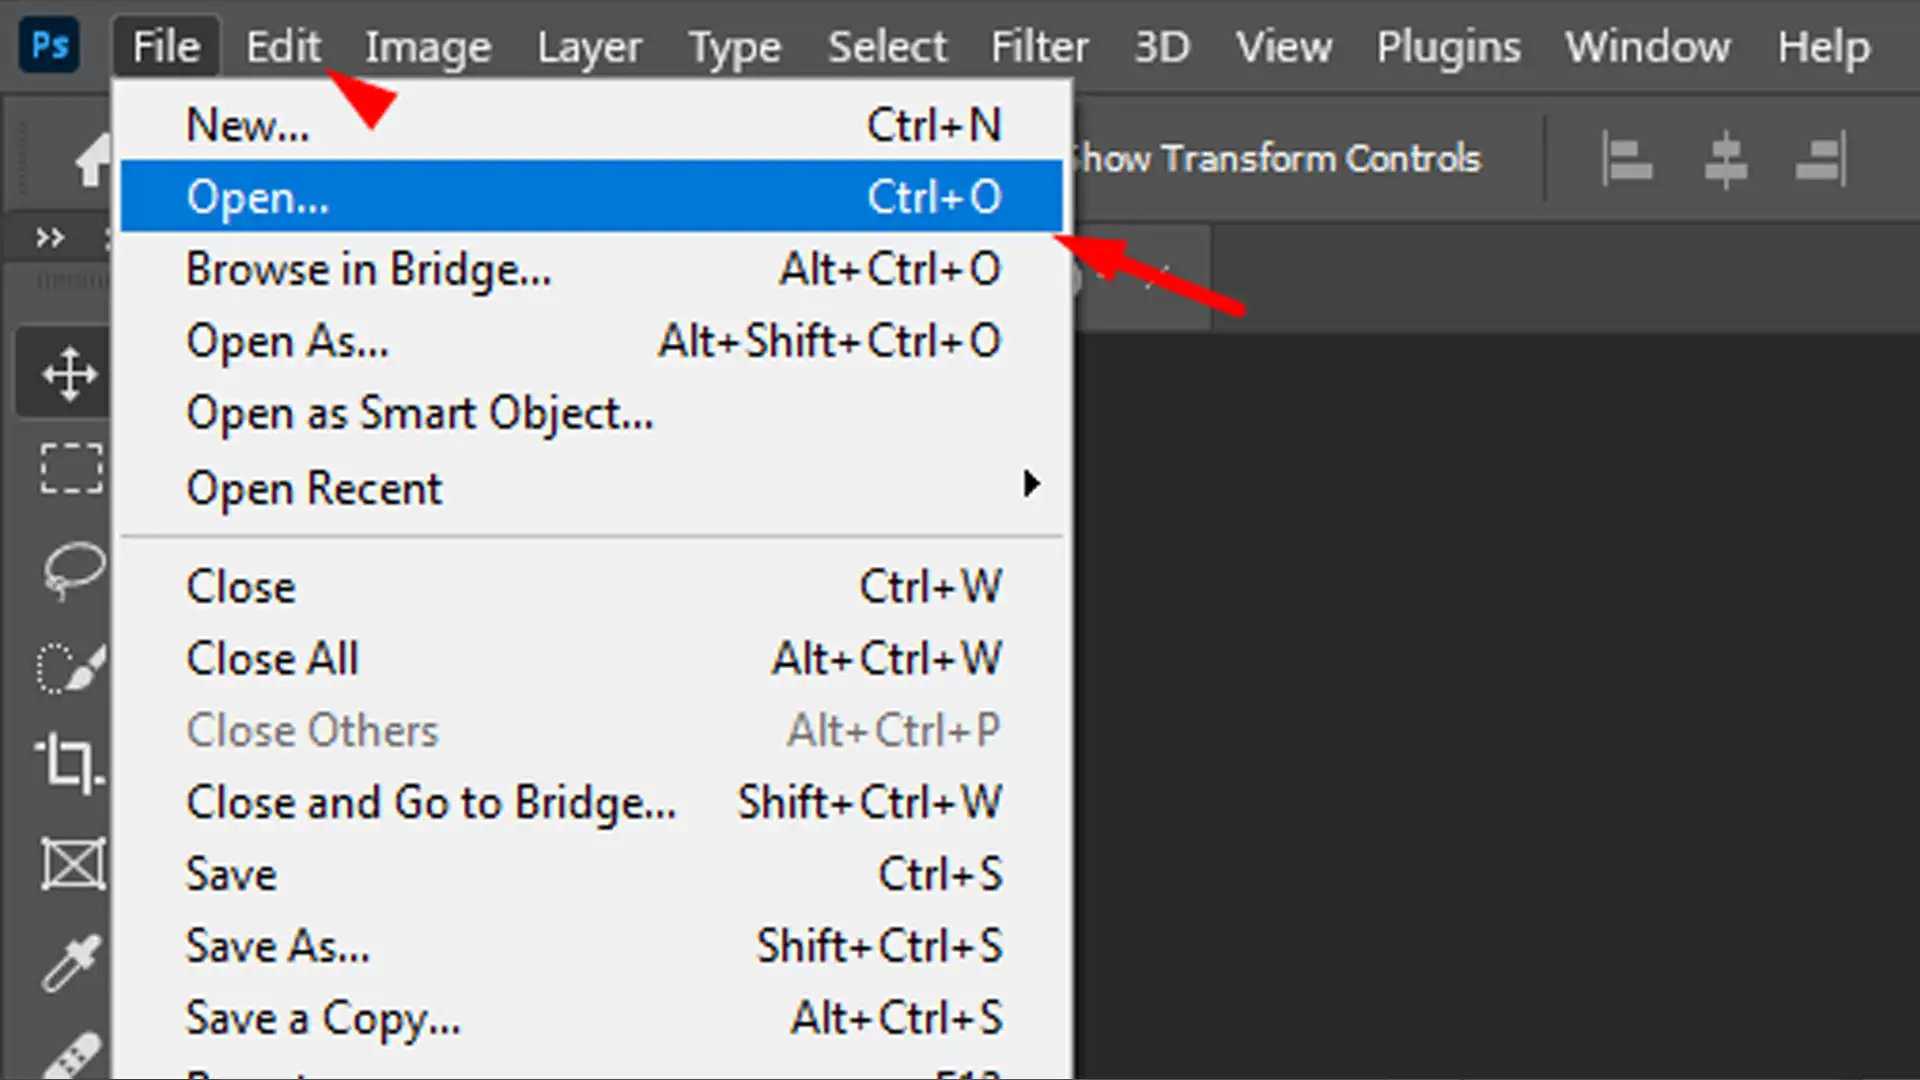
- First, open your photo in Photoshop or Lightroom.
- Select the layer where you want to add rainbows filter.
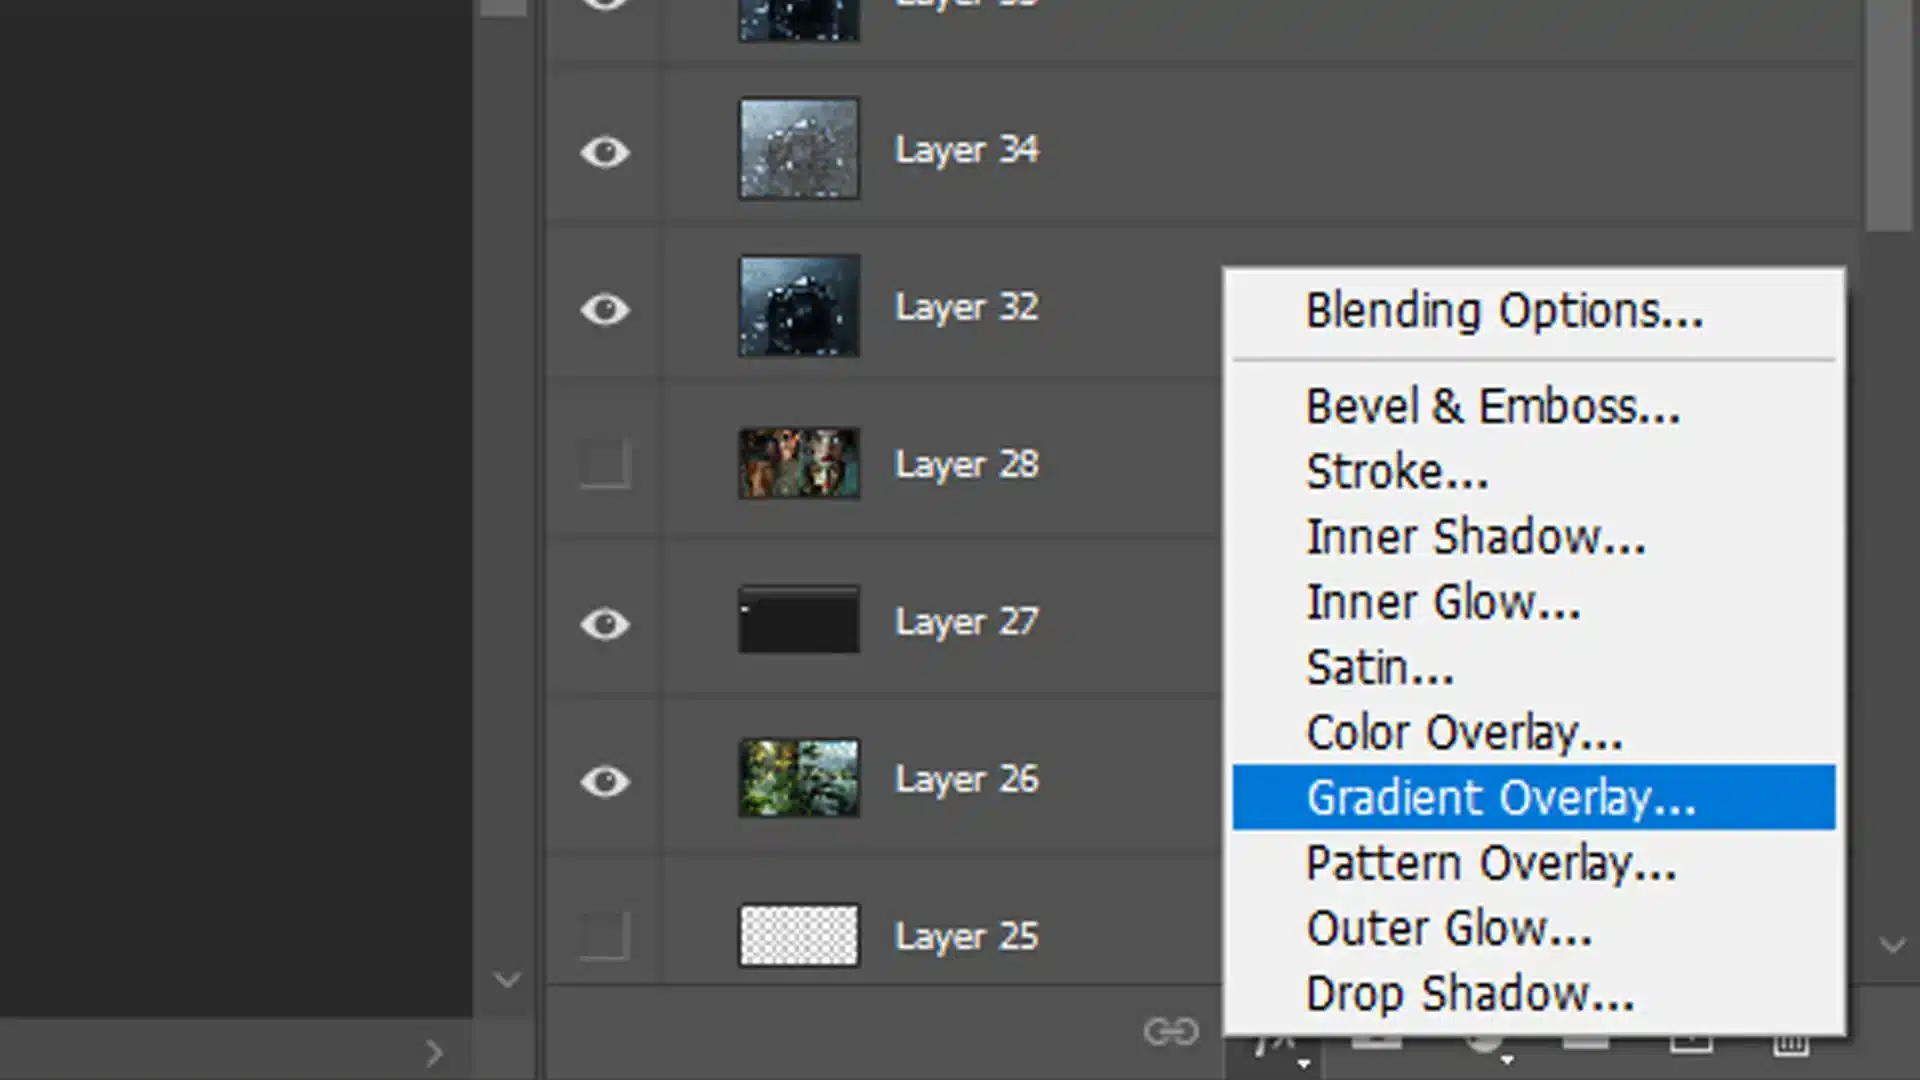
- Next, navigate to the adjustment layer and choose “Gradient”.
- Choose the rainbow gradient option from the preset gradients.
- Adjust the gradient angle to align with the area of the photo you want the colors to appear.
- Fine-tune the blending mode. Try using Overlay or Screen for a natural effect.
- If needed, use the eraser tool to clean up parts of the rainbow that don’t look right.
- Finally, adjust the opacity to make the effect as subtle or vibrant as desired.

Best Tools for Rainbow Photo Effects
There are many great tools out there to enhance your photos with beautiful rainbow filters. They are even more useful when combined with the right Photoshop shortcuts.
Here’s a quick rundown of the best ones:
- Photoshop: A classic choice that offers incredible flexibility to add rainbow filters. Utilize essential tools in Photoshop like the Gradient Tool and Blending Modes to achieve the perfect effect.
- Lightroom: More user-friendly for beginners, great for quick adjustments and rainbow overlays. Lightroom shortcuts can make the process even faster and more efficient.
- Other Apps: Mobile options like VSCO and Afterlight offer beautiful rainbow filters with just a few taps.
When choosing the right tool, consider what you’re most comfortable with.
Both Photoshop and Lightroom can deliver stunning rainbow effects with ease.
One of the best tools for rainbow photo effects is the use of smart filters.
These filters, available in various photo editing software, allow you to enhance colors and add vibrant rainbow effects seamlessly.
Remember, having fun with photo editing is king!
Experiment with different angles, blending modes, and opacity levels to find what looks best for your image.
Pro Tip: Add a touch of humor to your work. Maybe position the rainbow so it looks like it’s coming out of your cat’s mouth or hitting the sky just right.
This sprinkle of creativity makes your photos stand out even more.
The rainbow filter offers a vibrant and colorful way to enhance your photos, adding a unique and playful touch to your images.
By following these steps and choosing the right tools, you can easily add rainbow effects to your photos and let your creativity shine.
Rainbow Filters Techniques
There are several types of rainbow filters, each offering a unique twist to your photos.
Let’s look at the primary choices and their uses:
- Gradient Rainbow Filter: Creates a soft blend of rainbow colors over your images.
- Overlay Rainbow Filter: Superimposes a rainbow graphic onto your photo.
- Light Leak Rainbow Filter: Create a light source effect with rainbow hues.
- Double Exposure Rainbow Filter: Combines two images, one with a rainbow.
Each of these rainbow filters offers different levels of vibrancy and mood.
Experimenting with them helps find what suits your style.
The rainbow photo filter adds a burst of vivid colors to your images, creating a striking and cheerful effect.
How to Choose the Right Rainbow Filter
Choosing the right rainbow filter can be daunting but knowing your goals makes it easier.

- If you want a subtle enhancement, try the gradient rainbow filter. It offers a smooth blend of colors that won't overpower your images.
- For a more intense effect, go for the overlay rainbow filter. It adds a dramatic splash of color across your photo.
- Light leak rainbow filters are perfect for simulating natural light effects. This is optimal for a sunny day feel.
- Double exposure rainbow filters can add an artistic edge. This works well for creative or dreamy photo effects.
Evaluate your needs and choose the filter that matches your vision.
Think about what part of the images you want to highlight.
When you choose the right rainbow filter, understanding the types of filters available is essential.
Different filters can dramatically affect your image’s rainbow effect.
Tips for Perfect Rainbow Photo Effect
Creating stunning rainbow effects over the sky in your photos doesn’t have to be complicated.
Here are some key tips:
| Tip | Description |
|---|---|
| Choose the Right Lighting | Good lighting enhances rainbow effects. Natural sunlight or well-diffused light works best. |
| Adjust Color Saturation | Increase saturation to make the rainbow colors pop without overdoing it. |
| Use Rainbow Filters | Apply rainbow filters to add vibrant colors and effects easily. |
| Fine-Tune with Editing Software | Use tools like Photoshop or Lightroom to adjust and perfect the rainbow effect. |
Common Mistakes to Avoid
Avoid these common mistakes to ensure your rainbow looks professional:
- Too Much Intensity: Overusing the rainbow filter can wash out your image. Always adjust opacity to blend naturally.
- Wrong Placement: Position the rainbow where it enhances the subject, not distracts from it.
- Ignoring Lighting: Ensure the lighting in your photo matches the rainbow. A mismatch looks awkward.
Correcting these mistakes makes a significant difference in the final image.
Add a rainbow to your photos for a vibrant touch. With the rainbow photo filter, you can add a rainbow effect that brings out vivid colors.
Enhance your images and add a rainbow touch to transform them into stunning visuals.
For achieving the perfect rainbow photo effect, applying tips for Lightroom editing can be incredibly helpful.
Combining these tips with Lightroom’s shortcuts and the essential tools in Lightroom make your rainbow effects stand out.
Expert Tips for Stunning Results
Use these expert tips to get the most out of your rainbow filters:
- Adjust Opacity: Lower the opacity for a more natural look. It prevents the rainbow from overwhelming the image.
- Blending Modes: Experiment with blending modes like Overlay and Screen. Each mode interacts differently with your photo.
- Layer Mask: Use a layer mask to apply the rainbows effect selectively. It allows you to control where the rainbow appears.
Frequently Asked Questions

How do I add a rainbows effect to a photo?
- Open your photo editing software or app.
- Look for the 'Effects' or 'Filters' section.
- Select the 'Rainbow' effect or a similar option.
- Adjust the effect's intensity and position as needed.
- Apply the effect and save your edited photo.
How to get a rainbows effect in the camera?
- Use a prism or a CD in front of your camera lens to create a natural rainbow effect.
- Position the prism or CD to catch the light and reflect a rainbow onto your subject.
- Experiment with different angles and distances for varied effects.
- Take the photo with the desired rainbow effect visible through the lens.
What photo editor app has a rainbows effect?
- Adobe Photoshop Express: Offers a range of filters including rainbow effects.
- Instagram: Use the story feature and search for rainbow effect filters.
- Snapseed: Provides various filters and the ability to create custom effects.
- PicsArt: Known for its wide variety of creative effects including rainbow.
How do you make a rainbow effect?
- Select an picture editing tool that includes color gradient options.
- Choose a radial gradient setting.
- Select rainbow colors for your gradient.
- Apply the gradient across your picture for a rainbow effect.
- Adjust the opacity and blending modes to integrate the effect naturally with your image.
Conclusion
Incorporating rainbow photo effects can truly enhance your images, adding a burst of color and creativity to your work.
I’ve found that using these effects can make your photos stand out and grab attention in a unique way.
If you’re interested in mastering these techniques and learning more about photo editing, I recommend checking out our Photoshop course and Lightroom course.
Both courses offer in-depth tutorials that can help you get the most out of your editing tools.
For the best tools to create stunning photo effects, consider exploring Adobe Photoshop and Adobe Lightroom.
These platforms are essential for any photo enthusiast looking to elevate their editing skills.
Happy editing!
Read more about Photoshop & Lightroom:


