Photoshop Interface: A Guide to Navigating the Workspace
Photoshop Interface: A Guide to Navigating the Workspace
The Photoshop interface can seem overwhelming at first glance, but mastering it can open up endless creative possibilities. Imagine editing images with just a few clicks, making each image a masterpiece.
In this guide, I’ll walk you through the basics of the Photoshop interface, breaking down each section so that you can navigate it with ease and confidence.
Let’s get started!
Table of Contents
Overview of Adobe Photoshop Interface
Getting to know the Adobe Photoshop interface helps you navigate the software more smoothly and use its features effectively.
Understanding the layout and tools is a great way to start working efficiently and creatively.
Importance of Understanding the Interface
Knowing the ins and outs of the Photoshop interface is like having a map for a journey.
When you start with Photoshop, it’s normal to feel overwhelmed. But don’t worry; we’re here to simplify this for you
Main Components of the Photoshop Interface
Learn the main components of the Photoshop interface to enhance your editing workflow and quickly access important tools and features.
Document Window: This is where the Photoshop document you're working on is displayed. It's the heart of your workspace. The document window displays whatever image you're editing at the moment
Tools Panel: Found usually on the left side, the tools panel houses all your significant tools for editing. From brushstrokes to selection tools, this panel is your toolbox.
Menu Bar: Located at the top, the drop down menu bar gives you access to different functionalities such as file menu, filter menu, and other options. It's like the brain of Photoshop, controlling many aspects of editing.
When working in Photoshop, it’s important to organize your workspace effectively, ensuring that all document windows are easily accessible for seamless editing across multiple projects.
Managing multiple document windows simultaneously in Photoshop requires efficient workspace organization and a clear understanding of each document’s editing requirements.
Why You Should Get Familiar
Familiarizing yourself with Photoshop boosts efficiency and unlocks more creative opportunities, allowing you to work faster and explore new ideas effortlessly.
Time Efficiency: When you know where everything is, you spend less time searching and more time creating. Imagine not having to hunt for the right tool.
Enhanced Creativity: A strong grasp of the Photoshop interface opens up numerous creative possibilities. Start creating and manipulating with ease.
Significant Panels for Beginners
Mastering key panels like Layers and Options bars will streamline your workflow and help you manage and refine your projects more effectively.
Layers Panel: The layers panel allows you to manage different layers in your document. Organize each part of your artwork effectively.
Options Bar: Situated under the menu bar, the options bar changes based on the currently selected tool. This bar helps in fine-tuning any task at hand.
Customizing Your Workspace
Customize your workspace by moving panels and selecting preset workspaces to match your editing needs and streamline your workflow.
Moving Panels: You can drag and place panels to your desired location. This makes your editing environment tailored to your workflow.
Preset Workspaces: If you're into photography, switch to the photography workspace. It organizes tools specifically for photo editing.
Pro Tip: Spend a few minutes each day exploring the Photoshop interface. Familiarize yourself with different panels and tools.
This small effort pays off big time in the long run.
Photoshop Interface Components
The Photoshop interface is designed to give you quick access to various tools and functions.
Understanding each component, starting with the Menu Bar, helps you navigate and utilize the software more effectively
Menu Bar
The menu bar sits at the top and offers various options for editing images.
File Menu
In the File menu, you can:
Open new documents
Save files
Import images
Export your work efficiently
Edit Menu
The Edit menu provides basicediting functions like:
Cut
Copy
Paste
Undo and redo options
Image Menu
The Image menu helps you adjust:
Image size
Color settings
Cropping options
Tools Panel
The tools panel is usually located on the left side of the workspace. It contains all the essential tools in Photoshop required for editing tasks.
Below is a comparison of some key tools in the Photoshop Tools Panel, highlighting their descriptions and primary uses.
Tool
Description
Usage
Lasso Tool
Freehand selection tool for precise areas.
Drawing freeform segments.
Magic Wand Tool
Selects areas of similar color.
Quick selection of similar tones.
Marquee Tool
Rectangular and elliptical selections.
Drawing shapes for selection.
Brush Tool
Paints brush strokes on the image.
Adding texture and effects.
Clone Stamp Tool
Duplicates part of the image.
Removing imperfections or duplicating parts.
Healing Brush
Repairs imperfections using surrounding pixels.
Retouching and repairing image flaws.
Selection Tools
Selection tools let you select specific parts of an image. Examples include:
The document window shows the current image you are editing. It is where you can work on multiple documents simultaneously.
Seamlessly Switch by Using Tabs
Tabs in the document window allow you to switch between multiple documents seamlessly. Each document is labeled at the top.
Utilizing the Status Bar
The status bar at the bottom shows details like:
File size
Current zoom level
It’s helpful to know your document specifics.
Pro Tip: Always use multiple layers in Photoshop CC. This technique gives you greater control over individual elements and makes image editing easier.
Customizing the Photoshop Interface
Now, we will navigate through the workspace layouts, how to save custom workspaces and importantPhotoshop shortcuts.
Photoshop Workspace Layouts
Photoshop provides several preset workspaces that can kickstart your editing journey. The “Essentials” workspace is the default and includes all the panels needed for general use.
Other panels, such as the “Layers Panel” and the “Tools Panel,” are always accessible. Remember, the more comfortable you get with the interface, the easier it gets.
Saving Custom Photoshop Workspaces
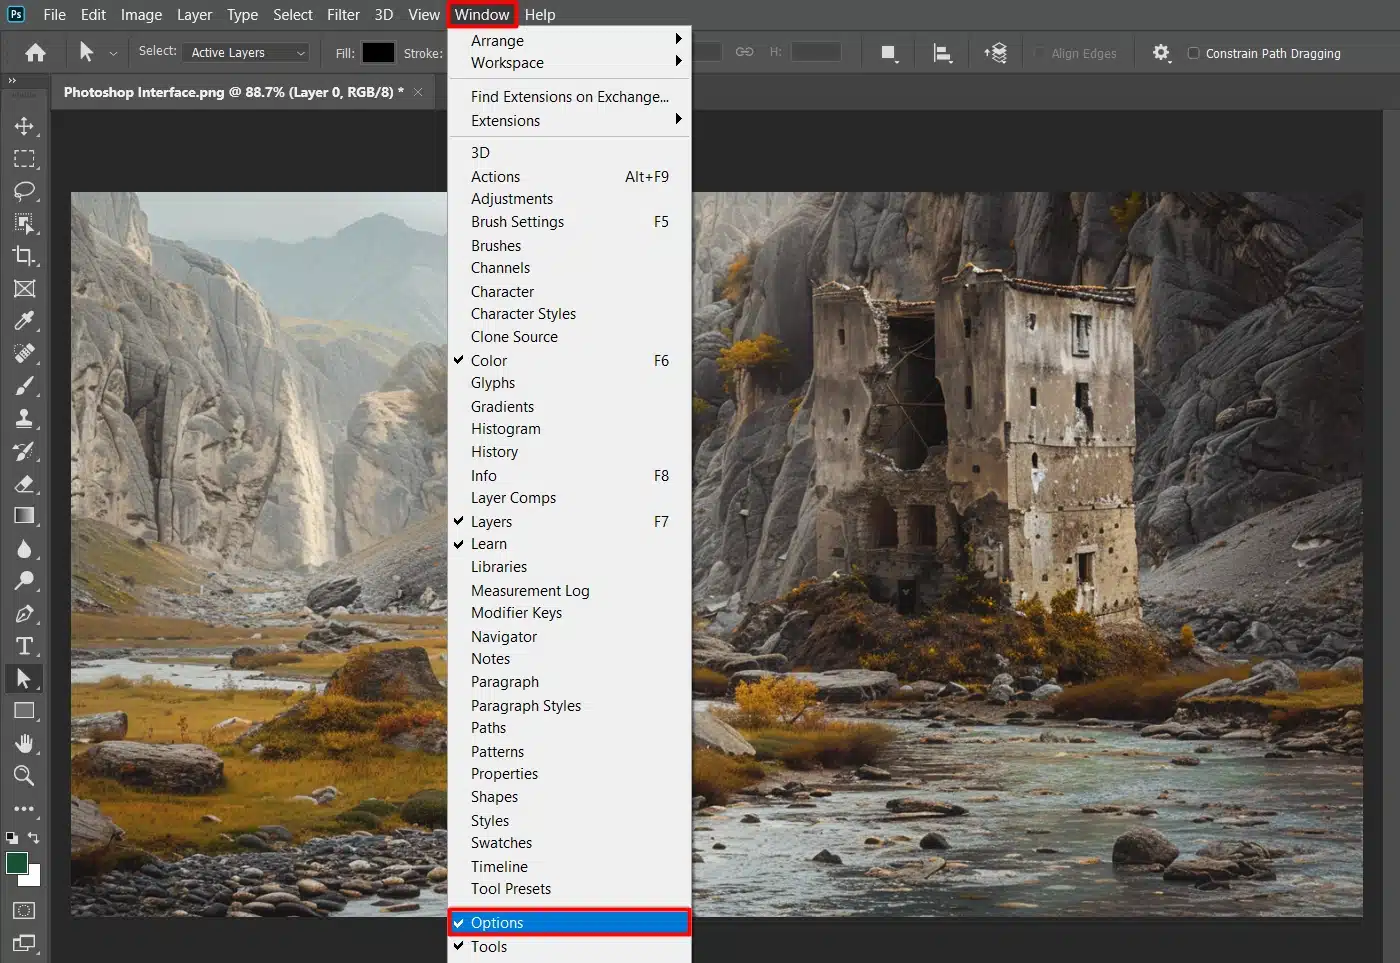
Once your panels and tools are arranged to your satisfaction, save this layout as a custom workspace. To do this:
Navigate to the Window Menu.
Select Workspace.
Click on 'New Workspace.'
Name your workspace and save it.
Your settings remain intact the next time you boot up Photoshop.
Customizing your workspace lets you quickly switch between different tasks without rearranging panels.
Keyboard Shortcuts
Keyboard shortcuts save a ton of time. Start by familiarizing yourself with the basic commands like Ctrl+C for copy and Ctrl+V for paste. To customize shortcuts:
Head to Edit Menu.
Select Keyboard Shortcuts.
Change shortcuts according to your preferences.
For instance, setting a quick key to access the Layers Panel ensures smooth transitions between tasks.
Memorizing and customizing these shortcuts improves productivity.
As you dive deeper into using Photoshop, remember that customizing the interface can significantly enhance your efficiency.
Don’t be afraid to experiment with different layouts and tools to find what works best for you.
Pro Tip: Right-click a tool in the Tools Panel to see alternate tools hidden under it. This helps you discover new tools without cluttering your screen.
Workspaces in Photoshop Interface
Ever wonder how to make Photoshop cc feel like your own personal studio?
Workspaces are like preset arrangements of all the tools, panels, and menus in Photoshop.
Each one is perfect for a specific type of task. Imagine having the same image but needing different tools for editing and retouching. That’s why switching workspaces helps.
Getting Started with Default Workspaces
Exploring Photoshop’s default workspaces is a great way to get familiar with the software’s layout and tools.
Each workspace is designed to streamline different types of tasks, starting with the Essentials Workspace, which provides a balanced setup for general editing.
Essentials Workspace:
This layout includes all basic panels and tools for general use. It’s the place to start.
Photography:
This layout focuses on tools and panels significant for photo editing, like the Layers Panel.
For advanced photo editing, you might also want to explore Lightroom for its unique features.
Graphics & Web:
It is tailored for graphic design work with specialized panels for Photoshop layers and text effects.
Adjusting the UI font size in Photoshop can significantly enhance readability and ease of navigation, ensuring a comfortable experience for users with varying preferences.
Personalize Your Photoshop Workspace: A Step-by-Step Guide
Want to make your workspace just right for you? It’s easy:
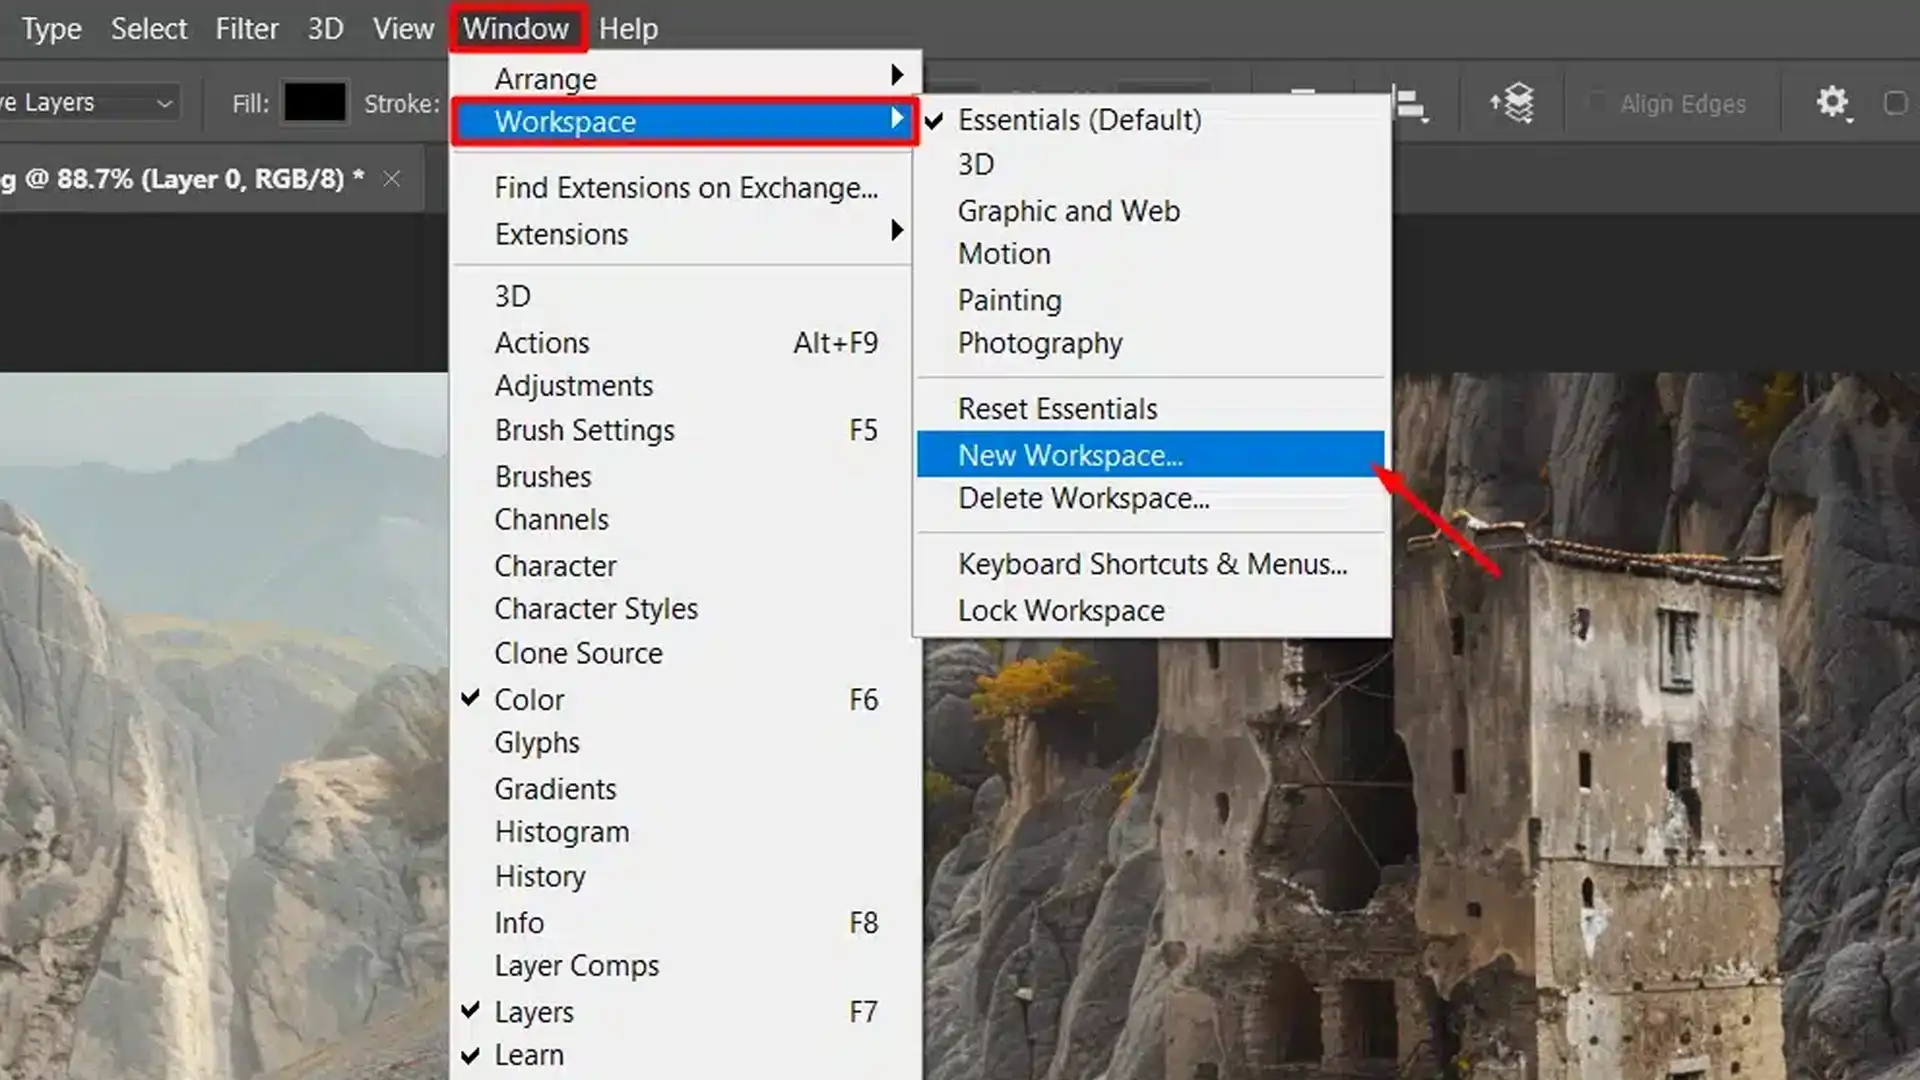
Go to the Window Menu.
Select any panel you need, like the Layers Panel or Control Panel.
Rearrange them by dragging and dropping them into your desired spots.
Save it by navigating to document Window > Workspace > New Workspace, then name and save it.
Mastering Panel Navigation
Photoshop has many panels you can use. Photoshop’s interface lets you access these panels easily.
You can collapse panels you don’t need by clicking the double arrows on the upper right corner of each panel. This gives you more space for your document window.
Speed Up Your Workflow with Using Shortcuts
Shortcuts save you time. Pressing the F key cycles through different screen modes. The Tab key hides/shows all panels instantly, giving you a clear view of your document.
Practice these for fast workflow adjustments. Also, familiarize yourself with importantLightroom shortcuts to speed up your editing process.
Also, to enhance your photo editing skills, it’s important to master the essential tools in Lightroom for efficient and high-quality adjustments.
Stay Organized with the Layers Panel
Don’t get lost in layers! The Layers Panel is your best friend.
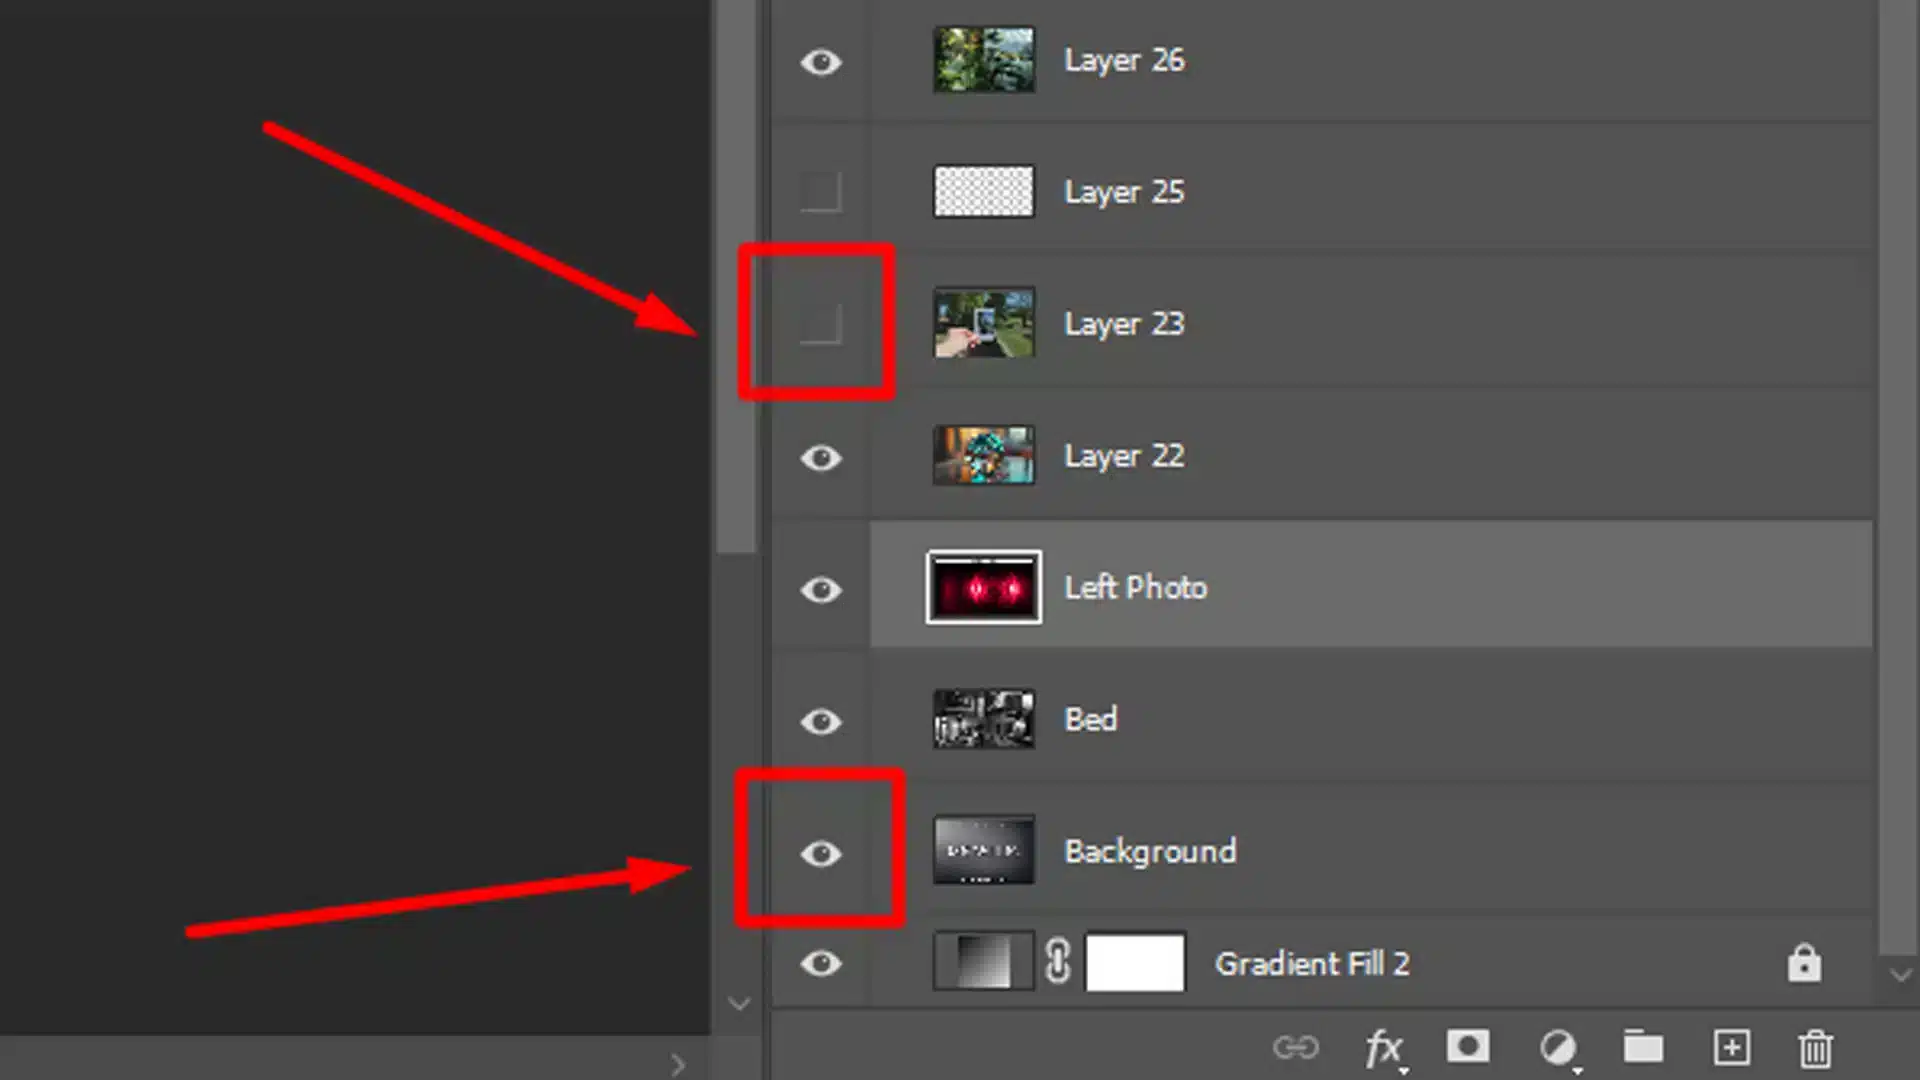
Click on the eye icon to hide/show individual layers. If you’re working on a complex project with many layers, this tool will help you stay organized.
Pro Tip: Before you close Photoshop, save your workspace settings. This way, you continue where you left off, ensuring your projects flow smoothly.
Panel Groups
Panel groups are clusters of panels merged. For example, the Layers Panel often pairs with Channels and Paths. Using panel groups keeps related panels within reach, helping to avoid clutter.
Creating a Panel Group
To create a panel group, drag one panel onto another. The new panel automatically docks into a tabbed group.
Grouping panels streamline your workspace and boost workflow efficiency.
Switching Between Panels Groups
Switching between panels in a group helps streamline your workflow.
Start by using tabs to easily manage and access your tools
Using Tabs
Navigating between panels in a group is simple. Just click the tab of the desired panel.
Want to switch from Layers to Channels?
Click the corresponding tab.It’s easy and avoids constantly opening and closing panels.
Using Panel Shortcuts
For those who prefer shortcuts, use Ctrl+Tab (Command+Tab on Mac) to toggle through panel tabs. This trick makes navigation seamless.
Additionally, learning Photoshop CC shortcuts, such as the new layer shortcut, can significantly speed up your workflow.
Where To Find More Panels In Photoshop
Finding additional panels in Photoshop can enhance your editing capabilities.
Learn how to access and add these panels to customize your workspace and improve your workflow.
Accessing Panels
You can always find more panels in the Window menu.
If a panel is missing, head to Window and check the list. Chances are, it’s simply hidden.
Tailoring Your Panels for Different Tasks
Add or remove panels based on your current task. For example, while retouching photos, you might need the Histogram panel.
While designing, you may want the Character panel. Each project has different needs, so customize accordingly.
To remove unwanted elements from your photo while editing, you can use the content-aware fill tool in Photoshop, which seamlessly blends the area with the surrounding content.
Pro Tip: If you feel lost, reset to the Photoshop CC default workspace by going to Window > Workspace > Reset Essentials.
This takes you back to the starting point, saving you time and frustration.
Now, let’s look at some useful tips and tricks to help you along your journey!
Using Panels Effectively
The Photoshop interface can seem like a maze, but knowing your panels is key. Each panel serves a purpose.
Familiarize yourself with the control panel, where you get quick access to commands. Utilize the options bar to tweak settings for the currently selected tool, from brushes to text.
If you’re overwhelmed by too many visible panels, minimize them. Head to the window menu and toggle the visibility of desired panels.
It’s an easy way to keep your workspace tidy.
Steps to Manage Panels:
Familiarize yourself with the control panel.
Utilize the options bar for tool settings.
Minimize unnecessary panels via the window menu.
Save your custom layout.
Layer Management
Next up, let’s talk Photoshop layers. Think of layers as transparent sheets stacked on top of each other. Use the eye icon to hide or show different layers while working on complex projects. Name your layers. Trust me, it saves time.
Instead of sifting through “Layer 1” and “Layer 2,” you can quickly find “Background” or “Logo.” Group layers together into a panel group. This makes managing multiple elements easier and reduces clutter.
Layer Management Tips:
Use the eye icon to manage layer visibility.
Name your layers for easy identification.
Group related layers to reduce clutter.
Quick Access with Customized Toolbars for Photoshop Interface
Nobody likes wasting time. Quick access to Photoshop tools is a game-changer.
Customize your menu bar for frequently used tools.
For instance, if you often use the brush and crop tools, place them next to each other. This minimizes interruptions in your creative flow.
Keyboard shortcuts are your best friend. Memorize them for the main interface and tools you use most.
For example, pressing the “B” key selects the brush tool instantly. Custom shortcuts take productivity up a notch.
Use the home icon for quick navigation. Need to return to the main screen?
Click it. Reorganizing your interface and using keyboard shortcuts keeps you moving fast and efficiently.
Tips for Tool Access:
Customize your menu bar for frequently used tools.
Memorize keyboard shortcuts for efficiency.
Use the home icon for quick navigation.
Pro Tip: Save versions of your existing document frequently, whether you’re using Photofiltre or Photoshop.
Getting familiar with either software and practicing frequent saving will prevent loss of work and allow for comparison between multiple edits. Frequent saving is your safety net.
Incorporating these tips can transform how you use Photoshop.
Enjoy a smoother, more efficient workflow, and don’t forget to check back for the next lesson!
Common Mistakes While Using the Photoshop Interface
Avoiding common mistakes can make a big difference in how efficiently you use Photoshop.
One common oversight is neglecting to customize your workspace, which can slow down your workflow and limit your productivity.
The Risk of Neglecting to Customize Workspaces
Customizing workspaces in Photoshop is significant for optimizing your workflow.
Many users stick with the default layout without realizing they can rearrange panels and tools to suit their needs better. By neglecting to customize workspaces:
You miss out on efficiency gains: Customized workspaces can streamline your editing process by placing frequently used tools and panels within easy reach.
You may encounter clutter: Default layouts often include panels you may not use regularly, cluttering your workspace and making it harder to find the important tools.
It slows your workflow: Not having a workspace tailored to your tasks means spending more time searching for tools and navigating through unnecessary panels.
Solution: Take the time to arrange panels and tools according to your editing needs.
Save customized workspaces for different projects (e.g. photo editing and graphic design) to maximize efficiency.
Regularly update and refine your workspaces as your workflow evolves.
Maximizing Efficiency: The Importance of Keyboard Shortcuts
Keyboard shortcuts are like shortcuts to efficiency in Photoshop.
Yet, many users rely solely on mouse clicks and menu navigation, missing out on significant time savings and workflow improvements. When you ignore keyboard shortcuts:
Editing becomes slower: Constantly switching between mouse and keyboard disrupts your flow and slows your editing speed.
You miss out on productivity features: Keyboard shortcuts often provide direct access to tools and commands without navigating through menus, enhancing your productivity.
It hinders learning: Mastering shortcuts can initially require effort but pays off in faster workflows and improved editing capabilities.
Solution: Start by learning a few important shortcuts for tools you use frequently. Gradually expand your repertoire as you become more comfortable.
Use resources like Adobe’s official shortcut guide or customize shortcuts to match your editing style. Regular practice will make using shortcuts second nature.
Overlooking Panel Organization
Effective panel organization is key to maintaining a clean and efficient workspace in Photoshop.
However, many users overlook this aspect, leading to cluttered interfaces and wasted time. When panels are disorganized:
You waste time searching: Scrolling through a cluttered panel list or hunting for specific tools slows your editing process.
It causes distraction: Visual clutter can overwhelm and distract, making it harder to focus on the editing task.
You may miss important tools: Panels that are poorly organized may hide tools or options that could enhance your editing capabilities.
Solution: Group related panels together using tabbed groups or create custom panel arrangements that suit different types of projects.
Collapse panels you don’t use often to free up space in your workspace. Regularly review and adjust panel organization as your workflow evolves.
Mastering Layer Management for Efficient Editing
Layers are fundamental in Photoshop for non-destructive editing and organizing elements in your projects.
However, many users do not utilize layer management effectively, leading to confusion and inefficiencies. When layer management is lacking:
Your projects become disorganized: Naming layers poorly or not grouping related layers makes it difficult to navigate complex projects.
You risk losing edits: Without proper layer organization, tracking changes and making adjustments becomes cumbersome and error-prone.
It limits creativity: Effective layer management allows for experimentation and easy adjustment of interface elements, enhancing creative freedom.
Solution: Name layers descriptively to identify their contents easily.
Group related layers together and use layer masks to control visibility and edits efficiently.
Regularly organize and clean up layers as you work to maintain clarity and control over your projects.
Skipping Familiarization with Other Panels
Each panel in Photoshop serves a specific function and can significantly enhance your editing capabilities.
Yet, many users skip familiarizing themselves with important panels, missing out on tools to streamline their workflows. When other panels are overlooked:
You miss out on powerful tools: Panels like Layers, Channels, and Paths offer tools and options critical for advanced editing techniques.
Your editing remains basic: Without exploring advanced panels, you may limit yourself to basic editing functions, missing opportunities for creative enhancement.
It hinders efficiency: Constantly switching between tasks or tools because of unfamiliar panels slows your editing process and disrupts your creative flow.
Solution: Take time to explore each significant panel in Photoshop. Understand its purpose, tools, and how it integrates with your editing tasks.
Experiment with different tools and optionsbar within each panel to discover their potential for enhancing your workflow and creativity.
Frequently Asked Questions
What is a Photoshop Interface?
The Photoshop interface refers to the layout and arrangement of tools, menus, panels, and controls that you interact with while using Adobe Photoshop.
It’s designed to help users efficiently edit and manage their image editing and projects.
How do I Show Interface in Photoshop?
Open Photoshop.
Go to the Window menu at the top of the screen.
Select the panels or tools you want to display, such as Layers, Tools, or Options bar.
How do I Restore My Photoshop Interface?
Open Photoshop.
Click on Window in the top menu.
Choose Workspace.
Select Reset Essentials or another preferred workspace from the list.
Is GIMP Interface Similar to Photoshop?
Yes, the GIMP interface shares some similarities with Photoshop, such as the arrangement of tools and panels.
However, there are differences in design, layout, and some functionalities, reflecting GIMP’sGIMP’se features as a free and open-source image editor.
In conclusion, understanding the Photoshop interface has improved my editing skills. When I first started, I felt lost, but now I can navigate it with ease.
Learning the layout and tools has made my projects more efficient and enjoyable. I highly recommend checking out my Photoshop course and Lightroom course if you want more in-depth tutorials and tips.
Happy editing!
If this article has helped you, then Like and Share it with your friends
$2,061.00Original price was: $2,061.00.$1,061.00Current price is: $1,061.00. 27584
Download Your Free Guide Now!
Discover the secrets of photography with our printable guide! Master essential techniques like aperture, shutter speed, and ISO to create stunning images. Get your free printable PDF now and start turning your snapshots into masterpieces!