Perfect Star in Photoshop for Creating Flawless Shapes

Creating the Perfect Star in Photoshop is easier than it sounds. Photoshop has different tools to help you draw precise shapes like stars. With just a few clicks, you can create stars that are perfectly balanced with sharp, clean edges. This process is ideal for anyone looking to add stylish designs or elements to their digital projects, whether for logos, posters, or illustrations.

In this article, you’ll discover essential tips and techniques to help you create flawless star shapes every time you open Photoshop. Let’s dive in and learn how to create stunning masterpieces!

Table of Contents

Why You Should Learn How to Make a Perfect Star in Photoshop

Creating the Perfect Star in Photoshop is easier than it sounds. Photoshop has different tools to help you draw precise shapes like stars. With just a few clicks, you can create stars that are perfectly balanced with sharp, clean edges. This process is ideal for anyone looking to add stylish designs or elements to their digital projects, whether for logos, posters, or illustrations.

There are various tools in photoshop like the custom shape tool, polygon tool, and even the pen tool to help you make stars quickly and precisely. Each tool offers unique features for designing and manipulating shapes, allowing users to choose the one that best fits their needs.

Tool Ease of Use Best For Customization Options Shape Accuracy
Custom Shape Tool Easy to use; shapes are pre-made Quick use of pre-designed star shapes Limited customization beyond resizing and fill High, but limited creativity
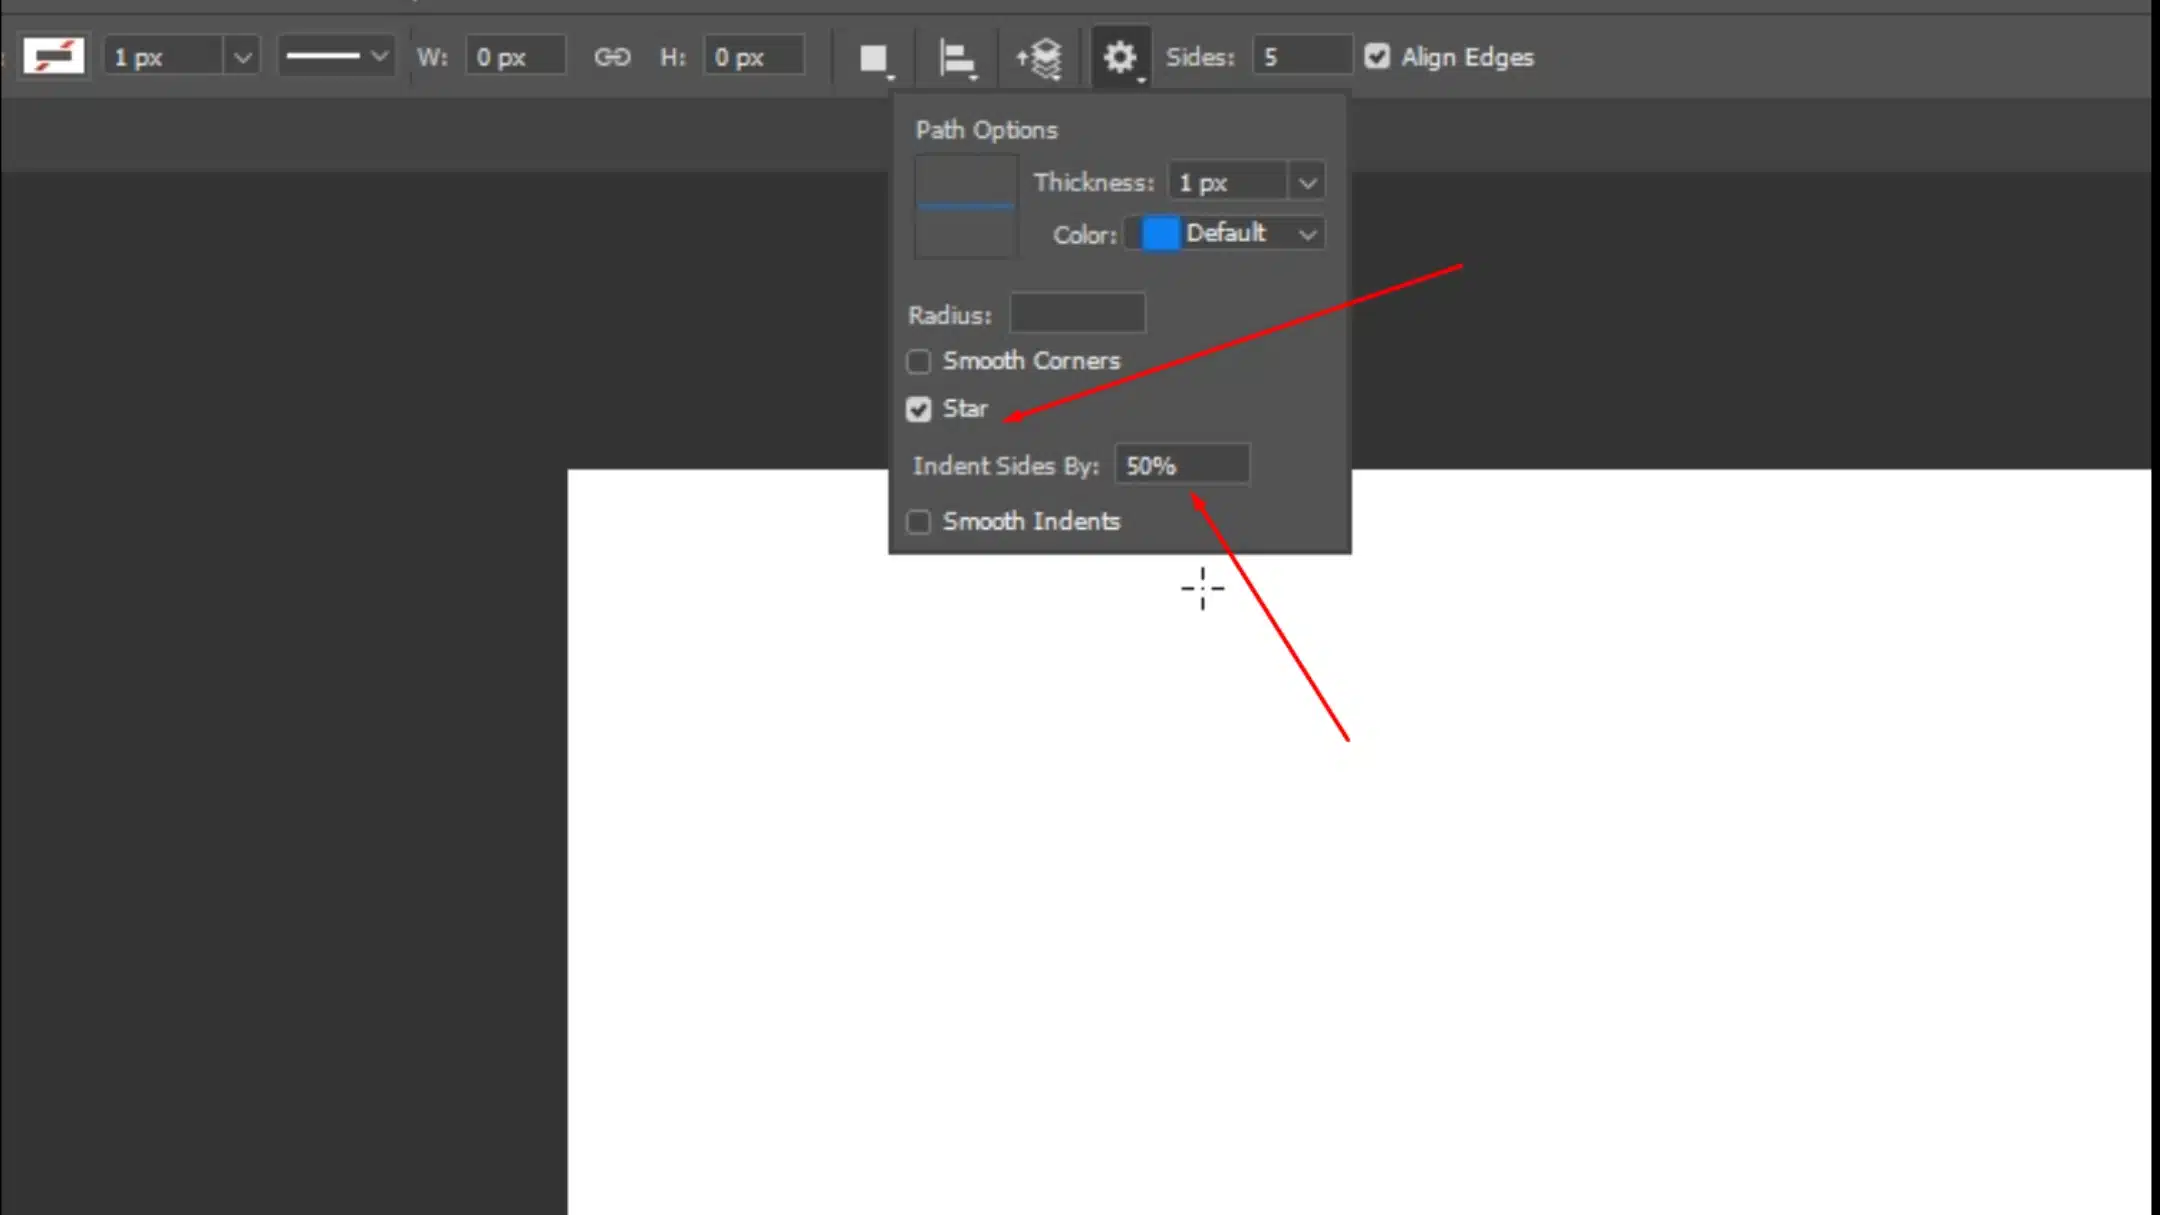
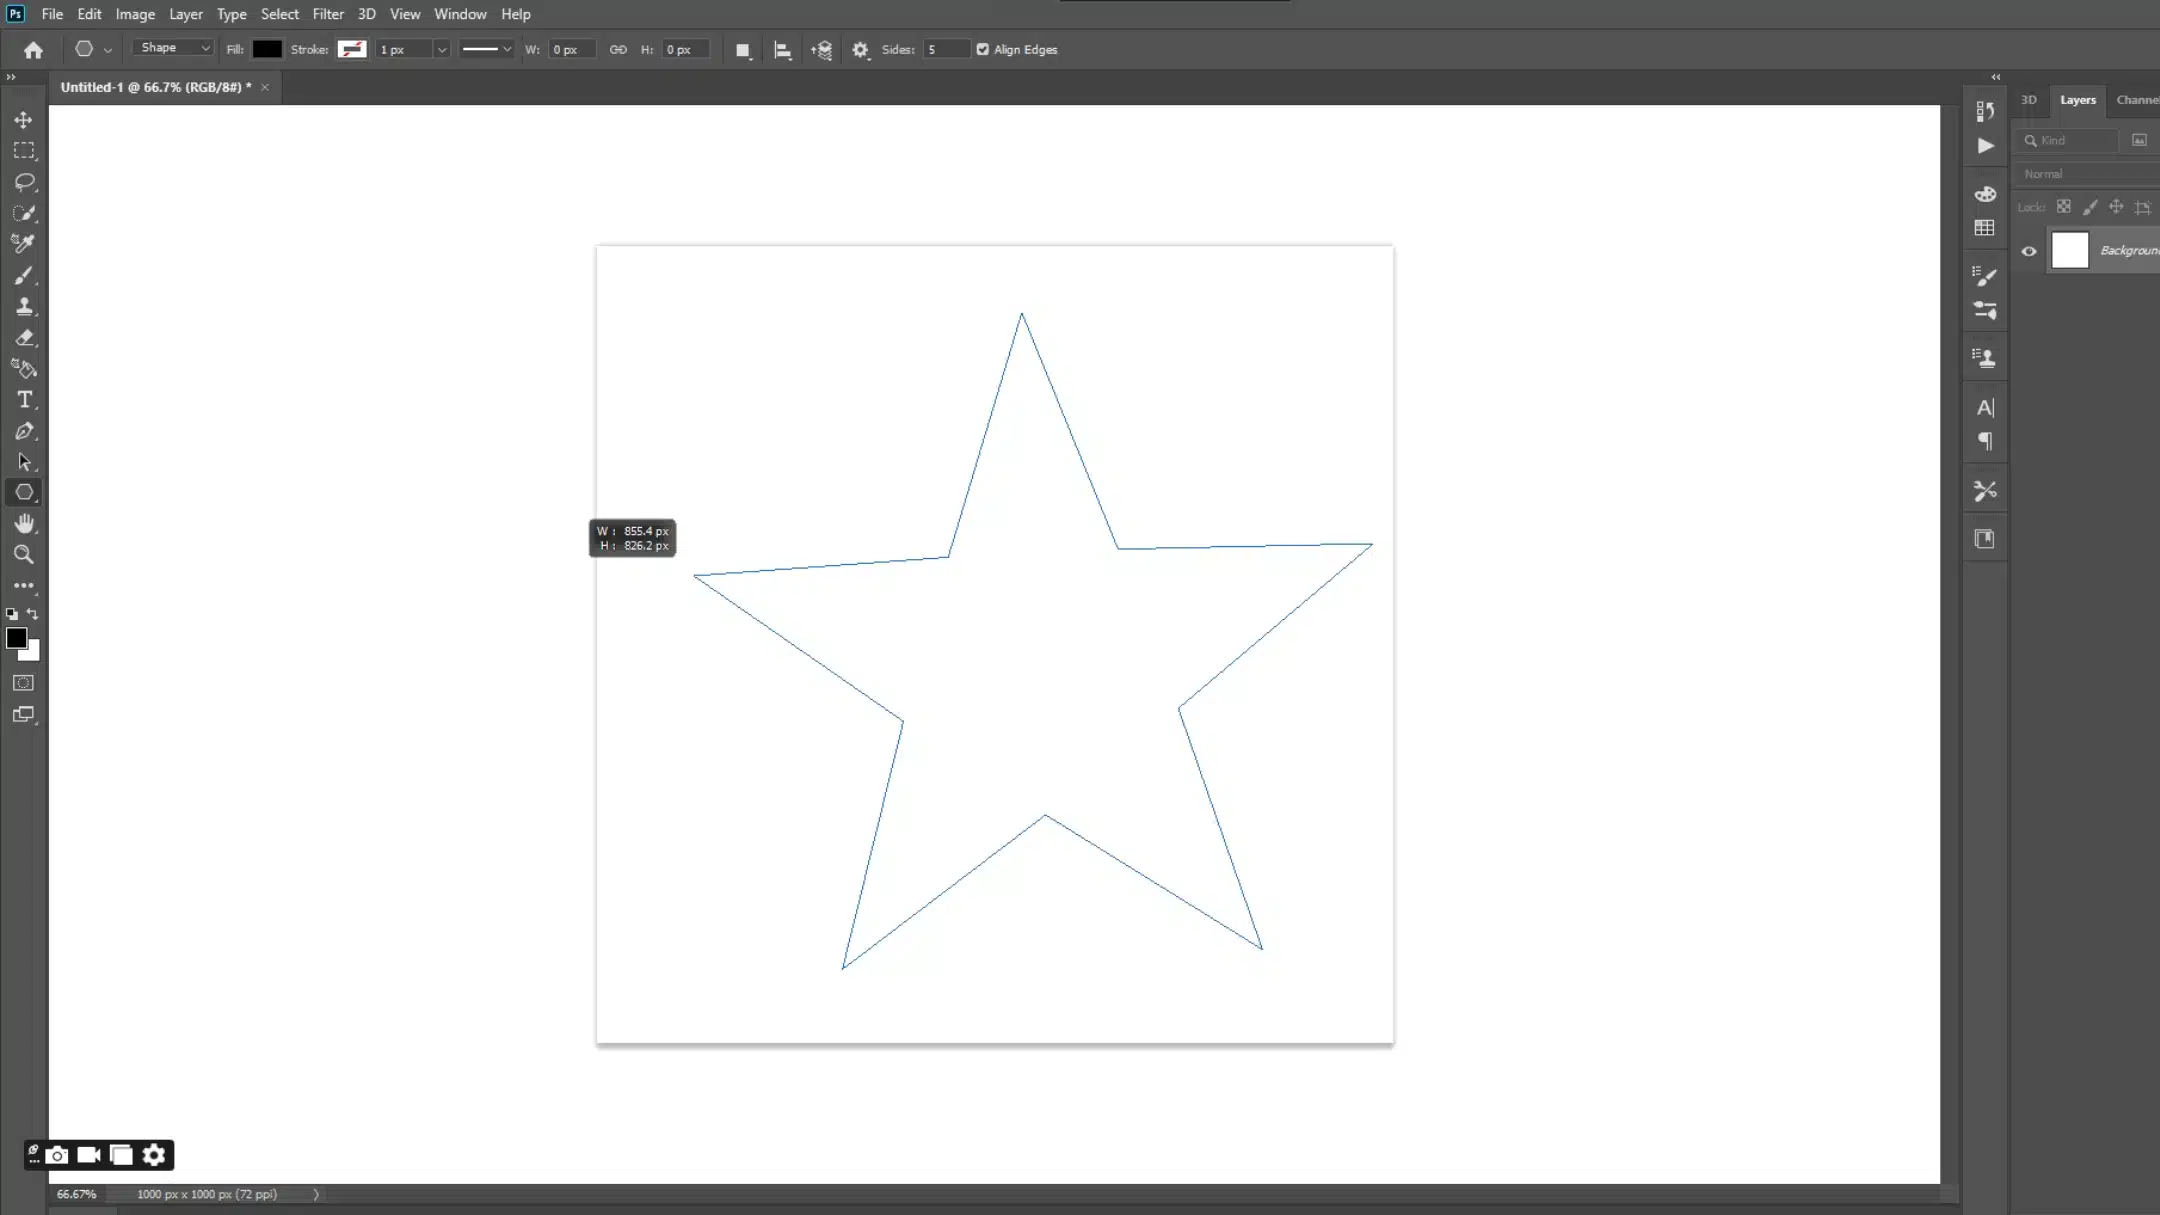
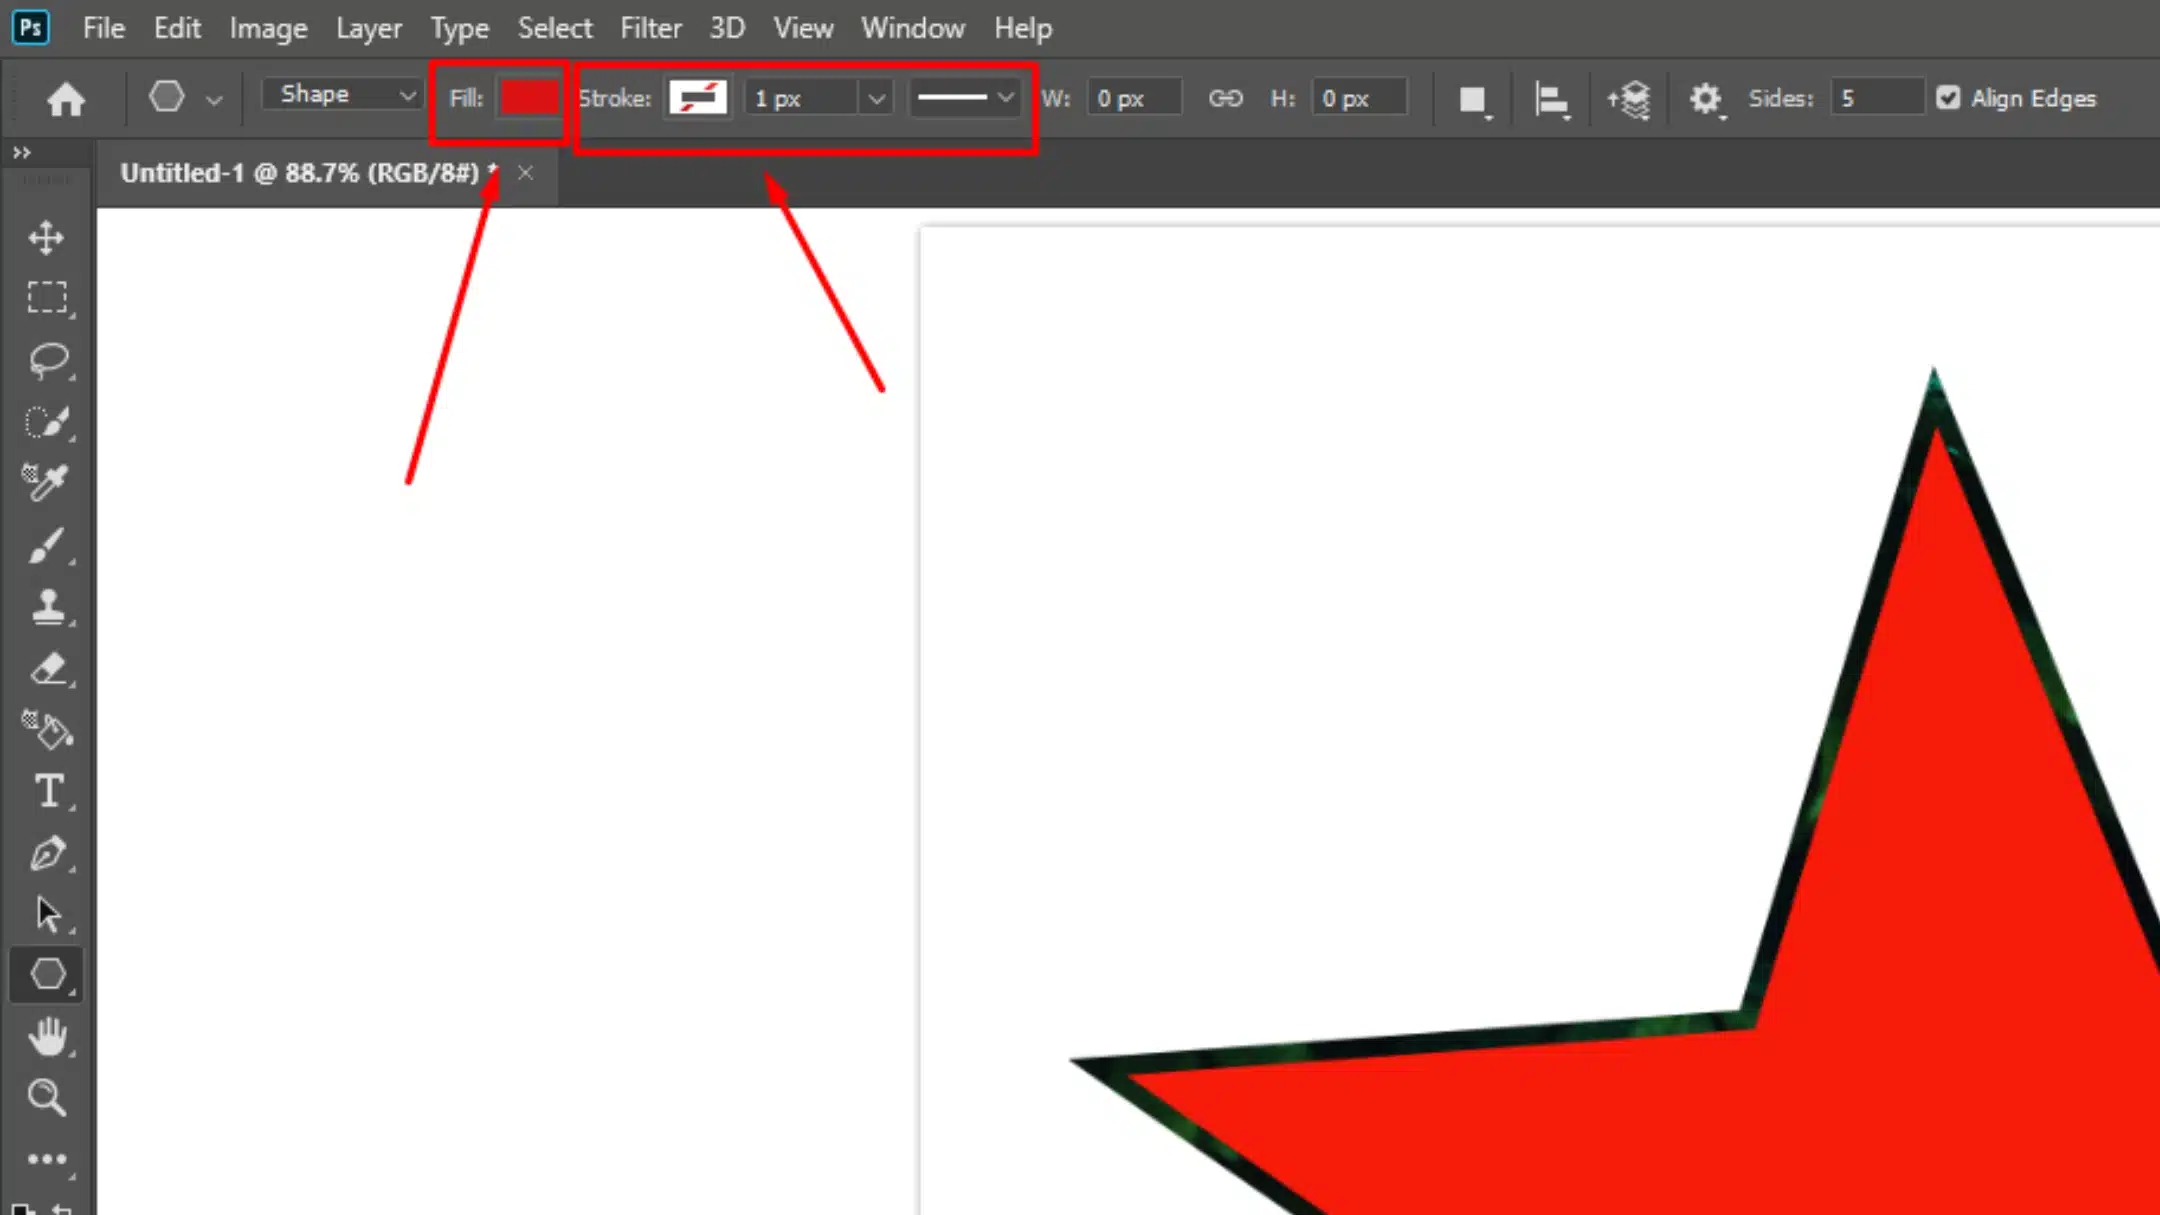
Polygon Tool Moderate, requires adjusting settings Creating precise star shapes with adjustable points Can modify star ratio and corners Very high, with customizable points
Pen Tool Difficult, requires skill Drawing complex, freeform star shapes manually Fully customizable; complete control over shape High, but requires precision

These tools help you choose the best option for your project. Each tool is useful depending on whether you need speed or customization for your design.

Additionally, creating stars with Photoshop gives you control over many important design elements. You can adjust the star ratio, choose the number of sides, and modify other shape properties to get different styles. This flexibility means you can create anything from simple, classic stars to more detailed or stylized versions that match your project’s needs.

Benefits of Learning Perfect Star in Photoshop

Examples of Star Usage in Design

Stars are more than just decorative shapes. Here are a few examples where stars are essential:

In this way, you can add professional quality to your designs while saving time by using custom shapes and other features in adobe photoshop.

Step-by-Step Guide to Drawing a Perfect Star in Photoshop

Creating a perfect star in Photoshop is simple if you know how to use the right tools and settings. Whether you’re a beginner or an experienced user, following these steps will help you get the best results. Adobe Photoshop gives you the freedom to customize your vector shapes, like stars, by adjusting properties like the star ratio and radius of corner.

1. Start with a New Document

Photoshop interface showing the new document dialog box with custom canvas size options.
First, open Photoshop and create a new photoshop document by going to the menu bar and clicking File > New. Set the canvas size to your preference. For example, a 1000×1000 pixel canvas is great for star designs.

2. Select the Polygon Tool

This interface showing the Polygon Tool in the toolbar.

To draw a perfect star in photoshop, choose the Polygon Tool from the shape tools in the options bar. This tool allows you to create a variety of shapes, including stars. In the properties panel, set the number of sides to 5 for a classic five-pointed star. You can experiment with other numbers for different star shapes.

3. Adjust the Star Ratio : Perfect Star in Photoshop

Photoshop interface showing the star ratio settings in the path options for adjusting star shape points.

In the shape properties, you’ll find the star ratio option. Lowering this ratio (around 40-50%) will create sharper points, while increasing it will result in chunkier stars. Adjust the star ratio based on your design needs.

4. Drawing the Star

Photoshop canvas showing a five-pointed star being drawn using the Polygon Tool.

Click on the canvas and start to click and drag. Hold the Shift key while dragging to keep the star perfectly symmetrical. Holding the Shift key ensures your star is not skewed, which is important for a precise design.

5. Customizing the Star Shape

Photoshop interface showing the options for adjusting the fill and stroke colors of a star shape.

After you have drawn your star, you can further adjust it in the shapes panel. Use the fill color swatch to change the inside color of the star, and use the stroke color swatch to customize the outline. You can even use a gradient fill for more visual depth.

6. Fine-Tune the Shape Properties

Layers panel in Photoshop showing a shape created as a layer with the ability to adjust properties.

In the layers panel, make sure the star is created as a shape layer. This will make it easier to adjust the star later. You can scale the star without losing quality since it is a vector shape. Adjust the star’s size and placement on the canvas by using the rectangle tool or manually dragging the corners.

7. Saving Your Work : Perfect Star in Photoshop

Photoshop interface showing the process of saving a star as a custom shape using the "Define Custom Shape" option.

Once your star is complete, remember to save your work. If you want to use the same star again, you can save it as a new custom shape by going to Edit > Define Custom Shape. This will make the star accessible from the shapes panel for future projects.

With these simple steps, you can quickly master the art of drawing and customizing stars in Photoshop. From adjusting the star ratio to exploring different fill and stroke options, you can create the perfect star in photoshop for any project!

Common Mistakes to Avoid When Creating Stars in Photoshop

Even though drawing stars in Adobe Photoshop can seem simple, there are common mistakes that can ruin your design if not addressed. Understanding these mistakes can save you time and frustration while helping you create cleaner and more professional star shapes.

1. Using the Wrong Tool :

Many users start by selecting the wrong tool for drawing stars. Instead of using the polygon tool, they might choose the rectangle tool, which is unsuitable for creating stars. The polygon tool allows you to create stars with sharp points and customize the star shape. To avoid this, always select the polygon option from the shape tool options bar.

Tip: After selecting the polygon tool, be sure to check the star checkbox in the properties panel to ensure you’re drawing a perfect star in photoshop instead of a polygon.

2. Forgetting to Hold Shift for Proportions

When clicking and dragging your perfect star shape onto the canvas, forgetting to hold the shift key can result in a distorted star. Holding the shift key ensures your star remains symmetrical and balanced. If you forget this step, your star might look stretched or uneven, which takes away from its polished appearance.

Tip: Hold the shift key before dragging your shape to maintain equal proportions.

3. Not Adjusting the Star Ratio

Many beginners don’t adjust the star ratio when making stars, which can lead to stars that look too fat or too thin. Adjusting the star’s proportions in the properties panel lets you fine-tune the shape to your liking. A lower ratio creates sharper points, while a higher ratio makes the star fuller.

Tip: Experiment with the star ratio option in the shape properties for the best result. A 50% ratio is often a good starting point.

4. Ignoring Stroke and Fill Options

Another common photo editing mistake is ignoring the fill color swatch and stroke color swatch when drawing stars. By default, Adobe Photoshop adds a black stroke around the star, which may not suit your design. Also, forgetting to adjust the fill color could result in a star that blends into the background.

Tip: Always check your fill color and stroke color in the options bar. Use the color picker to choose the exact colors you need.

5. Overlooking Alignment and Placement : Perfect Star in Photoshop

Sometimes, after drawing your star, you might forget to align it properly. Not centering the star on your canvas or failing to use the fly out menu to adjust placement can lead to a sloppy final design.

Tip: Use guides and the group icon to make sure your star is aligned perfectly with other design elements.

By avoiding these common mistakes, you can create precise and well-designed stars in Photoshop. With attention to selection tool, proportions, and finishing touches like color, your stars will look professional every time, enhancing your astrophotography projects.

Advanced Techniques for Enhancing Your Star Designs in Photoshop

Mastering advanced techniques in Adobe Photoshop can elevate your star designs, making them more visually engaging. While simple stars are great, there are several ways to enhance their appearance by manipulating settings, adding layers, and using unique effects.

Adding Multiple Star Layers for Depth

One of the simplest ways to add depth to your design is by layering stars of different sizes and colors. This technique creates a more dynamic image, making your design stand out.

Steps:

This method allows you to blend colors and sizes, adding variety and interest to your star-based designs.

Adjusting the Star Shape with Rounded Corners : Perfect Star in Photoshop

To make your star look softer or more modern, you can adjust the corner radius. This technique is perfect for designs that need a less rigid appearance.

Steps:

Using a rounded star adds a friendly, playful look to your design, while sharp corners keep things more traditional.

Using Gradients for Extra Detail

Applying gradients in photoshop can make your star appear more three-dimensional, adding depth and a modern touch.

Steps:

A gradient can take your star from flat and dull to polished and professional in just a few clicks.

Creating Patterns with Star Shapes

You can also create eye-catching patterns by repeating the star shape. This is perfect for background designs or borders in your project.

Steps:

This technique can be used to create elegant or whimsical backgrounds in photoshop that complement your main design.

Using the Polygon Shape for Custom Stars : Perfect Star in Photoshop

For more flexibility, experiment with different star shapes using the polygon shape tool. Adjust the settings to create stars with a variety of point configurations.

Steps:

With this method, you can customize stars beyond the traditional five-pointed variety, giving your design a unique flair.

By incorporating these techniques, you can enhance your star shapes in Photoshop and create more compelling and professional designs. Whether you’re layering stars for depth, adjusting corners for a modern look, or experimenting with patterns and gradients, there are endless possibilities to explore. These skills are also invaluable when you want to edit astrophotography, bringing out the stunning details of the night sky.

Frequently Asked Questions : Perfect Star in Photoshop

Photoshop-Masterclass-Advanced-Editing-Layer-Manipulation

How to make a perfect star in Photoshop?

To make a perfect star shape in photoshop, follow these simple steps:

This will give you a clean, well-proportioned star for your design projects.

How do I type a star in Photoshop?

Photoshop doesn’t have a specific key for typing a star like you would type letters, but you can insert a star shape by following these steps:

This method allows you to “type” or insert a star easily into any design.

What is the perfect star ratio?

The star ratio refers to how much space the star takes up within the overall shape. For most star shapes, a ratio of 40-50% works best. This means the star’s points are sharp, and the inner sections don’t take up too much space, creating a balanced design.

You can modify the ratio in the properties panel or by adjusting settings when drawing your star.

How to draw a perfect 5-point star?

To draw a perfect 5-point star in Photoshop:

This will give you a perfect 5-point star, which is ideal for logos or other professional designs.

Conclusion : Perfect Star in Photoshop

A beautiful starry sky with a Photoshop-designed star near the moon on a road background.

When I first started using Photoshop, getting the star shape just right was difficult. Aligning the points and adjusting proportions felt tricky. But with time, I learned to use the polygon shape and the properties to fine-tune the star’s corners and settings

Mastering these basic tools really unlocked my creativity in Photoshop. If you’re ready to level up your design skills and make Photoshop easier, I highly encourage you to explore our Photoshop Course and Lightroom Course.

If “Perfect Star in Photoshop for Creating Flawless Shapes” article has helped you, then Like and Share it with your friends

Facebook
Twitter
LinkedIn
Pinterest

Have a nice photoshoot!

Read more about: Photo Editing with Lightroom and Photoshop

Download Your Free Guide Now!

Discover the secrets of photography with our printable guide! Master essential techniques like aperture, shutter speed, and ISO to create stunning images. Get your free printable PDF now and start turning your snapshots into masterpieces!