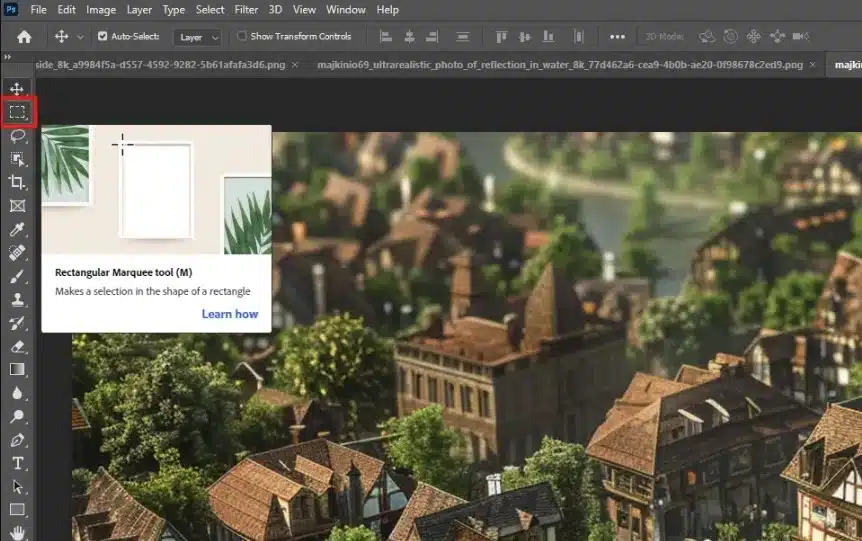
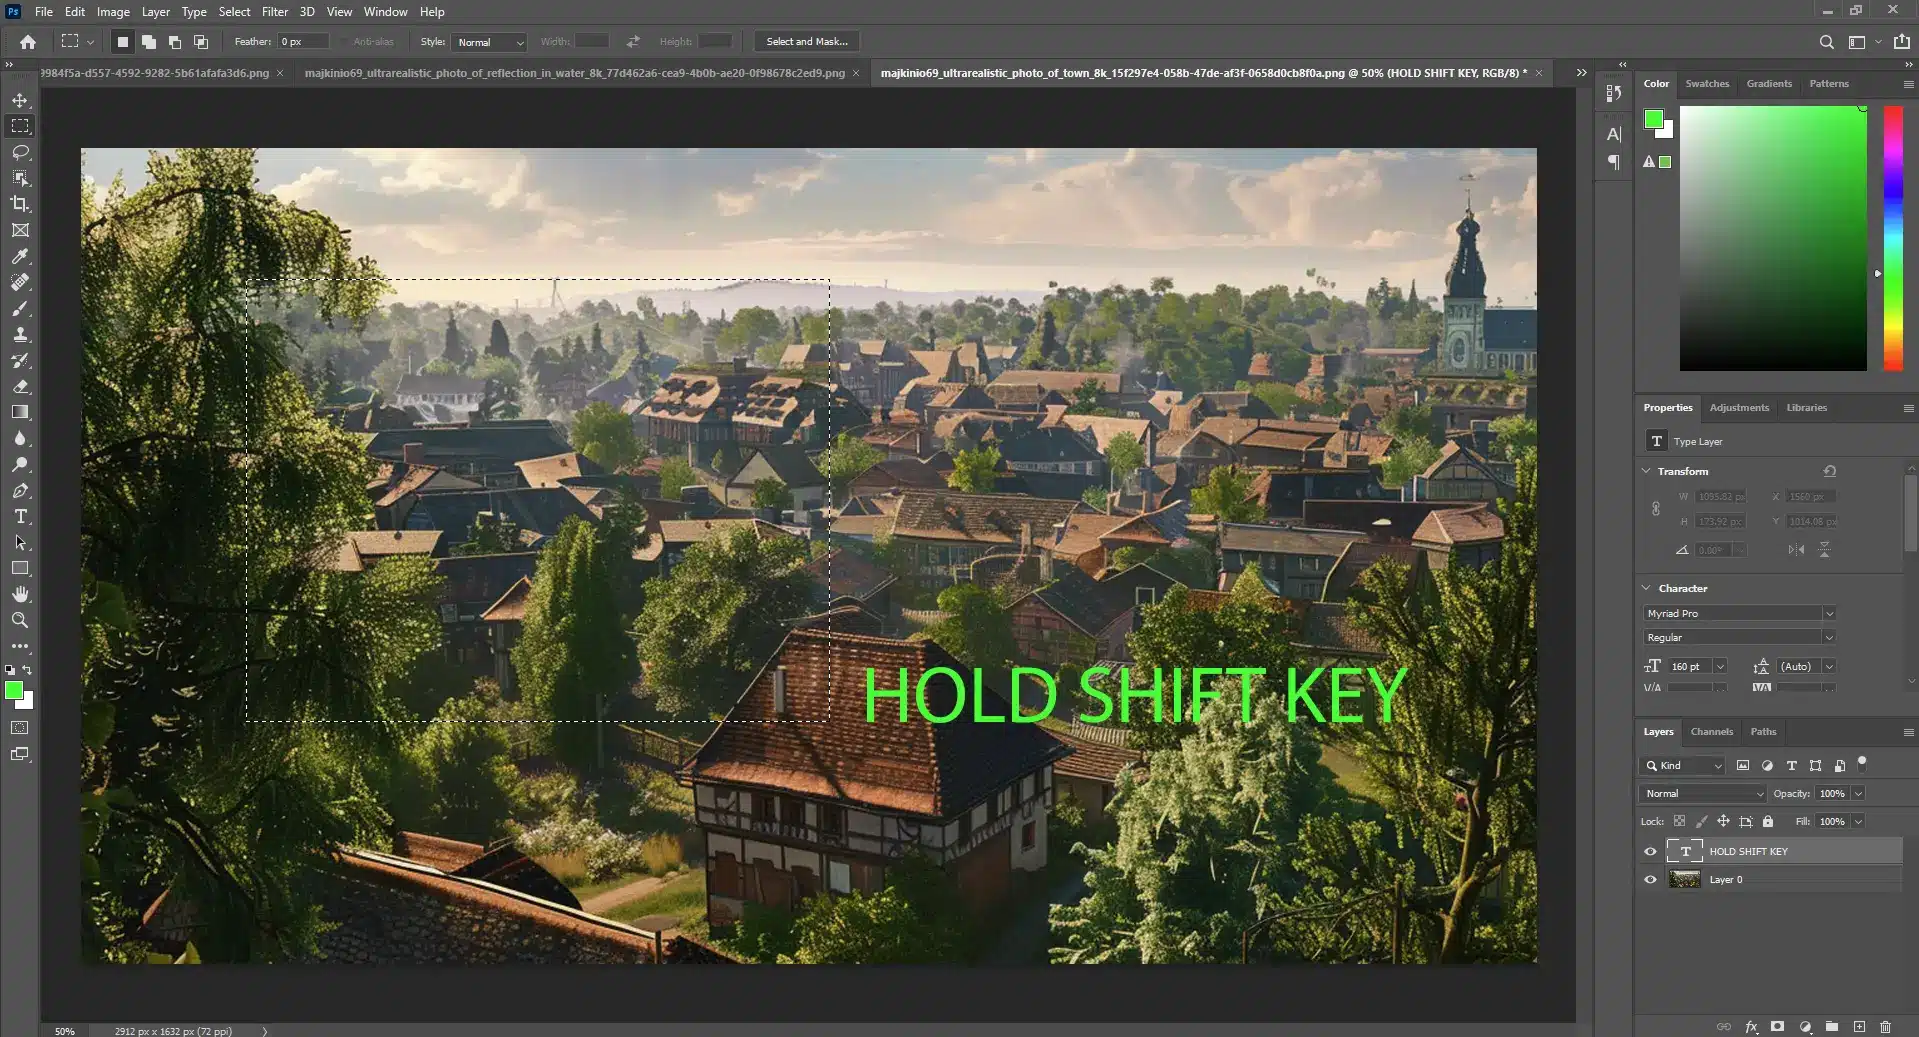
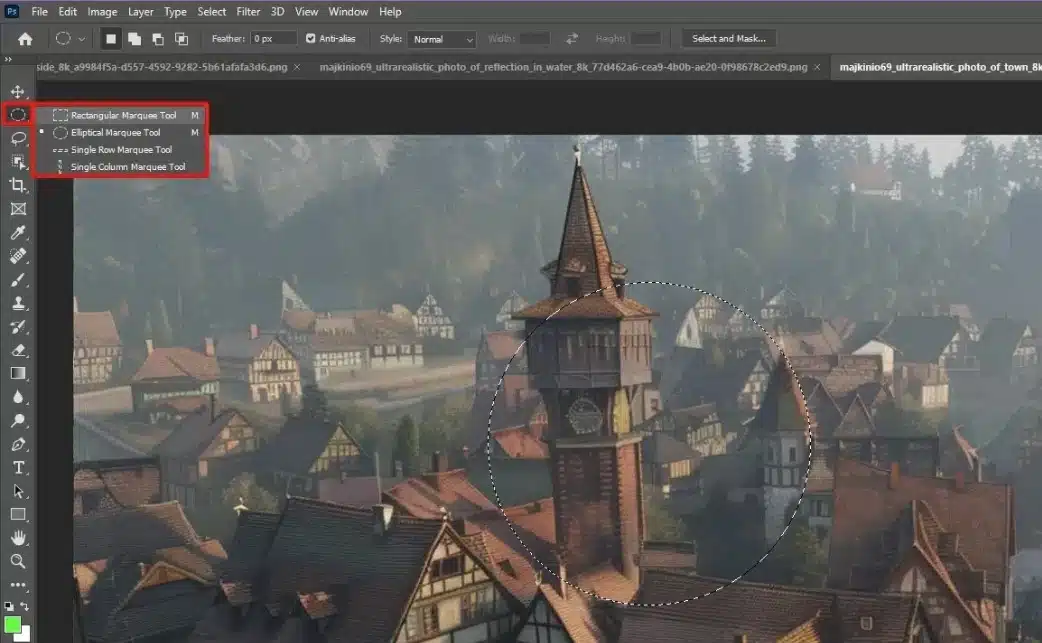
Take Control with Photoshop’s Marquee Tool: Perfect Selection Every Time

The marquee tool in Photoshop is a life-saver for quick edits. Whether you’re cropping a family photo or fine-tuning a landscape shot, this tool can make your life so much easier.

In this guide, I’ll show you everything you need to know, from creating perfect squares to refining complex shapes in Photoshop.

Let’s get started and unlock the full potential of the marquee tool together!

Table of Contents

How to Use the Marquee Tool in Photoshop

Selecting the Marquee Tool Photoshop

Photoshop Rectangular Marquee Tool Selection Menu

Firstly, to start using the marquee tool, you first need to select it. You can find the marquee tool in the toolbar on the left side of your screen

It looks like a dotted rectangle. If you don’t see it, it might be hidden under another tool. If that is the case, just click and hold on the tool icon to reveal the different marquee tools.

Creating a Selection

Once you’ve got the marquee tool selected, it’s time to create a selection. This is where the fun begins!

Creating a Selection with fixed ratio

If you need a specific size, you can set a fixed size or fixed ratio in the options bar at the top of the screen. This is super handy for creating consistent selections.

For instance, if you’re working on a how to remove an object , having precise object selections can make the task much easier.

Additionally, mastering the select subject feature can help you make quick and accurate selections, enhancing your editing efficiency.

Elliptical Marquee Tool

The Elliptical Marquee Tool creates elliptical selections or circular selections. Users click and drag to form the selection, which can be modified by adding, subtracting, or feathering.

Holding Shift while dragging makes a perfect circle without the need for circle cropping. It’s used for cropping, editing, masking, and highlighting specific areas within an image.

Rectangular Marquee Tool

The rectangular marquee tool is probably the one you’ll use the most. This tool is indispensable when performing tasks such as removing shadows.

Just click and drag to create a rectangular selection. If you want a perfect square, hold down the shift key while dragging.

Single Row Marquee Tool

The single row of marquee tool is a bit more specialized. It selects a single row of pixels across your image.

This can be useful for certain types of detailed work, like aligning elements.

Single Column Marquee Tool

Similar to the single row tool, the single column marquee tools selects a single column of pixels. It’s great for vertical alignments and precise edits.

Modifying Selections

Rectangular marquee tool active and text indicating to hold the shift key for modification.

Once you’ve made a selection, you might need to tweak it a bit. You can add to your selection by holding down the shift key and dragging again.

To subtract from your selection, hold down the alt key (or option key on Mac) and drag.

Pro Tip: Use the feather option in the options bar to soften the edges of your selection. 

AspectDescription
Function of Marquee ToolCreates precise selections (rectangular or elliptical) in an image.
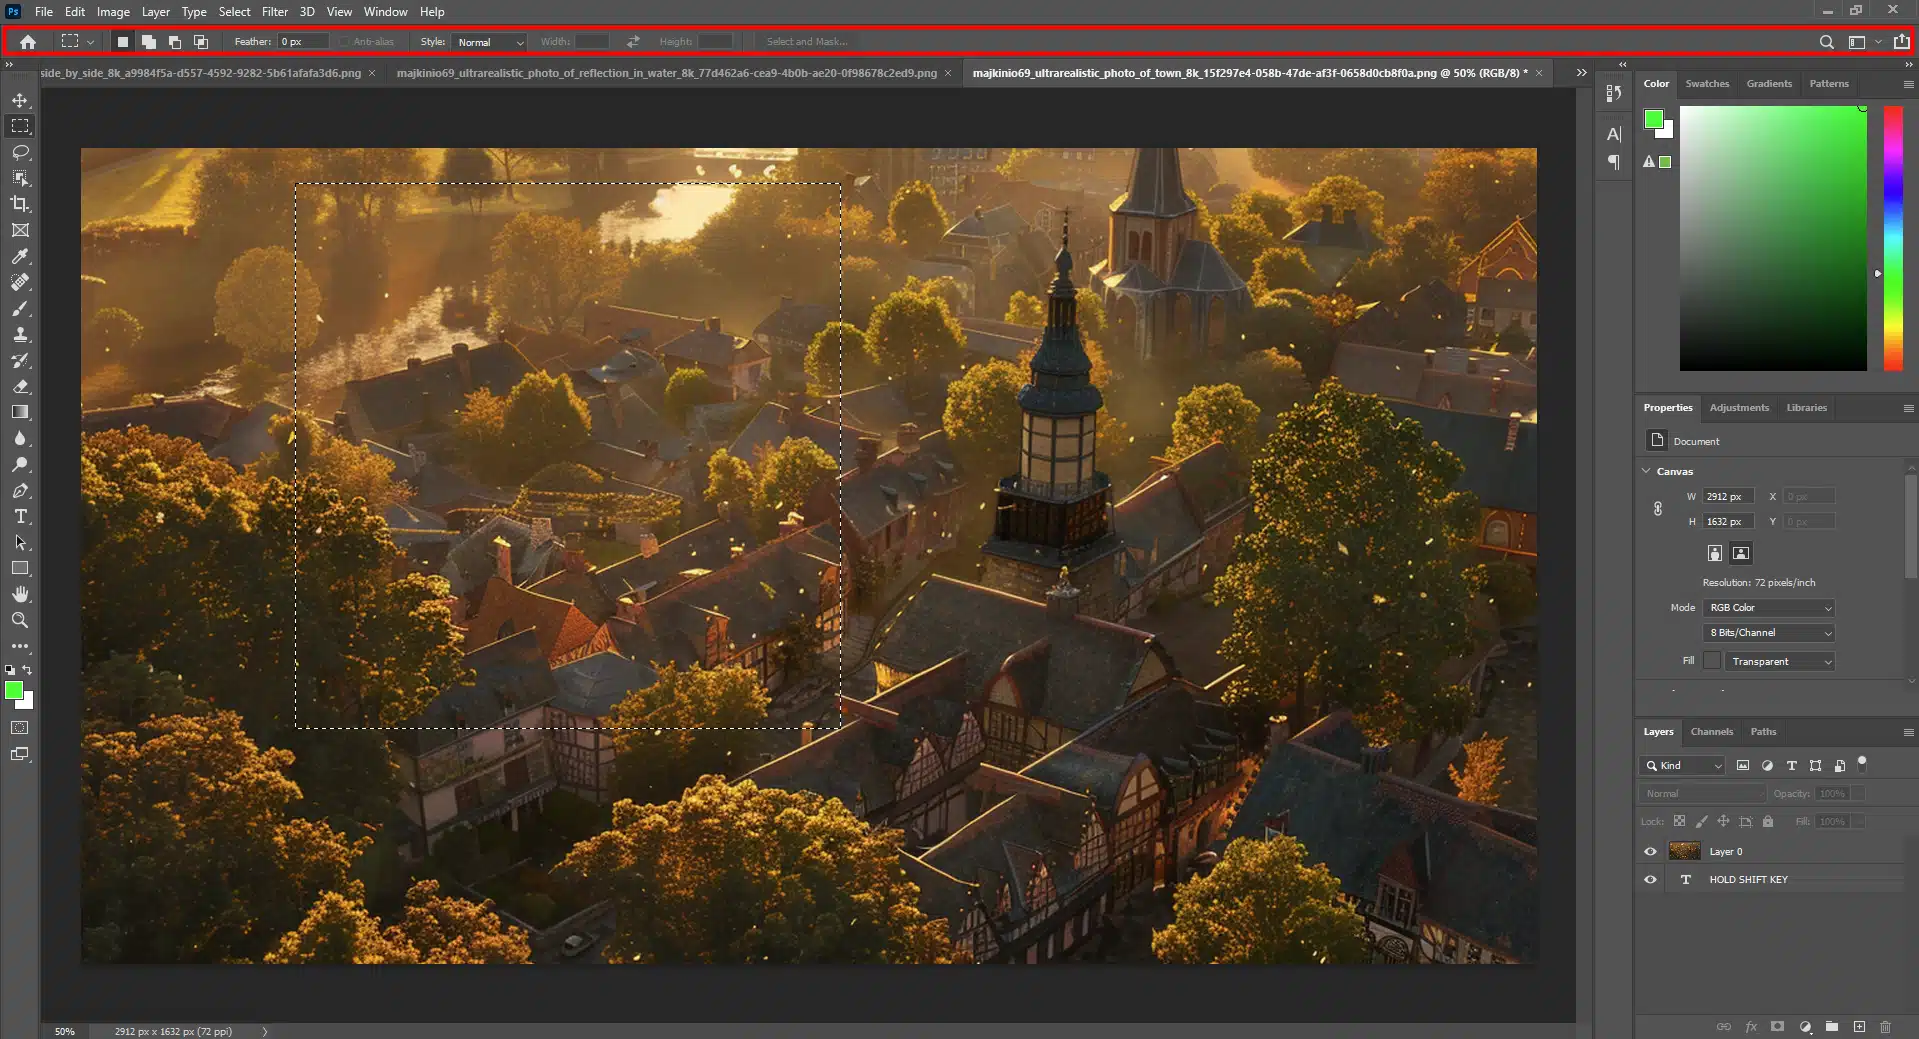
Creating New LayerPress Ctrl+J (Cmd+J on Mac) to copy the selected area to a new layer, enabling independent editing.
Editing on New LayerAllows adjustments (e.g., brightness, contrast) on the new layer without affecting the original image.
Example Use CaseSelect and brighten a specific person’s face in a family photo using the rectangular marquee tool, then adjust brightness on the new layer.
Combining with Move ToolUse the move tool to reposition the selection within the image; it is useful for creating collages or adjusting the composition.
Versatility of Marquee ToolsIncludes rectangular and elliptical marquee tools, among others, providing various selection shapes for diverse editing possibilities.
Pro TipCombine the marquee tool with other tools and features (like the move tool) for enhanced editing and compositional adjustments.
Overall BenefitEnhances photo editing by allowing precise selections and non-destructive edits, making the process efficient and flexible.

Options Bar and Fixed Ratios

Adobe Photoshop showing a interface with the options bar highlighting fixed ratios.

The options bar at the top of the screen gives you even more control. You can set a fixed ratio or fixed size for your selections. This is great when you must make multiple selections of the same size.

Tips and Tricks for Using the Marquee Tool

Quick Selection Techniques

When working with the marquee tool, choosing the right tools is a must. I often use the rectangular selection for quick adjustments. For more precise work, try the single pixel vertical option. It’s perfect for fine-tuning details. Don’t forget to experiment with different selection tools or the elliptical marquee tool selections for rounded shapes.

Optimizing Workflow with Shortcuts

Shortcuts can save you a lot of time. I always use the “M” key to quickly switch to the marquee tool. Holding down the Shift key while making a selection keeps it proportional.

This trick is especially useful when you need to maintain the aspect ratio of an image.

Combining Marquee Tool with Other Tools

Combining the marquee selection with other tools can enhance your workflow. For instance, I often use it with the Move Tool to reposition elements within an image.

Another favourite is combining it with the Brush Tool for selective painting. This method helps in creating detailed and precise edits.

Creative Uses of the Marquee Tool in Photoshop

Creating Custom Shapes

Photoshop Elliptical Marquee Tool Selected

The marquee tool is not just for essential selections. I often use it to create custom shapes.

By combining different selections, you can craft unique designs that stand out. This technique is perfect for adding a personal touch to your projects.

Designing Unique Patterns

Designing unique patterns becomes a breeze with the marquee tool. I like to start with a simple selection and then duplicate it across the canvas.

This method allows for endless creativity and ensures each pattern is one-of-a-kind.

Experiment with different shapes and sizes to see what works best.

Frequently Asked Questions

FAQ image for the Marquee Tools Preview

What is a Marquee Tool in Photoshop?

The Marquee Tool is a handy feature used for selecting specific shapes of an area within an image. You can think of it like using a digital cookie cutter. Here’s a simple breakdown:

How do you select an area with the Marquee Tool in Photoshop?

To select an area using the Marquee Tool, follow these steps:

How to Cut Using a Marquee Tool?

Cutting an area with the Marquee Tool is straightforward:

What is Marquee Select?

“Marquee Select” refers to the action of using any of the Marquee Tools in Photoshop to create a selection. This term is often used to describe the process of making these selections, emphasizing the tool’s primary function:

“Marquee Select” refers to the action of using any of the Marquee Tools in Photoshop to create a selection. This term is often used to describe the process of making these selections, emphasizing the tool’s primary function:

Conclusion

In conclusion, I hope this guide has shown you how valuable the marquee tool in Adobe can be. From creating custom shapes to crafting detailed masks, the marquee tool has made my editing process much smoother.

The ability to make quick and precise selections has saved me countless hours, allowing more time for creativity.

If you want to dive deeper into Photoshop, check out my Photoshop course or Lightroom course.

Happy editing!

If this article has helped you, then Like and Share it with your friends
Facebook
Twitter
LinkedIn
Pinterest

Read more about Photoshop: 

Download Your Free Guide Now!

Discover the secrets of photography with our printable guide! Master essential techniques like aperture, shutter speed, and ISO to create stunning images. Get your free printable PDF now and start turning your snapshots into masterpieces!