| Feature | Use | Benefit | Example |
|---|
| Healing Brush | Remove imperfections | Cleaner images | Removing blemishes from portraits |
| Clone Tool | Duplicate areas | Fix large areas | Replacing background elements |
| Adjustment Brush | Selective adjustments | Precise editing | Enhancing exposure in specific areas |
| Graduated Filter | Adjust gradients | Smooth transitions | Balancing skies in landscape photos |
| Spot Healing Brush Tool | Fix spots and small elements | Detailed corrections | Cleaning dust spots from sensors |
| Crop Tool | Adjust framing | Improve composition | Cropping to the ideal aspect ratio |
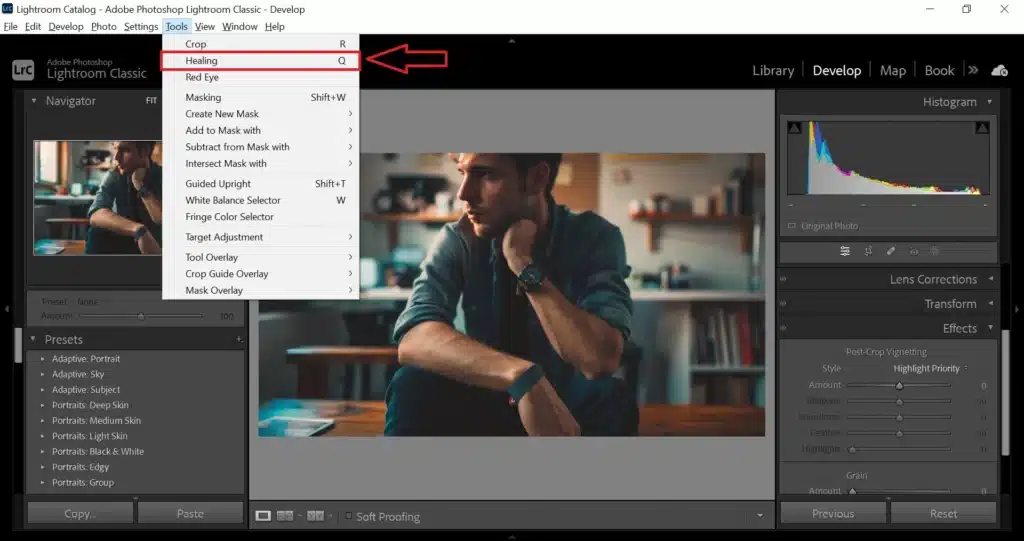
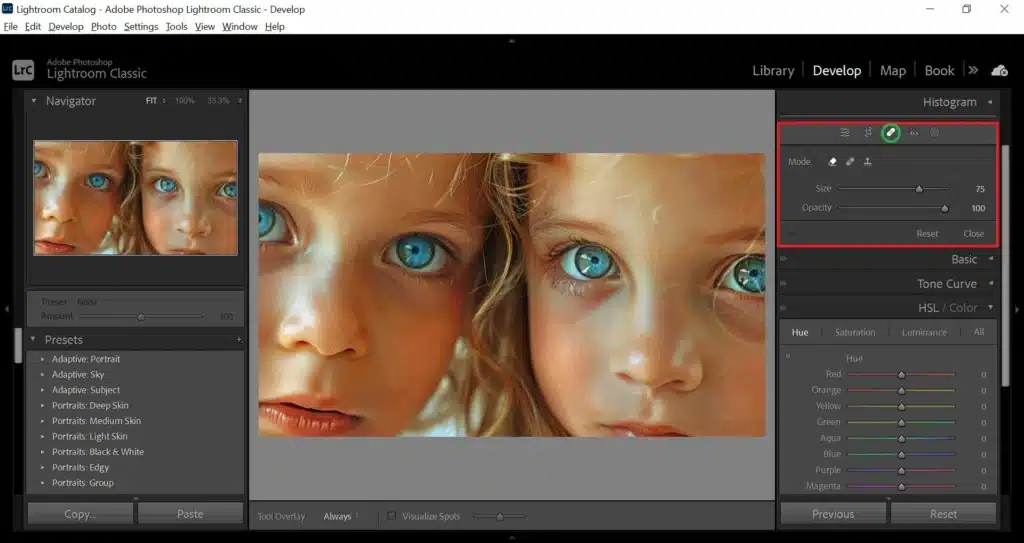
| Lightroom Healing Tool | Blend and correct issues | Natural look | Fixing minor imperfections |
| Radial Filter | Circular adjustments | Focus on subjects | Creating vignette effects |