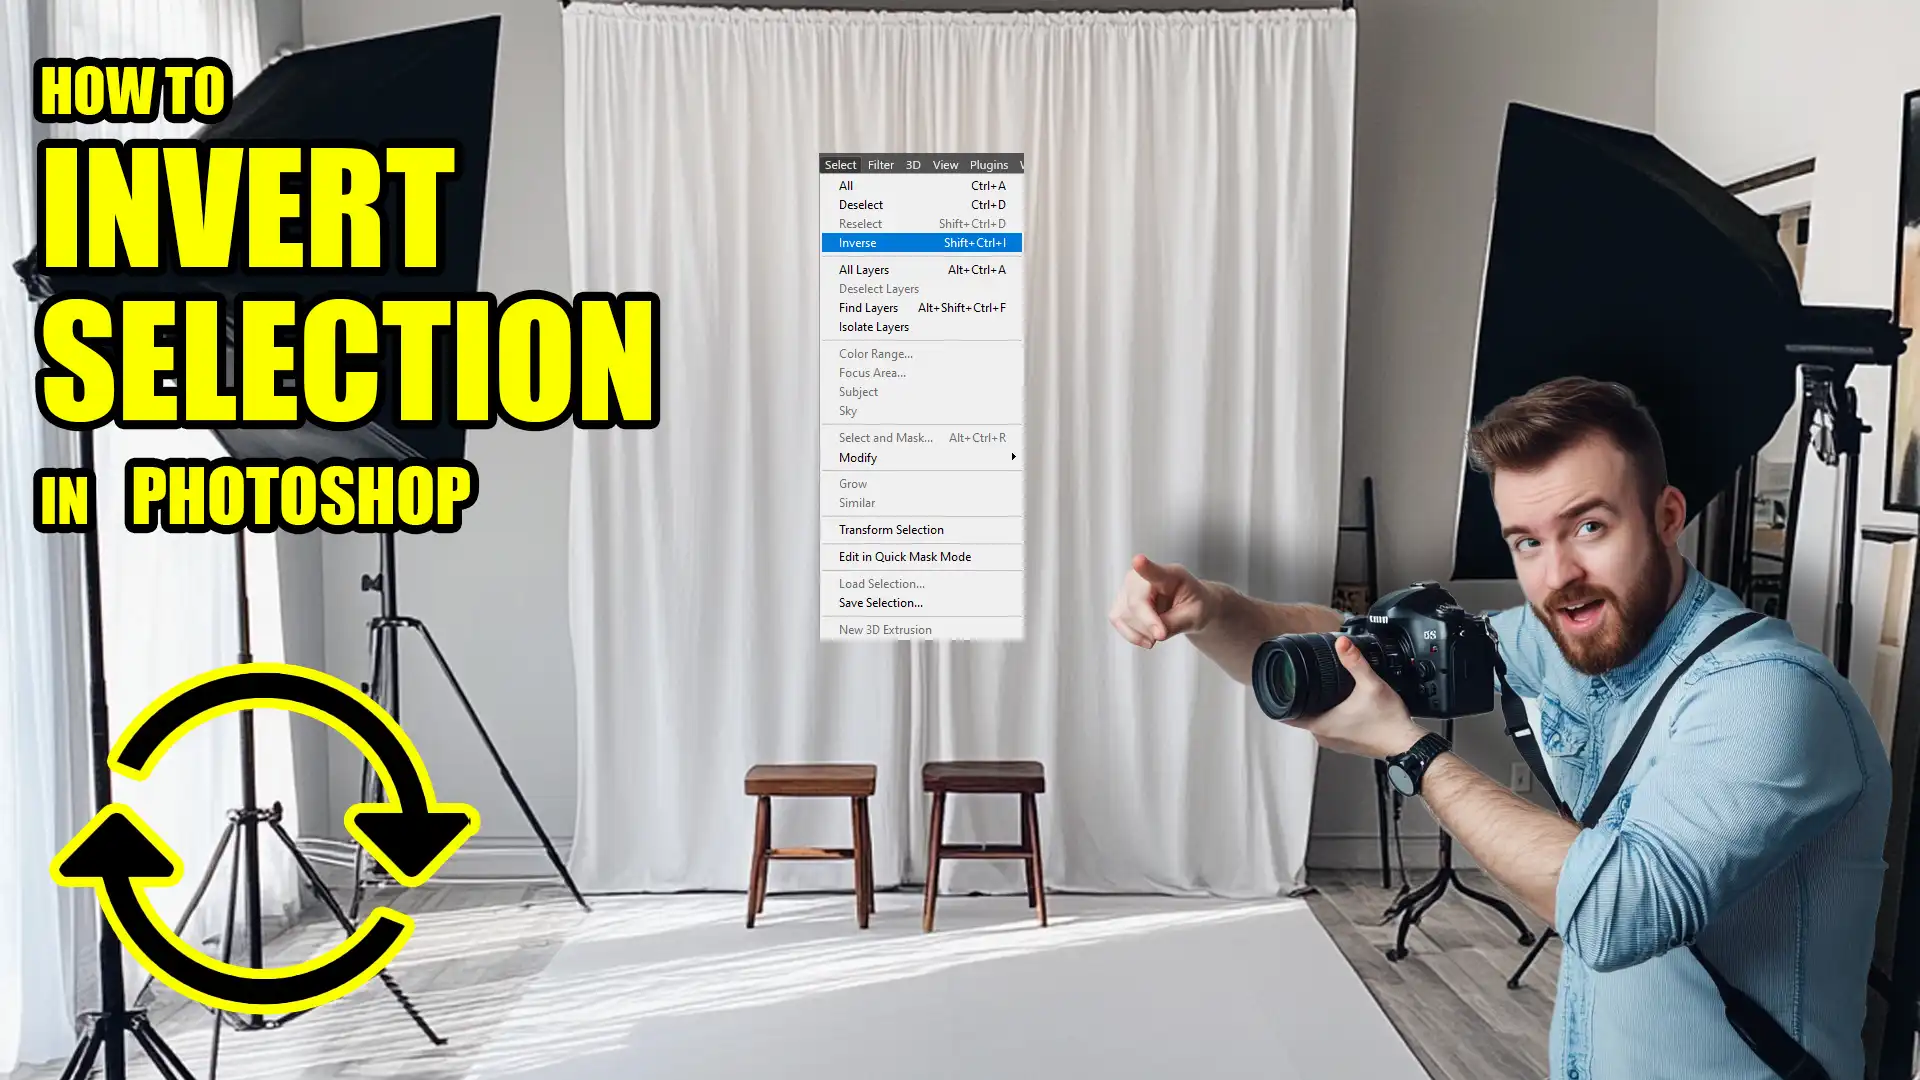
How to Invert Selection in Photoshop: A Step-by-Step Guide
How to Invert Selection in Photoshop: A Step-by-Step Guide
Curious about how to invert selection in Photoshop? You’re in the right place! In this guide, we’ll explore the power of selections and how they allow us to isolate parts of an image for precise editing.
Imagine having the ability to tweak a specific area without affecting the whole picture – that’s what selections enable. We’ll cover the various tools Photoshop offers, from the Marquee Tool to the Magic Wand, each designed for different selection needs.
And when you need to flip your selection to the opposite area, I’ll show you step-by-step how to invert Selection in Photoshop effortlessly.
Ready to enhance your Photoshop skills?
Table of Contents
Understanding Selection in Photoshop
Selections in Photoshop are a valuable skill that allows you to isolate parts of your image for editing.
With a variety of tools available in the toolbar, you can make precise adjustments to specific areas without affecting the entire image.
What is a Selection?
In Photoshop, a selection represents the part of an image we choose to edit. It lets us isolate a specific area for modifications. By doing so, we can apply changes without affecting the entire image.
Types of Selection Tools
Photoshop offers various tools to create selections:
Marquee Tool: Ideal for making rectangular or elliptical selections. You will find it in the toolbar.
Lasso Tool: Handy for freehand selections. Click and draw around your desired area.
Magic Wand Tool: Selects areas of similar color with one click. Great for simple backgrounds.
Quick Selection Tool: Automatically detects edges as you paint over an area, making it useful for selecting objects with well-defined boundaries.
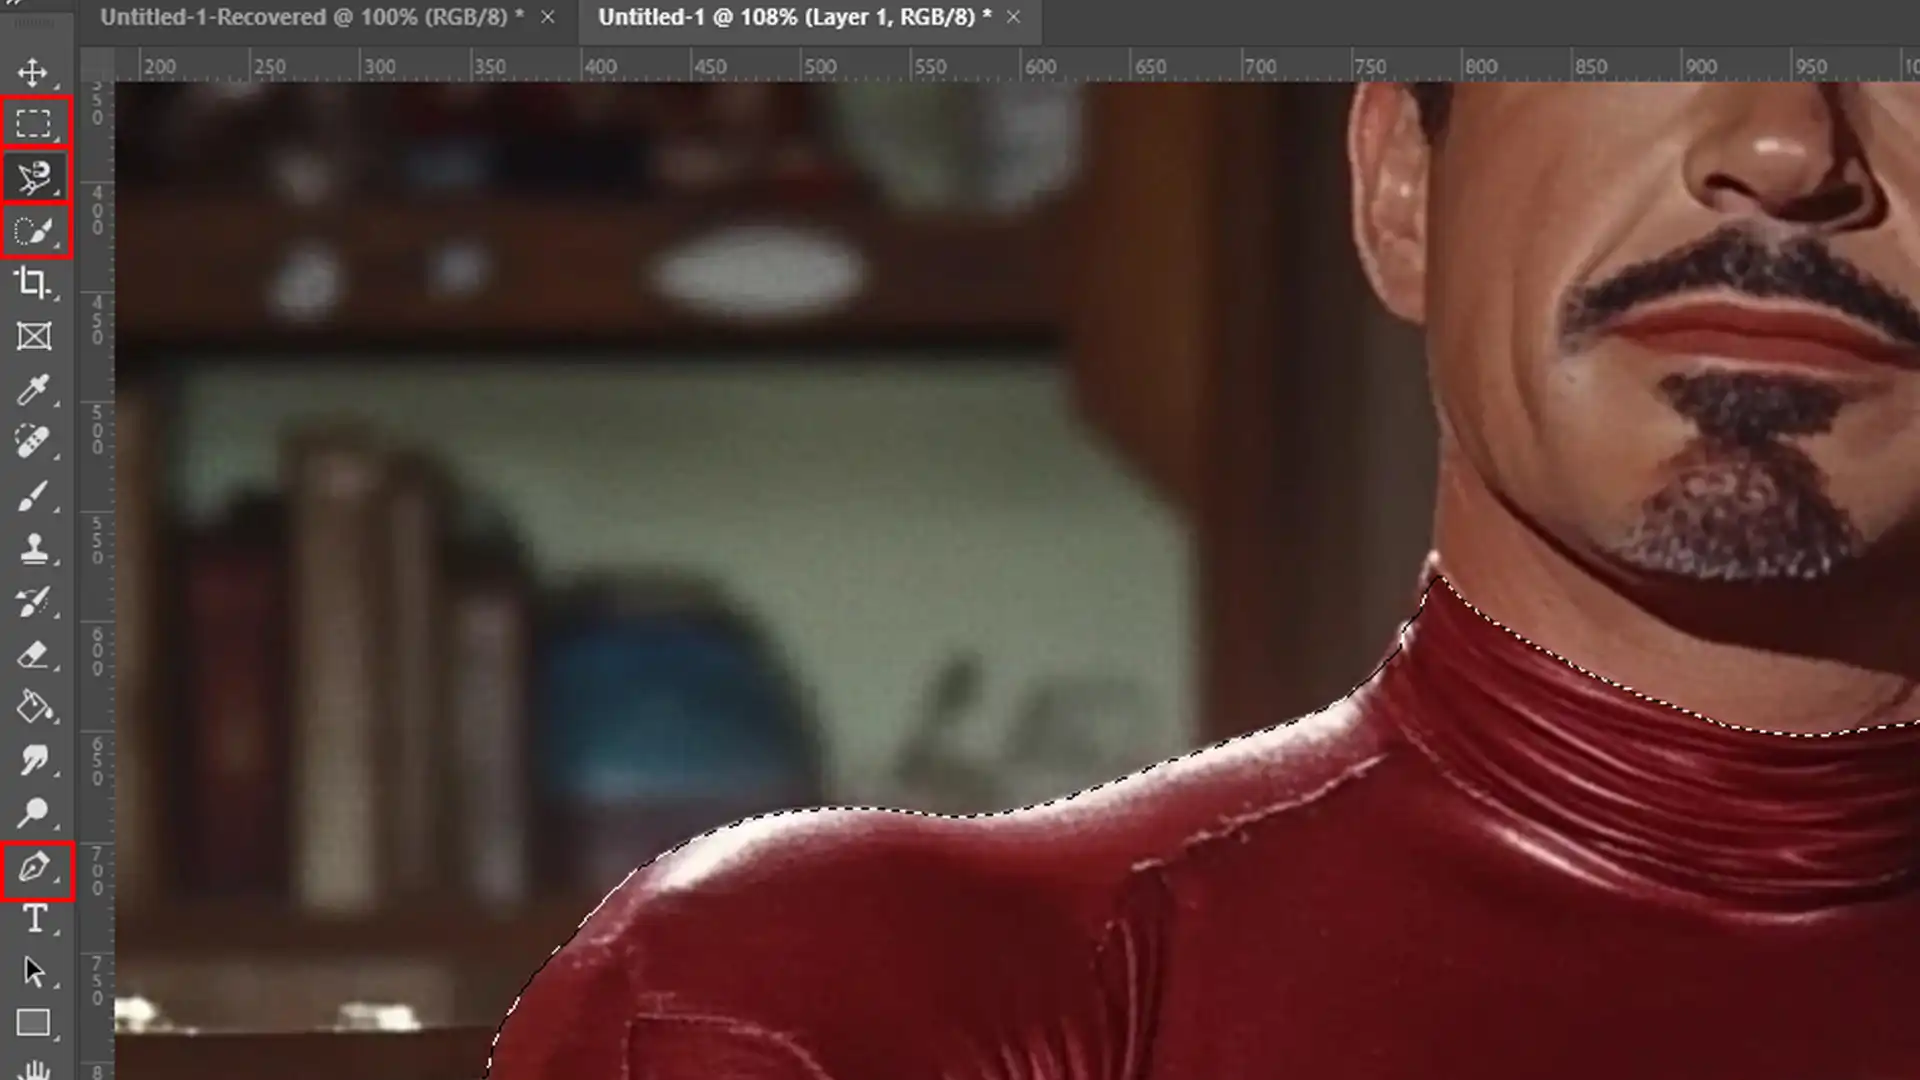
Pen Tool: Allows precise path-based selections. Useful for complex shapes.
Each selection tool serves different needs. Choosing the right tool can save time and effort.
How to Refine a Selection in Photoshop
Sometimes, after making a selection, you might need to work with an inverted selection.
Here’s how:
Make your initial selection using any selection tool.
Go to the menu bar and select Select > Inverse. Alternatively, use the keyboard shortcut Shift + Ctrl + I (Shift + Command + I on Mac).
This action flips your selection to the inverse region, resulting in a successfully inverted selection. This is helpful for editing the background or any unselected area.
Fine Tuning Your Selection
Sometimes, your first selection might not be perfect.
You can refine it:
Use the Options Bar for more control over your selection tools.
Adjust your selection in the Layers Panel.
Use the "Select and Mask" option to refine edges for a smoother finish.
We hope this guide helps you in mastering the selection tools in Adobe Photoshop.
Pro Tip: Use the marching ants as a visual indicator of your active selection. Using a keyboard shortcut like Shift + Ctrl + I (or Shift + Command + I on Mac) can also save time when you would like to invert a selection.
For even quicker edits, try using the object selection tool, which allows you to automatically select an object in your image with just a click.
Then, using a keyboard shortcut like Shift + Ctrl + I (or Shift + Command + I on Mac) can save time when you want to invert a selection.
Mastering both the object selection tool and quick selection tool can help speed up your workflow, allowing for more precise selections and easier editing. Keep an eye on the marching ants to ensure your selections are exactly where you need them.
How to Invert Selection in Photoshop
In Adobe Photoshop, you may often need to invert a selection. This technique comes in handy whether you’re adjusting an image or just wanting more control over your edits.
When you invert a selection, it allows you to work on the unselected area of your image while preserving your initial selection.
Step-by-Step Guide
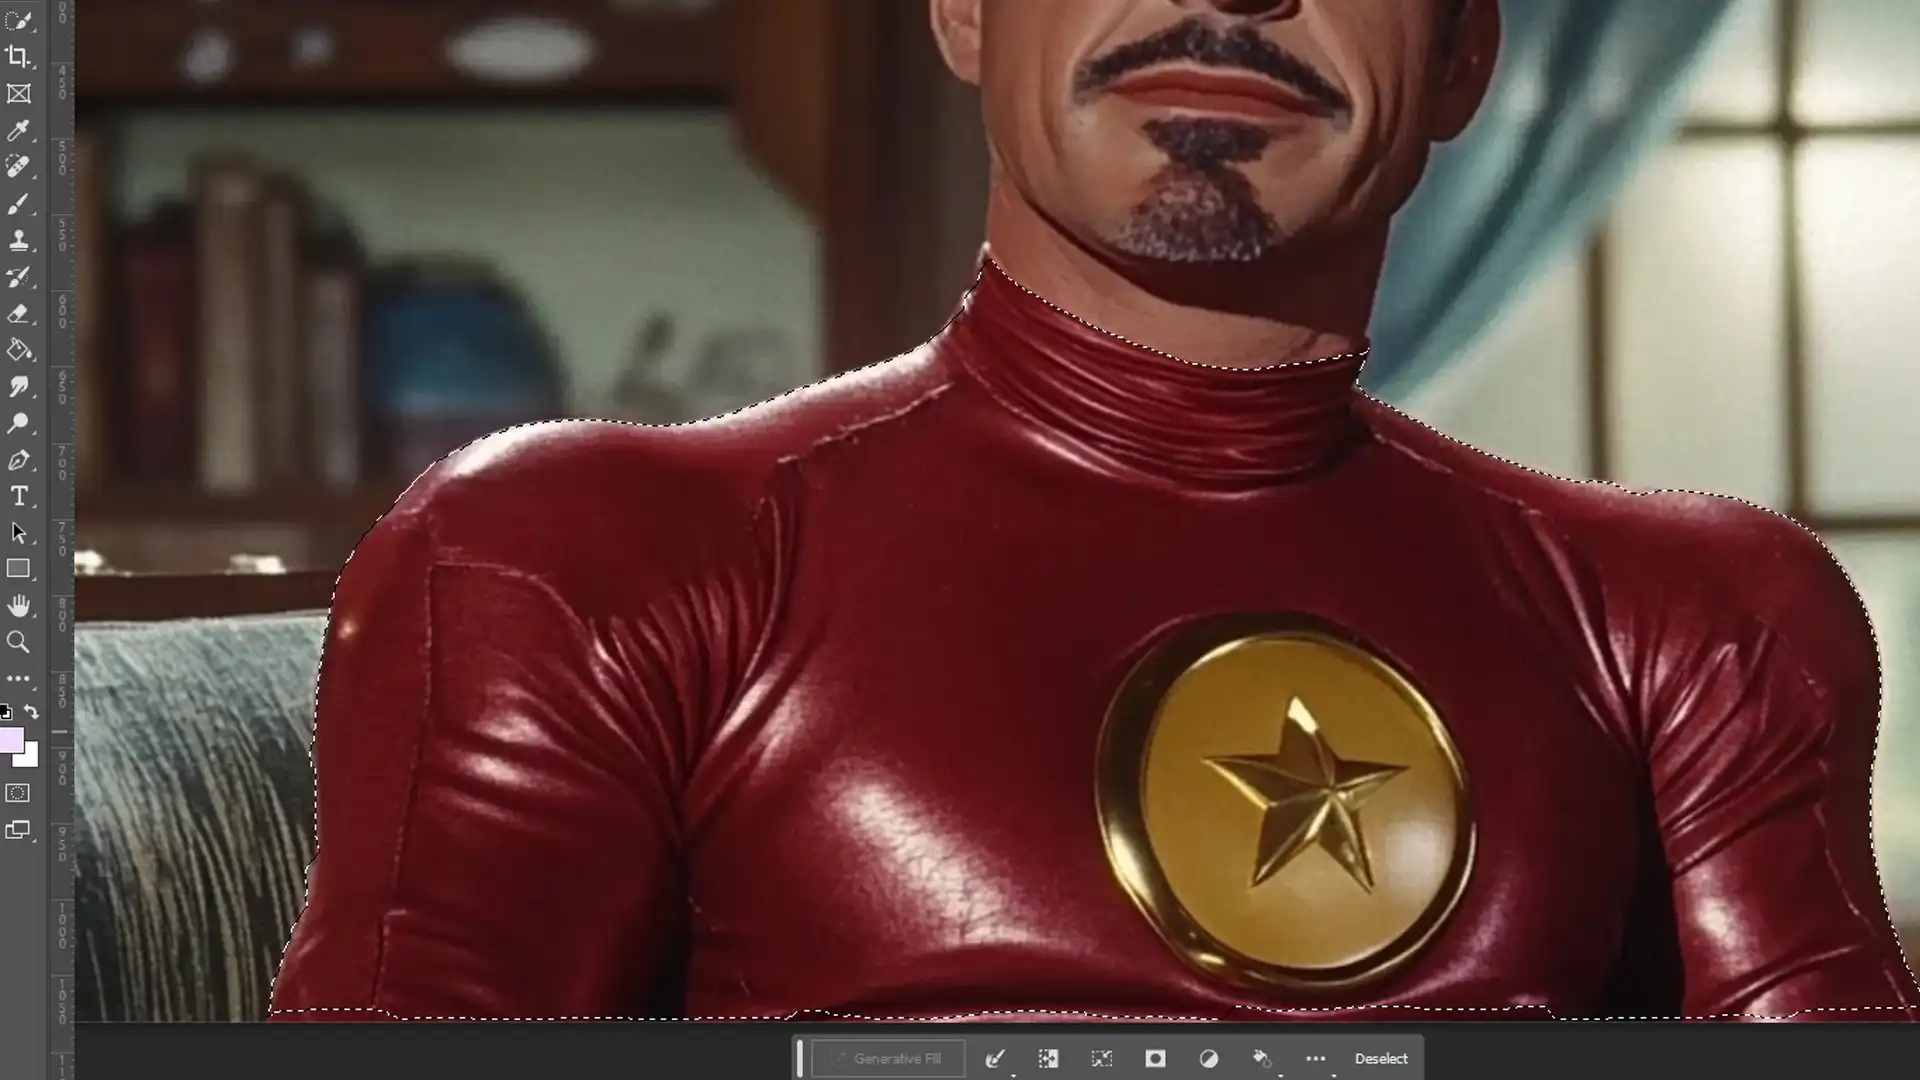
First, make a selection with any tool like the marquee tool, lasso tool, or magic wand tool.
Once you see the marching ants indicating the selected area, go to the top menu bar.
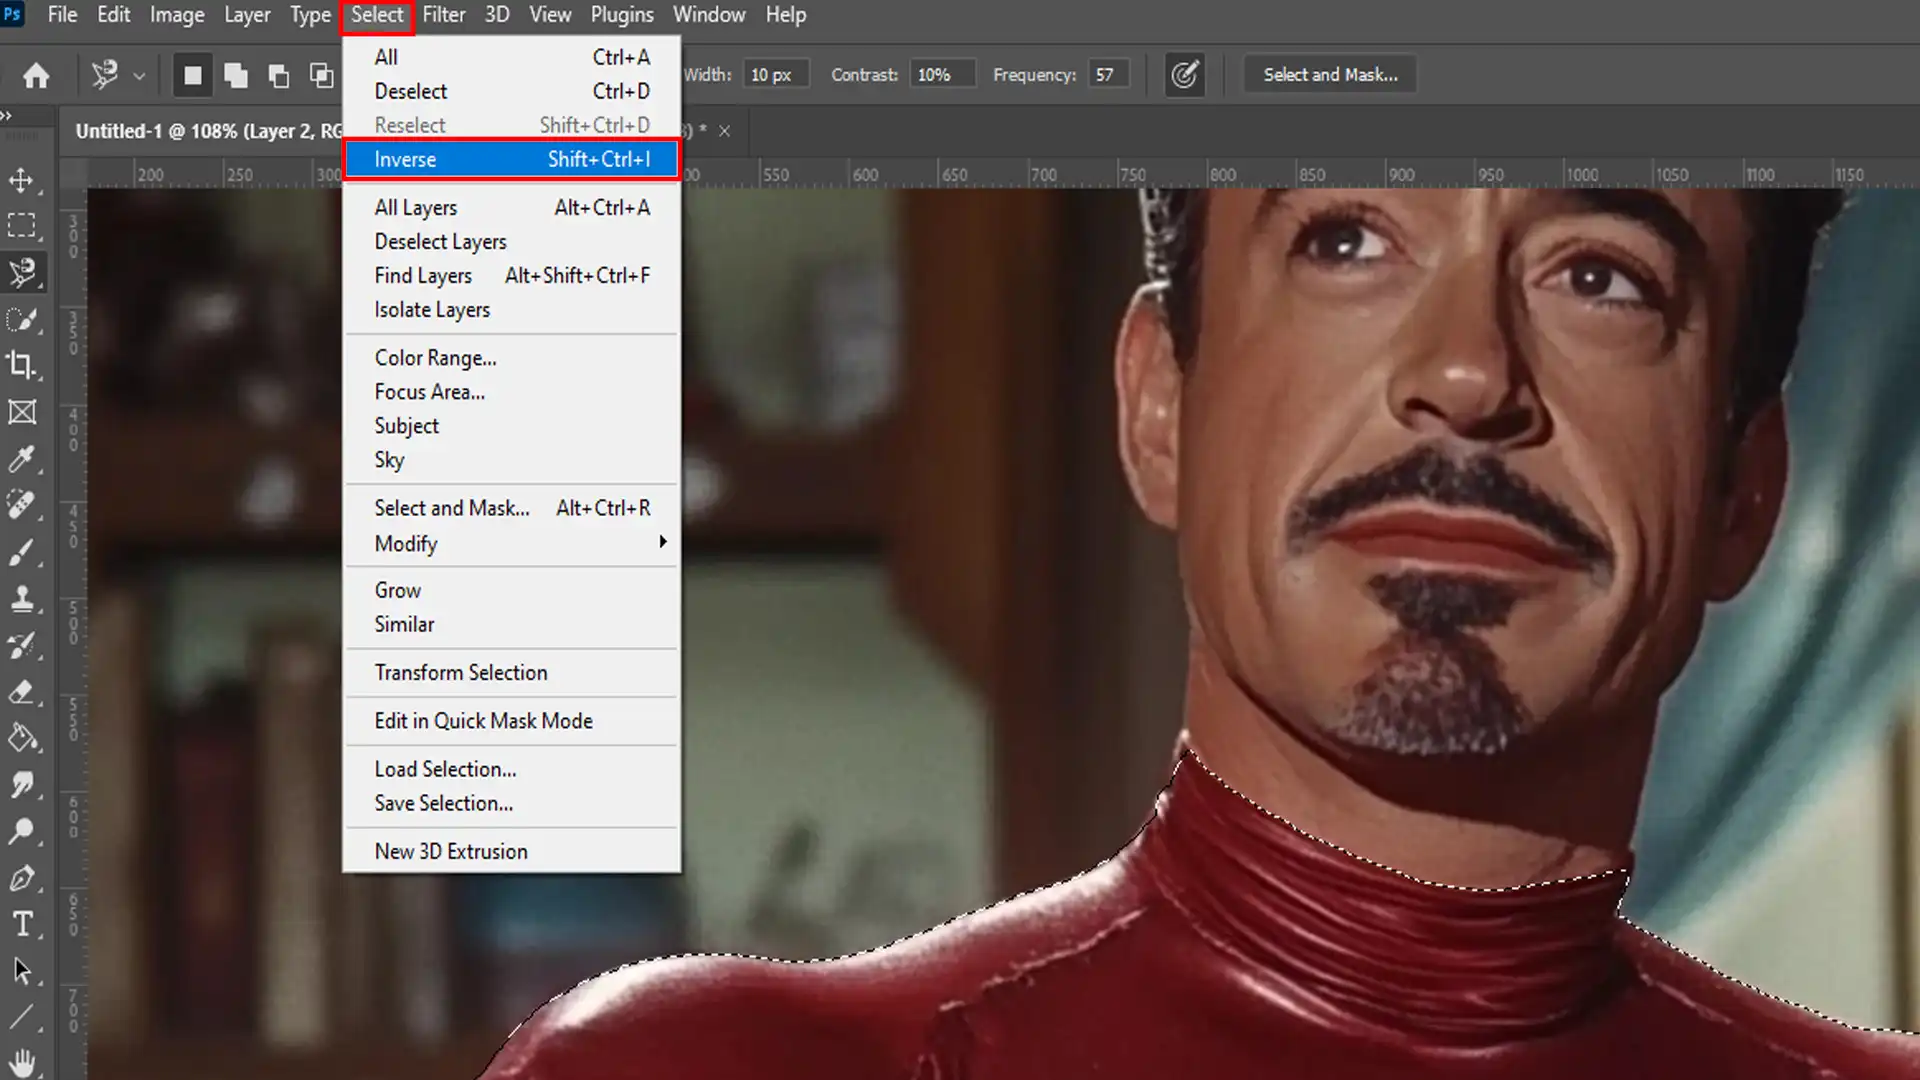
From the menu bar, click on "Select", then choose "Inverse".
By inverting selections, you can now focus on the opposite area of your original choice.
Notice how the marching ants now encircle the previously unselectedarea, allowing for new edits or modifications inside Photoshop.
Keyboard Shortcuts for Quick Inversion
Using a keyboard shortcut can save you time:
For Windows users, press Shift + Ctrl + I to invert the selection.
For Mac users, the shortcut is Shift + Command + I.
Remember to first make an active selection before using these shortcuts.
Pro Tip: Use the layers panel to handle multiple selections and fine-tune specific areas with greater ease. Additionally, masteringPhotoshop shortcuts andessential tools in Photoshop can significantly enhance your editing workflow.
For those who want to delve deeper into Photoshop techniques, learning about thedifference between Photoshop and Lightroom can offer insights into which software best suits your editing needs.
Advanced Techniques with Selection Tools
Mastering selection tools can elevate your Photoshop skills, allowing for more precise edits.
In this section, we’ll explore advanced methods like using the menu bar for quick actions and applying a keyboard shortcut for faster workflow.
This table highlights fundamental aspects, from using the menu bar for inversion to combining and refining selections for precise edits.
Aspect
Overview
Using the Menu Bar for Inversion
Learn how to invert your selection using the “Select” menu in the menu bar for more control over unselected areas.
Keyboard Shortcuts for Inversion
Use Shift + Ctrl + I (Windows) or Shift + Command + I (Mac) to quickly invert your active selection.
Combining Selections
Combine selections using tools like the Quick Selection Tool or the Rectangular Marquee Tool, with options to add or subtract selections.
Refining Selections
Use the options bar to fine-tune selections, feather edges, or apply masks for non-destructive editing.
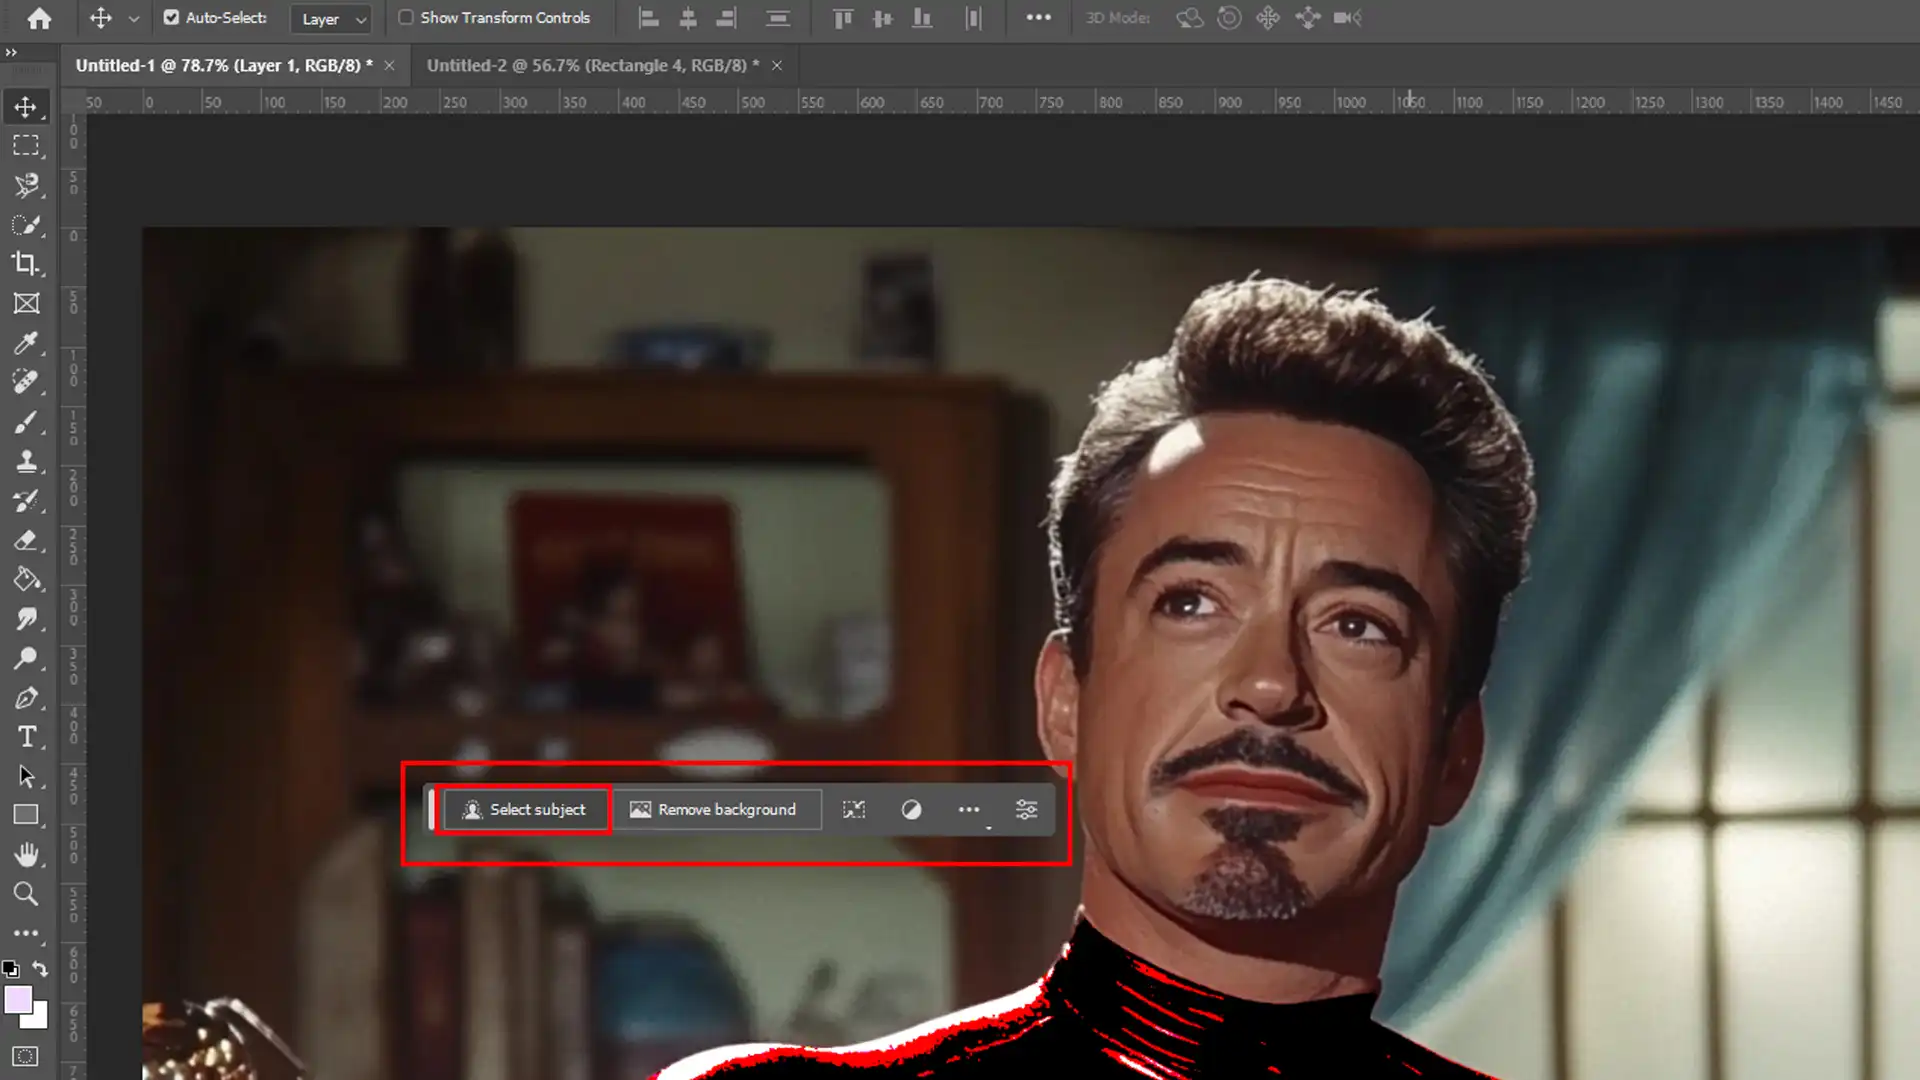
Select Subject
The “Select Subject” option automatically identifies the main subject for quick edits where precision is not the priority.
Using the Menu Bar for Inversion
The menu bar holds great potential for your selection tasks. You make an initial selection using a tool like the marquee tool. Next, click “Select” in the menu bar and choose “Inverse“.
By inverting selections, you shift focus to the inverse region of your original choice, allowing you to edit the areas outside your initial selection.
Keyboard shortcuts come to the rescue here. By pressing Shift + Ctrl + I on a Windows or Shift + Command + I on a Mac, you swiftly invert the selection. But remember, these shortcuts only work if you start with an active selection.
Combining Selections
Adobe Photoshop lets you combine different selections. Use multiple tools from the tool bar, such as starting with the Quick Selection Tool for broader sections and adding precision areas using the lasso tool in Photoshop or the rectangular marquee tool.
To add to an existing selection, simply hold down Shift as you use another selection tool. Need to subtract? Hold Alt (Option on Mac) instead.
These techniques ensure that your selections are accurate without having to redo the entire image.
Refining Selections
Refining selections is important in achieving a polished look. After making a basic selection, you need to fine tune. In the options bar, find options to modify the selection’s edge. Feathering the edges often makes transitions smoother.
Remember, you avoid the wrong selection by zooming in on tricky areas. Use the pen tool for adding complex shapes to your selection. You can also apply a mask to your layer for non-destructive editing.
For more detailed tips on working with masks, you can refer to a Photoshop masking guide. The options here help to refine intricate details without hassle.
Pro Tip: Did you know? Using the “Select Subject” option, Photoshop’s “Select Subject” feature automatically identifies the main subject in your image, making it perfect for quick edits when speed is more important than precision.
Additionally, if you’re looking to flip or mirror layers, check out some Photoshop mirror layer tips to quickly reflect objects or parts of your design.
Don’t forget that the options bar in Photoshop provides easy access to refining your tools and making adjustments on the fly, ensuring that your selections and edits are precise and efficient.
Additional Tips for Selection Tools
When working with selection tools, understanding the difference between Photoshop and Lightroom can be beneficial. While
Photoshop excels in detailed editing and selections, Lightroom offers robust photo management and basic adjustments. Knowing which software to use can save you time and effort.
Another handy feature in Photoshop is the content-aware fill. After making a selection, this tool allows you to fill the selected area with content that matches the surrounding pixels, making it perfect for removing unwanted objects seamlessly.
Additionally, you can use Photoshop to invert color photos for creative effects, which can add a unique touch to your editing projects.
Frequently Asked Questions
What's the process for flipping the selection area in Photoshop?
Select the area you want to flip using any selection tool.
Choose Edit from the top menu.
Select Transform and then Flip Horizontal or Flip Vertical, depending on your needs.
How do I flip a selected object in Photoshop?
First, use the selection tool to select the object you wish to flip.
Go to the Edit menu.
Click on Transform and choose Flip Horizontal or Flip Vertical to flip the object as desired.
What’s the method to invert the Lasso tool selection?
After making a selection with the tool, go to the Select menu.
Click on Inverse to invert the selection.
How to invert mask selection in Photoshop?
Select the mask that you want to invert.
Press Ctrl+I (Cmd+I on Mac) to invert the selection within the mask.
Mastering how to invert selection in Photoshop has made my editing so much easier. It gives me the ability to focus on specific areas, like backgrounds or fine details, without changing the whole image. When I first learned this, it seemed simple, but it made a huge difference in my workflow.
If you’re looking to improve your skills, I suggest starting with this technique. It’s quick to learn and will save you a lot of time.
If you want a deeper dive into Photoshop, check out my Photoshop Course. It’s a step-by-step guide that walks you through all the important tools.
For those working with Lightroom, my Lightroom course is also packed with tips on photo editing.
By practicing regularly, you’ll find that these skills will become second nature. Keep it simple, and before long, your editing will be much faster and more precise.
If this article has helped you, then Like and Share it with your friends
$2,061.00Original price was: $2,061.00.$1,061.00Current price is: $1,061.00. 27583
Download Your Free Guide Now!
Discover the secrets of photography with our printable guide! Master essential techniques like aperture, shutter speed, and ISO to create stunning images. Get your free printable PDF now and start turning your snapshots into masterpieces!