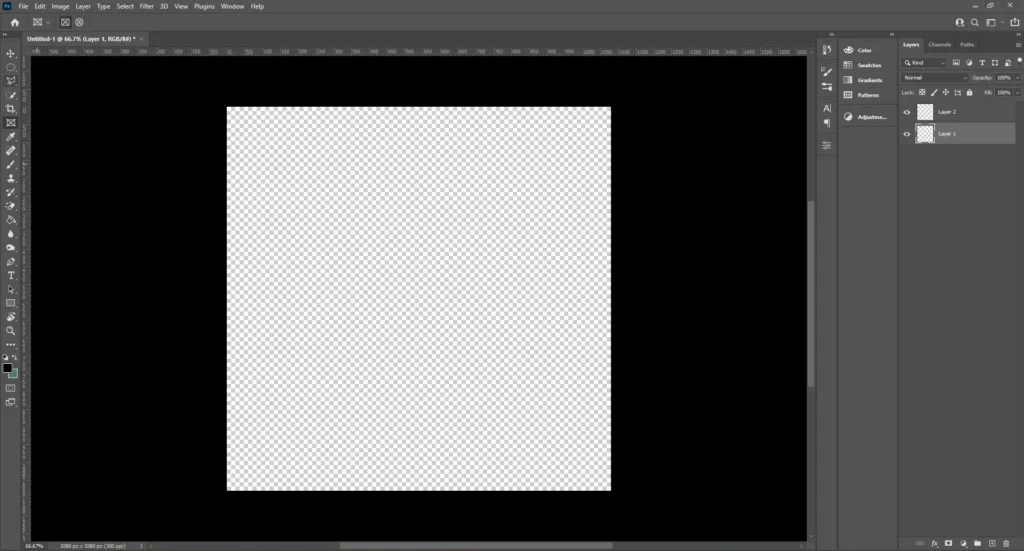
Frame Tool Guide to Mastering Photoshop’s Hidden Gem

The Frame Tool is your secret weapon! As a photographer, I know how important it is to have clean, efficient ways to manage images. Whether you’re crafting dynamic layouts, designing intricate photo collage, or efficiently organizing images, this tool lets you create perfect frames, drop in photos, and adjust everything on the fly.

Ready to streamline your workflow and make stunning collage or layout? Let’s dive into the Frame Tool and take your Photoshop skills to the next level!

Table of Contents

How to Create Frames Using the Frame Tool

In Adobe Photoshop, it is a versatile feature that simplifies the process of creating and managing placeholder frames for images. Below is a table that outlines the steps and differences for creating frames using various forms and content types.

Aspect Rectangular/Elliptical Frames Text Frames Custom Shapes
Starting Point Use the Rectangle or Ellipse tool to drag the form on your canvas. Use the Type tool to create text. Use the Custom tool to drag your structure.
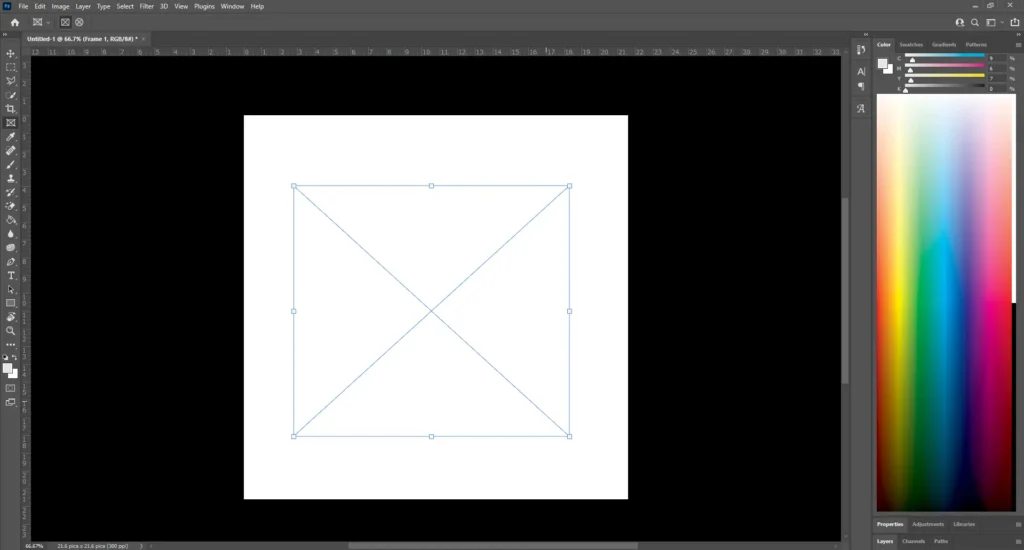
Creating the Figure Draw a rectangle or ellipse. Adjust size using the corners. Type your text. Format using the top menu options. Draw a custom shape from the library.
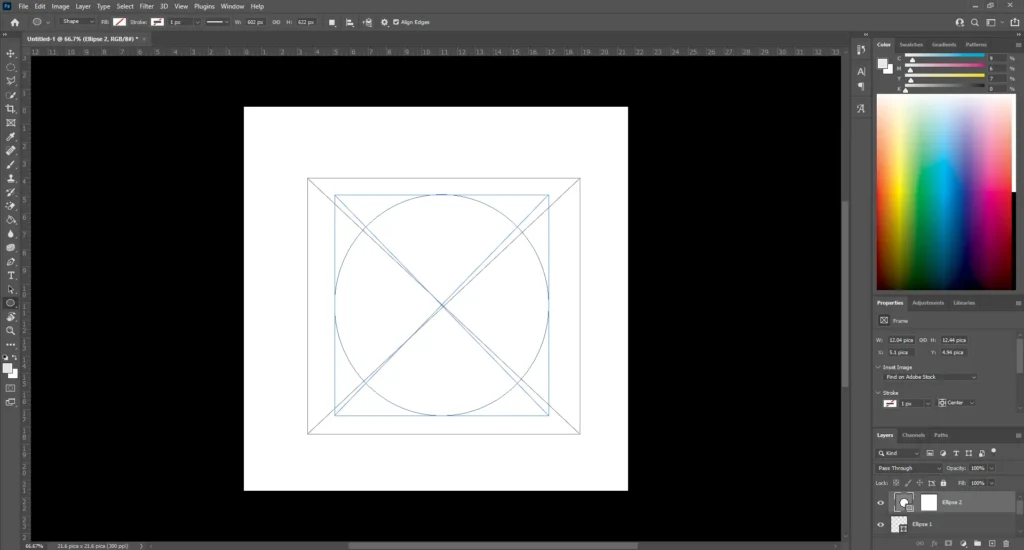
Transforming into a Frame Right-click the shape and transform it into a frame. Name and set dimensions. Right-click the text and transform it into a frame. Name and set dimensions. Right-click the profile and transform it into a frame.
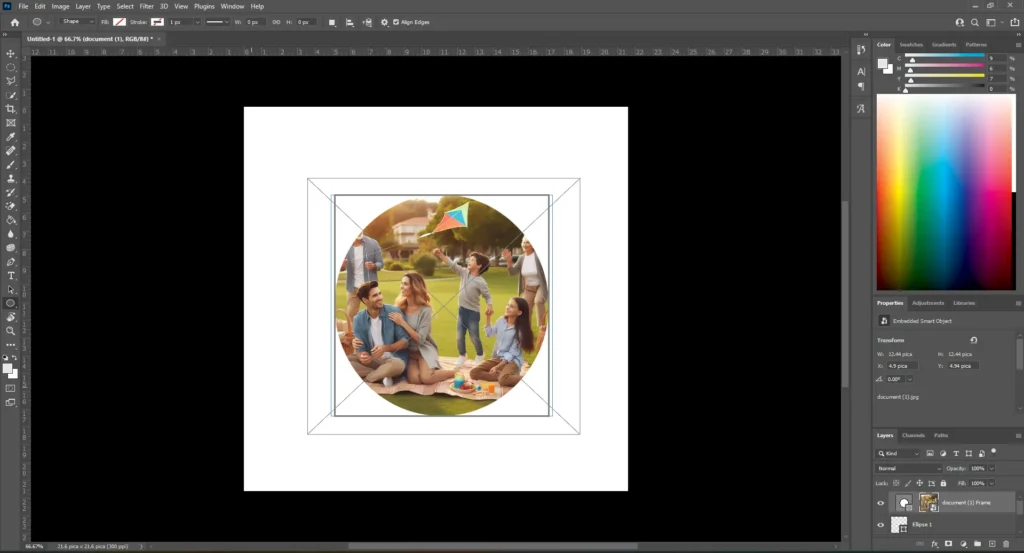
Inserting Content Import an image from the library or local files. Content fits the shape. Import photos from the library or local files. Image fits within the text. Import images from the library or local files to fit custom figures.
Applying Effects and Styles Use Properties to adjust stroke, fill, and other visual settings. Apply blending modes for effects. Apply stroke and fill effects via Properties. Use blending modes for visual outcomes. Modify stroke and fill in Properties. Use blending modes to enhance custom shape style.
Let’s explain in detail:

Selecting the Frame Tool

Adobe Photoshop interface highlighting the Tool with a tooltip explaining it creates placeholder frames for images.

Access the Frame Tool:

Select its Form:

Creating a New Frame

Adobe Photoshop interface displaying a family photo inside a newly created rectangular frame on a transparent background.

Draw the Frame:

Add an Image:

Adjusting Frame Size:

Converting Shapes and Text to Frames

Adobe Photoshop interface showing the process of converting an ellipse shape into a frame, with the right-click context menu open and the 'Convert to Frame' option highlighted.

Transform a Shape:

Convert Text to a Frame:

Placing Images in Frames

Photoshop interface showing a photo placed inside a circular frame.

Drag and Drop Method:

Repositioning and Resizing Images:

Advanced Techniques

Adding a Stroke to a Photo:

Removing a Photo Border:

By mastering these techniques, you can efficiently create and manage frames in Photoshop, enhancing your design workflow and enabling more dynamic and flexible layouts. Whether integrating photos from online sources or local storage, the ability to convert forms and text effects into frames expands creative possibilities. This version of Photoshop empowers users to leverage vector graphics and structures seamlessly, ensuring precise placement and scaling of images within defined frames.

Advanced Techniques with the Frame Tool

The Frame Tool in Adobe Photoshop offers numerous advanced techniques that can significantly enhance your photo editing and layout projects. These methods allow for greater creativity and efficiency, making it easier to work with complex compositions and dynamic content. Here’s a comprehensive guide to some advanced approaches you can utilize.

Integrating Smart Objects

Creating a Frame with a Smart Object:

Editing Smart Objects:

Using Adjustment Layers

Applying Adjustment Layers:

Fine-Tuning Adjustments:

Creating and Managing Complex Layouts

Grouping Frames:

Using Layer Comps for Multiple Layouts:

Applying Effects and Styles

Adding Stroke and Fill:

Using Blending Modes:

Working with Masks Creating a Mask:

Refining Mask Edges:

By mastering these advanced techniques in Adobe Photoshop, you can fully leverage the power of the Frame Tool, enhancing your editing capabilities and creating more dynamic and professional blueprints. Whether you’re working in an online studio or preparing photos for sale, these tools allow you to manage and edit your projects with precision. From selecting and transforming shapes to applying creative effect, these methods ensure your compositions are both visually appealing and professionally executed, giving you a competitive edge in your photo editing endeavors.

Frequently Asked Questions about the Frame Tool

Photoshop-Masterclass-Advanced-Editing-Layer-Manipulation

Where can I find the frame tool in Photoshop?

You can find it in Photoshop by looking at the tools toolbar on the left side of your workspace. Its icon resembles a square with an X through it. If it’s not visible, you might need to update your workspace layout or reset it to the default settings. Alternatively, you can access it quickly by pressing the K key on your keyboard. This selection tool is available in the latest versions of Photoshop, so ensure your software is up to date for the best creative experience.

How do I edit a picture into a frame?

To edit a picture into a frame in Photoshop:

How to use the frame tool in InDesign?

In Design, the Frame Tool is used to create placeholders for text and images. Here’s how to use it:

What is the frame tool used for?

In design, placeholders are used to simplify the layout process for photos or text. These tools allow users to quickly and efficiently manage compositions by providing flexible containers that can be easily edited. In Photoshop, the Frame Tool is particularly useful for creating mockups, organizing multiple photos, and ensuring consistent design elements across documents. In an online studio, it’s essential for creating structured layouts for publications like magazines and brochures. Users can select these tools to add shape and manage their selections, ensuring everything is perfectly aligned and positioned in the corners or any part of the layout. These features make it easier to prepare designs for sale or presentation.

Conclusion: The Frame Tool

Professional workspace showing the conclusion with a computer screen, camera, editing tools, and completed photo project.

Mastering the Frame Tool in Photoshop transformed my editing. Recently, I efficiently organized a complex project with photos and text, making real-time adjustments. Its flexibility with vectors helped create a dynamic, visually appealing composition, showcasing Photoshop’s powerful capabilities.

Elevate your photo editing skills with our comprehensive online courses. Our Photoshop Course covers basics to advanced techniques, while our Lightroom Course teaches you to organize and enhance your photography. Enroll today and take the next step in your creative journey!

If this article has helped you, then Like and Share it with your friends!

Facebook
Twitter
LinkedIn
Pinterest

Have a nice photoshoot!
Read more about: Photo Editing with Lightroom and Photoshop

Download Your Free Guide Now!

Discover the secrets of photography with our printable guide! Master essential techniques like aperture, shutter speed, and ISO to create stunning images. Get your free printable PDF now and start turning your snapshots into masterpieces!