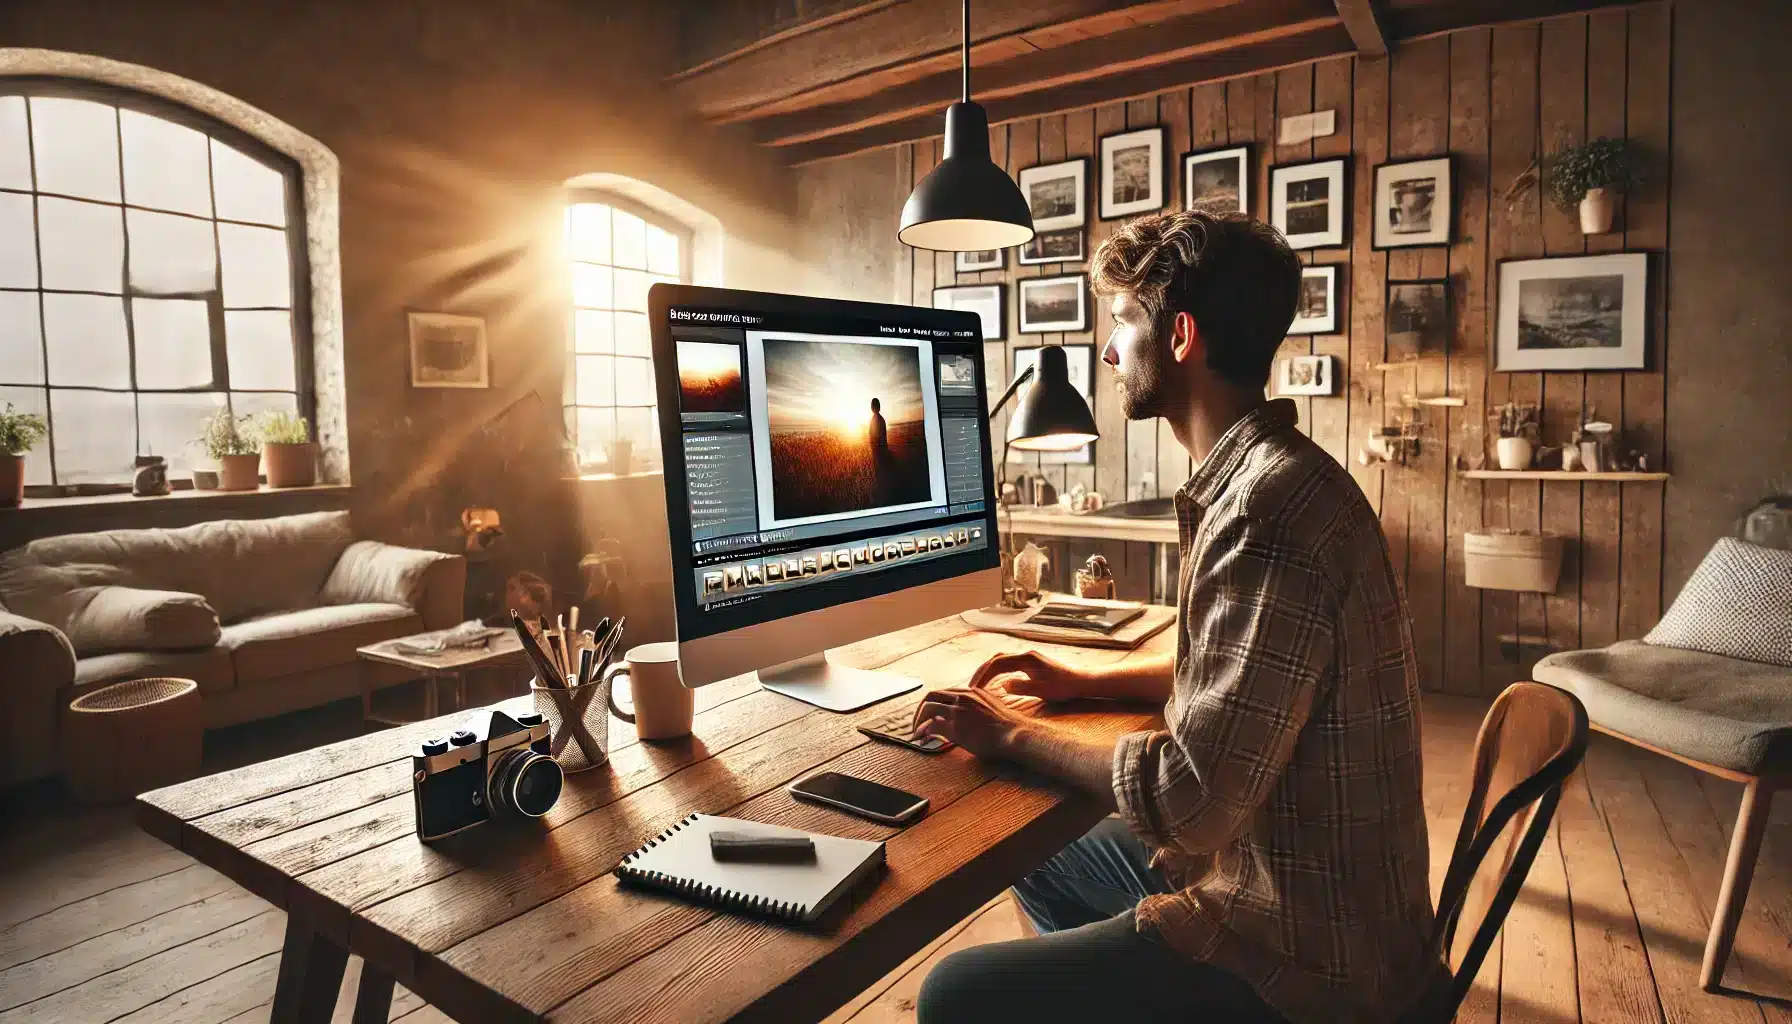
Have you ever wondered how to create stunning double exposure images using Lightroom? You’re in the right place!
In this article, I’ll guide you through the process of mastering this intriguing technique.
Double exposure photography blends two images together to produce a unique, artistic effect. Imagine combining a portrait with a landscape, or a cityscape with a sunset, to create a visual masterpiece.
Keep reading to discover the essential steps and tips to achieve these eye-catching results in Lightroom.
Let’s get started!
Table of Contents
Setting Up for Double Exposure in Lightroom
Selecting suitable photos is crucial for a successful double exposure effect. Choose images with strong contrasts and differing elements. This will make the final image more compelling and visually interesting.
Think about your overall vision, do you want to create a sense of mystery, drama, or surrealism?
The interaction between more images in the same frame can tell a profound story.
Preparing Your Workspace
Start by organizing your workspace in Lightroom. This step helps maintain focus and efficiency. Make sure your photos are imported and categorized correctly.
Create a dedicated folder for your double exposure photos, so nothing gets lost in the process. A clean and organized workspace sets the stage for successful edits.
Turn off any distractions, and get comfortable, you’re going to dive deep into multiple exposures editing.
Basic Lightroom Tools for Double Exposure
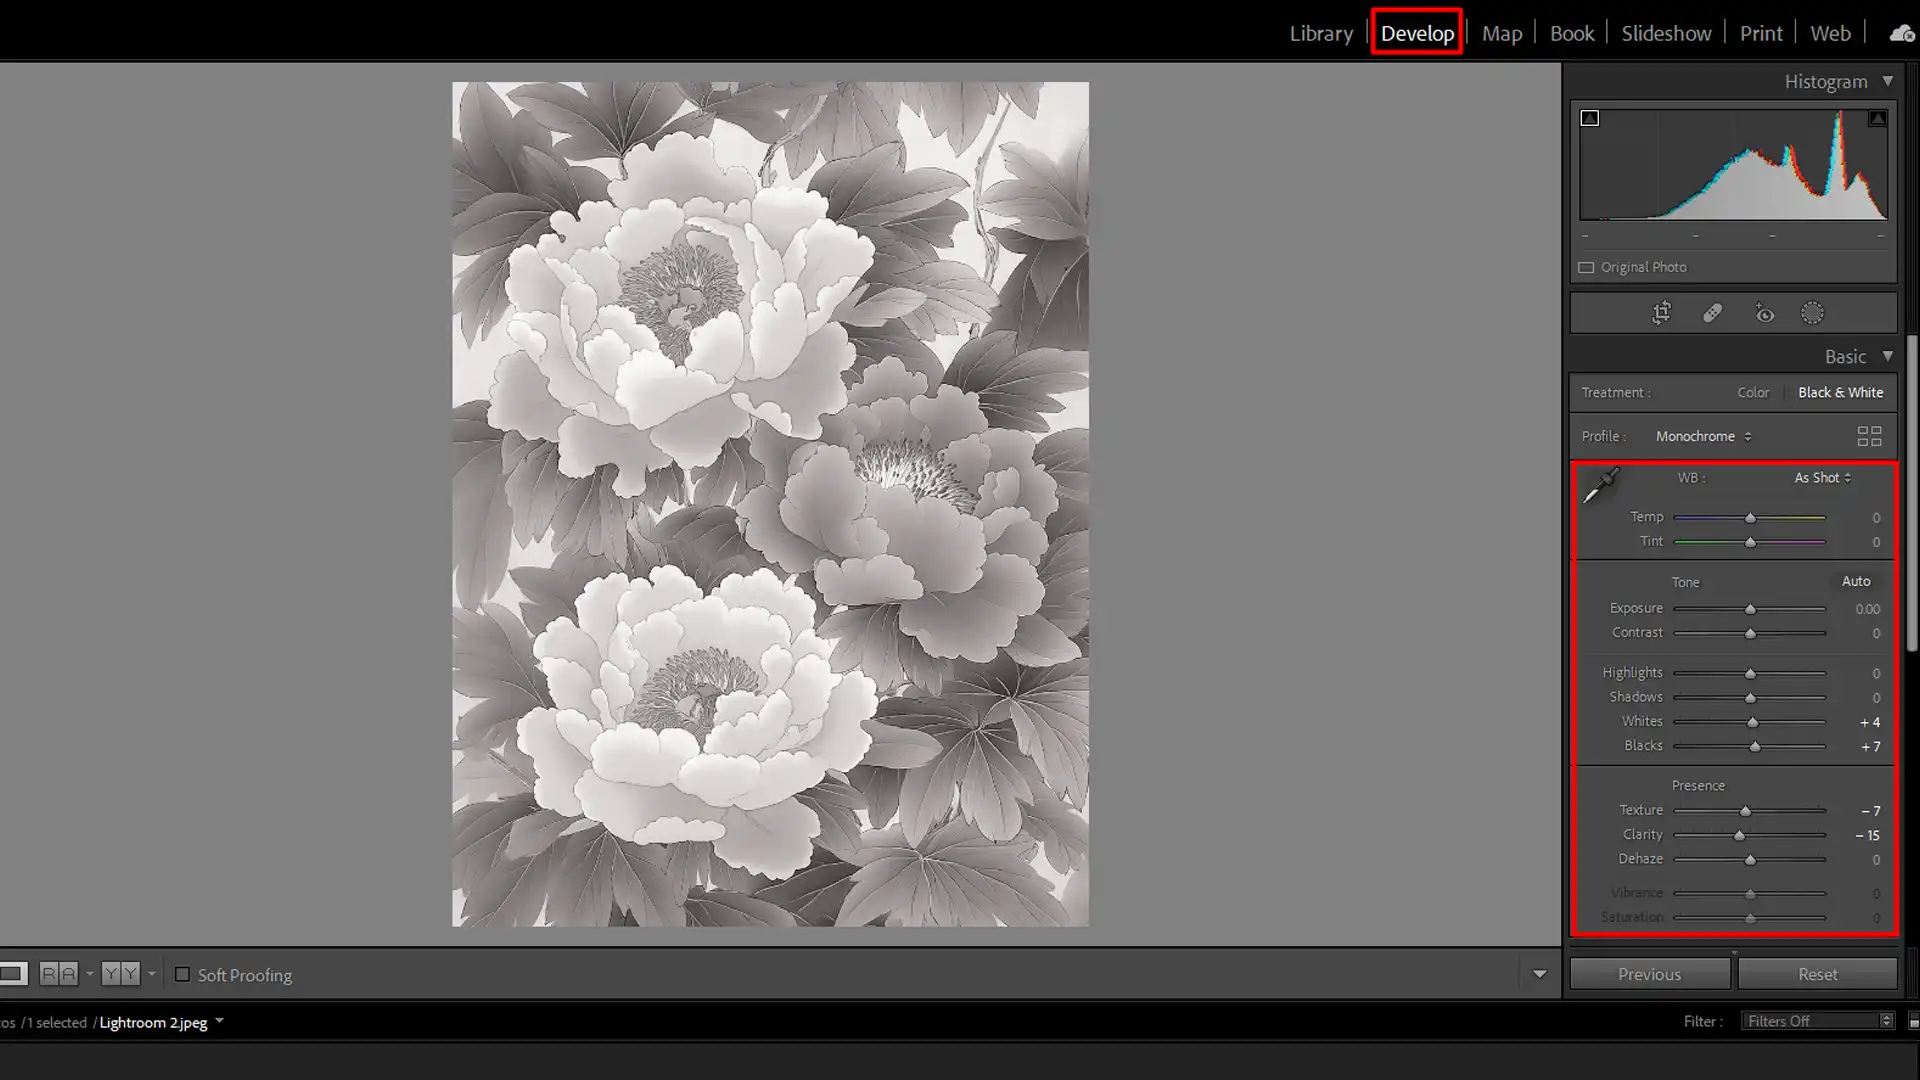
Lightroom offers tools that make creating double exposures straightforward. Begin with the Basic panel where you can adjust exposure, contrast, and highlights.
Use blending modes to combine your two exposures effectively. Pay attention to the histogram, it keeps your double exposure image balanced.
Don’t hesitate to use the brush tool to fine-tune specific areas.
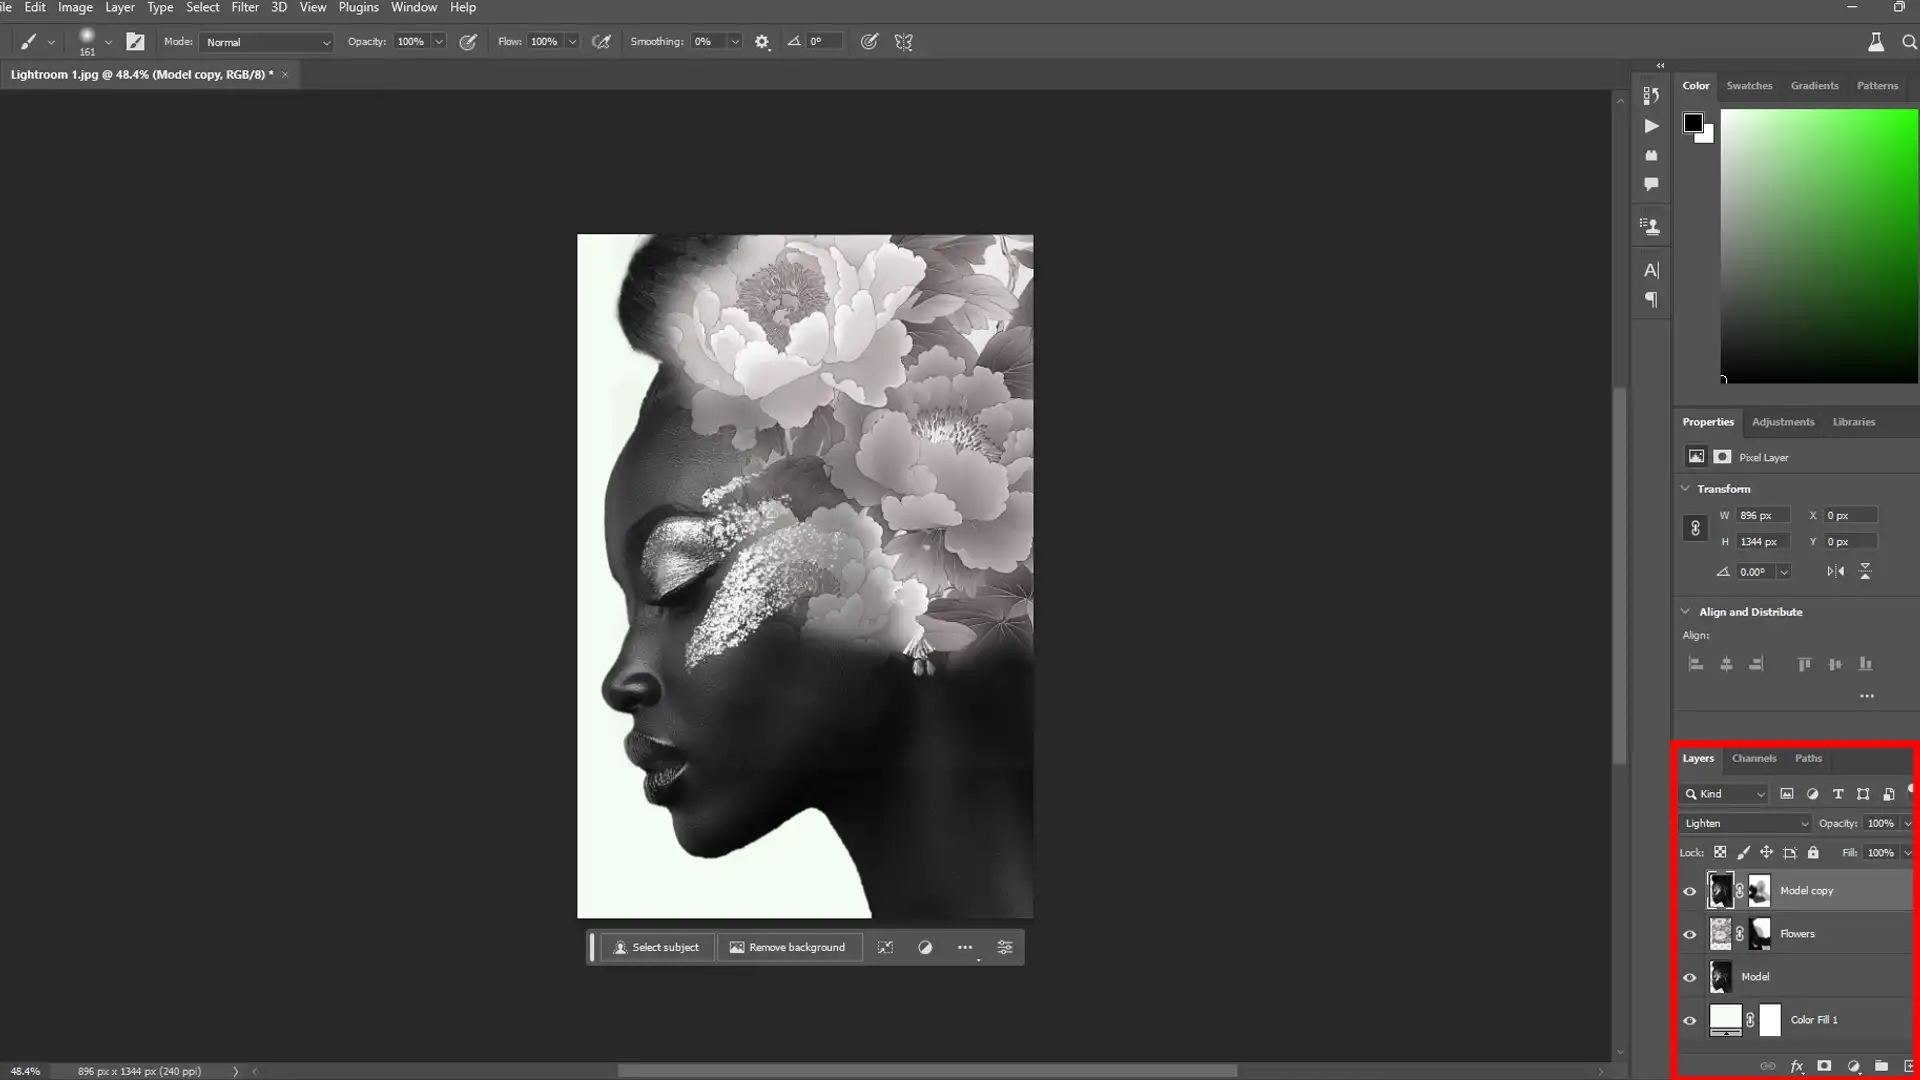
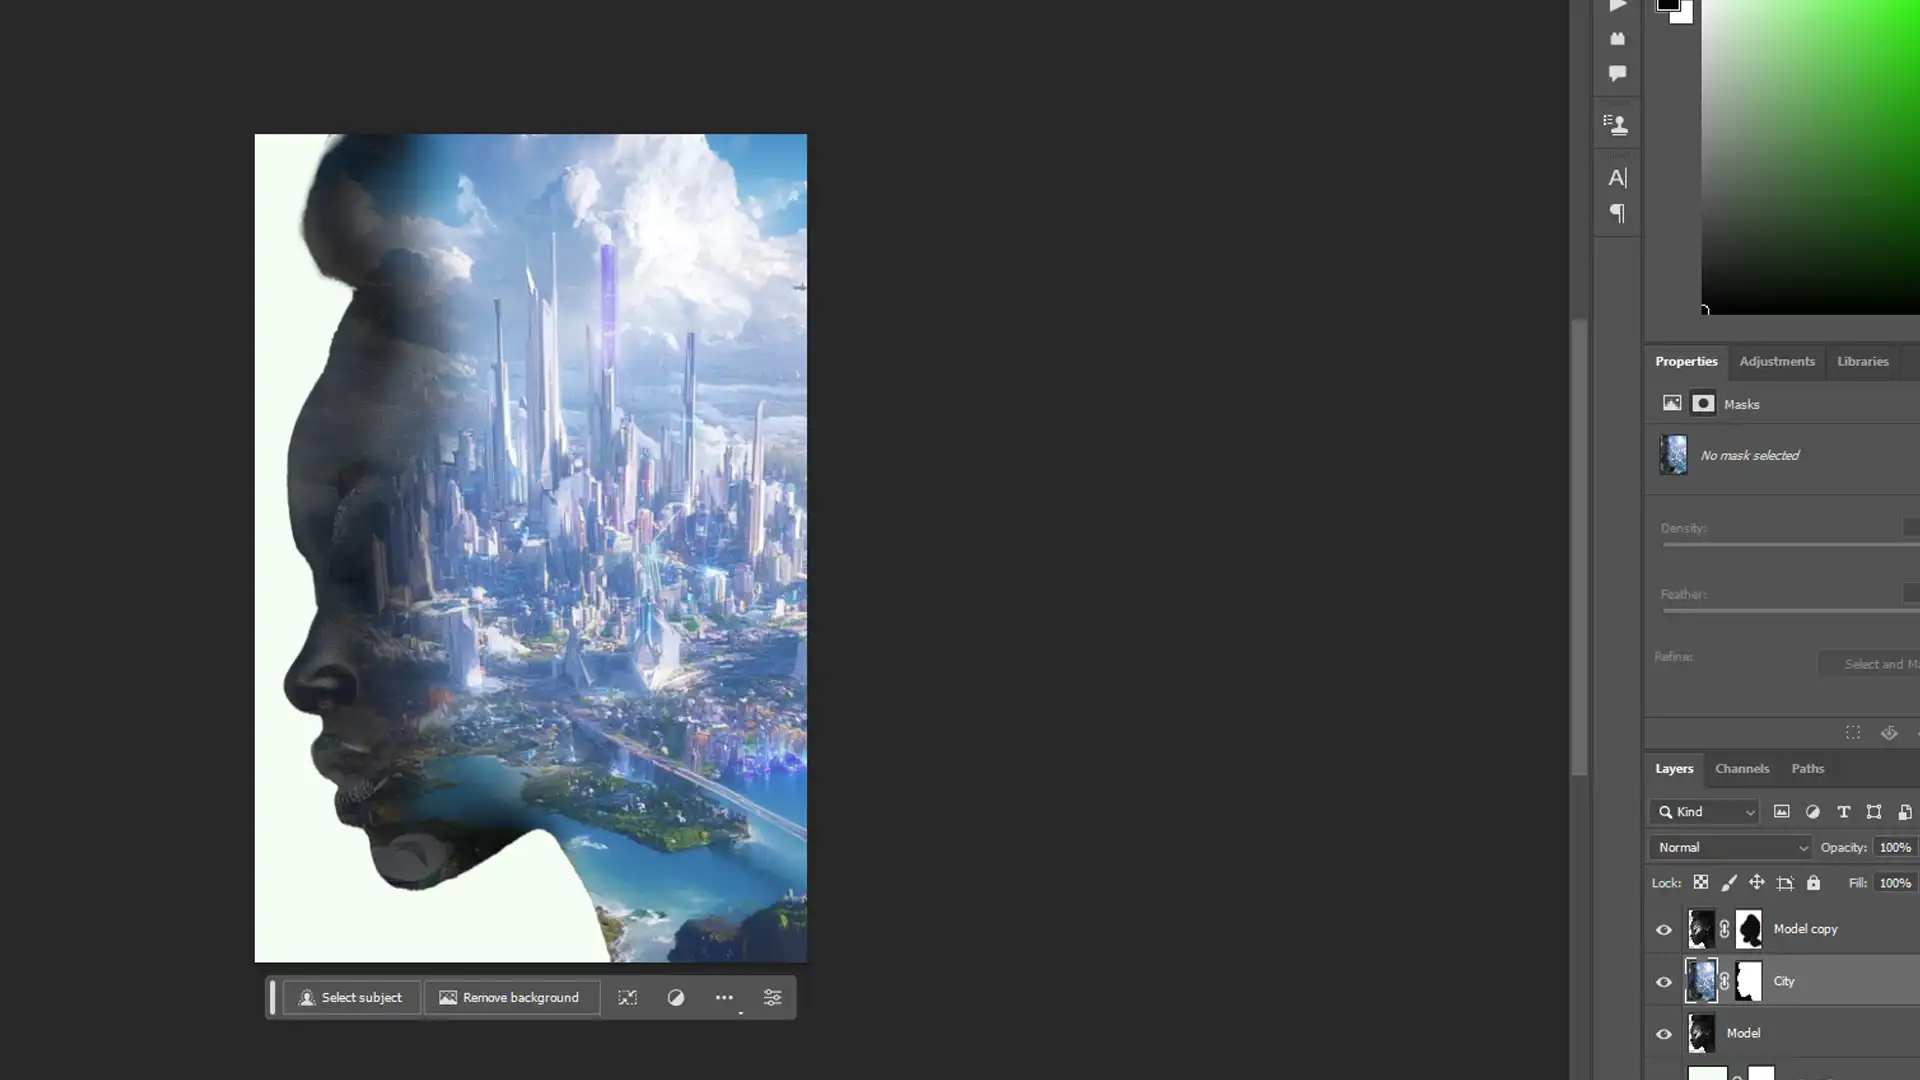
You can also use the layer mask theming to separate exposures and control the transparency of each layer. The key is to experiment until you achieve the desired result.
Pro Tip: Ensure your camera and main subjects do not overlap too much in camera front. This keeps both the camera and subjects clear and enhances the double exposure night photography effect.
For more advanced techniques, consider exploring how to use lens correction in Lightroom to perfect your images before combining them.
Additionally, learning the Lightroom shortcuts can significantly speed up your workflow, making the process more efficient and enjoyable.
Creating Double Exposure Effect in Lightroom
Camera double exposure photography wields a fascinating, creative touch to your images. In this concise guide, we’ll walk you through the steps of mastering double exposure in Lightroom.
Step-by-Step Guide to Double Exposure
Creating a double exposure image in Lightroom can seem daunting at first, but with the right steps, you’ll be crafting stunning visuals in no time. Follow this simple guide to get started with multiple exposure editing:
1. Select and Import Images
First, select two images with different exposures and strong contrasts. Import these to Lightroom and organize them meticulously.
A dedicated folder for double exposures can keep things tidy.
2. Adjust Basic Double Exposure Setting
Next, head to the Develop module. Under the Basic panel, tweak exposure, contrast, and highlights for each image. This adjustment helps blend the two photos more seamlessly later.
3. Blend the Images
Select one image as your base photo and use Lightroom’s blending modes to overlay the second image.
Experiment with Lighten, Screen, or Overlay blends for different effects.
Adjusting Opacity and Blending Modes
Fine-tuning opacity is crucial. In Lightroom, simulate this effect by adjusting the luminosity sliders. Keep a balance so both images blend well without losing key elements.
Switch between various blending modes until you achieve your desired aesthetic.
Each blending mode offers a unique look, don’t be afraid to experiment!
Enhancing the Double Exposure Effect
Dive into advanced options like the brush tool to add intricacy. Mask parts of your double exposure photo to highlight specific sections, making them pop.
Lightroom’s histogram is a valuable tool here. Ensure your image maintains a balanced histogram for a well-lit double exposure effect.
Common Mistakes and How to Avoid Them
Avoid common mistakes in double exposure by ensuring that your main subjects don’t overlap too much, and by maintaining strong contrast between your images for clarity.
1. Overlapping Main Subjects
A key mistake: overlapping main subjects. It muddles the focal points. Keep main subjects distinct enough to shine separately while contributing to the whole.
2. Neglecting Contrast
Another common error: neglecting contrast in camera move. If both images lack contrast, the double exposure effect may appear flat. Contrast adds depth and clarity.
Pro Tip: When creating a double exposure image, always save your final version as a new file. This way, you can have both the original photos and the composite safely stored.
Creating double exposures in camera still doesn’t need to be overwhelming. With practice and these straightforward steps, you’ll master the art of double exposure photography in no time!
Advanced Techniques for Double Exposure Photography
Creating stunning double exposure images can take your photography to the next level.
Let’s dive into advanced techniques, ensuring you get professional results with ease.
Using Masks and Layers
Masks and layers are vital tools for mastering double exposure in editing software like Adobe Photoshop.
Masks control which parts of an single image are visible, allowing for precise blending between two images.
Layers help keep different parts of your double expose work separate, giving you more flexibility in your edits.
Steps to Use Masks and Layers:
Open your base image and create a new layer for the second image.
Apply a mask to the second image layer.
Use brushes to blend the images seamlessly.
This technique lets you highlight certain aspects of each other in camera photo, making your double exposure unique.
Incorporating Color and Texture
Color and texture add depth to double exposures. Enhancing colors can draw attention to specific areas and create visual interest. Adjust the hues and saturation levels carefully.
Consider adding textured images or patterns as overlays to bring out intricate details.
How to Add Texture:
Import a textured image as a new layer.
Experiment with blending modes like Overlay, Soft Light, or Multiply.
Ensure the texture complements rather than overpowers the main subjects.
Creating Surreal Double Exposures
Double exposure settings can produce dreamlike images. Combining unrelated objects, such as nature and architecture, brings a surreal feel to your photos.
Aim for contrast in your selections – mix light and dark, organic and human-made elements.
Steps to Create Surreal Double Exposures:
Choose your two exposures.
Adjust the opacity of the second image to gauge how they merge together.
Play with scale, orientation, and perspective to enhance the surrealism effect.
Remember, creativity is vital here. The more unconventional the combination, the more enchanting the result.
Tips for Professional Results
For polished double exposure images, practice these tips:
Keep your images well-exposed and in focus.
Avoid cluttered compositions, simplicity often works best.
Leverage contrasting subjects to stand out in the composition.
Use histogram to ensure balanced tonal ranges.
Save multiple drafts, so you have variations to choose from.
Quality double exposure photos require patience and practice. Each attempt refines your abilities, leading to more compelling results.
Pro Tip: Use digital cameras with a multiple exposure feature. This simplifies the process and helps achieve consistent quality in your double exposures.
Digital cameras with advanced exposure settings allow for greater creative control and precise adjustments in camera, to enhance your final images in digital photography.
Mastering the Integration of Second Exposure for Stunning Double Exposure
When working on your double exposure project, the second exposure plays a crucial role in shaping the final outcome.
After combining your first image with the second exposures, use layer masks to refine the integration and ensure that both images blend seamlessly.
A layer photo approach can be especially useful for adjusting the opacity and blend modes, giving you more control over the final look.
For added creativity, consider incorporating elements from matte painting techniques to enhance the visual impact of your composition.
Don’t forget to regularly save your progress to your memory card, ensuring that all your hard work is securely backed up throughout the editing process.
Inspiration and Ideas for Double Exposure Lightroom
Multi exposure photography creates captivating images and digital camera unlocks lots of creative possibilities.
Do you have some digital images and editing software like Lightroom? If yes, let’s move forward.
Creative Concepts to Try
Concept
Description
Best For
Portraits and Nature
Merge profiles with natural elements (trees, water, clouds)
Creating a bond between subject and environment
Urban and Rural
Blend cityscapes with countryside images
Contrasting city life with rural tranquility
Textures
Overlay textures like leaves, sand, or abstract shapes
Adding depth and interest to photos
Surreal Combinations
Combine unexpected elements (e.g., animals with geometric shapes)
Creating dream-like, imaginative effects
Fashion and Art
Mix fashion photography with artistic backgrounds
Highlighting clothing and design with creative backgrounds
Double exposure opens a world of creativity. You can combine portraits with landscapes, mix urban scenes with nature, and even blend multiple textures.
Portraits and Nature: Merge a person's profile with trees, water, or clouds. This creates a bond between the subject and the environment.
Urban and Rural: Blend cityscapes with serene countryside images. It contrasts the hustle of city life with calm rural settings.
Textures: Overlay textured patterns on subjects or scenes. Experiment with leaves, sand, or abstract shapes.
Always remember, the key is to make sure both images complement each other.
Double Exposure in Different Genres
Different genres bring unique challenges and advantages when you create double exposures.
For instance, using a film camera can add a nostalgic texture to your multiple exposure, while digital photography with editing software allows for more precise control over the final result.
Learning how to create double exposures, starting with a well-chosen first image and effectively blending it with the second through multiple exposures can make a significant difference in achieving a cohesive and striking effect.
Fashion: Adds artistic flair to portrait shots. Use clothing patterns or accessories as overlays.
Landscapes: Combine various scenic views for a richer story. Multiple exposure techniques work well here.
Street Photography: Mix different aspects of urban life. Capture people, movement, and architecture all in one image.
Every genre has its style. Adapt your technique according to what you want to convey.
Learning from the Masters
Learning from photographers who’ve mastered double exposure offers invaluable insights.
Look to them for inspiration and strategy.
Jerry Uelsmann: One of the pioneers in true double exposure through traditional darkroom photography.
Dan Mountford: Known for his modern take on double exposures, using digital tools effectively.
Christoffer Relander: Master of blending nature and humans in poetic ways.
Study their works, understand their techniques, and try to apply what resonates with you.
Lastly, practice is your best friend. Keep experimenting with Lightroom settings, and you’ll surely see improvement.
Consistent Lightroom editing will refine your skills and help you achieve stunning results.
Showcasing and Sharing Your Double Exposures
You’ve got those amazing double exposure images ready. Now, it’s time to share them with the world.
Celebrating your work and earning recognition can be as satisfying as creating them.
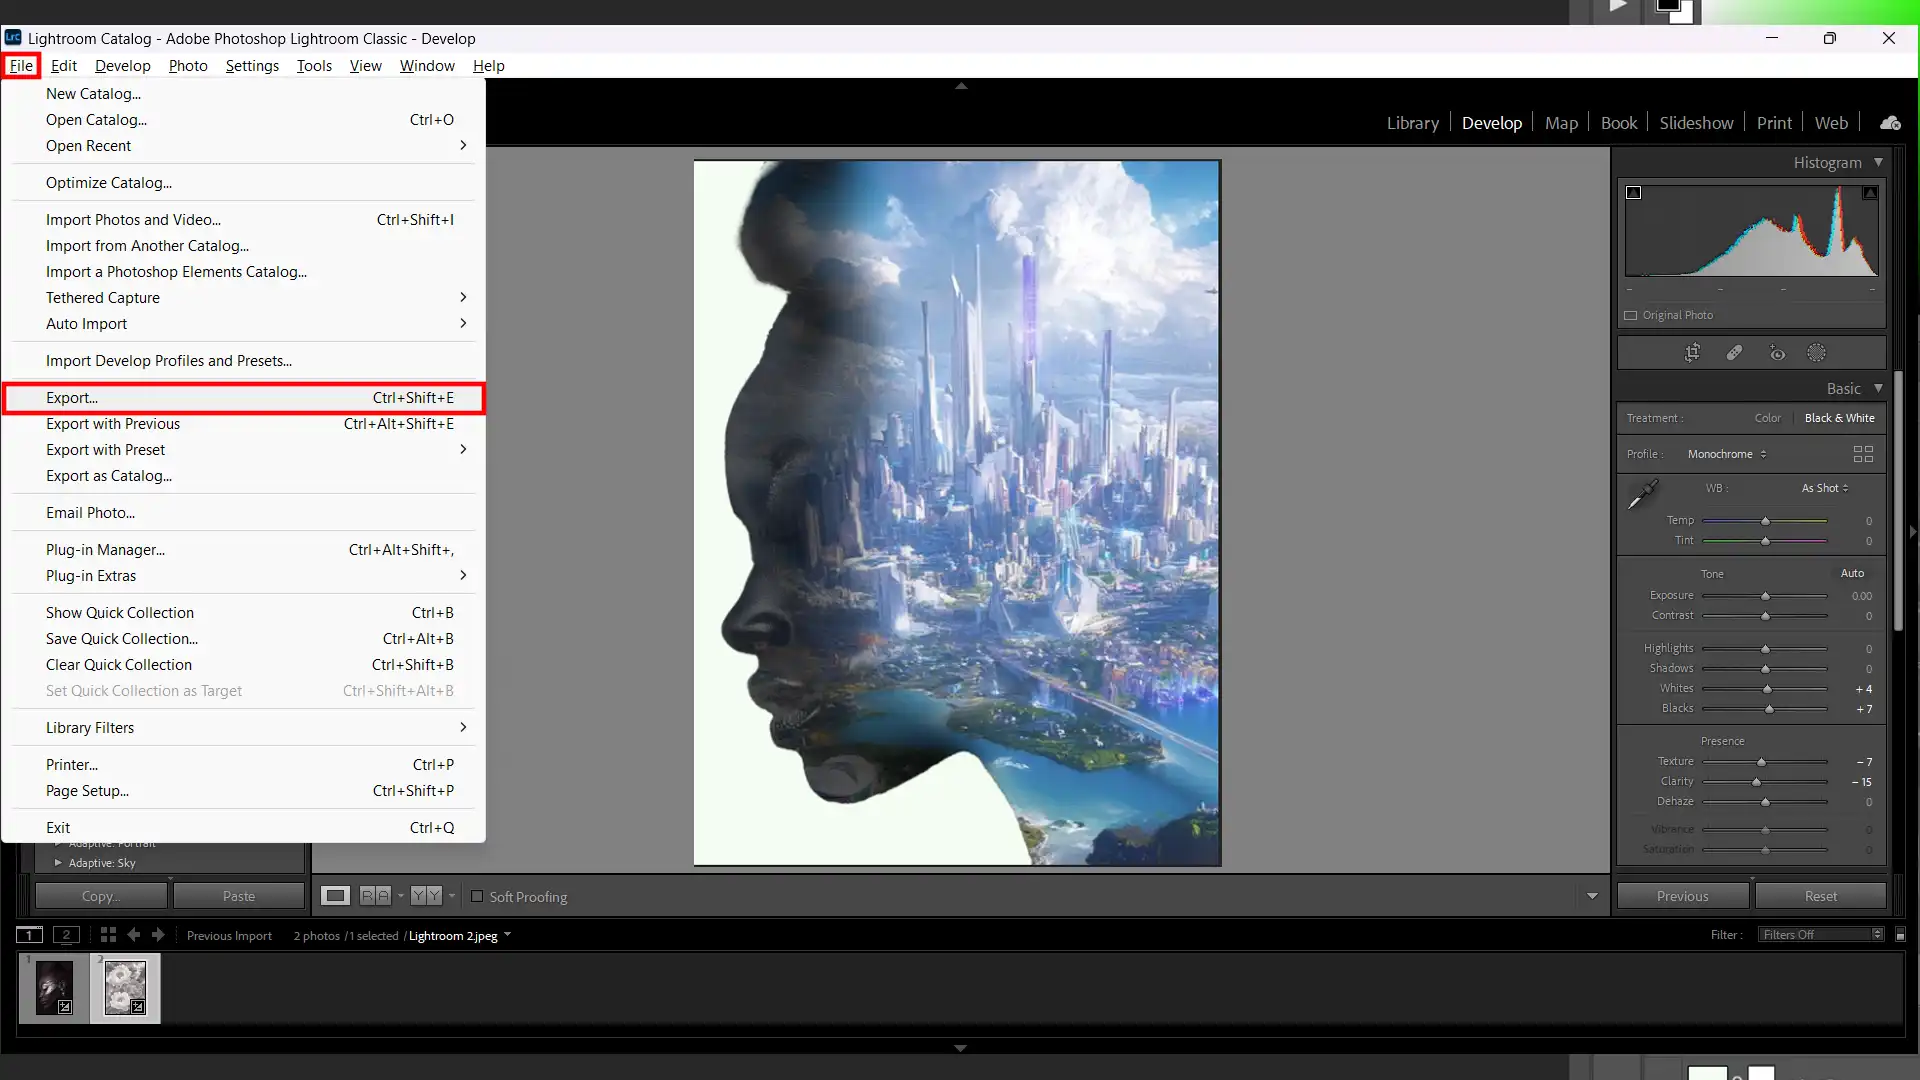
Exporting Your Double Exposure Images
Steps to export images:
Open Lightroom.
Navigate to the Export button.
Choose the best format for your needs, usually JPEG.
Ensure high resolution for quality.
Select a suitable location on your computer to save your images. Remember, proper file naming helps in organization.
A well-named file is easy to locate later. Adjust image size if needed for particular platforms.
Sharing on Social Media
Platforms and Tips:
Instagram: Use hashtags related to your work, like #doubleexposure or #digitalphotography. It increases visibility. Engage with users commenting on your posts. Interaction builds a community.
Facebook: Allows you to create albums and share vast details about your work. Post regular updates and join photography groups. Seek feedback and connect with others for inspiration.
Building a Portfolio
Why stop at social media? Building a portfolio lends credibility. Use simple website builders like Wix or Squarespace.
Create distinct sections for different projects.
Organizing Your Portfolio
Separate your work by themes or styles. A clean layout ensures visitors focus solely on your images. Include descriptions for each section to guide the viewer.
Your portfolio acts as your personal gallery. It shows potential clients your full range of skills. Always keep it updated with your latest work.
Long exposure phone photography captures dynamic motion over time, while showcasing and sharing your double exposures on social media can enhance visibility and connect with fellow enthusiasts.
Frequently Asked Questions
Can you double exposure in Lightroom?
Yes, you can create a double exposure effect in Lightroom by using the following steps:
Import the two images you want to blend.
Open the Develop module.
Select the first image and apply any desired adjustments.
Right-click on the image and choose 'Edit In' > 'Open as Layers in Photoshop.'
Once in Photoshop, place the two images on separate layers.
Adjust the blend mode of the top image to create the double exposure effect.
Save the file, and it will reappear in Lightroom with the double exposure applied.
Can you stack exposures in Lightroom?
While Lightroom does not support true exposure stacking, you can achieve a similar effect by:
Editing your photos individually in Lightroom.
Exporting them to Photoshop.
Using Photoshop's auto-align and auto-blend features for exposure stacking.
This method is especially useful for high dynamic range (HDR) imaging and focus stacking.
How do you apply exposure to multiple photos in Lightroom?
To apply the same exposure settings to multiple photos in Lightroom, follow these steps:
Select the photo with the desired exposure settings.
Switch to the Library module.
Press 'Ctrl + Shift + C' to copy the settings.
Select the other photos you want to adjust.
Press 'Ctrl + Shift + V' to paste the settings to the selected photos.
How do I make a double exposure?
To create a double exposure effect, you can follow these steps, which work in most photo editing software:
Choose two images that would blend well together.
Place one image over the other as different layers.
Adjust the opacity of the top layer to allow the bottom layer to show through.
Experiment with different blending modes for unique effects.
Adjust the positioning and mask areas as needed for the best composition.
Mastering double exposure in Lightroom can reallyelevate your photo editing skills. By combining images creatively, you can produce striking visuals that stand out.
From my experience, playing around with different settings and techniques has always led to exciting results. If you’re new to this or want to refine your skills, you might find my Photoshop course and Lightroom course very helpful.
$2,061.00Original price was: $2,061.00.$1,061.00Current price is: $1,061.00. 27584
Download Your Free Guide Now!
Discover the secrets of photography with our printable guide! Master essential techniques like aperture, shutter speed, and ISO to create stunning images. Get your free printable PDF now and start turning your snapshots into masterpieces!