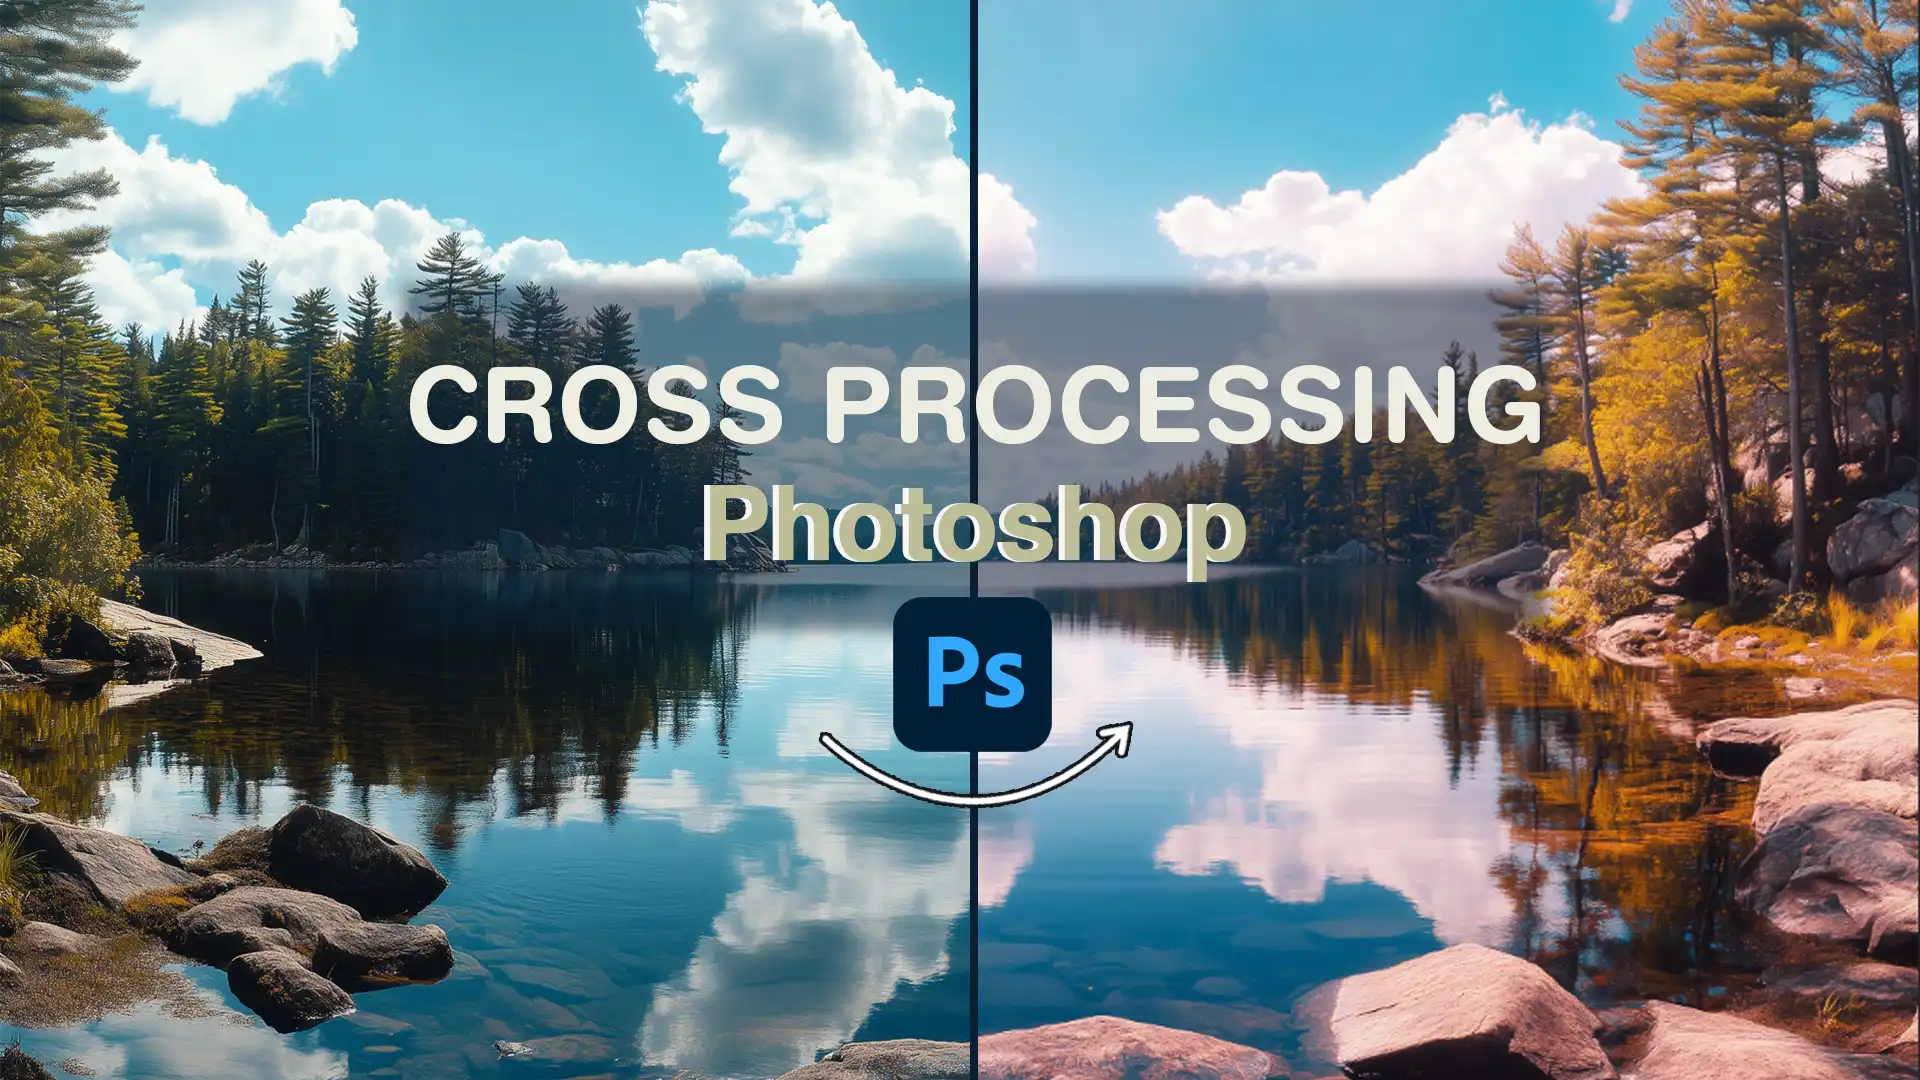
Cross Processing Photoshop: Unique Color Transformations
Cross Processing Photoshop: Unique Color Transformations
Cross processing Photoshop techniques can transform your images into stunning works of art. As a photography enthusiast, I know how frustrating it can be to capture the perfect shot only to find it lacks that extra pop.
Imagine turning a simple photo into something extraordinary with just a few clicks. That’s where the magic of cross processing comes in.
Whether you’re looking to add a retro vibe or simply want to experiment with color, cross processing offers endless creative possibilities.
In this article, I’ll guide you through the steps to achieve this effect in Photoshop, ensuring you can captivate viewers and elevate your photography game.
Get ready to dive into the world of cross processing and unlock your creativity.
Table of Contents
Understanding Cross Processing in Photoshop
Cross processing in Photoshop opens a world of creative possibilities for your images. It’s about taking a photo and using cross-shifting to transform it into something uniquely different.
The technique’s essence lies in simulating the quirky effects you get when developing film with the wrong chemicals.
Why Use Cross Processing in Photoshop?
Bringing cross processing effects into play can add drama and mystery to any photo. Imagine manipulating an image in such a way that it stands out from the usual digital captures.
Over the years, this method has found a place in digital photography, giving life to images that otherwise might appear plain.
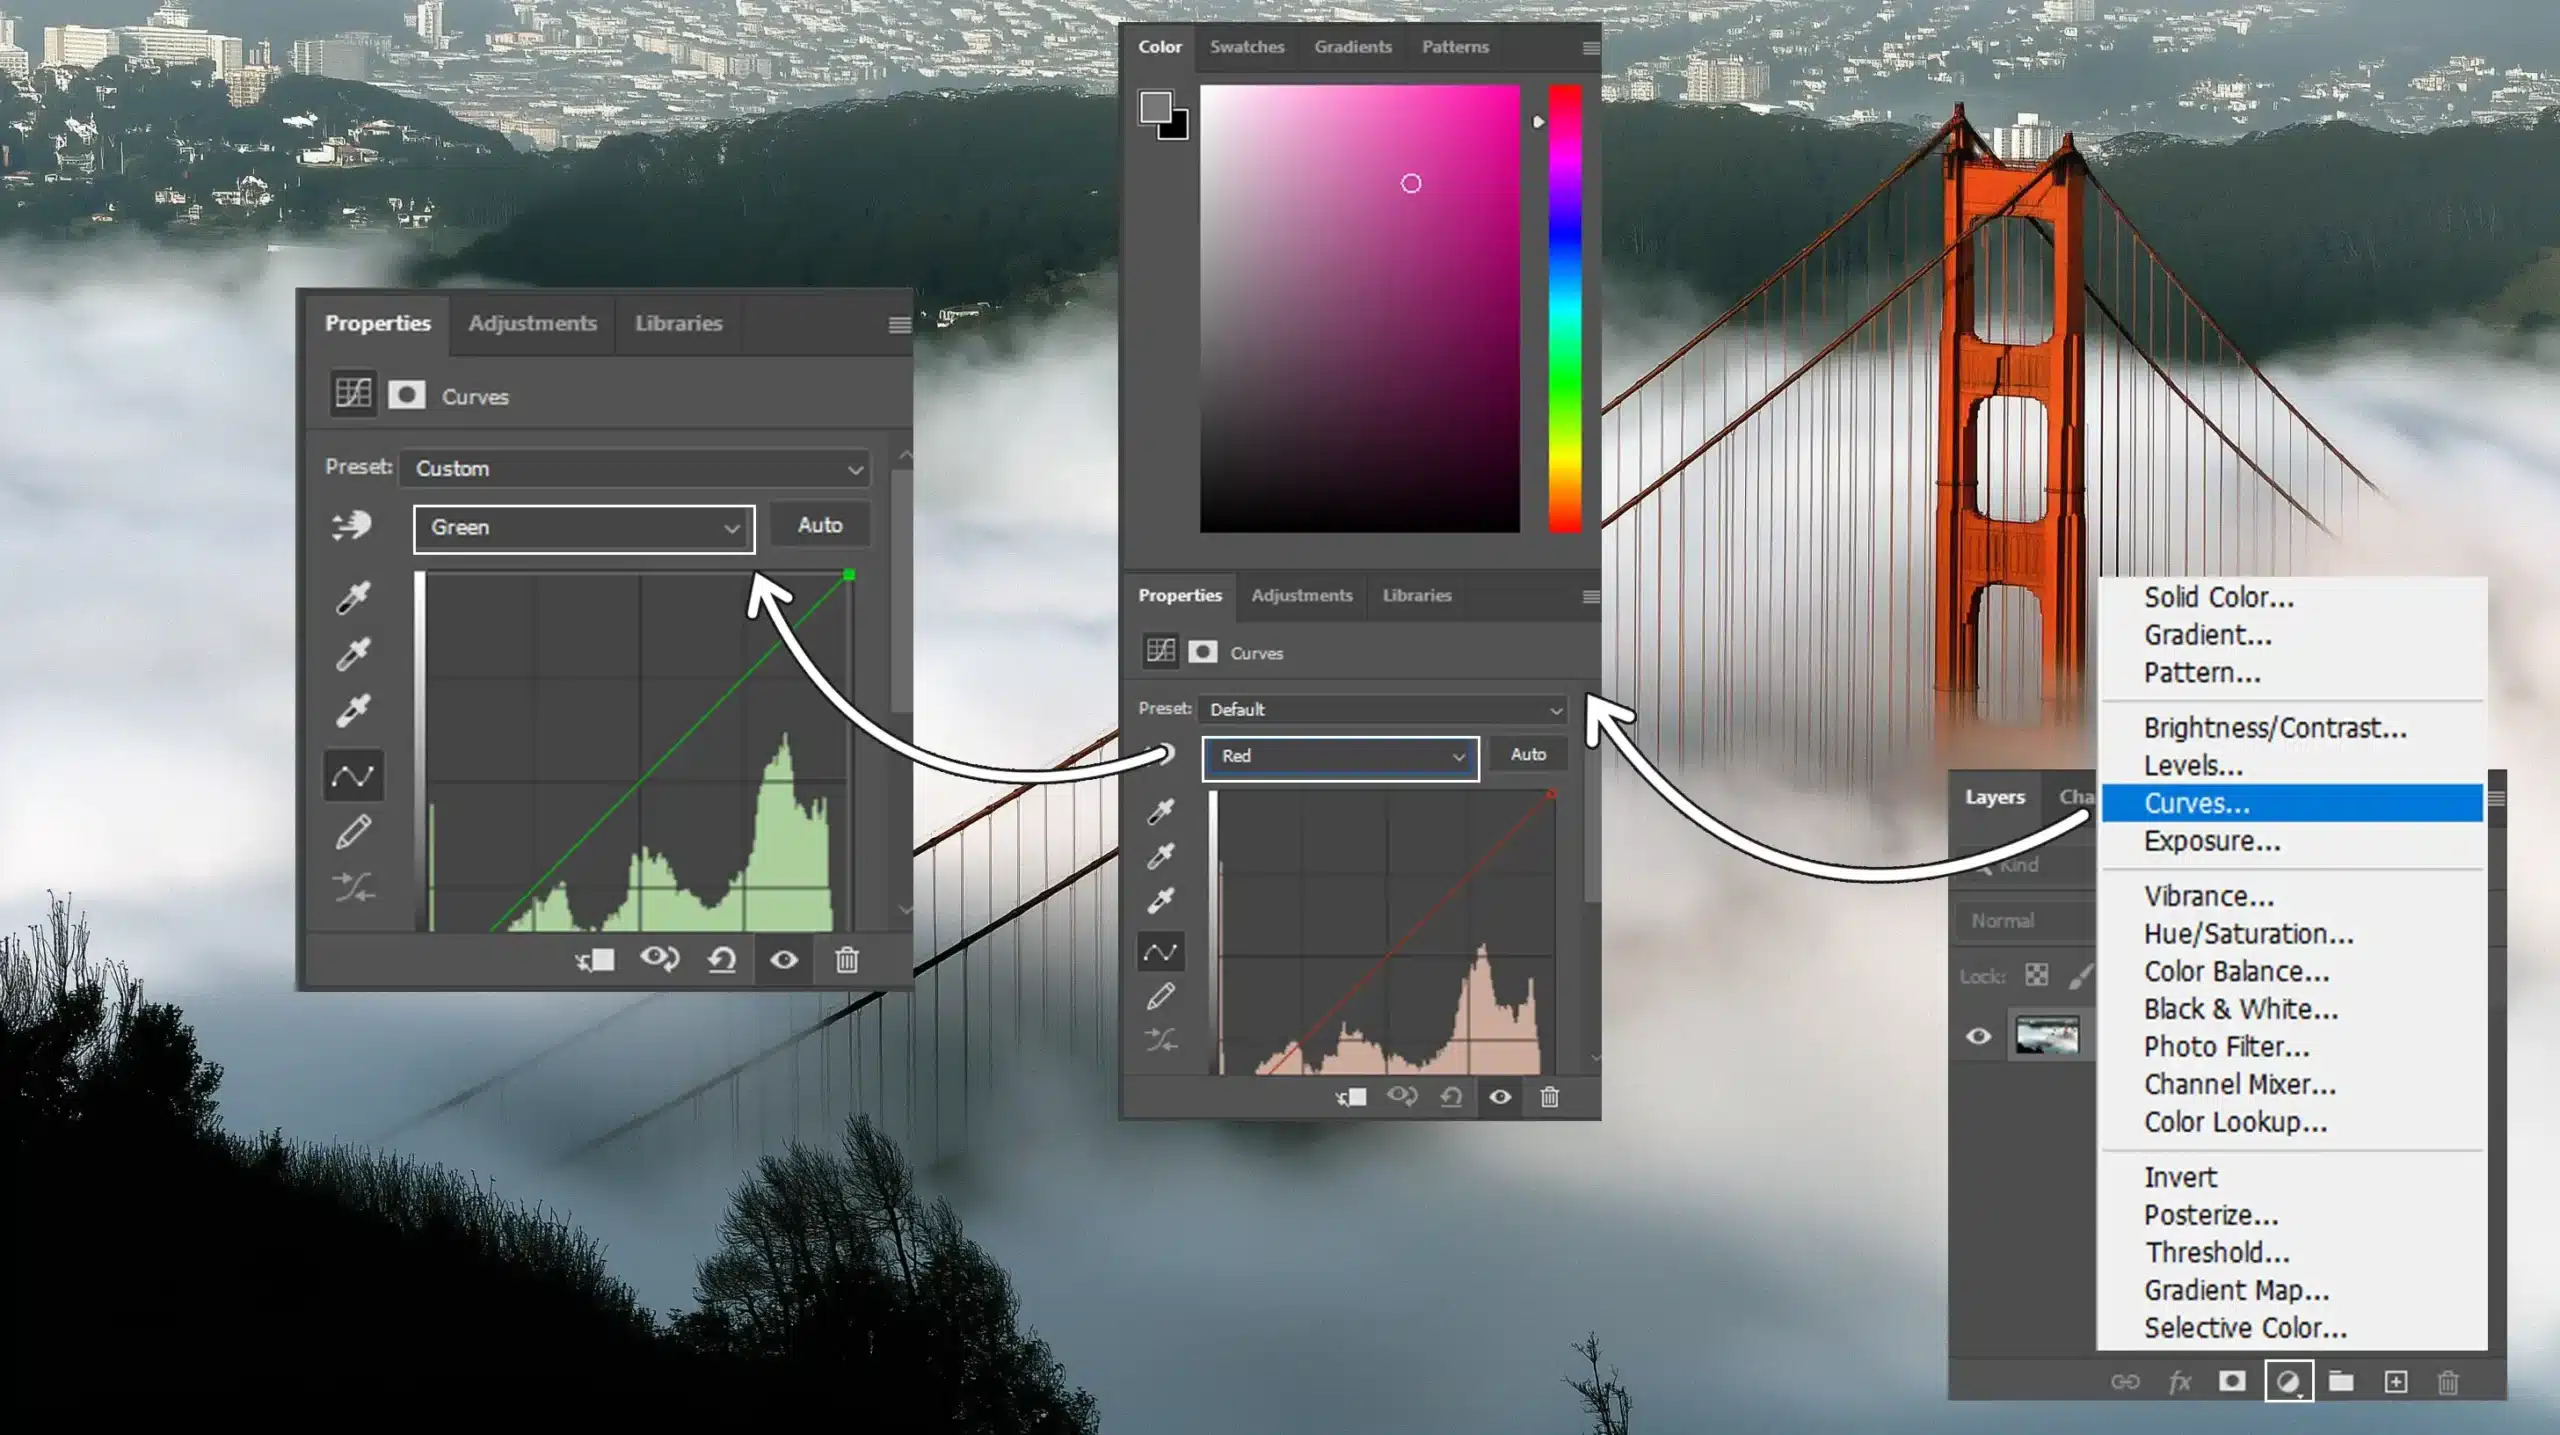
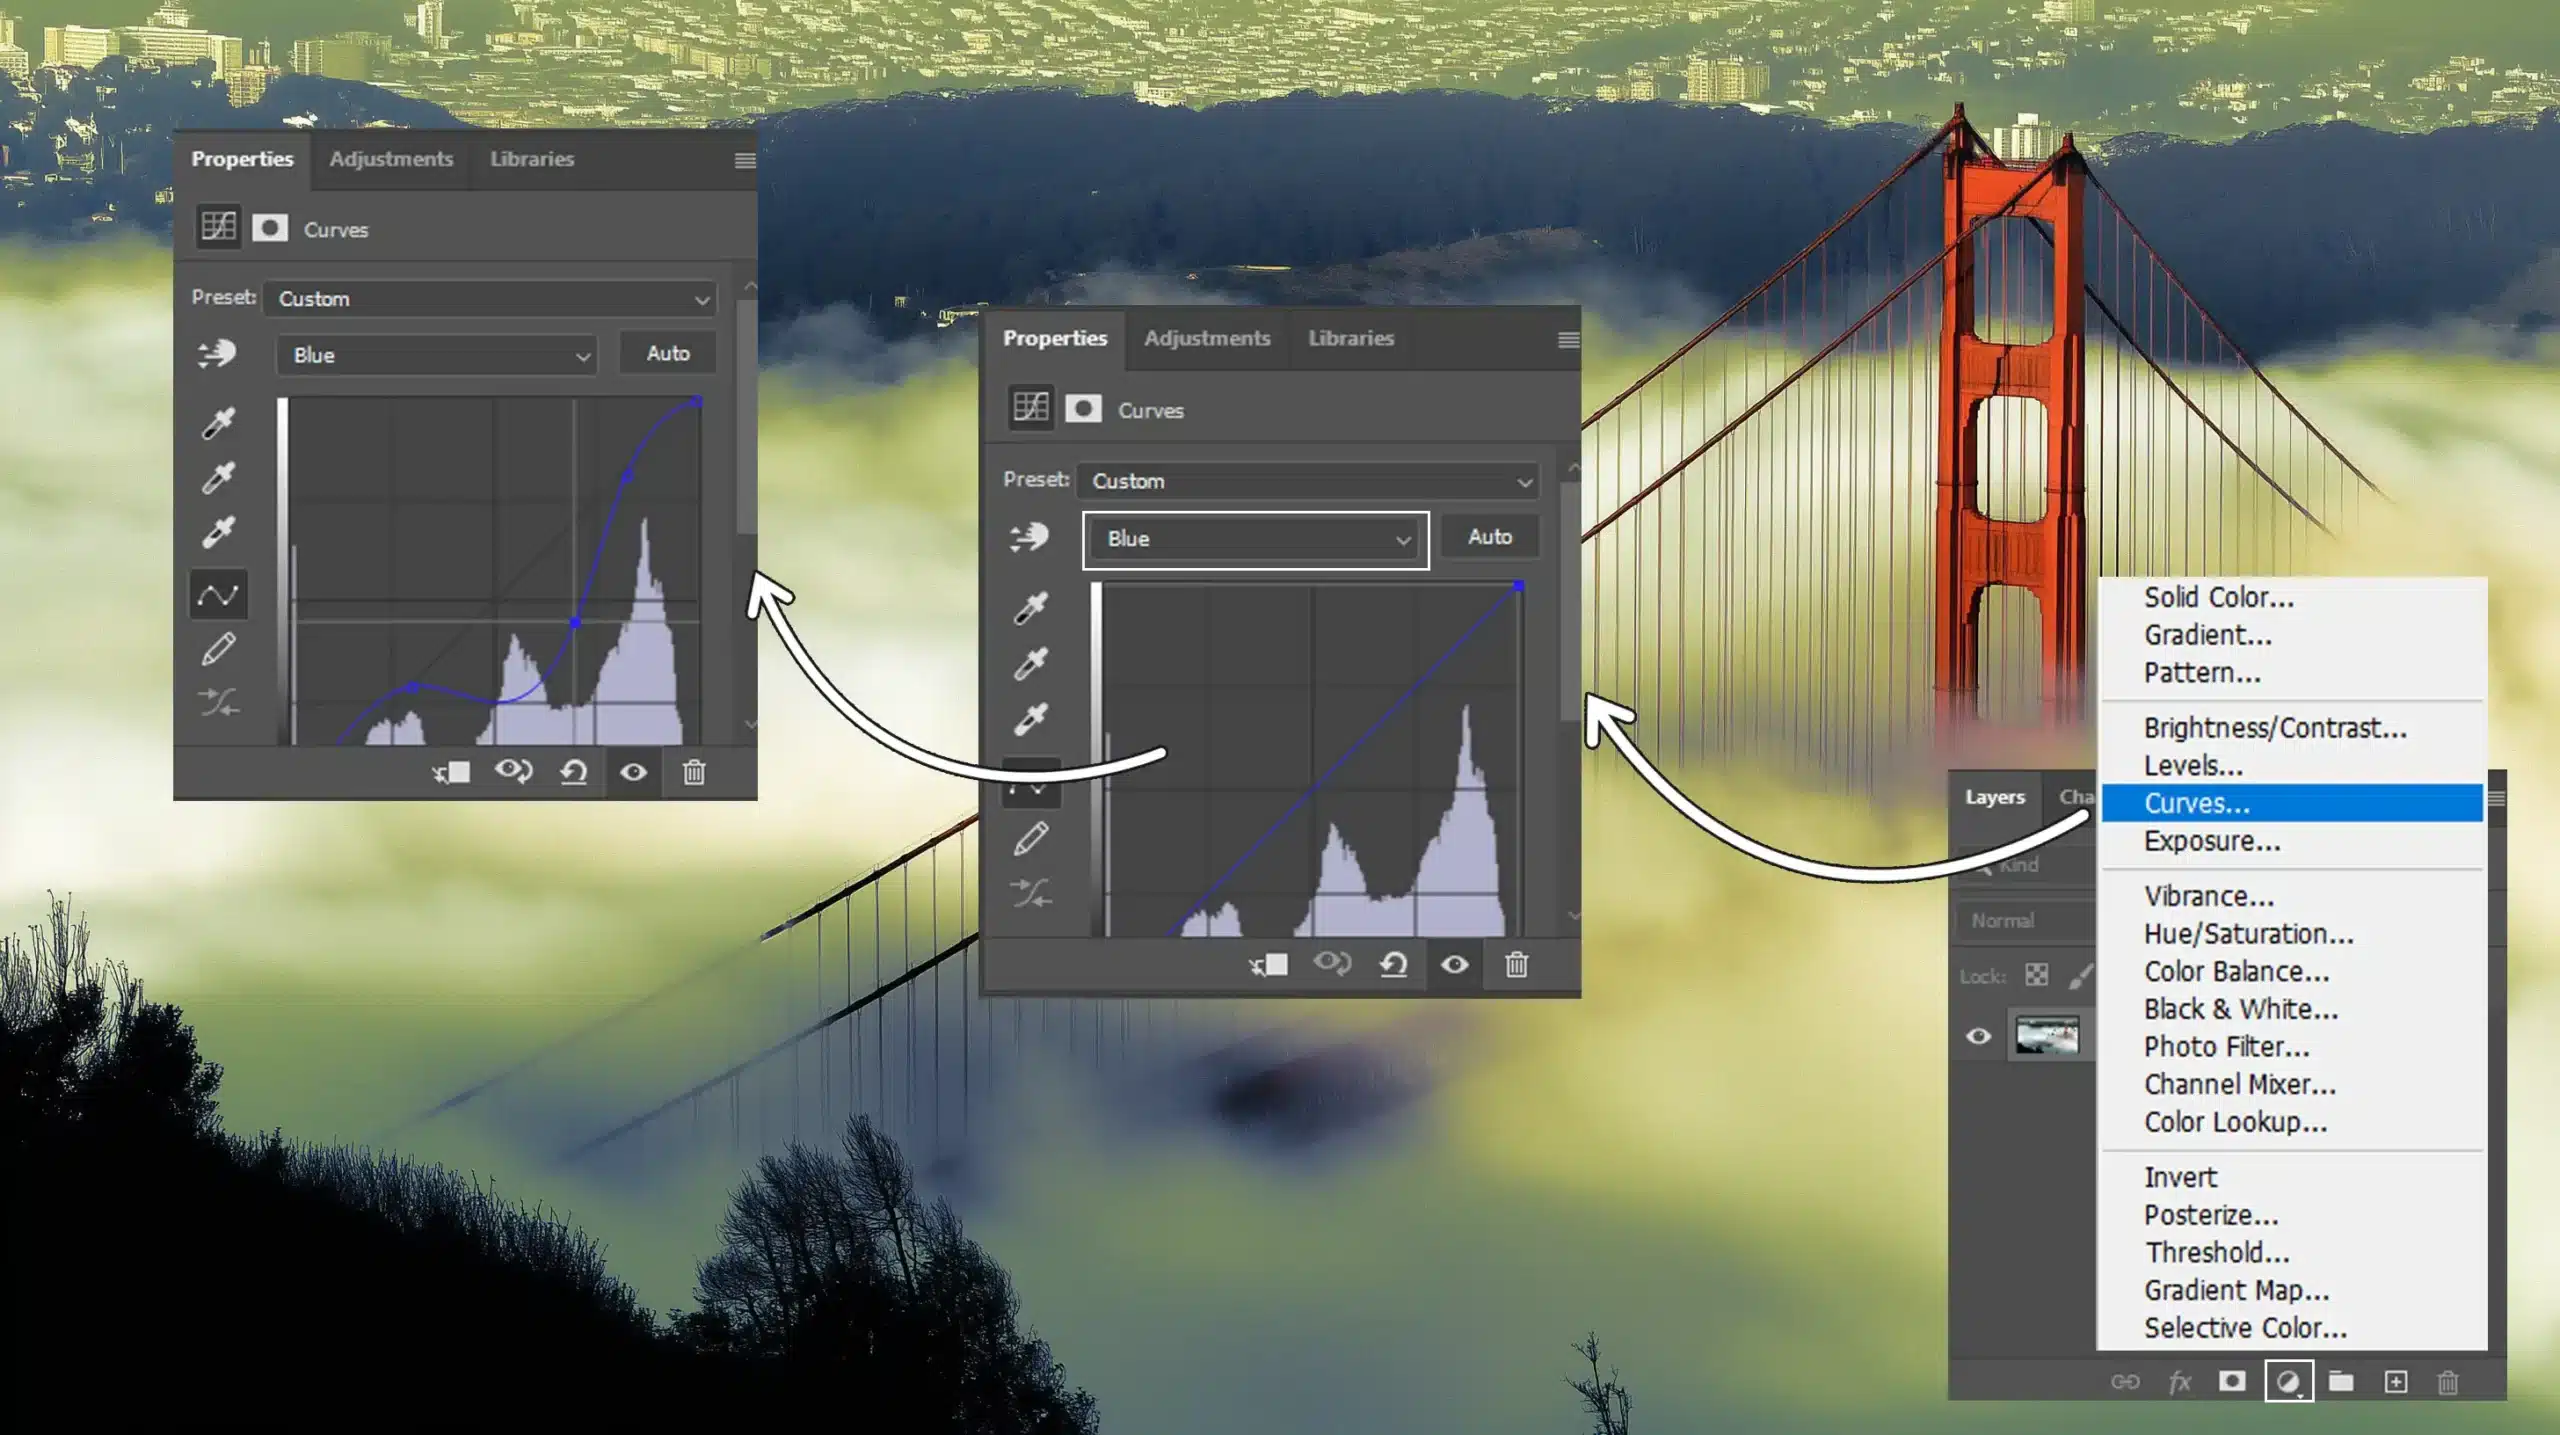
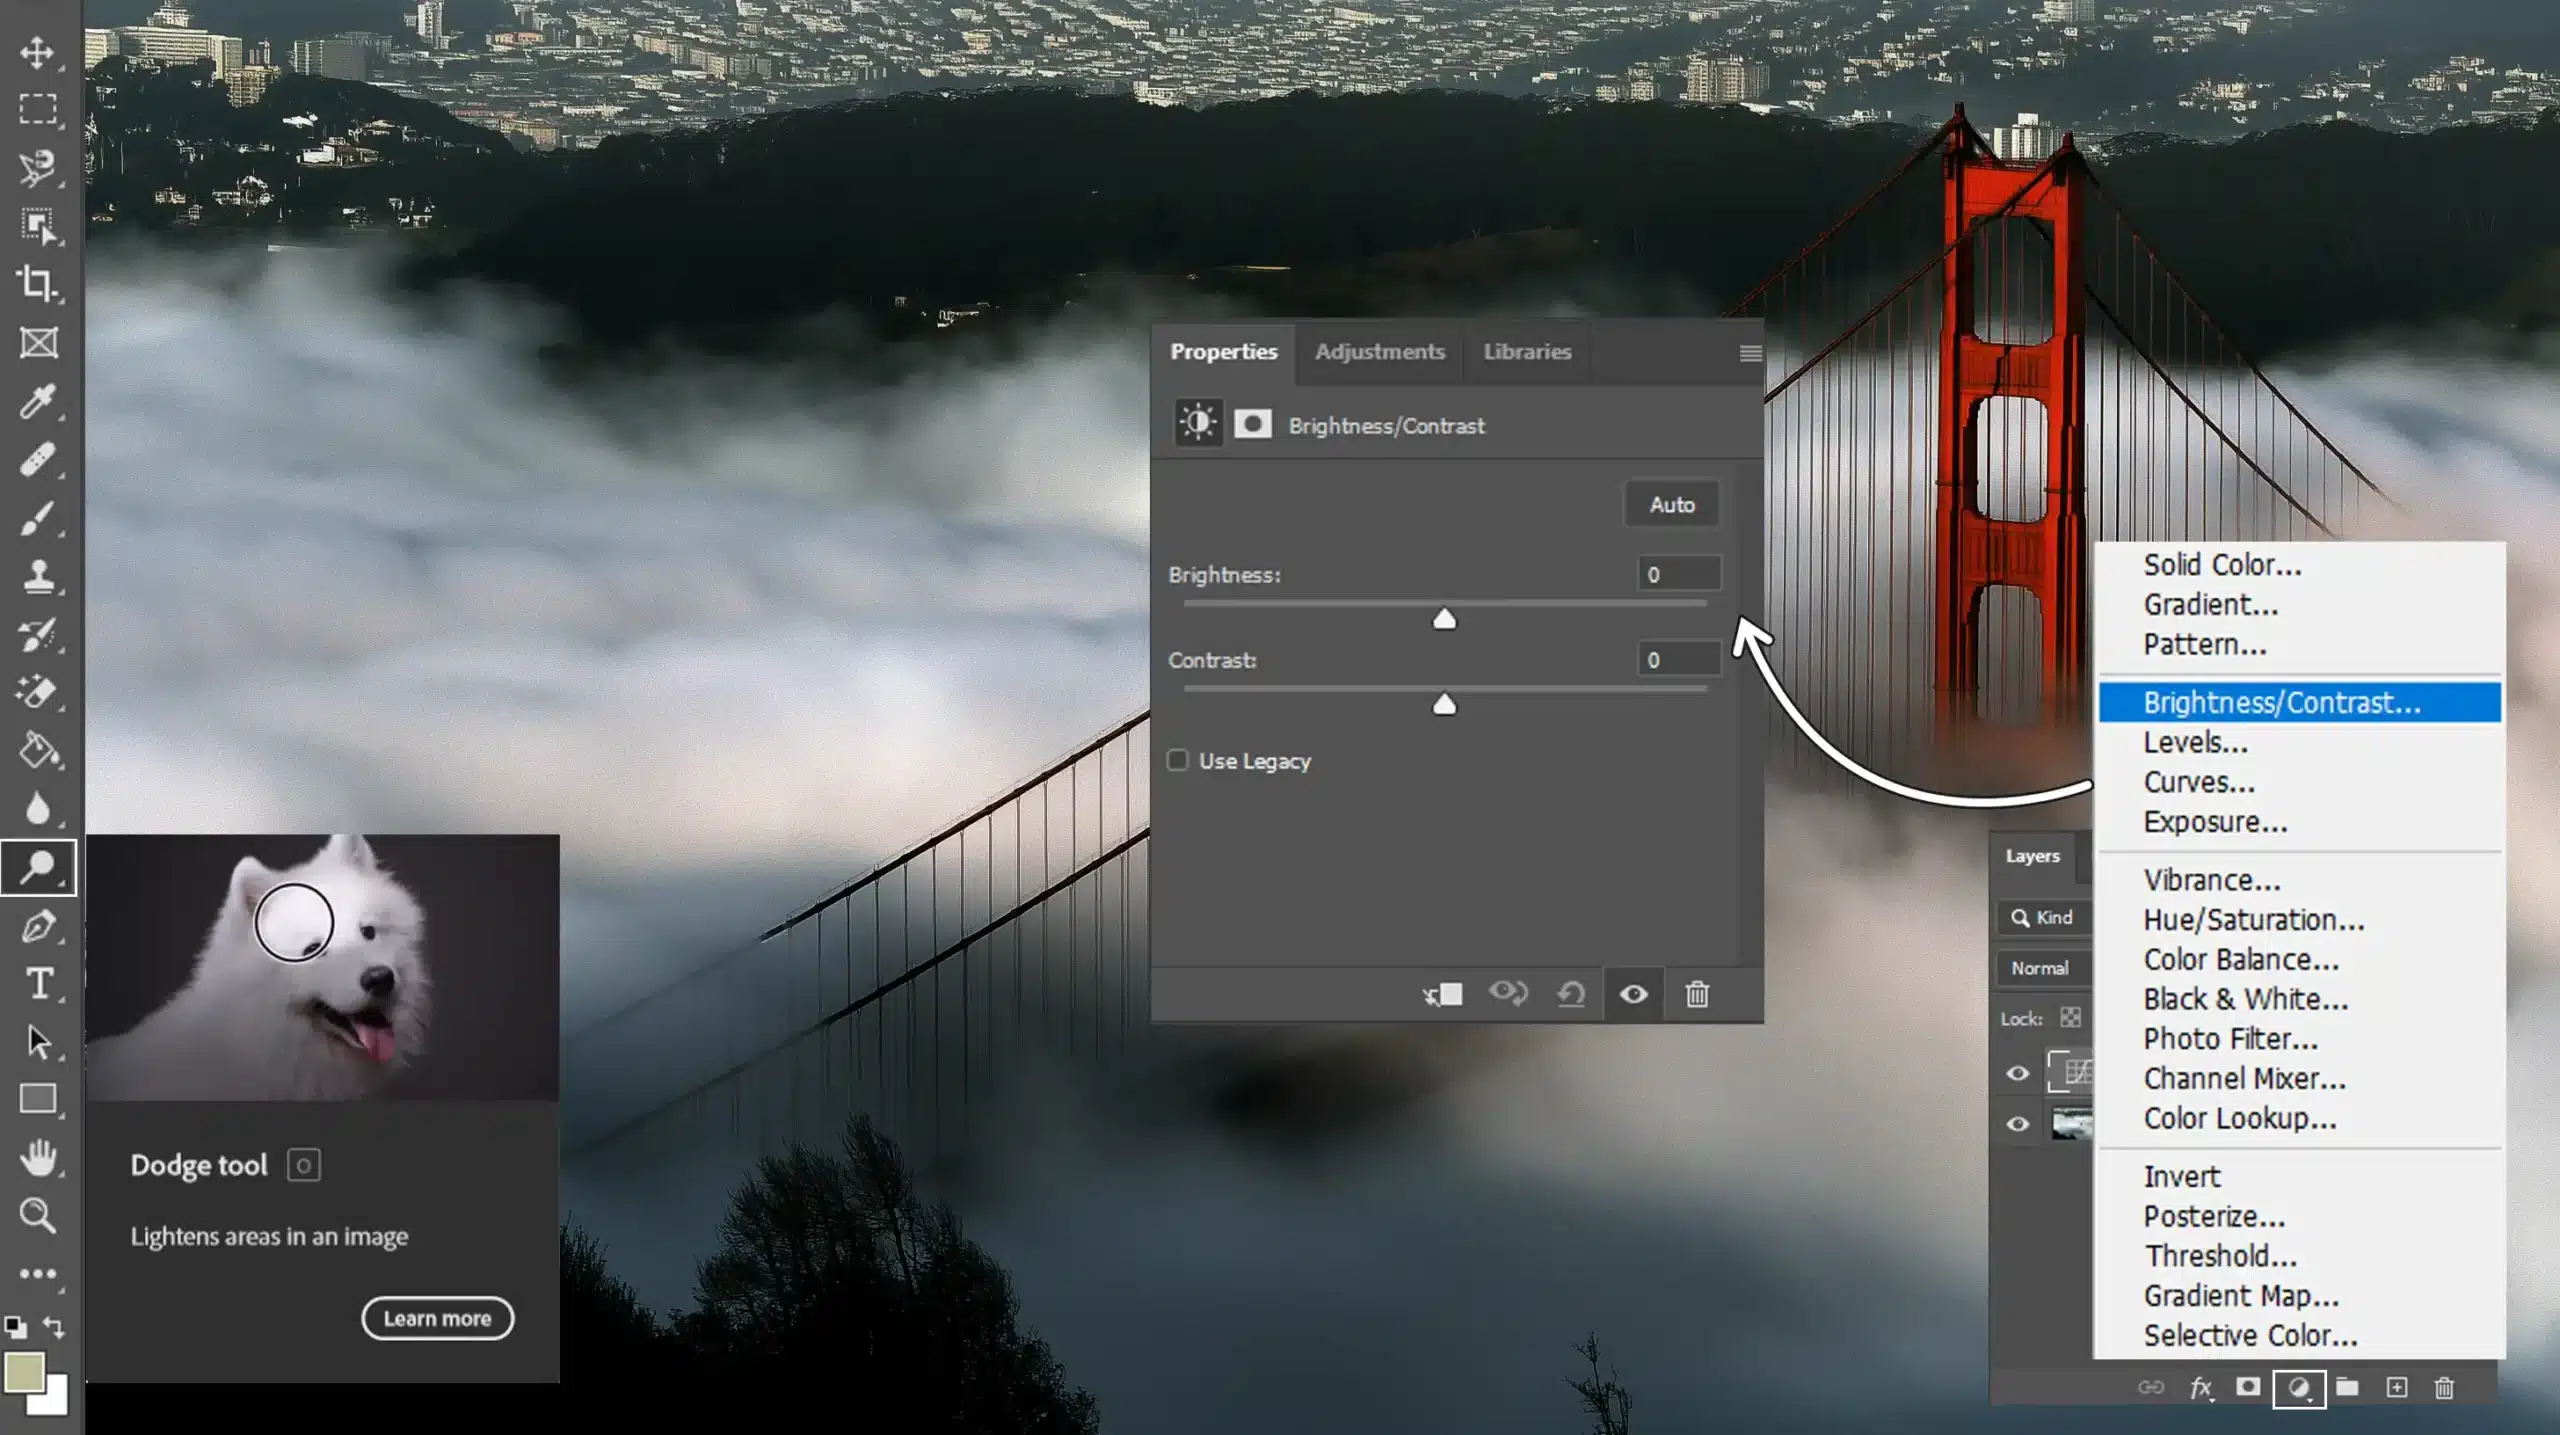
Using Curves Adjustment Layer
The Curves adjustment layer is the tool of choice here. By adjusting the red channel, green channel, and blue channel, you craft a unique color story. The RGB channels blend differently in each image, offering diverse color cast options.
If you’re after the strength of cross shifting, use the curves layer and intentionally form an S-shaped curve. This method yields an increased contrast too, perfect for creating a bold statement.
Pro Tip: In digital photography, surprises can be infrequent. However, exploring slide chemicals versus color negative chemicals offers an engaging experience.
If you’re interested in getting hands-on, consider learning how to develop film at home. While it may seem overwhelming initially, these unexpected results can inspire your creativity and enhance your Photoshop sessions.
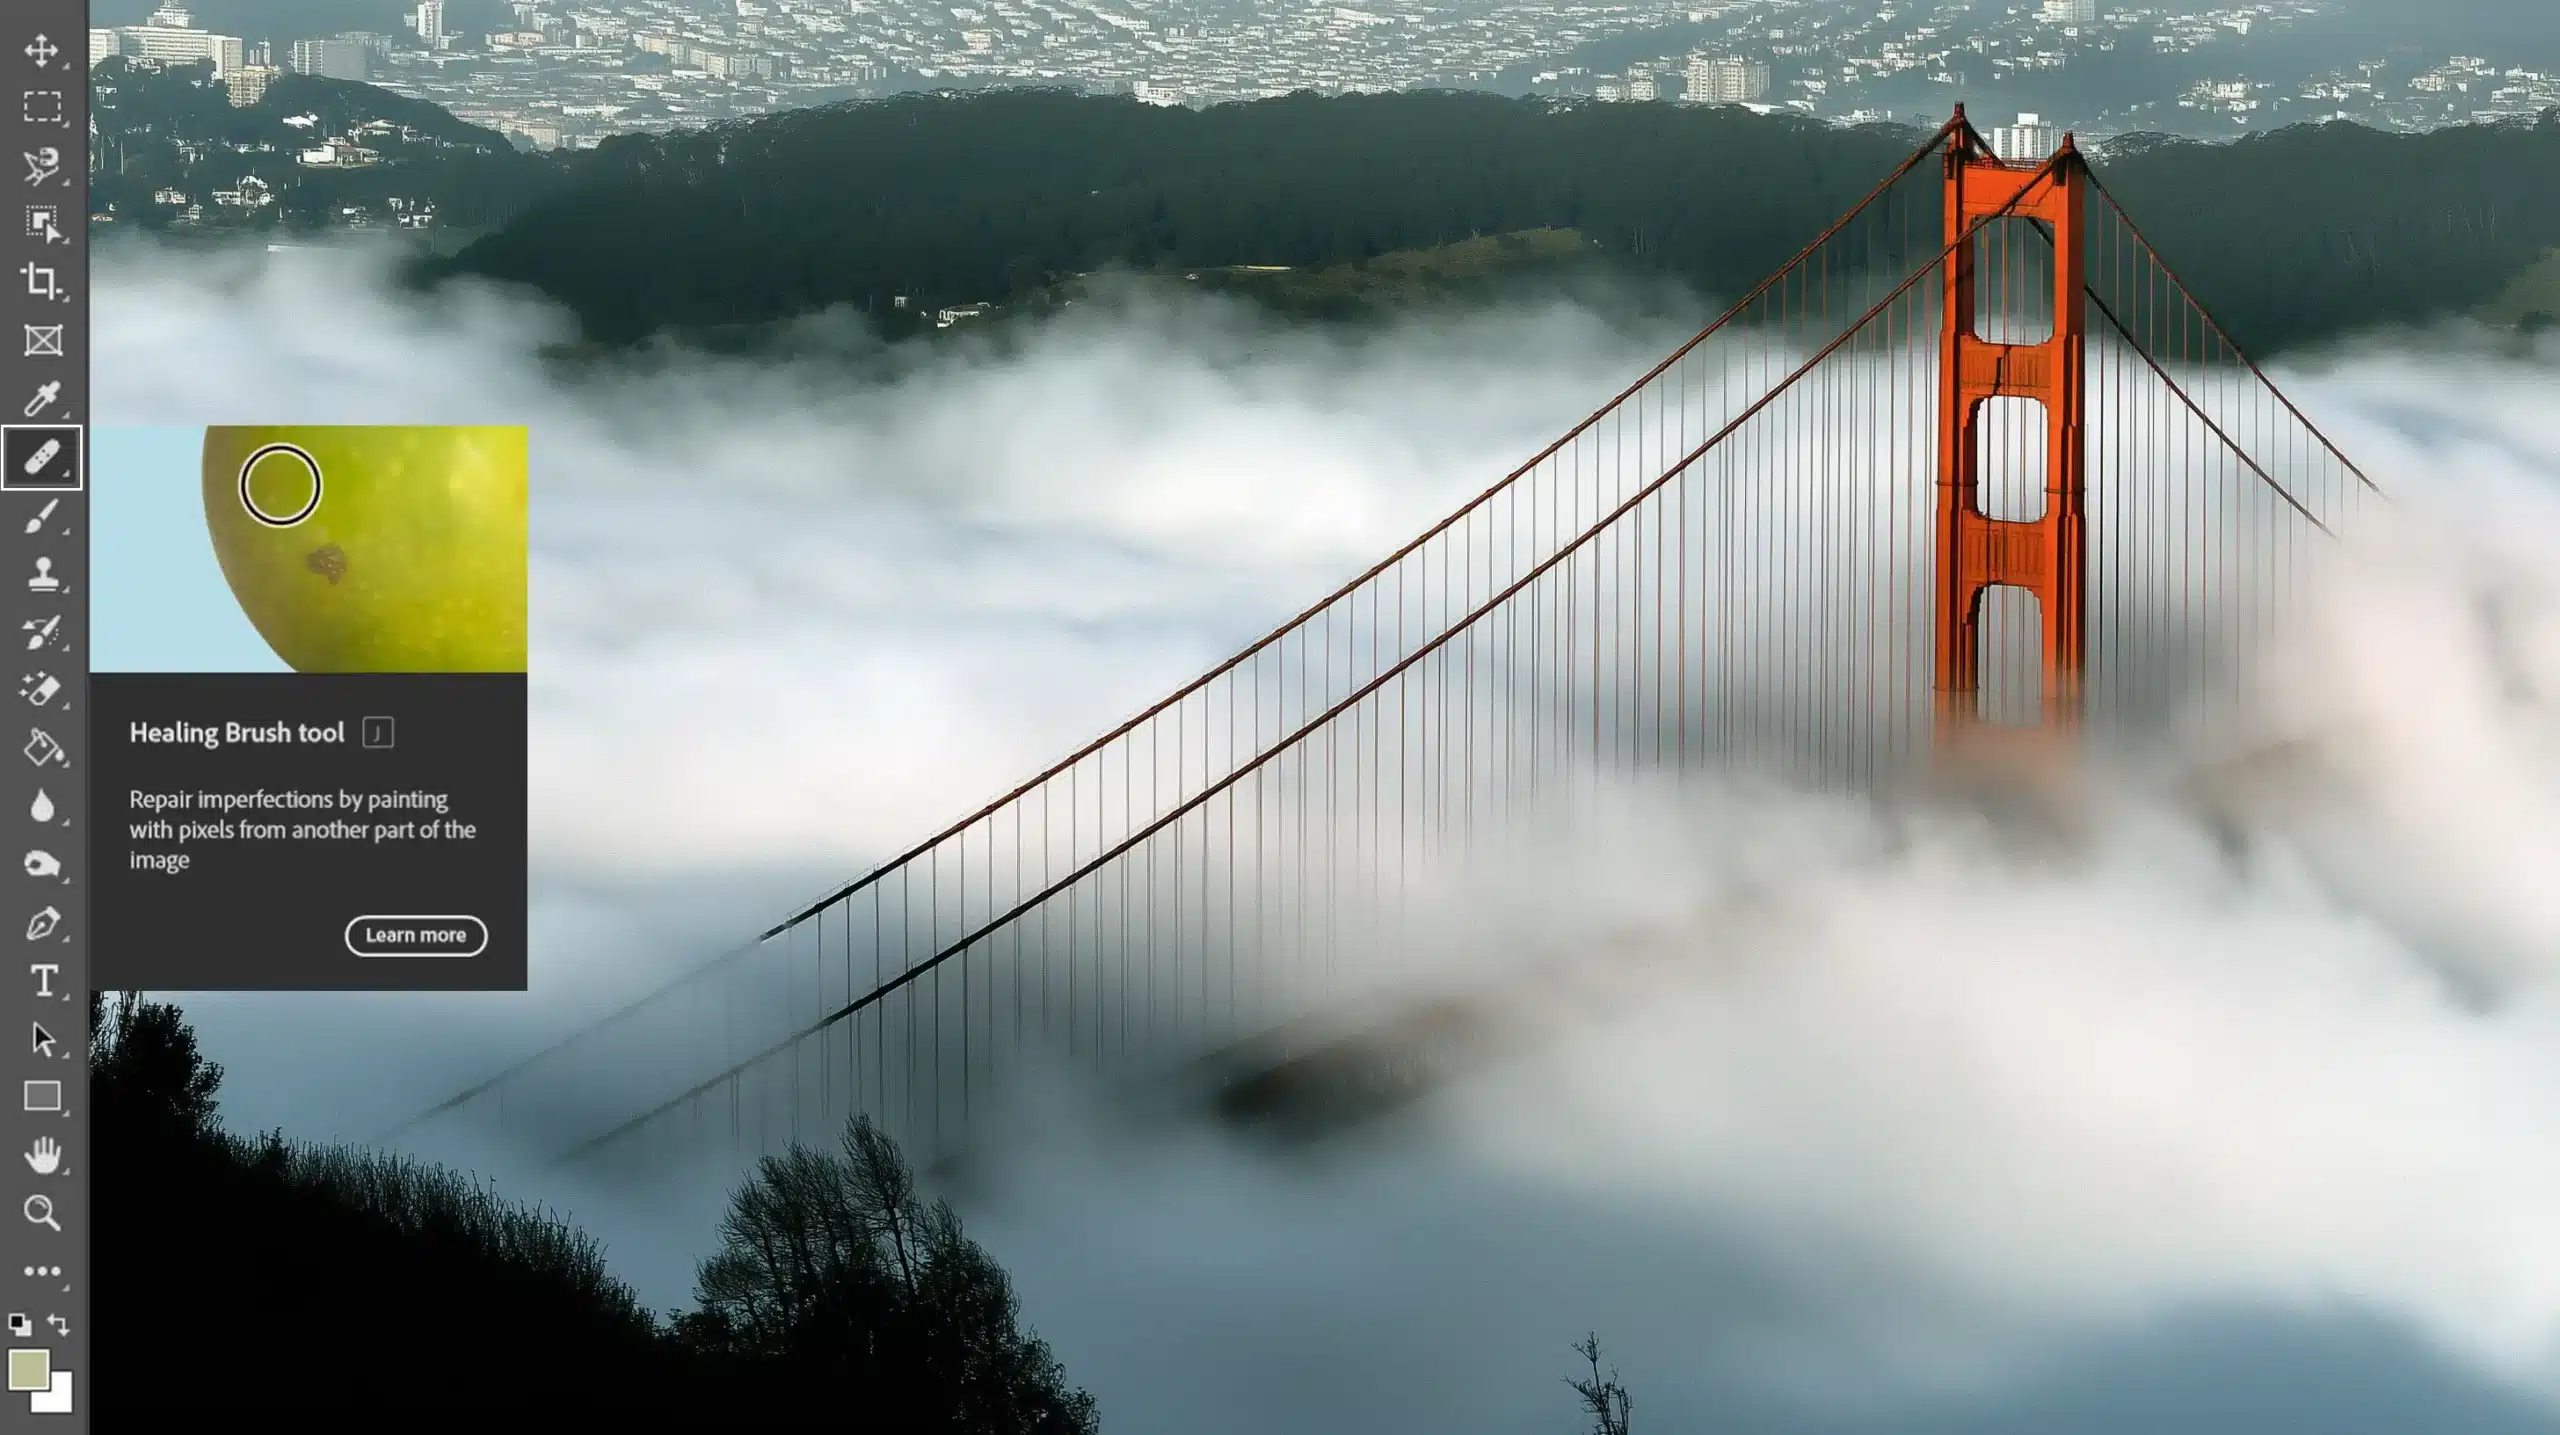
For those looking to expand their skills further, learning how to use the patch tool in Photoshop can also enhance your editing prowess, allowing for seamless corrections and adjustments.
Additionally, understanding the difference between Photoshop and Lightroom can help you decide which software best suits your editing needs, whether you’re aiming for detailed retouching or streamlined workflow management.
Exploring the Cross Processing Effect
The cross processing effect has intrigued photographers for years, adding a cinematic quality to your image. But how can you achieve this look without using actual chemicals?
It’s quite straightforward, and luckily, we won’t need any lab coats. Instead, Photoshop is our ally here.
Step-by-Step Guide
This part is where you become an artist with your mouse as your brush. Trust me, it’s both interesting and easier than it sounds. Let’s get started.
Preparing Your Image for Cross Processing Effect
Follow these steps to prepare your image for optimal results:
Use high-resolution images; they handle adjustments better.
Applying the Cross Processing Effect
To apply the cross processing effect, follow these steps in the layers panel:
Navigate to the layers panel and select 'Curves'.
Adjust the red channel to give warmth.
Increase the green channel for a vintage feel.
Adjusting Colors and Tones
Follow these steps to enhance your image with vibrant colors and unique tones:
Increase cool tones by adjusting the blue channel.
Create a subtle S-shaped curve on each channel for vibrancy.
Last Adjustments and Enhancements
For the final adjustments, follow these steps to enhance your image:
Adjust brightness and contrast for the best look.
Ensure shadows highlight important parts of the image. You can even use dodge and burn in Photoshop for precise control.
Use filters sparingly to maintain natural beauty.
Different Styles of Cross Processing Effect
There are variations in the cross processing effect. Some deliver a sunlit appearance with warm contrasts, while others achieve cold blue visuals akin to slide film.
Film photography often inspires these variations, with modern digital techniques replicating the aesthetics of the past.
Pro Tip: To make cross processed effects pop, mix contrasting colors dynamically. It not only adds depth but also keeps viewers intrigued with diverse shades.
This is the most common film used in photography. It captures an image by exposing light through three layers of emulsion, each sensitive to different colors – red, green, and blue.
The result is a negative image that must be processed to get the final picture. This differs from black-and-white film, which only captures shades of gray.
In this process, the green channel plays an important role in how colors are represented in the final output.
How Cross Processing Affects Color Negative Film
It involves developing a reversal film using the wrong chemicals. Normally, you develop negatives in C-41 chemicals.
However, with cross process, you use E-6 chemicals meant for slide film. This can create unusual and striking color shifts in the final images.
Expect heightened contrast and unexpected colors. Blues might become more vivid, reds more unexpected.
Tips for Successful Cross-Processing with Film
To ensure successful cross-processing, keep these tips in mind:
Experiment with different film brands.
Consider lighting conditions, as they can greatly alter results.
Don't hesitate to tweak the colors digitally if needed after processing.
Use the curves adjustment layer to enhance the cross processing effect in Photoshop. Adjusting the RGB channels can create more dramatic visuals.
For those who prefer digital editing, tools like Lightroom can be invaluable. Use Lightroom shortcuts to quickly adjust exposure and color balance, enhancing the cross-processed look.
Pro Tip: When processing, try creating an “S-shaped curve” in the curves layer for excellent contrast. This suits most photos and enhances their depth.
Additionally, consider exploring differenttypes of filters in Photoshop to add unique effects to your cross-processed images.
Practical Applications of the Cross Process
In portrait photography, this technique can create striking visuals that highlight your subject’s features in unexpected ways.
Below is a comparison of how this method can be effectively applied across different photography styles, showcasing its versatility and impact.
Aspect
Overview
Portrait Photography
Utilizes unique color shifts to enhance subject features and create visually striking images.
Landscape Photography
Transforms ordinary landscapes into extraordinary scenes by enhancing colors and textures.
Editorial and Fashion Photography
Adds an edgy, stylish aspect, creating bold statements and enhancing fabric textures through color manipulation.
Portrait Photography
This method gives portraits unique vibes, often resulting in a stronger blue or green tint. What does that mean for your images? Well, you can make them stand out.
Let’s say you’re working with a rather neutral setup, applying this method can breathe new life into your photo, adding depth and an intriguing color cast that traditional approaches might overlook.
To achieve this effect:
Adjust the three channels - red, green, and blue - in your editing software.
Use an S-shaped curve to bring out contrast and enhance that vivid mood.
Test with different light conditions to balance the color shifts while maintaining good skin tones.
Landscape Photography
Landscape photography also benefits from these creative techniques, turning your ordinary landscapes into extraordinary scenes.
Picture those vibrant greens of the forest altered through the cross process, rendering surreal and dreamlike images.
Using the cross processing effect wisely enhances textures and highlights colors, casting a new light on familiar scenes.
Main considerations include:
Balancing the blue channel to make skies look striking.
Using s-shaped curves to heighten drama in your skies and waters.
Experimenting with different cross processing effects to invite new dimensions without losing the essence of your landscape.
Editorial and Fashion Photography
Editorial and fashion photography thrive on innovation and bold statements, and this is where you can use the cross processed images to your advantage.
It infuses a retro feel or futuristic vibe, depending on how you tweak the red channel and its counterparts.
It helps tell a story by:
Adding an edgy, stylish aspect that captivates readers and potential buyers alike.
Emphasizing a designer's collection by manipulating blue and green channels.
Accentuating fabric textures with adept use of the color cast.
Pro Tip: Try automating some of your cross processing steps in Photoshop or Lightroom using presets – they save time and let you focus on experimenting with colors rather than basic edits.
Is a technique in Photoshop that mimics an old photography style where film developers used chemicals intended for different types of film. This can create unique color shifts and contrasts in the digital images.
What is the purpose of using the cross process?
The main purpose of using this technique is to give photos a distinctive look with high contrasts and unusual color effects. It's often used to add an artistic or vintage effect to modern photographs.
What is the cross processing technique?
The technique involves altering the colors of an image by applying adjustments to the curves in the color channels. You adjust the Red, Green, and Blue channels to shift the colors and create high contrast. This simulates the effect of processing film chemicals in a non-standard way.
How do I blend two pictures next to each other in Photoshop?
To blend two pictures side by side in Photoshop, you can follow these steps:
Open both images in Photoshop.
Drag one image onto the other using the Move Tool.
Adjust the position of both images as needed.
Use the Eraser Tool or Layer Masks to blend the edges where the two images meet for a seamless look.
Cross processing in Photoshop has been a game-changer for my photography editing journey. This technique has allowed me to transform an ordinary image into captivating visual stories by playing with color contrasts and tones.
I remember the first time I applied cross processing in Photoshop; it brought a whole new dimension to my work, making my images vibrant and uniquely expressive.
If you’re looking to enhance your editing skills, I encourage you to dive deeper into this technique. The knowledge I gained from the Photoshop Course and the Lightroom Course has been invaluable in my creative journey. These courses provide practical insights and guidance that can help you master various editing styles.
Ultimately, cross processing in Photoshop has not only enriched my portfolio but also reignited my enthusiasm for creative image editing. If you’re ready to unlock your potential, check out Adobe Photoshop and Adobe Lightroom to start your creative journey today.
If this article has helped you, then Like and Share it with your friends
$2,061.00Original price was: $2,061.00.$1,061.00Current price is: $1,061.00. 27583
Download Your Free Guide Now!
Discover the secrets of photography with our printable guide! Master essential techniques like aperture, shutter speed, and ISO to create stunning images. Get your free printable PDF now and start turning your snapshots into masterpieces!