While Photoshop excels in detailed photo manipulation and retouching, Lightroom is ideal for organizing and making bulk adjustments to your photos.
Steps to Add Watermarks
Adding watermarks to your images is a crucial step in protecting your work and maintaining your brand identity.
By following the right steps, you can ensure that your watermarks are effectively applied without compromising the visual appeal of your photos.
Add watermark in Adobe Photoshop:
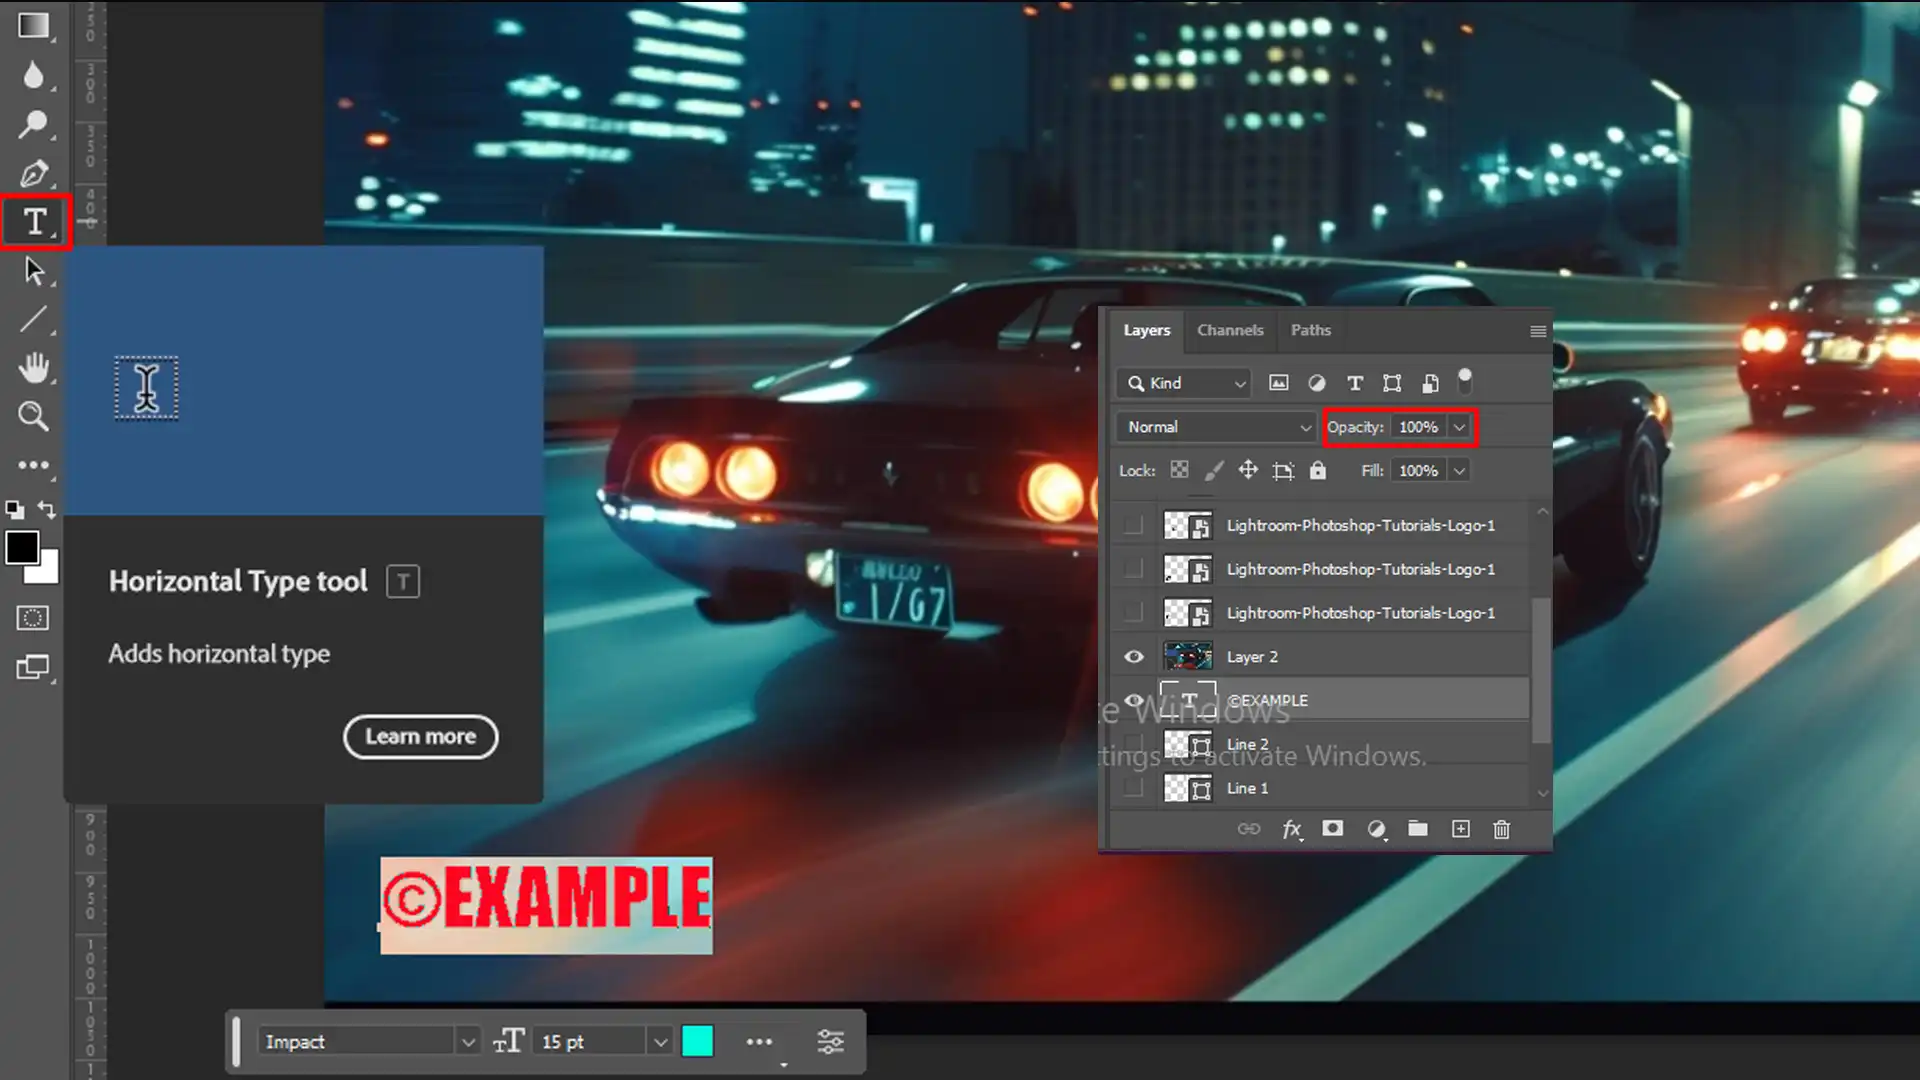
Open the image you want to edit.
Go to the "Text Tool" (T) and type your watermark text.
Adjust the position and size using the "Move Tool" (V).
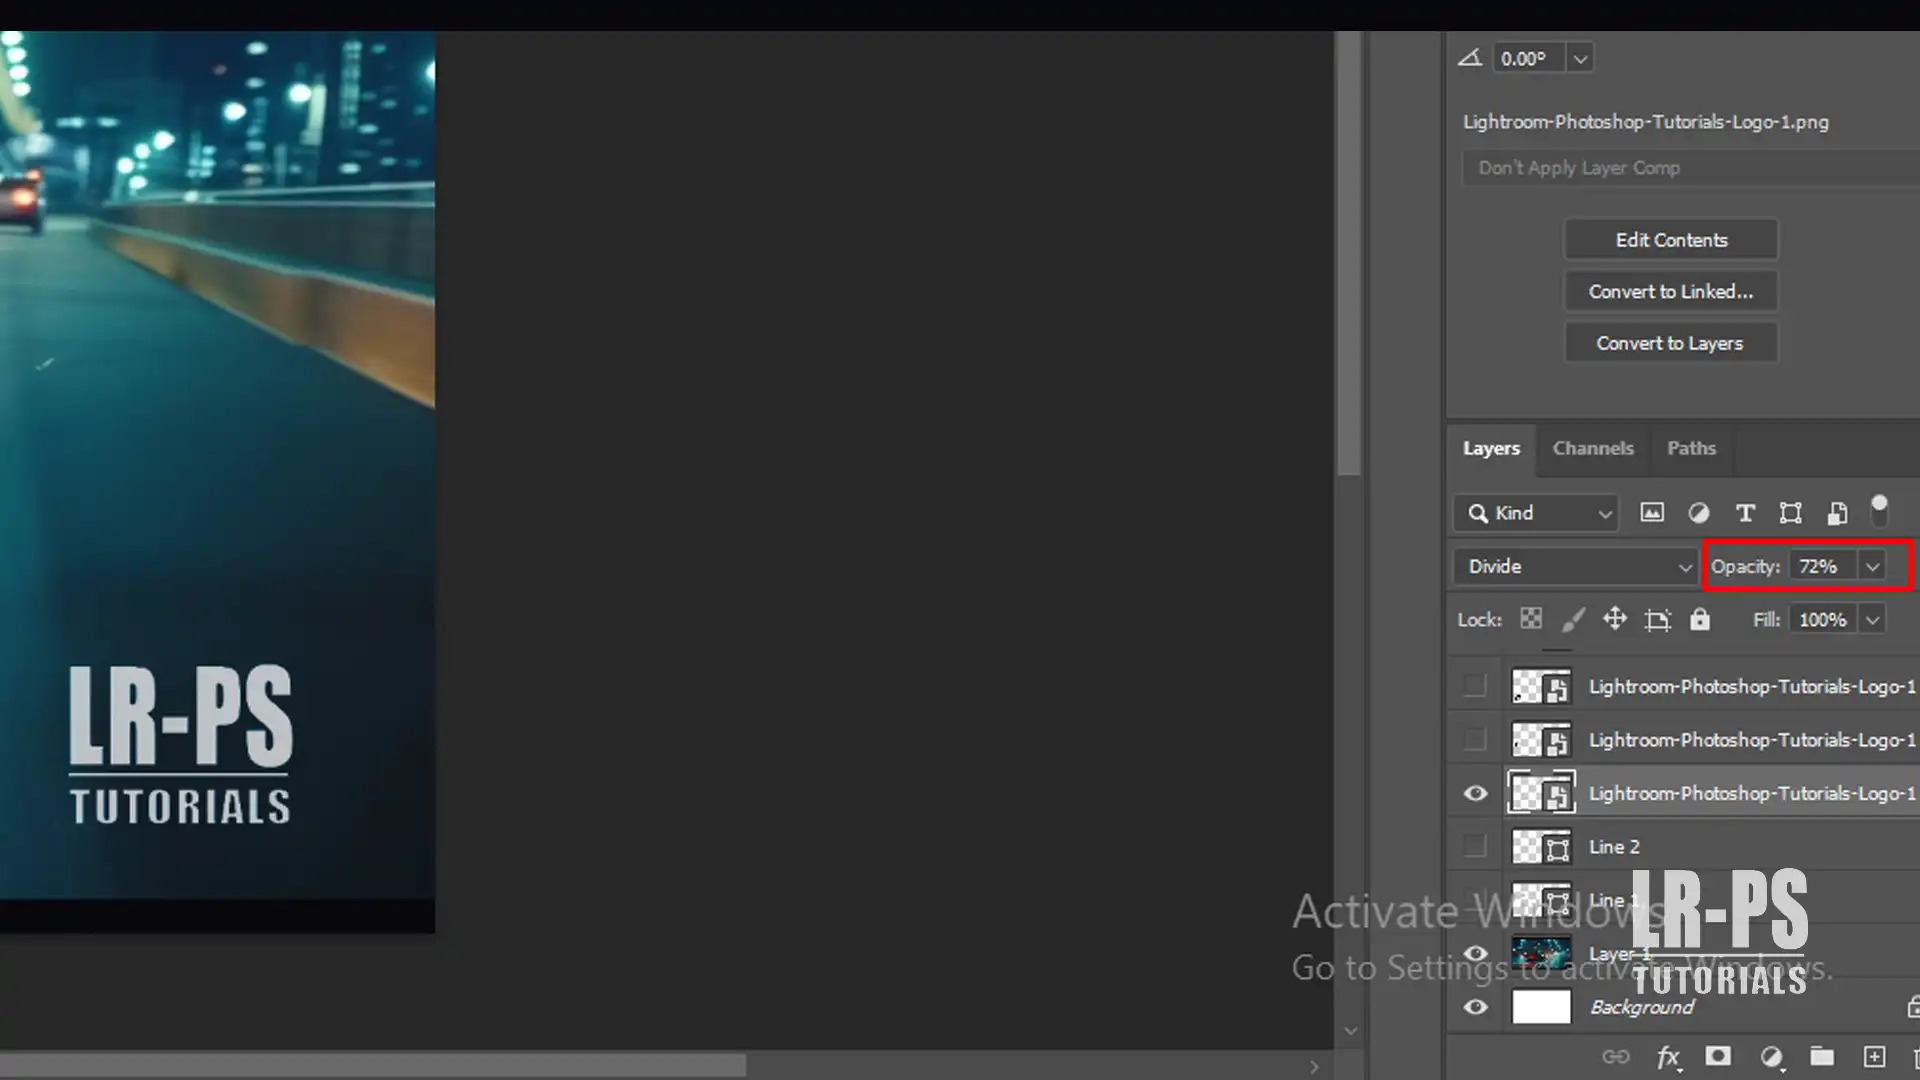
Set the opacity to make it a subtle watermark.
Save your image as a PNG file to maintain quality.
Pro Tip: Create a watermark template in advance. This saves time when you need to add a watermark to multiple images.
Keep it handy as a new layer in your photo editing software.
How to Create a Copyright Watermark
Creating a copyright watermark can seem tricky, but trust me, it’s manageable with the right tools. image editing software like Adobe Photoshop or Lightroom is your best bet.
Both offer a vast library of features that make it easy to add watermark.
Start by opening the image you want to work on. Aim for a clear, simple watermark style that won’t distract from the image.
Step-by-Step Guide with Adobe Photoshop
Adding a copyrightwatermark in Photoshop isn’t rocket science, even for a lazy journalist like me.
Adjust the size, font, and color. Keep it readable but not too bold.
Drag the text to your desired position on the image.
Reduce opacity if you want a more subtle look.
Save your image with the watermark.
It’s straightforward, yet effective.
Best Practices for Watermark Placement
Where you place your watermark matters. Professional photographers often place it in a corner to avoid disrupting the image, but it’s really up to you.
Avoid edges that might get cropped on various social media platforms.
Ensure some part of the watermark overlays important areas to prevent easy removal.
Consistency is key; always use the same watermark on your images.
Pro Tip: If you’re worried about online tools that can remove watermarks, consider using a transparent background and blend the watermark with your image’s design.
This makes it trickier to remove. By following these steps, you’ll have images that are not only visually engaging but also copyright protected.
Always remember, adding a watermark is more solid evidence of your work. Thanks to these easy-to-follow instructions, even an 8th grader can handle it.
So go ahead, dive into the world of watermarking and safeguard your creations!
Legal Aspects of Copyright Watermarks
Watermarking your images can be crucial for asserting copyright ownership and deterring unauthorized use.
However, understanding the legal nuances associated with it is equally important.
I’ll guide you through this terrain with a mix of practicality and a dash of humor.
The following table provides a concise comparison of these two types of watermarks, highlighting their purposes, legal statuses, usage, enforcement, and deterrence capabilities.
Aspect
Copyright Watermark
Non-Copyright Watermark
Purpose
Protects intellectual property from unauthorized use
Primarily for branding or aesthetic purposes
Legal Status
Provides legal evidence of ownership and can aid in legal disputes
Does not offer legal protection or proof of ownership
Usage
Commonly used by photographers, artists, and content creators
Often used by businesses for logos and promotional materials
Enforcement
Can be enforced in court as evidence of copyright infringement
Lacks legal standing in copyright disputes
Deterrence
Acts as a deterrent against unauthorized copying and distribution
Less effective in preventing infringement
I’ll guide you through this terrain with a mix of practicality and a dash of humor.
Understanding Copyright Infringement
Copyright infringement occurs when someone uses your images without permission. Simple, right?
The idea is to safeguard your creative works from digital pirates.
Consider a watermark like a flag planted on your territory.
It screams, “This image is mine!” Understanding this concept helps you grasp why watermarking is essential.
How to Protect Your Photos Legally
Watermarking is a good start, but there’s more you can do:
Register your images with the copyright office. This gives you a stronger position if you ever need to take legal action.
If someone steals your photo, you can then seek attorney’s fees for the hassle they caused.
So, always add a watermark and register your work.
Coverage on both fronts ensures better protection.
Choosing the right tools and software for watermarking is essential for efficiently protecting your images.
Various tools offer unique features and functionalities to suit different needs, from basic text overlays to advanced customization options.
Top Photo Editing Software for Watermarking
In our busy lives, we professional photographers often need a reliable tool to manage our vast image libraries.
Photoshop and Lightroom are quite popular among us.
They both offer easy ways to add watermarks to our images, ensuring no one uses them without our permission.
Photoshop is incredibly versatile. You can create custom watermarks using the Shape Tool.
It also lets you adjust the opacity so your watermark doesn’t overpower the photo.
In Lightroom, you can apply watermarks to batches of photos simultaneously.
This saves you a lot of time if you have many images to protect.
Features to Look for in Watermarking Tools
When picking a watermarking tool, you want something that provides multiple styles, text, and logo options.
Flexibility is essential.
You need a tool that lets you place the watermark wherever it fits best in the photo; whether it’s bottom right or smack in the center.
When evaluating features to look for in watermarking tools, don’t overlook the spot healing feature.
This tool can be invaluable for maintaining clean, professional-looking images while adding your watermark.
Another must-have feature is the ability to adjust the size and opacity. You don’t want the watermark to distract from your image, but it should still be visible.
Batch processing can be a lifesaver if you have hundreds or thousands of images. Single image watermarking tools are less efficient.
Automated tracking can help you monitor unauthorized use, providing peace of mind.
When I look for features to look for in watermarking tools, I make sure to check if content aware scale is included.
This feature allows me to resize images without distorting important areas, keeping my watermark clear and professional.
Comparing Popular Watermarking Software
Let’s compare some popular software options:
Photoshop: Highly customizable and works well for creating unique watermarks. However, it can be complex for beginners.
Lightroom: More user-friendly with a batch processing feature that allows you to quickly watermark multiple photos at once.
Online Tools (e.g., Watermarkly, uMark): Offer simplicity and ease of use but might lack advanced features needed for professional-level editing. They provide basic customization options and can be a quick solution if you're short on time.
Photoshop and Lightroom provide excellent long-term solutions. Once you get the hang of them, you can do a lot more than just watermarking.
Investing time to learn these tools can pay off big time in your photography career.
Pro Tip: Always save your watermarked images separately from your originals. This way, you keep an unaltered version of your photos for future use or further editing.
Tips and Tricks for Effective Watermarking
Effective watermarking goes beyond simply placing a mark on your images.
It’s about doing so in a way that enhances protection while maintaining the visual appeal of your content
In this section, we’ll share practical tips and tricks to help you achieve the best results..
Designing an Unobtrusive Watermark
Creating a watermark that protects your images without ruining them can be tricky. Think about using simple, clear text or a small logo.
It’s a good idea to use transparency. This way, the watermark blends in without shouting for attention. Use tools like Photoshop or Lightroom for easy adjustments.
Balancing Visibility and Aesthetics
You want everyone to see your watermark, but you don’t want it to ruin your picture. Place it at the corner or along an edge of the image.
When tackling balancing visibility and aesthetics, achieving the right balance and focus in your watermark is essential.
It ensures the watermark is visible without overshadowing the image’s beauty.
Play with the opacity to make it visible yet subtle.
A watermark should say “This is my work” not “Look at me!”
Common Mistakes to Avoid
Avoiding these common mistakes helps you maintain professionalism. After all, the goal is to protect your work, not hide it.
Placing the watermark in a spot that distracts from the focal point
Using a font that's hard to read or too fancy
Watermarking every image exactly the same way; try different styles
Making the watermark so transparent that it becomes invisible
Pro Tip: Save a version of every image without the watermark. This way, you can always go back to the original if needed.
It also helps in cases where you might need to provide high-quality images to clients or even for legal reasons like attorney’s fees.
How to Add a Watermark to a Photo in Photoshop
Adding a logo to a photo in Photoshop is straightforward. Use the Text Tool to create your watermark text or import a logo.
Adjust the opacity to ensure it blends well with the image. You can also use the Layer Styles to add effects like shadows or strokes for better visibility.
Yes, removing watermarks is generally illegal if it’s done without the permission of the copyright holder, as it can constitute copyright infringement.
In conclusion, adding a copyrightwatermark to your photos is a simple way to protect your work. I’ve used this technique for years, and it’s saved my images from unauthorized use.
If you’re interested in learning more, check out my Photoshop Course and Lightroom Course. These courses offer step-by-step guides to mastering these tools.
For those looking to get started with the software, you can find more about Photoshop and Lightroom through these links. Protect your creativity and ensure you get the credit you deserve.
Happy editing!
If this article has helped you, then Like and Share it with your friends
$2,061.00Original price was: $2,061.00.$1,061.00Current price is: $1,061.00. 27584
Download Your Free Guide Now!
Discover the secrets of photography with our printable guide! Master essential techniques like aperture, shutter speed, and ISO to create stunning images. Get your free printable PDF now and start turning your snapshots into masterpieces!