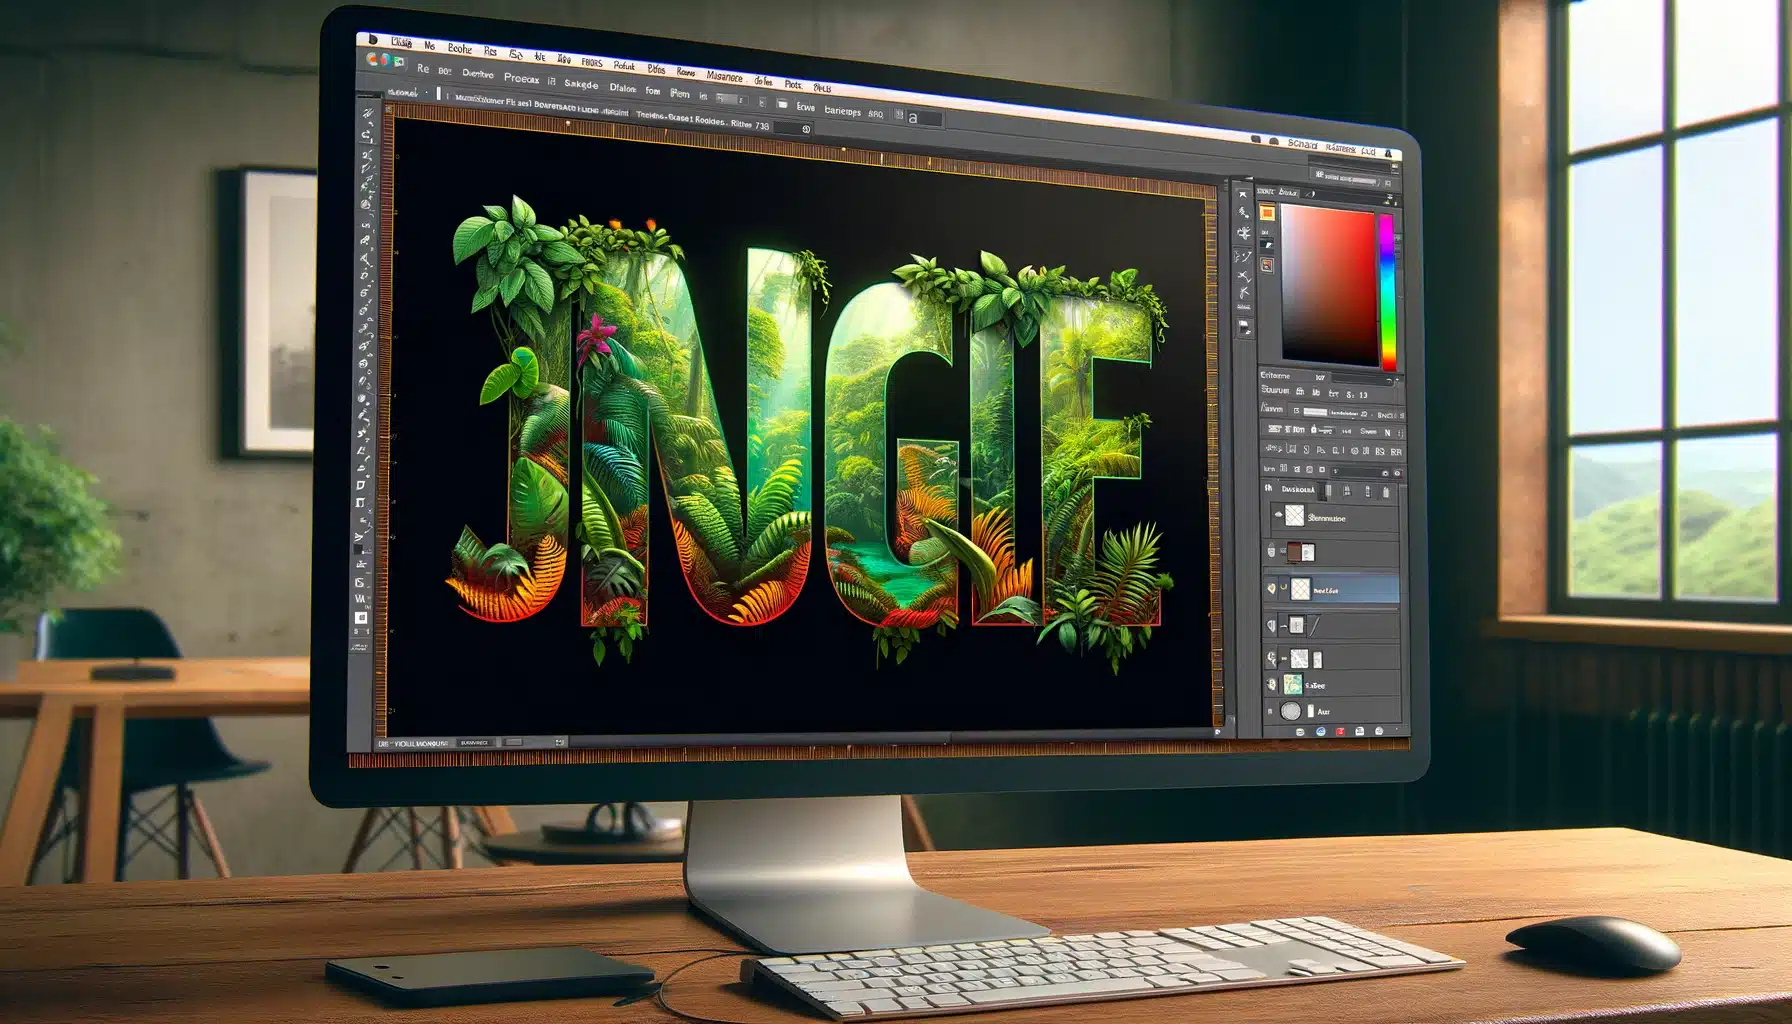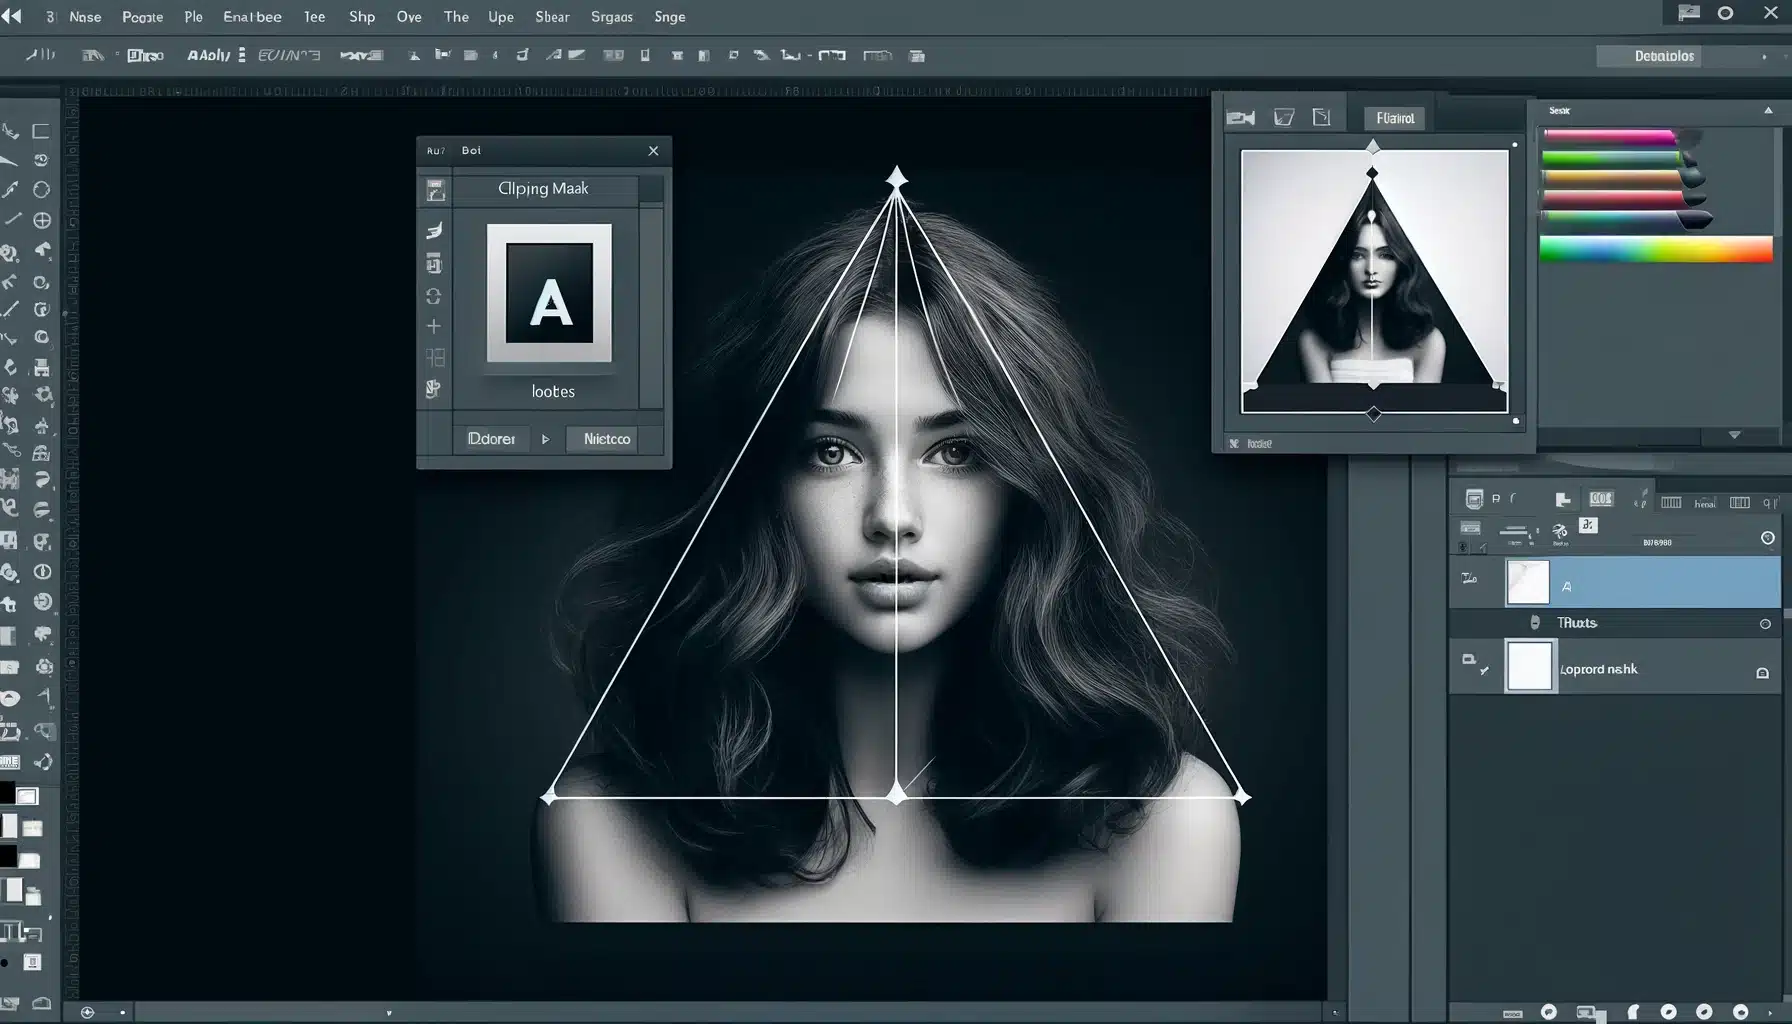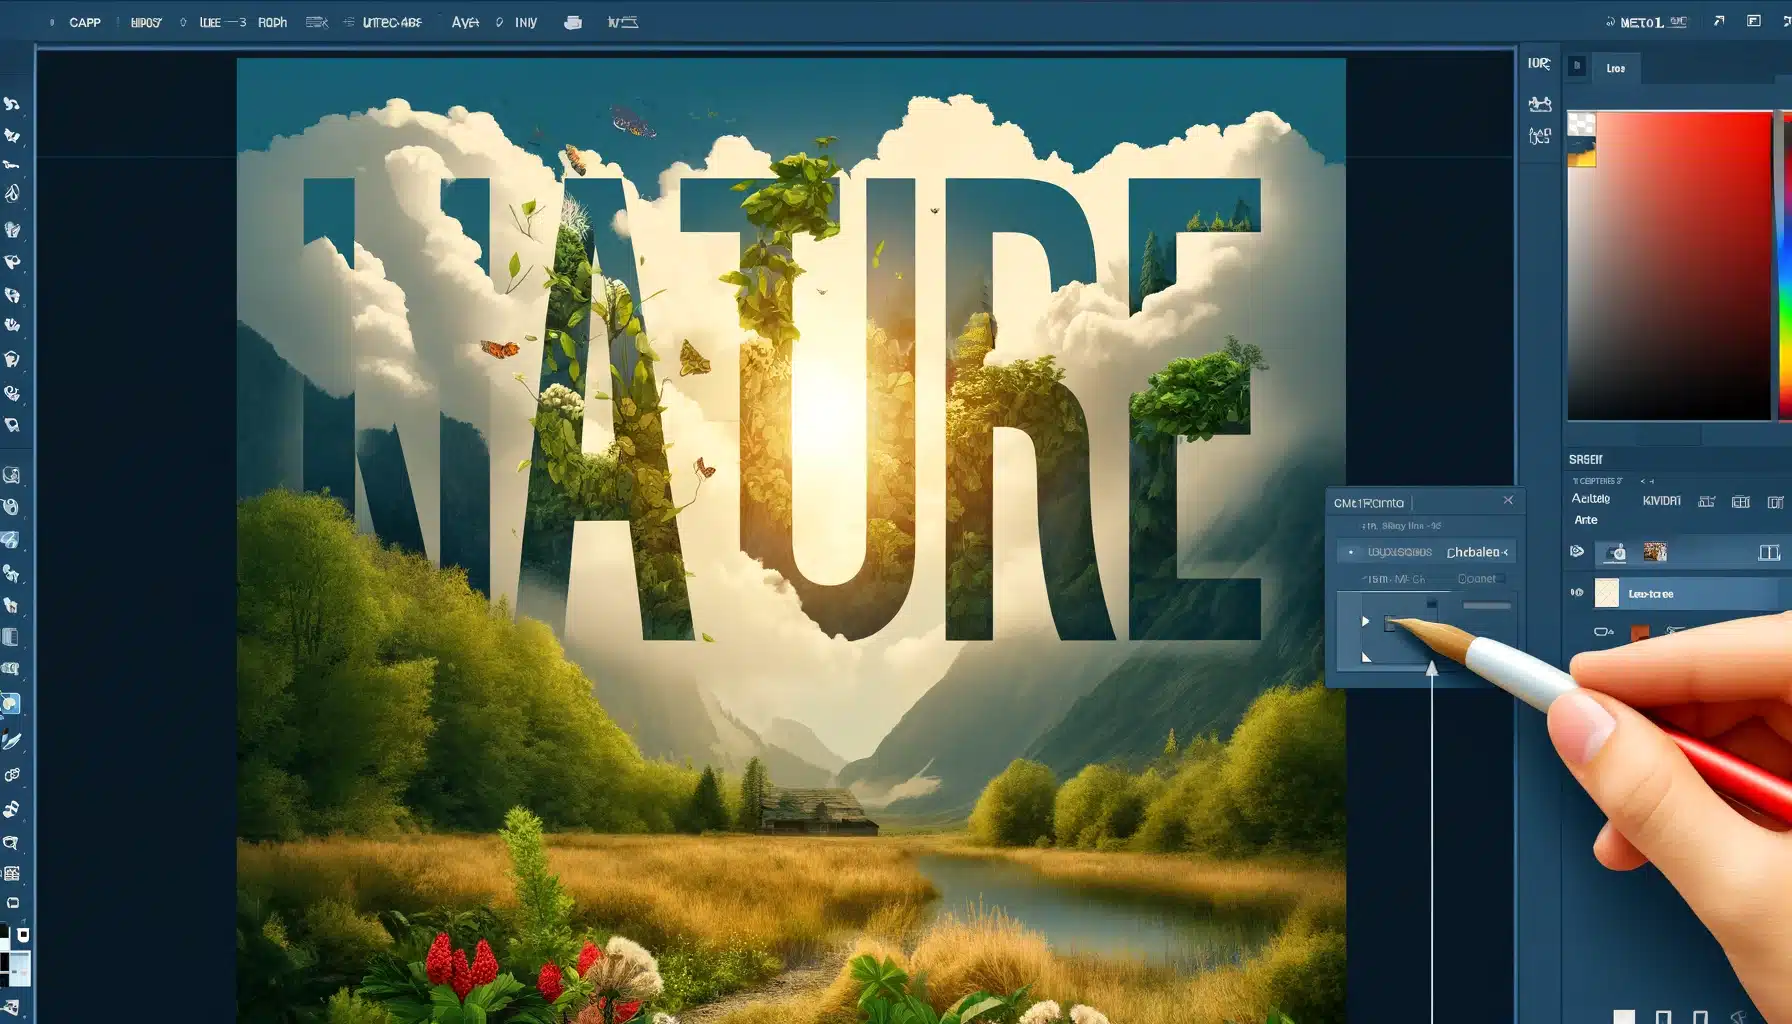
Clipping Mask Photoshop, a powerful feature, enables you to hide portions of an image using shapes and paths. Additionally, it is extensively used by designers to create compelling visuals and artwork.
This technique can be applied in various ways from text masks to color manipulation. To fully grasp this concept, you can start from Adobe’s official website.
As we delve deeper into the subject matter further in this article, practical tips and step-by-step instructions will help illustrate how these concepts come together for successful implementation of Clipping Masks in Photoshop.
Table of Contents
Mastering Clipping Mask in Photoshop
Expanding your skills in Adobe Photoshop can transform your creative work. One of the pivotal techniques in digital editing is the Clipping Mask. This section dives into advanced methods and alternative approaches to maximize the utility of this tool in your projects.
Understanding Clipping Masks
- Experiment with Textures: To give your artwork a unique edge, use a texture as the base layer. This could be anything from a fabric pattern to a grunge effect. Place your subject above this layer and create a Clipping Mask. The texture will now be visible through the subject, giving it an intriguing look.
- Combine with Blending Modes: After applying a Clipping Mask, experiment with blending modes for the clipped layer. This can result in dynamic effects that can't be achieved with the Clipping Mask alone. For example, setting the blending mode to 'Multiply' can create a moody atmosphere, while 'Screen' can offer a lighter, dreamier effect.
- Use for Non-Destructive Edits: Clipping Masks are perfect for non-destructive editing. Apply adjustments, filters, or effects to the clipped layer without altering the original base layer. This is ideal for maintaining the integrity of your original assets while exploring different creative directions.
For more on non-destructive editing techniques, discover how smart filters in Photoshop can enhance your workflow
How They Work
Understanding the mechanics behind Clipping Masks can elevate your work. Here are some points to remember
- Layer Order Matters: The base layer dictates the visible area for the layers clipped to it. Ensure your layers are arranged correctly to achieve the desired outcome.
- Shortcut for Efficiency: Speed up your workflow by using keyboard shortcuts. For instance, holding down Alt (Option on Mac) between two layers in the Layers Panel will quickly create a Clipping Mask.
- Multiple Layers: You're not limited to one clipped layer. Stack multiple layers above your base and clip them to create complex compositions.
Learning Photoshop layering especially useful for designers working on detailed projects.
Clipping Mask vs. Layer Mask
While both are essential, they serve different purposes in Photoshop. Here’s how they compare:
- Clipping Mask: Ideal for when you want to use the shape of one layer to define the visibility of another. It's perfect for text effects or when you want to fill a shape with an image.
- Layer Mask: Provides more control for blending layers using brush tools. It's suitable for creating smooth transitions or hiding parts of a layer without deleting any pixels.
- Combining Both: For ultimate control, use both a Clipping Mask and a Layer Mask. Clip an image to a shape and then use a Layer Mask to blend or fade edges seamlessly.
To further hone your Photoshop skills, consider exploring resources like the essential skills or maybe you are deciding between Adobe’s flagship programs then check Photoshop vs Illustrator offers a detailed comparison to help you choose the right tool for your needs.
| Feature | Clipping Mask | Layer Mask |
|---|---|---|
| Purpose | Used to fill a specific shape or text with an image or pattern. | Provides control over the visibility of a layer. |
| How it Works | Relies on the base layer to define visibility of clipped layers. | Uses black and white colors on the mask to hide or reveal parts of the layer. |
| Ideal For | Text effects, shapes filled with images, non-destructive edits. | Blending images, creating soft transitions, photo edits without permanent deletions. |
| Control Level | Straightforward to create and adjust | Offers granular control over visibility. |
| Editing | Non-destructive; does not remove parts of the base content. | Non-destructive; allows for precise adjustments without permanent changes. |
Creating Your First Clipping Mask

Transitioning from understanding the basics of clipping masks in Photoshop, let’s focus on practical applications.
This section aims to guide you through the process of creating and utilizing clipping masks for your projects, ensuring you can apply these techniques to enhance your workflow.
Step-by-Step Clipping Mask Creation
To start crafting your first mask, begin by opening your project file in Photoshop. Follow these steps:
- Prepare Your Base Layer: This will be the layer that your mask will reveal. It could be a filled shape, a solid color, or an intricate design.
- Position the Masking Layer: Place the layer you want to use as a mask above the base layer in the layers panel. This could be text or another graphic.
- Create the Clipping Mask: Hold down the Alt key and click between the two layers in the layers panel. You'll see the top layer clip to the shape of the layer beneath.
- Adjust: If necessary, move and adjust the mask layer until you're satisfied with the composition.
Using Layers
For a mask that truly stands out, consider these tips:
- Feather Edges: Soften the edges of your mask for a more seamless blend with the base layer.
- Use High-Contrast Images: They can make more striking masks, especially when text is involved.
- Ensuring your images are prepped with a clean background can significantly impact the effectiveness of your masks. Learn more about removing backgrounds.
- Experiment with Blending modes :These modes can drastically change how your mask interacts with the base layer. Try different modes for unique effects.
Incorporate these techniques into your next Photoshop project to see how clipping masks can transform your approach.
With practice, these masks become a powerful component in your digital arsenal, enabling you to combine pictures and text in creative ways that capture attention and convey your message with impact.
Remember to explore the quick selection tool for creating detailed masks.
Additionally, further enhance your workflow with Lightroom’s selection tools.
Advanced Techniques with Clipping Masks

Combining Multiple Masks
Combining several masks can transform your project, providing nuanced effects and detailed photo manipulation. Follow these steps to master this advanced method:
- Begin by creating individual masks for different elements within your pictures .
- Ensure each mask is properly aligned with the element it is meant to reveal or conceal.
- Use the Layers Panel to strategically stack your masks, adjusting their order as needed.
- Employ the Link Layers feature to connect masks, maintaining their relative positioning.
Experiment with different Blending Modes to achieve various visual effects between the masked layers.
Clipping Masks with Adjustment Layers
These layers clipped to a base layer allow for precise color and exposure corrections without affecting the entire image. Dive into these steps to refine your edits:
- After creating your base layer, add an adjustment layer for the property you wish to modify, such as hue/saturation or brightness/contrast.
- Clip the added layer to your base layer by Alt-clicking the line between them in the Layers Panel.
- Fine-tune the added layer's properties to alter only the clipped portion of your base layer.
- Use multiple adjustment layers clipped to the same base to build up complex corrections and enhancements.
Incorporating these advanced clipping mask techniques into your Photoshop workflow will not only refine your skills but also provide a fresh perspective on image manipulation.
Clipping Masks for Creative Image Editing
Beyond the basics of creating and using clipping masks in Photoshop, let’s explore the more creative applications of this powerful feature. It’s about pushing boundaries and discovering new ways to bring your artistic visions to life.
Designing
This tool allow you to effortlessly blend pictures with text or shapes, creating a seamless visual narrative. For instance, imagine placing a bustling cityscape inside bold lettering for an event poster – this effect is a breeze with clipping masks.
- Start by selecting your text as the base layer.
- Place your desired picture above the text layer.
- With a simple right-click on the picture layer, select 'Create Clipping Mask'.
- The picture now takes the form of the text, and you can adjust its position to best fit the design.
Clipping Masks for Photo Composites
Creating photo composites can be an exciting way to tell a story or convey a concept. Clipping masks are instrumental in this process, allowing you to merge various images into a cohesive whole.
- Gather the images you want to combine and stack them in layers.
- Use the selection tools to isolate the parts of each image you want to feature.
- Apply clipping masks to these layers, using the underlying layers to define their visible boundaries.
- Adjust the layer properties, such as opacity and blending modes, to fine-tune the composite.
Creative Uses
Clipping masks need not be confined to conventional uses. They can also be a gateway to experimentation and unique visual effects. For example, you could use a clipping mask to overlay a pattern onto a portrait, creating a double exposure effect that’s both striking and subtle.
- Select a pattern or texture and place it above your portrait layer.
- Next, with the portrait layer selected, create a clipping mask with the pattern layer.
- Then, experiment with blending modes to achieve the desired double exposure effect.
- To add complexity, introduce adjustment layers into the mask to play with color and contrast.
This technique can breathe new life into a standard portrait, giving it a modern and artistic twist that stands out in any portfolio.
Frequently Asked Questions
What is a Clipping Mask and How Does It Work in Photoshop?
A Clipping Mask is a feature in Adobe Photoshop that allows one layer to take the shape of a lower layer. Essentially, it lets you use the content of one layer (the base layer) to control the visibility of another layer (the masking layer).
For example, you can fill a shape with a photo by making the shape the base layer and the photo the masking layer. The photo will only be visible where it overlaps with the shape, creating a powerful visual effect.
This technique is especially useful for blending images with text, creating textured effects, or constructing complex photo compositions non-destructively.
How Do I Create a Clipping Mask in Photoshop?
Creating a Clipping Mask involves a few simple steps:
- Prepare Your Layers: Ensure you have at least two layers - the base layer (the shape or area where you want the upper layer to be visible) and the layer you want to clip (like a photo or texture).
- Layer Positioning: Place the layer you want to clip directly above the base layer in the Layers Panel.
- Apply the Clipping Mask: Move your cursor between the two layers in the Layers Panel. Hold down the Alt key (Option key on Mac) and click when you see the cursor change to a square with an arrow. This action clips the upper layer to the lower one, restricting its visibility to the shape of the base layer.
- Adjust if Necessary: You can move or adjust the clipped layer as needed to achieve the desired composition.
What's the Difference Between a Clipping Mask and a Layer Mask in Photoshop?
A Clipping Mask in Photoshop allows a layer to take the shape of the layer directly beneath it, restricting its visibility to the lower layer’s content. In contrast, a Layer Mask controls the visibility of different parts of a layer through a grayscale channel, where black conceals and white reveals. Essentially, Clipping Masks shape layers based on another layer, while Layer Masks adjust transparency within the same layer.
Conclusion
After diving deep into the world of Clipping Masks in Photoshop through the comprehensive guide, I’ve come to appreciate the incredible versatility and power this feature holds in transforming digital artwork.
My journey into mastering this feature has not only expanded my technical skills but also opened up new avenues for creativity in my projects. From experimenting with textures to combining multiple masks for intricate designs, I’ve been able to bring a new level of sophistication to my work.
For instance, Lightroom is another excellent tool for image editing and manipulation. By learning how to use these tools in conjunction, you can greatly enhance your skills and versatility as a digital artist.
Read more about Photoshop:


