Vintage Filter Photoshop: A Complete Guide for You
Vintage Filter Photoshop: A Complete Guide for You
Have you ever noticed how applying a vintage filter Photoshop can transform a simple photo into a timeless and classic memory?
This feature catches the eye of both young photographers and those nostalgically looking to recapture the past through images.
In this guide, I’ll show you how to use vintage filters effectively in Photoshop, ensuring your edited pictures not only look fantastic but also tell captivating stories from simpler times.
Hang tight as we explore some easy yet impactful ways to make your photography stand out with that sought-after retro vibe!
Table of Contents
Applying a Vintage Filter Photoshop: Step-by-Step Process
Adding retro effects to your photos can give them an aged look that’s both charming and nostalgic.
Follow this step-by-step guide to achieve that perfect vintage aesthetic using Adobe Photoshop.
Selecting the Right Photo for Vintage Effects
Choosing the appropriate image is crucial when applying a vintage filter Photoshop. Pick photos with softer lighting and natural colors.
Photos featuring modern elements may not deliver the desired effect.
Example:
A portrait with natural light
An outdoor scene with subdued colors
Black-and-white images thrive on authenticity, making these choices ideal for transformation.
Accessing Filter Options in Photoshop with a Background Layer
To access filters in Photoshop, follow these simple steps:
Open your photo in Photoshop.
Select the suitable background layer, ensuring no other layers interfere.
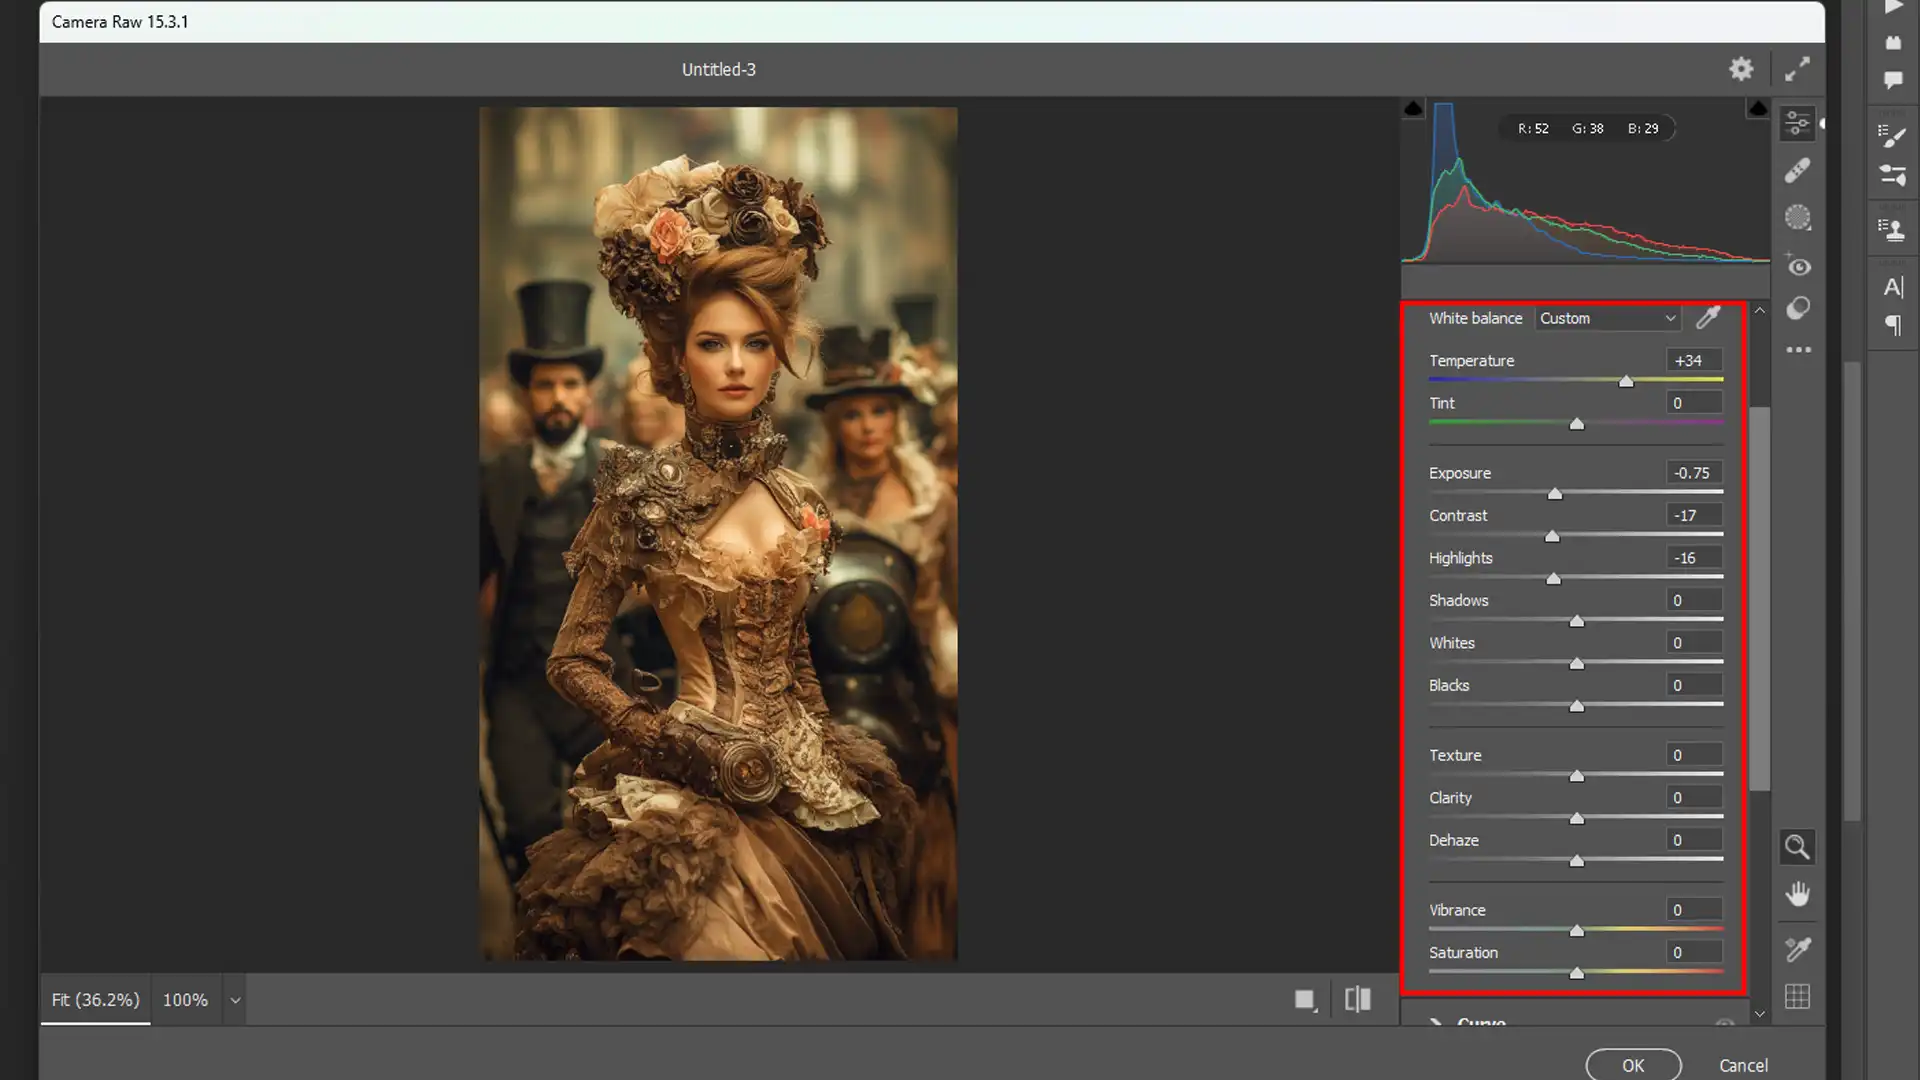
Navigate to the top toolbar and click on Filter > Camera Raw Filter.
In the new window (dialog box) that opens, find and select Presets in the top right corner.
This allows you to explore various presets available within Adobe Photoshop’s filters library.
Adjusting Filter Strength with a Curves Adjustment Layer
Fine-tuning your filter settings helps create a balanced, striking effect in Photoshop without overwhelming the image’s original charm:
Within Camera Raw Filter:
Use sliders like Exposure, Contrast, and Texture under Basic adjustments.
Adjust to achieve desired brightness and sharpness.
Head over to Color Grading:
Modify the hues for highlights, midtones, and shadows using color wheels.
Set shadow tint towards warm tones for a classic vintage feel.
For more control:
Create an adjustment layer from the Layers Panel and navigate through options like Curves Adjustment Layer. Improve tone by dragging points on input/output axes until satisfied with the results.
If further customization is needed, utilize effects such as overlaying light layers, adding film grain texture through noise filters or selections designed specifically around legacy aesthetics, and finally, delivering unforgettable transformations!
Learn how to add texture in Photoshop while adjusting filter strength with a Curves adjustment layer. This technique refines your textures, enhancing your vintage look effectively.
For more inspiration on vintage photography techniques, check out our guide on adding retro effects, which will take your editing skills up another notch!
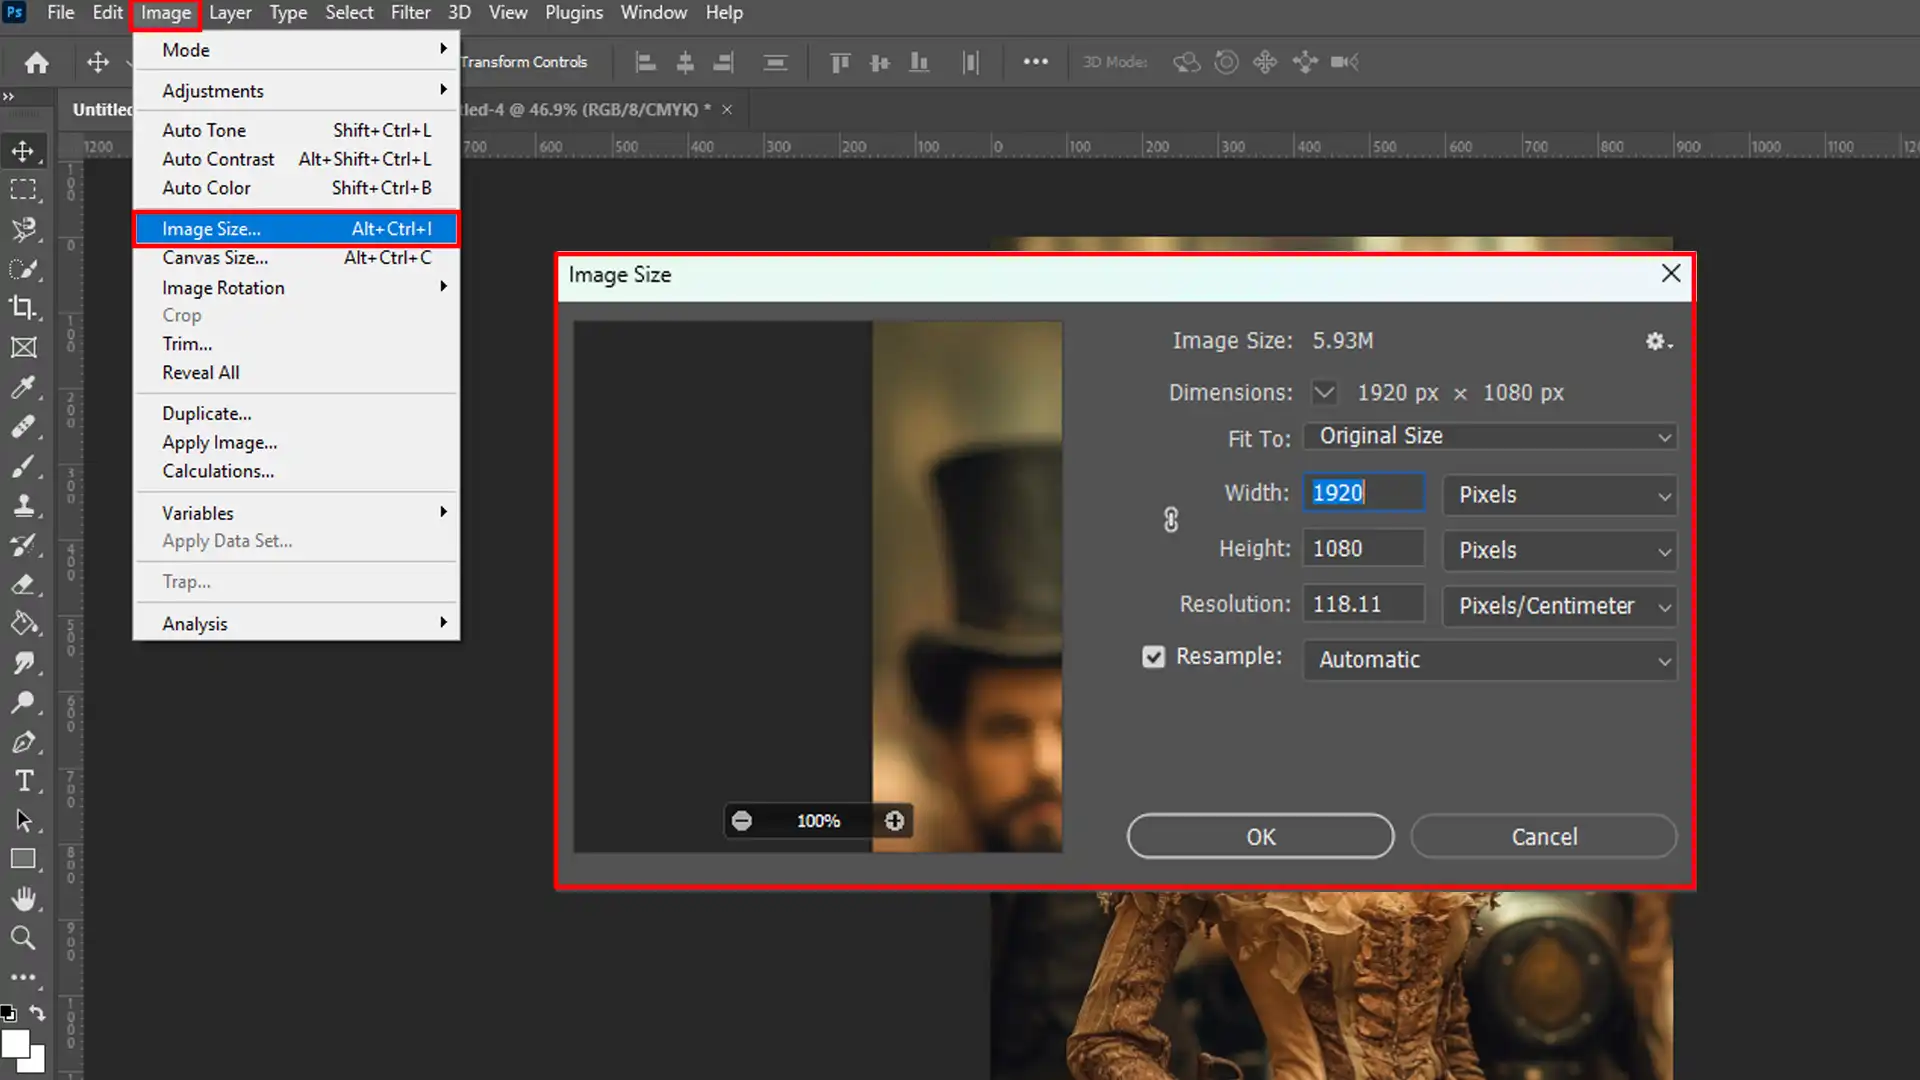
Resizing Images in Photoshop for Optimal Effect Application
Resizing images in Photoshop ensures the best application of various effects. Proper resizing helps maintain image quality while giving you flexibility in design.
Understanding Resolution and Image Size
Before resizing, understanding resolution and image size is crucial.
Resolution refers to the detail in an image. Image size affects how an image is displayed on different devices.
Resolution (PPI/DPI): Determines the image's sharpness.
When resized, high-resolution images retain more detail, which is essential for applying detailed effects like those found in vintage photo editing.
Step-by-Step Guide to Resizing an Image
Resizing in Adobe Photoshop involves simple steps within the software’s interface.
Open Your Image: Go to File > Open and select your image.
Access the Resize Tool:
Click Image > Image Size.
The dialog box with resizing options will appear.
Adjust Dimensions and Resolution:
Input desired width and height.
Set a suitable resolution: 300 PPI for print, 72 PPI for web.
Preserve Proportions: Ensure “Constrain Proportions” is checked to avoid distortion.And click OK to apply changes.
Thus, resizing should be your first step before using any photo effects application.
Best Practices for Maintaining Image Quality
Maintaining high quality when changing image size requires attention to several details:
Utilize Smart Object layers for non-destructive editing.
Avoid excessive upsizing to prevent pixelation.
Use “Bicubic Smoother” or “Automatic” resampling methods during resize.
These practices ensure that your resized images remain clear, crisp, and perfect for adding creative effects such as a photo filter.
By following these guidelines, you optimize your images effectively before adding artistic touches like a vintage look.
Customizing Filters for Vintage Aesthetic
Creating a unique vintage aesthetic for your images means customizing different types of filters and blending techniques.
To achieve a stunning vintage aesthetic, incorporating an old paper texture can enhance your filter customization. Customizing filters with this texture brings a timeless charm, making your photos look effortlessly classic and nostalgic.
Let’s explore how you can make your photos stand out with the vintage filter Photoshop.
Mixing Filters for Enhanced Effects with the Adjustment Layers Panel
Combining multiple filters can give an enhanced vintage effect. Mixing different effects in Photoshop brings depth to your images.
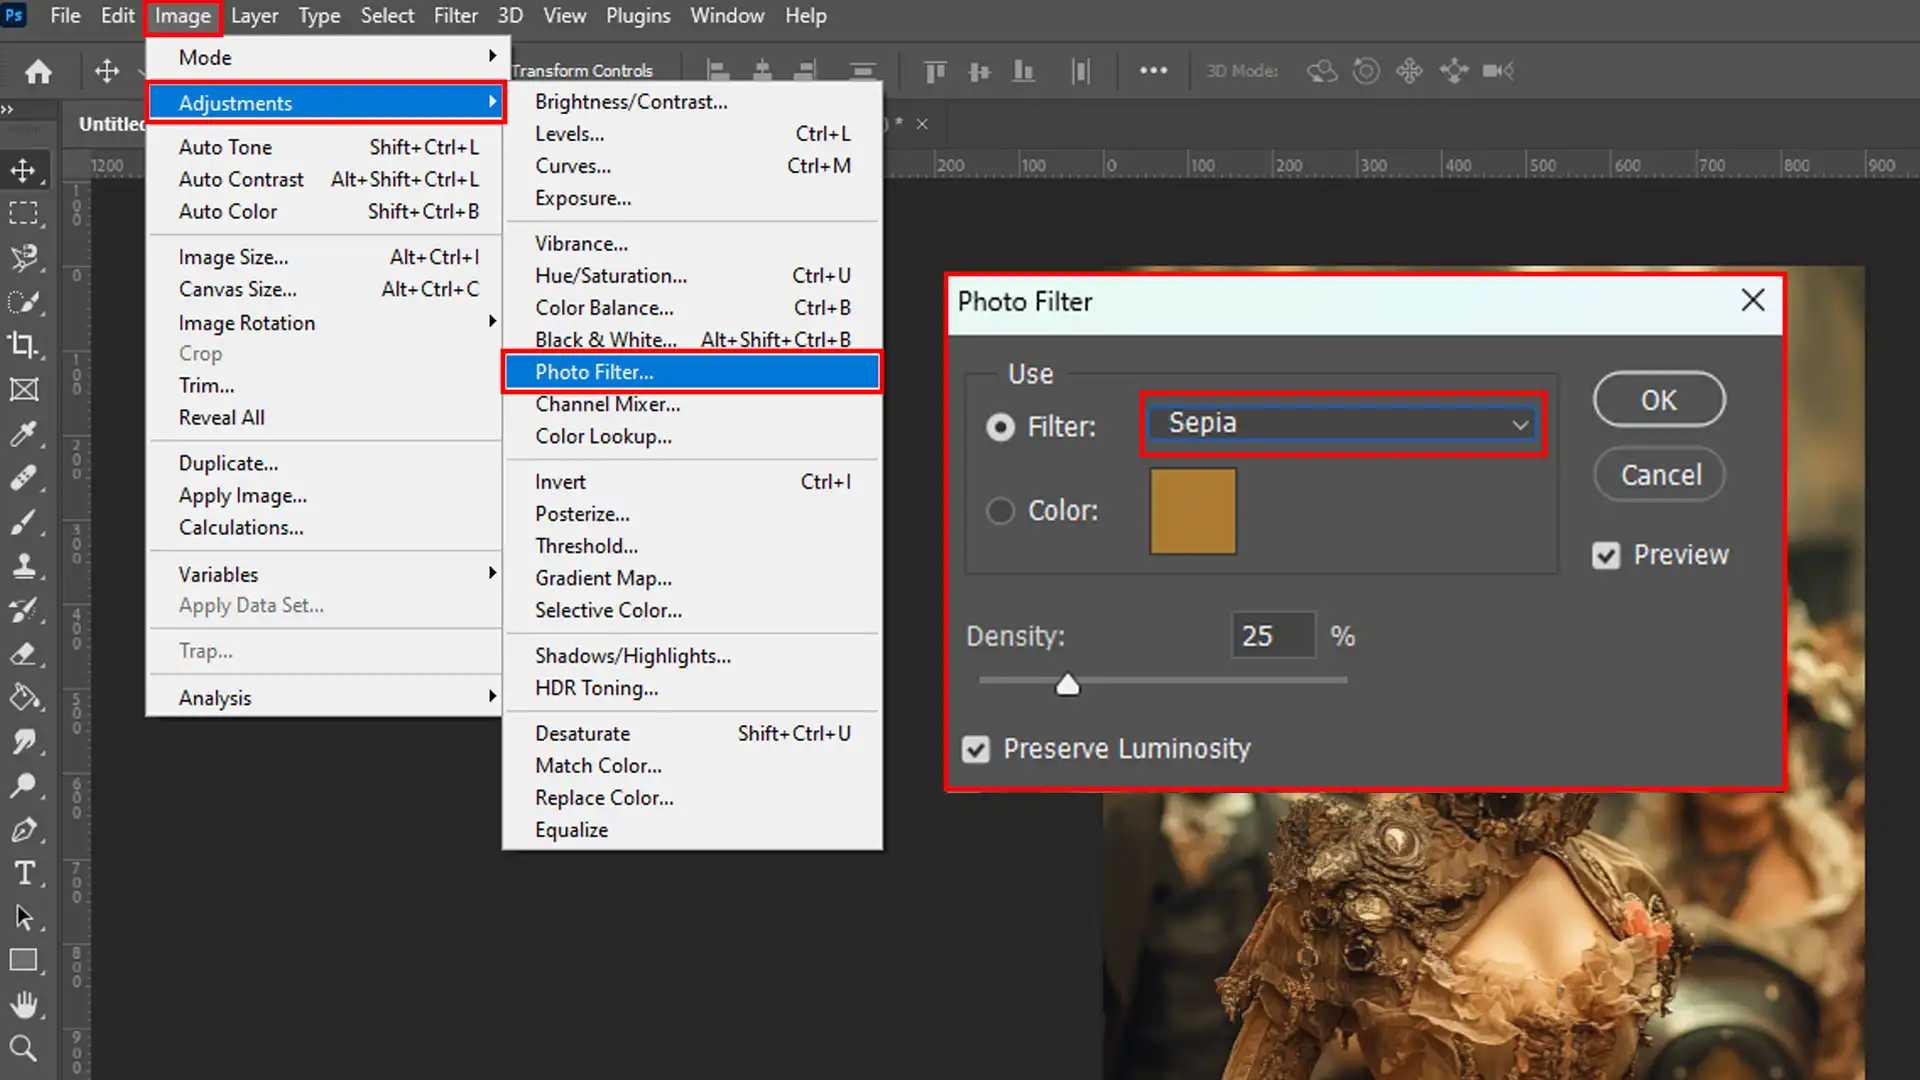
Select Your Base Filter: Start with a photo filter from the menu icon.
Add an Adjustment Layer: Use an adjustment layer like Brightness/Contrast or Color Balance.
Blend Modes: Change blend modes to Overlay or Soft Light in the layers panel.
Vintage Photo Effect Add-Ons:
Apply a sepia tone.
Introduce a subtle vignette.
Emulate film grain with the ‘Add Noise’ feature.
Example: For one of my photos, I selected a sepia-tone photo filter as the base.
Then, I created an adjustment layer for color balance, tweaking the cyan-red and magenta-green sliders to get that perfect aged look.
Finally, I added noise using the ‘Add Grain’ effect in Photoshop and set its blend mode to soft light.
Using Layer Masks with Vintage Filter Photoshop
Layer masks enable selective editing of your vintage filters.
Create a Layer Mask: Apply your vintage filter first.
Select the layer mask icon at the bottom of your layers panel.
Paint Over Areas: Use black to hide parts of the filter and white to reveal it fully (ensure editing non-destructively).
Benefits: Targeted application keeps some areas clear while others have an intense vintage effect.
Example: I edited another image where I wanted only certain portions to appear aged while keeping faces clearer.
Using the brush tool on my layer mask, I painted away parts of the sepia tone in specific areas, retaining modern touches amidst strong vintage vibes.
To create a convincing old photo tone, effectively use layer masks with vintage filters. This technique allows precise control, enhancing the retro look with tailored adjustments
Essential Tools and Techniques for Vintage Styling
Transforming photos with a vintage effect involves using a mix of tools in Photoshop. Dive into the essentials to achieve stunning results.
Utilizing Brushes and Textures
Brushes and textures can add unique touches to your photos. Brushes allow for detailed, localized edits such as creating an aging effect.
When I wanted to give my photo series a worn-out look, I applied a texture overlay:
Step
Description
Open your image
Open the image you want to edit.
Add a new layer above the background layer
Create a new layer positioned above the existing background layer.
Select a vintage texture brush
Choose a brush with a vintage texture.
Lightly paint over areas that need wear
Use the brush to lightly paint over areas of the image that you want to appear worn or aged.
Adjust layer opacity
Reduce the opacity of the texture layer to blend it seamlessly with the original image.
Apply a Gaussian Blur if needed
If the texture appears too harsh, apply a Gaussian Blur to soften it.
Save your edited image
Save your image in the desired format.
Use textured brushes to simulate aging or distressing on specific parts of the image, thus enhancing the overall antique vibe.
For example, I once used this technique on an old landscape photo from my childhood town.
The result was incredible; it looked like it had been taken decades ago! For more diverse looks, you can visit our tutorial on creating authentic vintage textures.
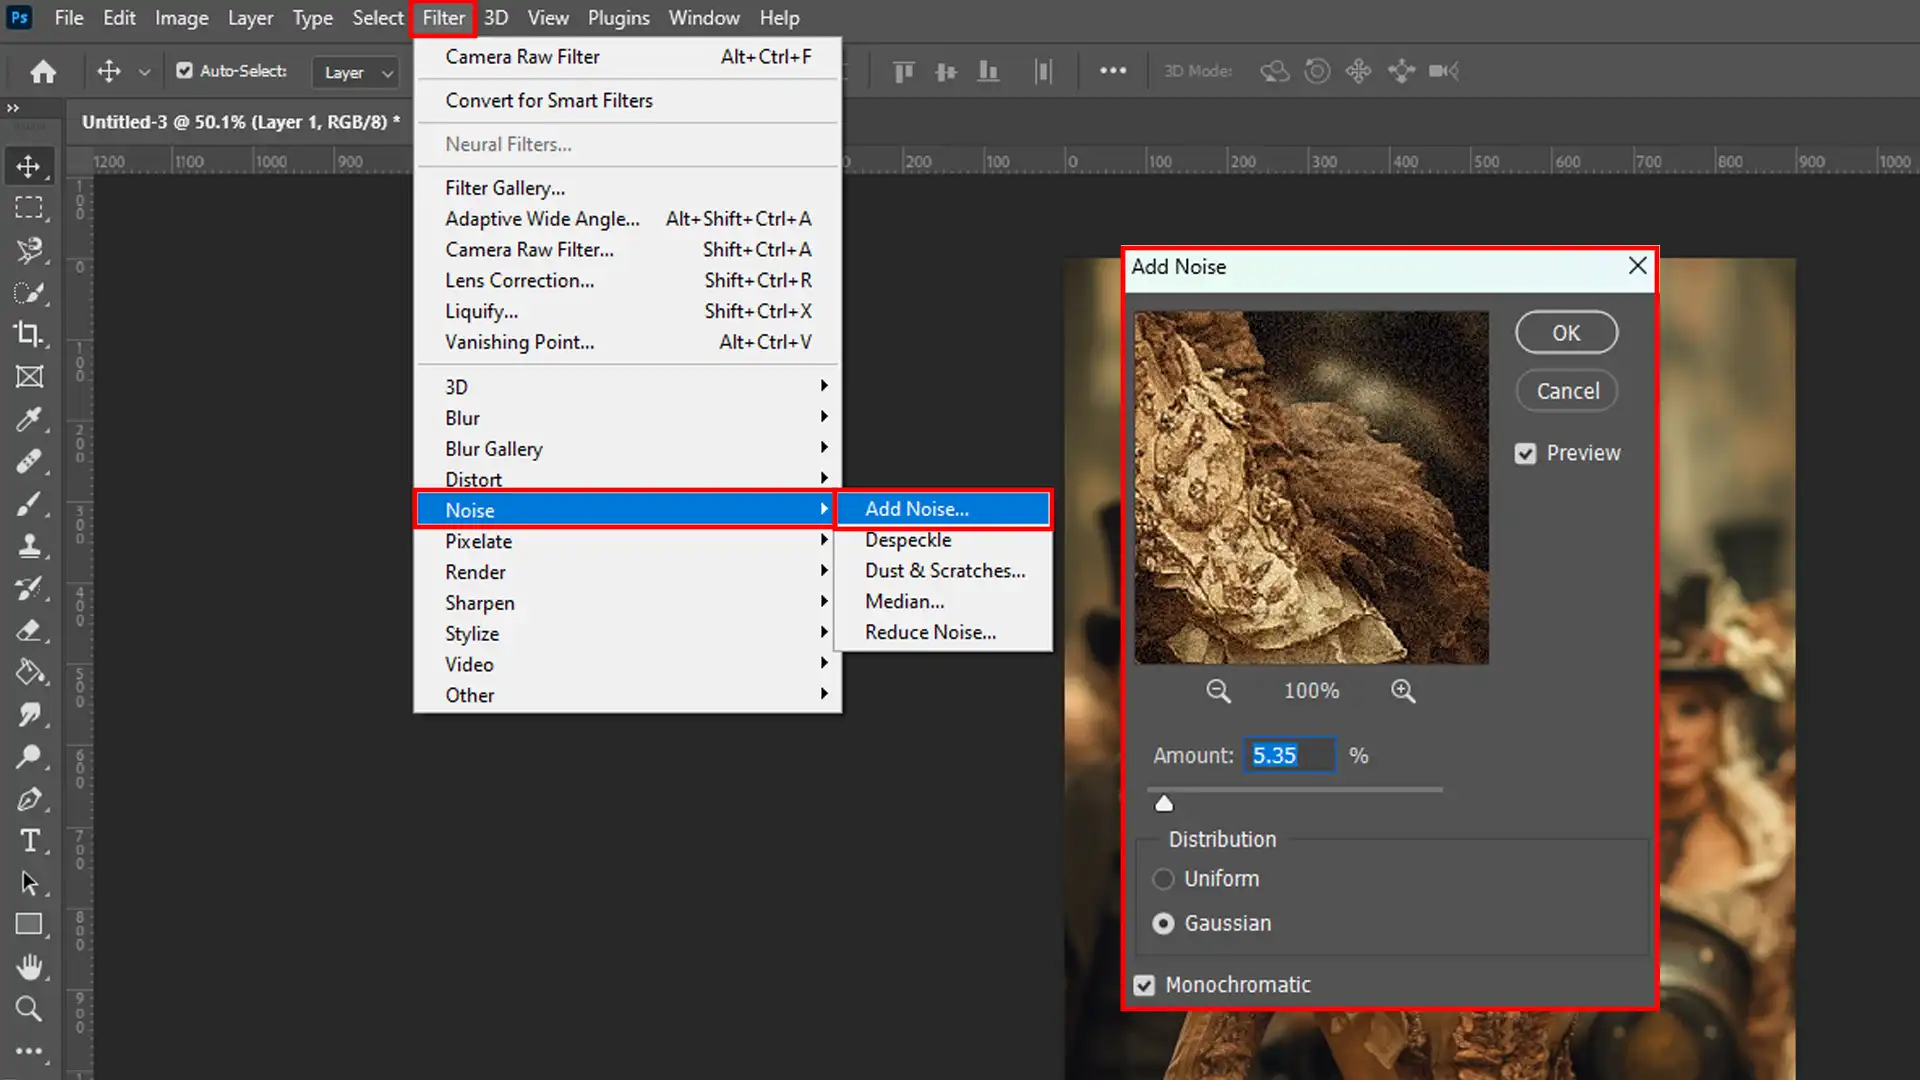
Incorporating Scratches and Noise
Adding scratches and noise can further enhance the vintage photo effects in your images. These elements provide the imperfect, nostalgic charm found in true black-and-white images.
To achieve a true vintage filter Photoshop feel,add noise in Photoshop and incorporate scratches and noise. This technique enhances the retro effect by giving your photos an authentic, aged texture.
Here’s how to incorporate them effectively:
Convert your primary image into a smart object.
And then add noise:
Go to Filter > Noise > Add Noise.
Adjust intensity till you achieve the desired graininess (I usually keep between 8-12%).
Apply scratches:
You can use scratch overlays or create them manually.
Place scratch overlays as new layers and adjust their opacity for realism.
This process is ideal for achieving a distressed retro look without damaging original pixels, thus being non-destructive.
Pro Tip: If you edit portraits in Lightroom, try blending vintage effects by adjusting clarity and texture to soften skin tones while maintaining the nostalgic look.
These tips for Lightroom editing can help you balance modern portraiture with vintage aesthetics, giving your images a timeless, professional finish.
For better visualization, check out this internal link on adding realistic film grains, which provides further insight into building textures authentically.
Utilizing these techniques ensures that your modern photos have rich character and a unique style that captures the feel of older, timeless photographs.
Matching Colors and Tones to Achieve a Vintage Look
To create an authentic vintage look in your photos, you need to match colors and tones carefully. This involves several techniques that can be easily applied using Photoshop.
Color Grading Techniques
Color grading plays a crucial role in achieving the desired black-and-white image effect. Use color sliders to adjust tones and hues subtly. Here’s how:
Create an Adjustment Layer: An adjustment layer allows for nondestructive edits, ensuring your original image remains intact.
Use the Curves Tool: Manipulate shadows and highlights to mimic an old photo’s specific tonal range.
Apply a Warming Filter: Adding warmth can give your photo a nostalgic look reminiscent of early color photography.
Adjusting Hue and Saturation
Hue and saturation adjustments are essential for fine-tuning the overall color scheme of your vintage photos.
This ensures uniformity across all elements.
Select Hue/Saturation Adjustment Layer: You can easily control color intensity while keeping skin tones natural.
Desaturate Selective Colors: Lower saturation levels on greens and blues are often found in landscape photography.
Boost Warm Colors: Increase red, yellow, and orange hues to age your photo naturally.
I recommend making these adjustments while working with smart objects. This makes refining edits easier later without compromising quality.
To perfect Photoshop skin retouching, start by adjusting hue and saturation. This step helps refine skin tones, ensuring a natural and polished appearance in your edits.
Focusing on these comprehensive steps will help you master matching colors and tones to effortlessly produce stunning vintage images!
Frequently Asked Questions
Is there a vintage filter in Photoshop?
Yes, Adobe Photoshop offers a variety of tools and filters to create a vintage photo effect.
You can use an adjustment layer, such as Curves and Color Balance, to add a nostalgic look to your modern photos easily.
How do I get vintage photo filters?
Acquiring a vintage filter Photoshop is simple. Adobe Photoshop has built-in layers to create a vintage effect.
Alternatively, you can download pre-made vintage photo filter presets from various websites to quickly apply a retro look to your images.
How to make vintage textures in Photoshop?
To make vintage textures in Photoshop, start by adding a new layer over your photo. Experiment with noise, grain, and the layer’s blending mode to create a textured, aged look.
Playing with a layer like Curves can also enhance the retro effect.
How do I get the old camera effect in Photoshop?
Achieving the old camera effect in Photoshop involves using adjustment layers like curves and color balance.
Add noise or grain, and consider simulating a movie grain effect or adding vignettes. These adjustments can mimic the charm of old camera photos.
Mastering the “vintage filter Photoshop“ can transform your photos into timeless memories. I once revived a faded family portrait, adding grain and adjusting colors to evoke nostalgia.
If you’re looking to improve your photo editing skills, I highly recommend checking out these great resources. You can learn more by visiting my Photoshop Course and Lightroom Course. These courses are designed to help you achieve stunning results with your photos.
Additionally, if you’re ready to explore Adobe’s tools yourself, here are direct links to Adobe Photoshop and Photoshop Lightroom. These powerful programs will help you take your editing skills to the next level.
If this article has helped you, then Like and Share it with your friends
$2,061.00Original price was: $2,061.00.$1,061.00Current price is: $1,061.00. 27584
Download Your Free Guide Now!
Discover the secrets of photography with our printable guide! Master essential techniques like aperture, shutter speed, and ISO to create stunning images. Get your free printable PDF now and start turning your snapshots into masterpieces!