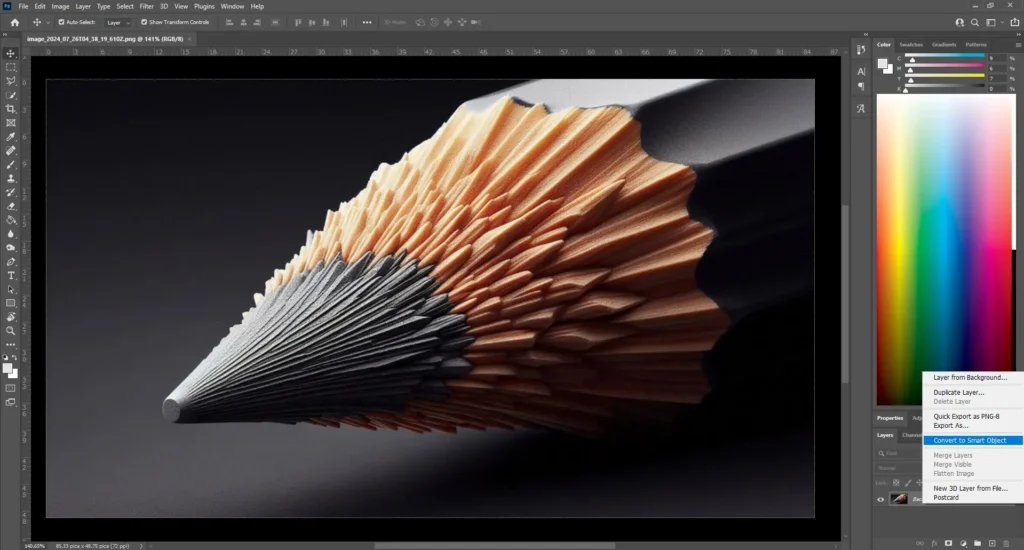
| Initial Setup |
Duplicate your image layer and convert it to a Smart Object to keep your edits non-destructive. |
Right-click on the image layer in the panel and select “Duplicate Layer”. |
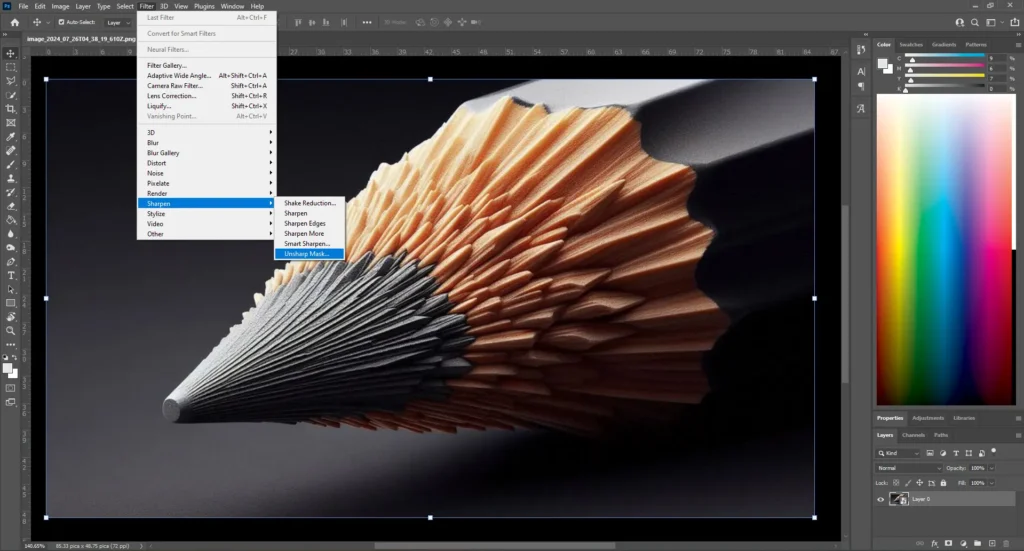
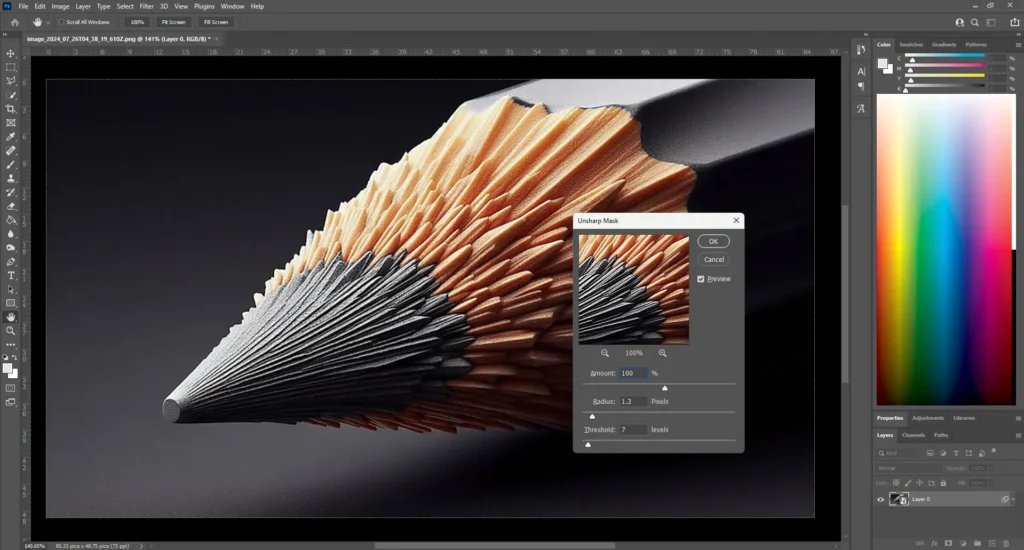
| Adjusting the Amount |
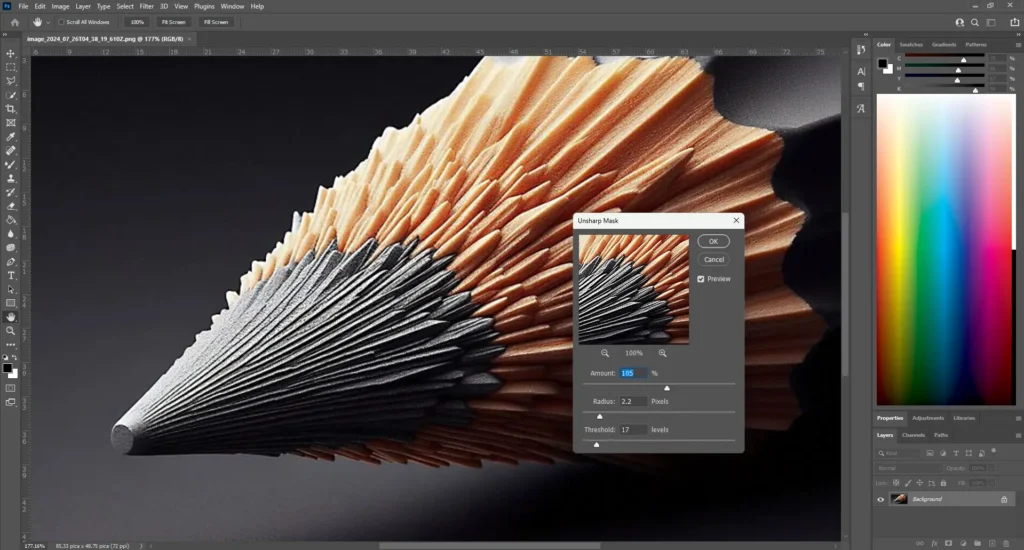
Begin by setting the number around 100% and gradually increase it. |
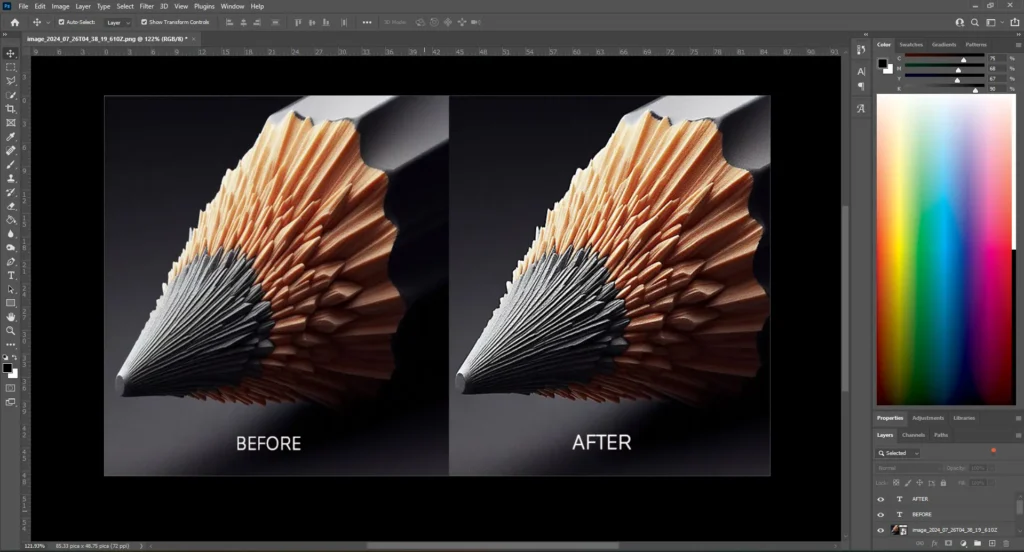
Watch the preview to see how the sharpness changes. For high-detail images, increase the volume greater. For portraits, keep it subtle. Fine-tune based on the image’s requirements. More configurations can enhance details in landscapes. Lower settings are preferable for softer subjects to avoid harsh lines. |
| Setting the Radius |
Start with a low radius around 1 pixel. |
Slowly increase the radius to see how it affects the borders. Adjust according to the print or web requirements. For print: 1 to 2 pixels. For web: 0.5 to 1 pixel. |
| Configuring the Threshold |
Begin with it of 0 and increase it gradually. |
Aim to focus the main edges without amplifying disturbance. |