Ever wondered about the resample Photoshop definition? It’s a basic feature that allows you to resize images without losing quality? This is a basic feature to resize images without losing quality. In this post we’ll see how to adjust the resampling options to improve your graphics or photos as you resize them.
Knowing how to use this tool will transform your image editing projects and improve your Photoshop skills.
Let’s get to it in your next project!
Table of Contents
Understanding Resampling: Significant Concepts and Definitions
Resampling in Photoshop is a critical concept for anyone working with digital images.
It involves changing the pixel dimensions and image quality, which impacts both the file size and original image resolution.
What is Resampling?
Resampling refers to altering the amount of image data in a digital photo by changing its number of pixels, which is important when resizing an image or adjusting its resolution.
This technique can adjust the print size and on-screen viewing quality, impacting how detailed your output appears.
When performing actions such as increasing or reducing an image’s print or view size, resampling helps maintain high image clarity.
With tools like Photoshop, users can control specific aspects, including selecting from the resample Photoshop definition image option when modifying their projects.
Difference Between Resizing and Resampling
While often used interchangeably, resizing and resampling are distinct processes:
Resizing changes the physical display size without altering pixel count; it primarily affects the document size.
Resampling, however, modifies the actual pixel count – effectively altering the "pixel dimensions" explained through a robust "image size dialog box." This also changes how much detail an image retains or exhibits.
The choice between resizing or resampling hinges significantly on your final output requirement concerning image resolution and desired print image metrics.
For example, when you need to resize an image for printing, understanding whether to adjust the dimensions or resample for clarity is important.
Adjusting these elements correctly ensures maintained or enhanced visual fidelity based on whether you increase (upsample) or decrease (downsample) the image content-aware scale in Photoshop.
Common Resampling Methods Used in Photoshop
Photoshop offers several methods tailored to different needs:
Nearest Neighbor: Fast but less precise - good for hard-edged graphics.
Bilinear Interpolation: Balances speed and quality by estimating intermediate pixel colours.
Bicubic Interpolation (preferred): Provides smoother gradations between pixels than bilinear by considering the more adjacent number of pixels.
Each technique results in unique changes to the resampled image, whereby users must consider aspects such as desired pixels per inch (PPI) rates compared to initial digital camera captures.
In-depth use of any method demands understanding concepts like dialog box operations within Photoshop, where entities like image size dialog box guide through steps honoring each transformative phase while preserving image data integrity across modifications.
Listing these methods allows us to grasp their applications quickly:
The preferred bicubic is usually used when a better softness degree with high detail retention is significantly ideal for photography rather than graphic design, which might favour sharper nearest-neighbour results instead.
Understanding each option’s implications on your image adjustments ensures that all transformations complement artistic intentions without compromising significant details.
Leveraging Photoshop’s features efficiently while securing top-tier results regardless of chosen media format conversion needs.
Enhancing Image Resolution and Image Size through Resampling Techniques
Enhancing image resolution is important for producing high-quality visuals, significantly when enlarging images.
Photoshop offers various resampling techniques to adjust the resolution without losing detail. Methods such as “bicubic sharper” and “bicubic smoother” can help increase or decrease the resolution while preserving the quality of the image, ensuring the best resolution for Photoshop projects tailored to your specific needs.
By understanding and applying the appropriate resampling techniques, you can achieve precise and detailed images suitable for both digital and print media.
Selecting the Best Resampling Algorithm for Different Image Types
When adjusting image size or optimizing image resolution, choosing the suitable resampling algorithm is important to maintaining optimal image quality.
Each type of image might require a different approach based on its unique properties and your desired outcome.
Nearest Neighbor Resampling: Best for Pixel Art
Nearest Neighbor is a simple yet effective resampling method that works best with pixel art.
Since it doesn’t interpolate pixels, this technique preserves pixel art’s crispness and blocky appearance, which can be critical to maintaining its aesthetic.
When changing the pixel dimensions, the pixel art resizer using the nearest neighbor method ensures each pixel retains its clarity and distinct edges.
Best used for: Simple graphics, icons
Image data preserved: Hard edges, colour boundaries
Bilinear and Bicubic Resampling: Ideal for Photographs
Both bilinear and bicubicalgorithms are excellent choices for photographic images where smooth transitions between pixels are needed, particularly when editing effects like a vignette in Photoshop.
Bilinear resampling calculates values using linear interpolation, which provides moderate smoothing.
However, bicubic goes further by using cubic interpolation over an array of pixels to produce smoother pixels in the image.
Comparing their impact on document size:
Bilinear: Slightly faster but can introduce minor blur.
Bicubic: More sophisticated, ensuring smoother gradients, which enhance detailed photographs.
Preserve Details: Enhanced Upsampling
Photoshop’s ‘Preserve Details‘ upsampling method is especially effective for high-quality enlargements where retaining fine details is paramount.
Analyzing patterns in your photos, such as textures and preserved edges, selectively varies the resample Photoshop definition image option, optimizing clarity, especially when adjusting the print size or increasing pixel dimensions significantly.
Significant benefit: Maintains detail while minimizing noise.
Recommendation: Use the ‘Preserve Details 2.0’ setting, particularly when upscaling images meant for high-quality printing.
Each resampling method affects aspects like file size and image resizing differently. Hence, it is important to understand their implications on file storage or processing time.
Tailoring these algorithms according to your needs will yield the best results, whether creating digital art or making professional photography adjustments.
Optimizing Image Quality with Photoshop's Resample Settings
When working with digital images, understanding the resample Photoshop definition and adjusting the resample image settings in Photoshop can dramatically affect the quality and utility of your output.
Understanding how to fine-tune these settings helps you achieve high-quality images and optimal performance for your needs.
Adjusting Pixel Dimensions for Optimal Image Quality
Adjusting pixel dimensions in Photoshop is significant for optimizing the quality of your images. By altering the number of pixels in the image, you can effectively control its clarity and detail.
This process is critical when resizing images for different uses, such as web display or high-quality printing.
Understanding how to adjust pixel dimensions properly ensures that you maintain their sharpness and visual integrity, regardless of their size changes.
Adjusting for Optimal Sharpness
In Photoshop, the fundamental way to achieve crystal clear images is to manage the pixel dimensions effectively.
This includes changing the number of pixels in the image and employing the correct resample image option.
When you open the image size dialog box, understanding the resample Photoshop definition is important as it helps you choose the right options under resampling, directly affecting how sharp or soft your photo appears post-resize.
Selecting a resampling method appropriate for your image type is important for enhancing sharpness while maintaining significant details: formats like landscapes require different handling than portraits or detailed graphic designs.
By carefully altering the pixel dimensions or scaling through numerous presets available within Photoshop, users can manipulate how each pixel translates into physical space without losing important data.
Balancing File Size and the Quality of the Image
Another important aspect when resizing an image is considering the trade-off between file size and visual quality.
Understanding how to adjust image resolution and document size to print requirements is important here.
Photoshop’s image size dialog box provides critical insight into tweaking these parameters appropriately; it displays current pixel data and potential real-time adjustments.
For instance, if preparing images for web use, lowering file size by reducing pixel dimensions will load faster on web pages without drastically compromising appearance.
Using Smart Sharpen After Resampling
Applying additional sharpening adjustments is beneficial following a typical resampling process, such as changing pixel density or adjusting dimension values via Photoshop’s tools.
Photoshop’s ‘Smart Sharpen‘ filter offers precise control over sharpening intensity and radius, facilitating enhanced edge sharpness and detail clarity, which is particularly useful after resizing images.
Understanding the resample Photoshop definition helps users navigate these adjustments, ensuring that the settings from Adobe Photoshop’s elaborate filter gallery effectively mitigate common issues such as unwanted blurring or artifact creation often seen after resizing photos using less sophisticated methods.
Managing raw pixels in the image efficiently during resizing and balancing resolution against necessary file constraints ensures the preservation of required details throughout various applications, from online graphics to high-quality prints.
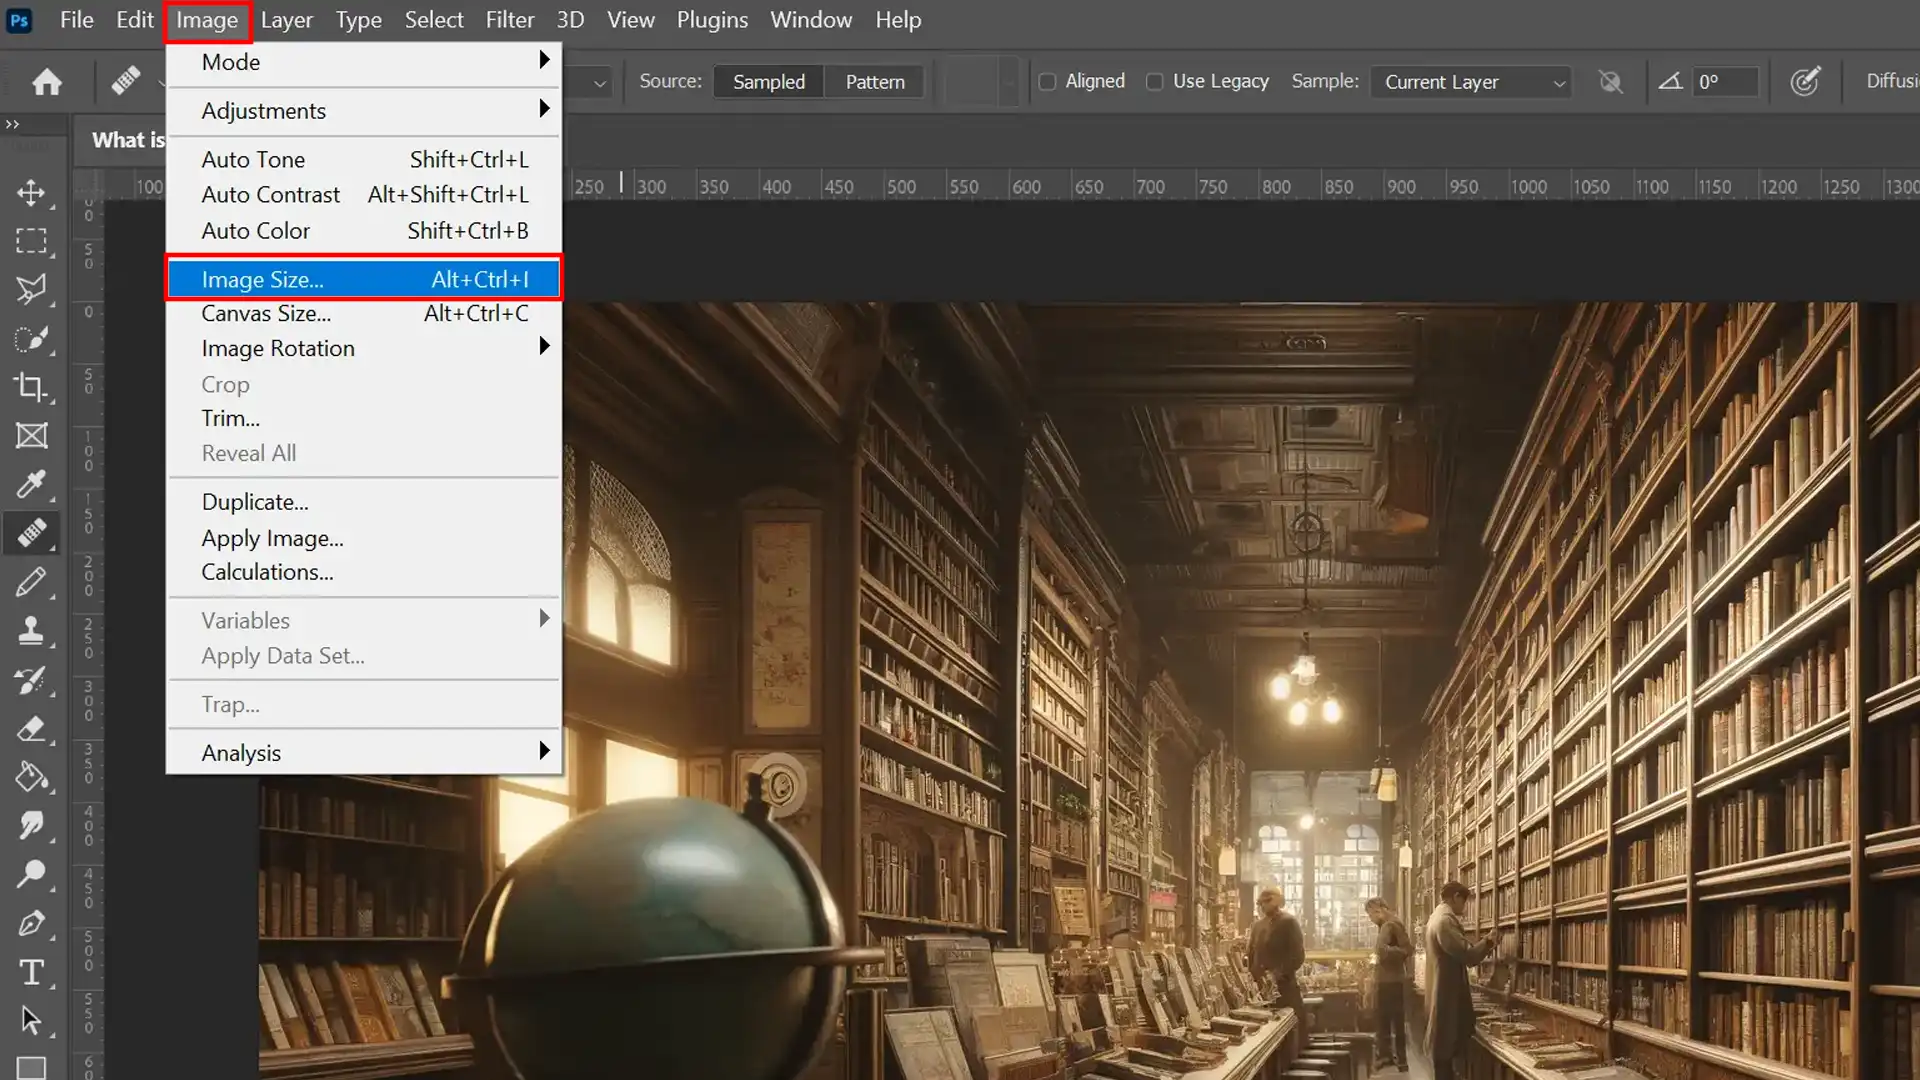
Navigating the Image Size Dialog Box in Photoshop
Photoshop’s Image Size dialog box is a powerful tool for controlling various aspects of your image’s dimensions and resolution.
Located under the ‘Image’ menu, this dialog box provides options to adjust your image’s width, height, and resolution.
By mastering this feature, you can make precise changes to your image size and quality, ensuring that your photos and graphics meet the specific requirements of your project.
The dialog box also offers different resampling methods to help maintain image clarity during resizing.
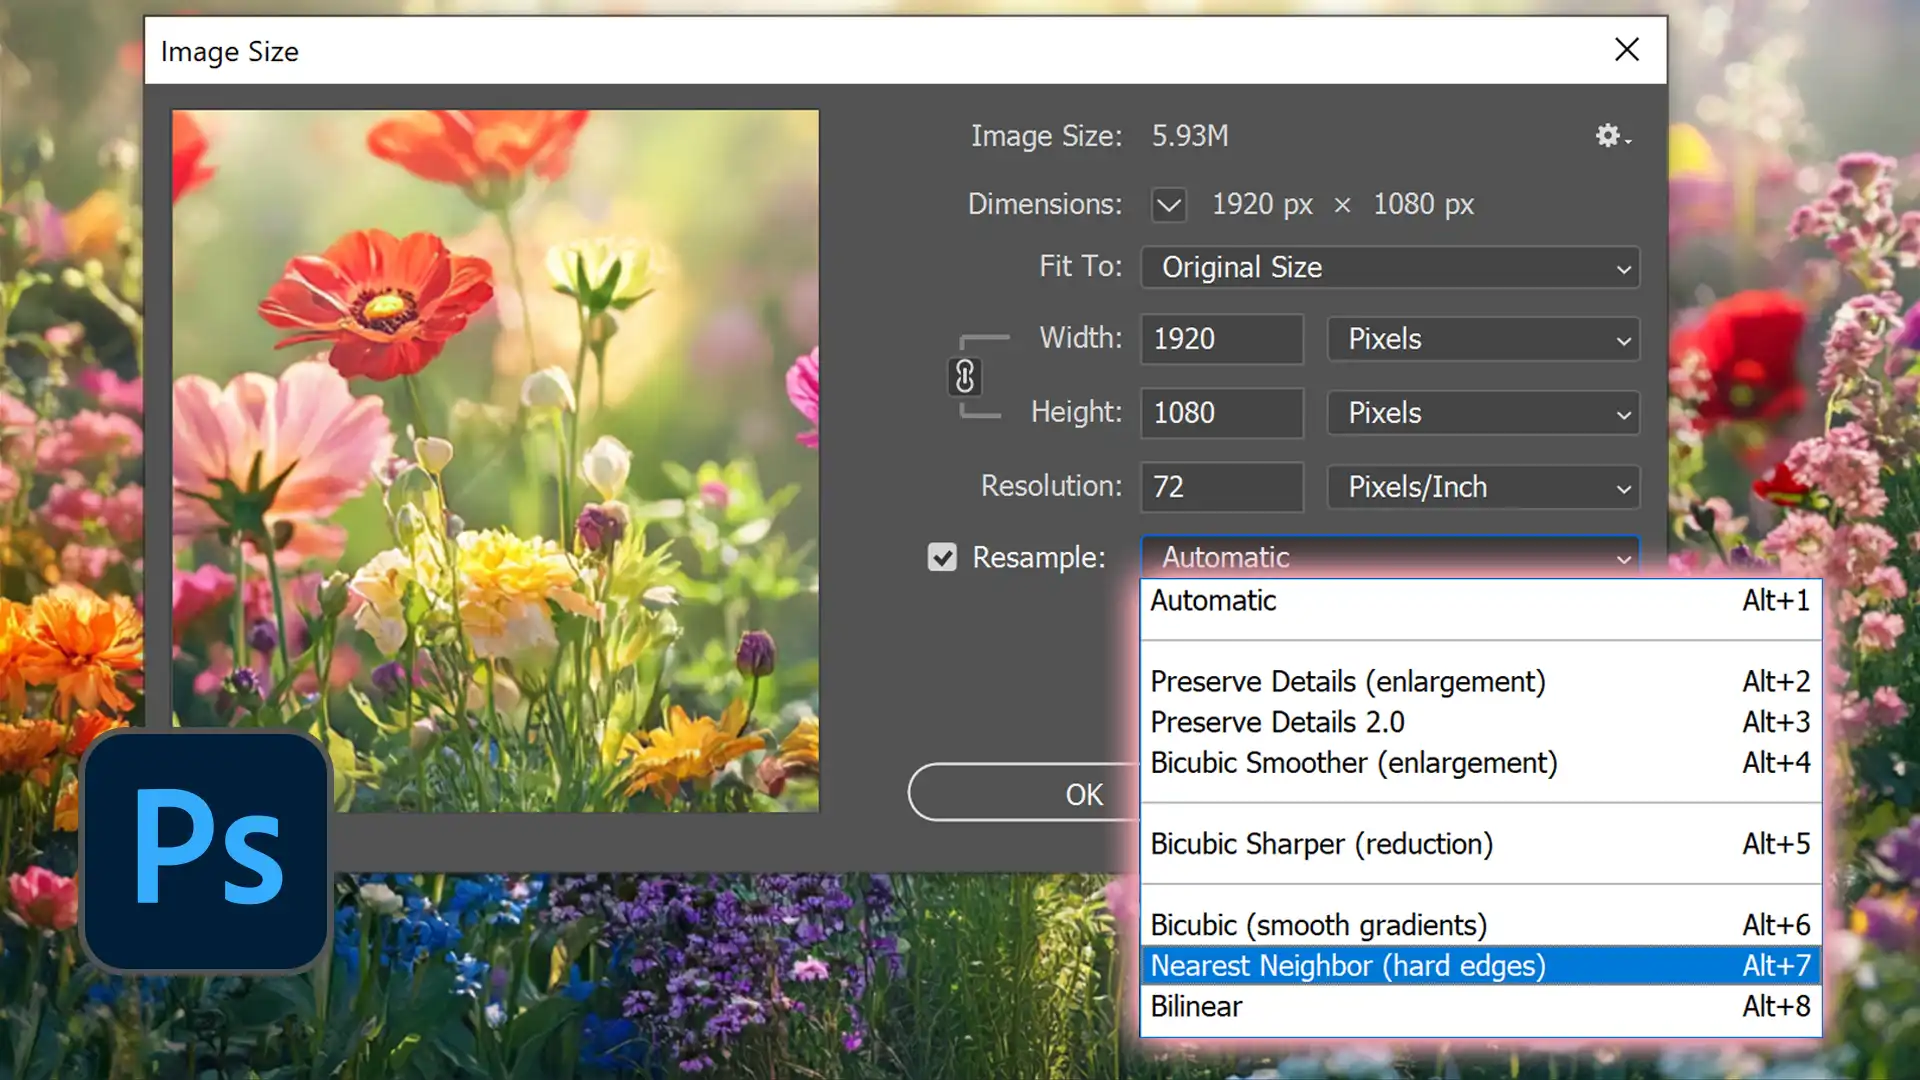
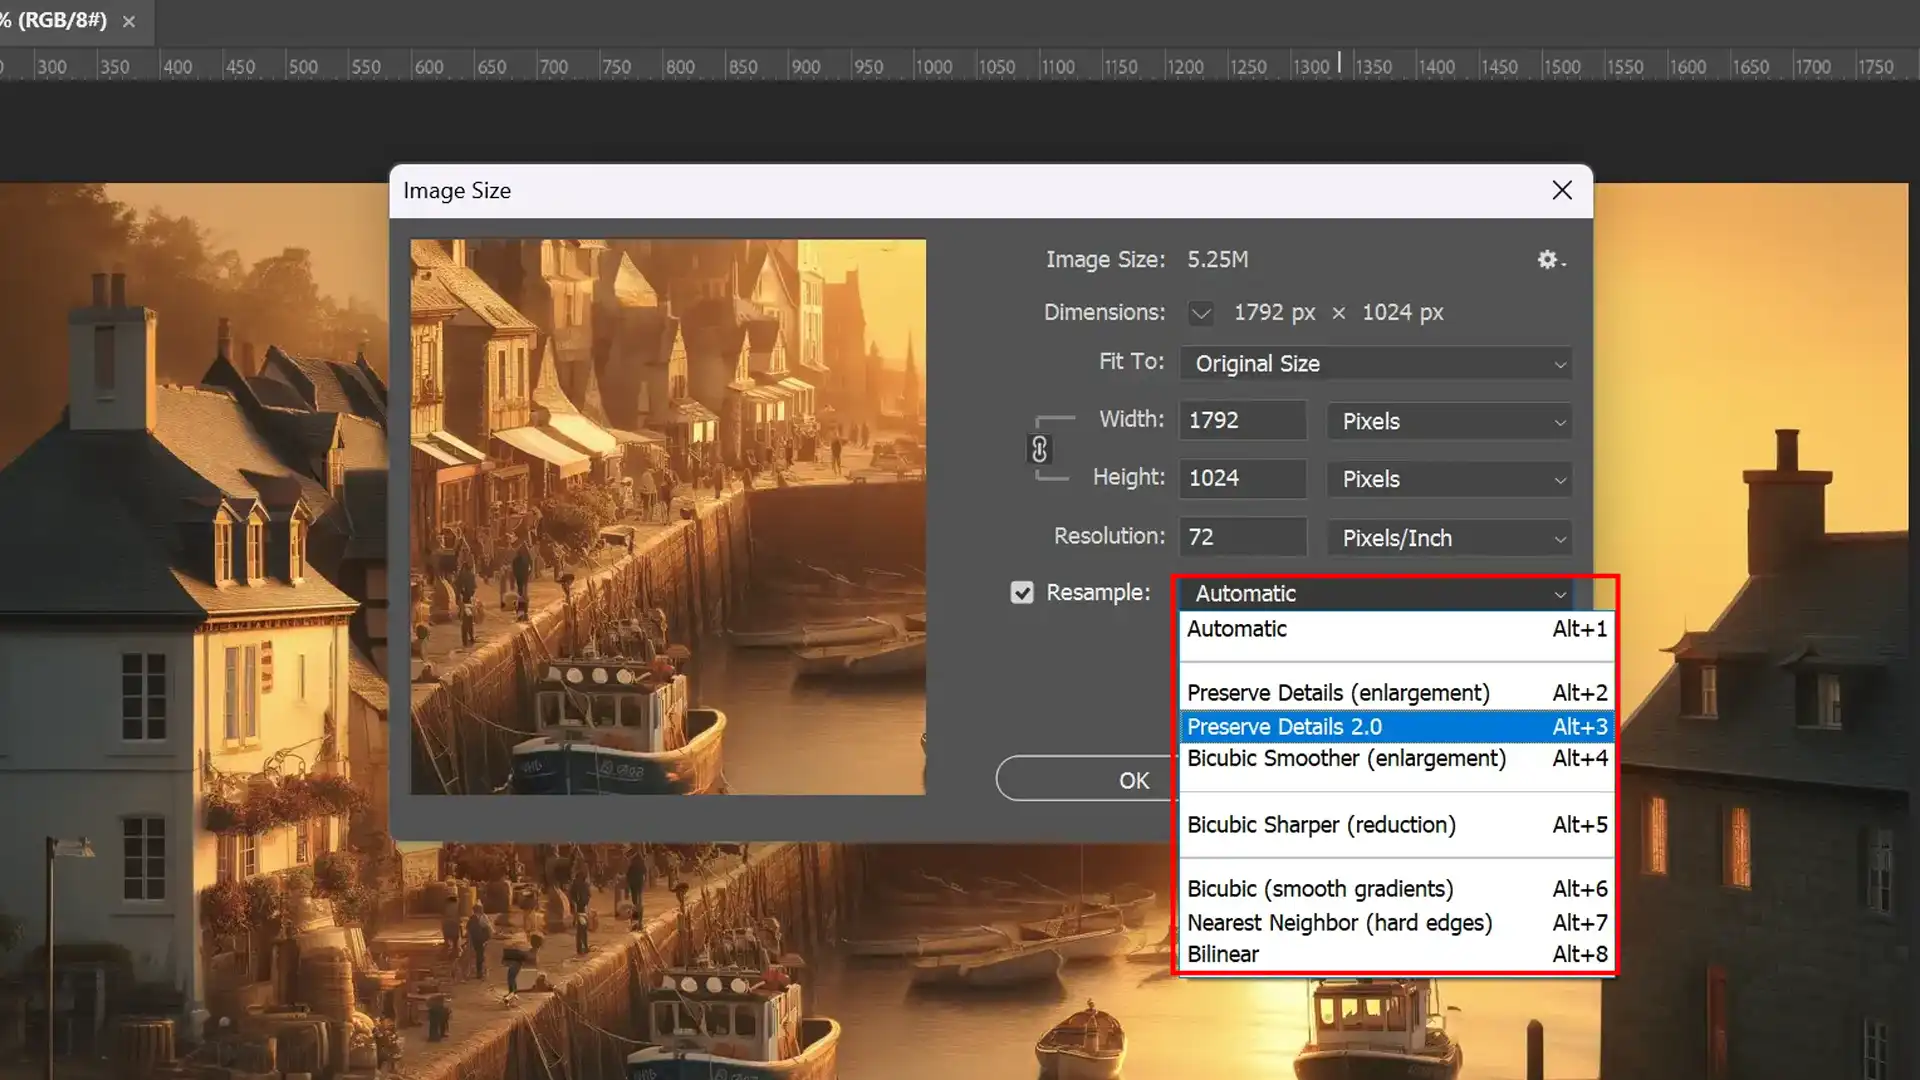
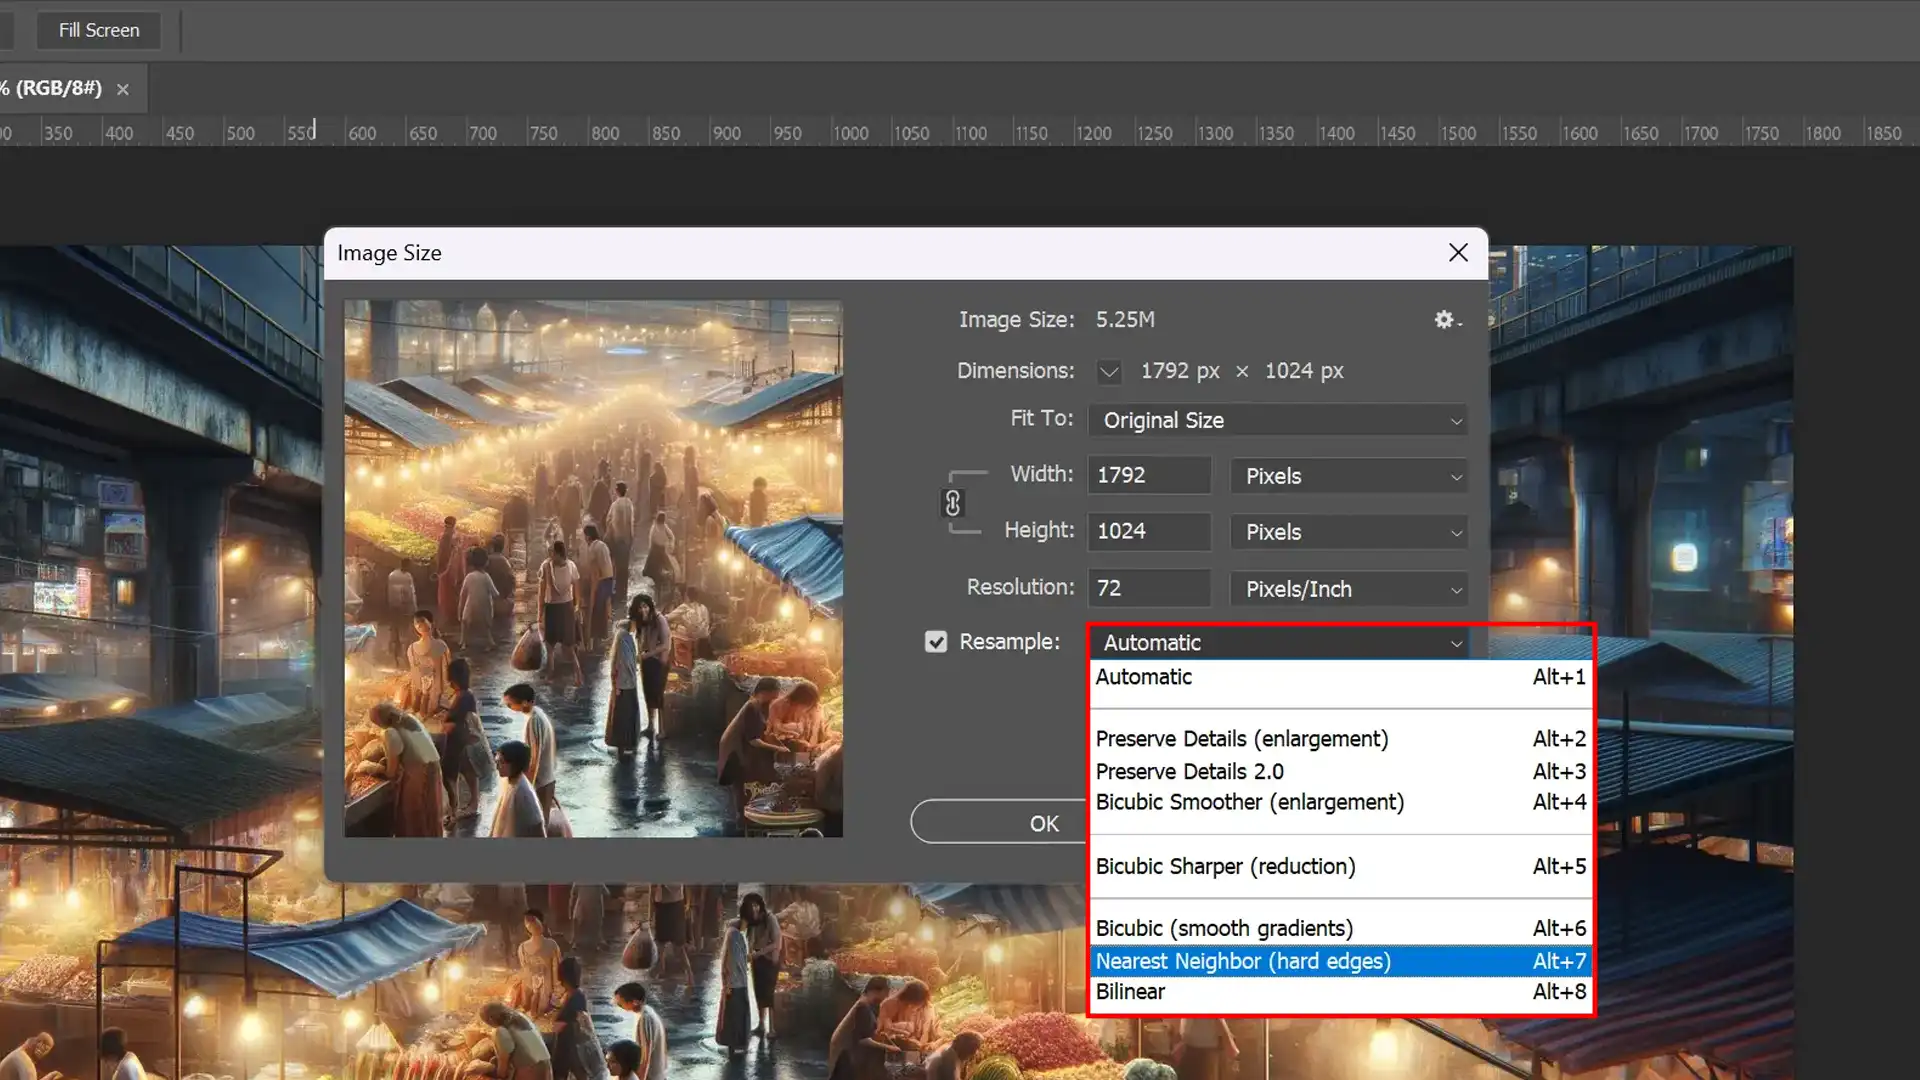
Choosing the Right Resampling Method
The “Image Size dialog box” has an option called “Resample.” Clicking this box allows you to choose how Photoshop adjusts the pixels in the image when resizing.
For increasing resolution without losing the quality of the image, “bicubic sharper” is perfect; if decreasing size, “bicubic smoother” ensures minimal loss of detail.
Method
Best Use
Bicubic Smoother
Reducing size for smoother details
Bicubic Sharper
Increasing resolution sharply
Adjusting Image Dimensions and Resolution
This step involves tweaking both pixel dimensions and changing only resolution if maintaining the original print or screen size is necessary (using “only resolution”).
Do not exceed changes that affect intended use, like drastically altering the document or file size, which might impact load time or print output.
Change Pixel Dimensions: Modify width and height as desired.
Adjust the Number of Pixels Per Inch: Set a new PPI if changing print size.
Applying Changes and Saving
After setting all parameters, such as pixel dimensions, and choosing a resampling method, click ‘OK’ to apply changes.
Observe alterations in real time due to modifications made through multiple manipulations.
Lastly, save your resampled image using ‘File > Save As’ to avoid overwriting the original data.
Choose the appropriate format, such as RAW or JPEG for web or TIFF for printing, to preserve the optimal quality of the image upon completion of resizing.
By carefully following these steps and understanding options like “resample Photoshop definition,” anyone can achieve professional results, whether adjusting images for web development or high-quality prints.
Selecting the Right Resample Method for Optimal Results
In Photoshop’s image size dialog box, choosing the appropriate resample image option can significantly impact the outcome of your image resizing process.
Within the image size dialog box, this choice directly affects the document size and how well the method maintains the image details, ensuring that your resized image remains sharp and clear.
For the best results, select a resample image option based on your specific image based needs to preserve the quality of your final output, and always review settings in the image size dialog box to fine-tune your adjustments.
Fine-Tuning Image Size and Document Size Through Resample Image Options
Achieving optimal image quality involves carefully adjusting the image size and selecting the right resample image options to match your intended document size.
Each change in image size impacts the document size, so understanding how the resample image settings affect these dimensions is important.
When modifying the image size, the chosen resample image method should be aligned with the desired document size to maintain image integrity.
Regularly reassessing both the image size and document size through the resample image process ensures that all adjustments are harmonized, preserving the quality of your final output.
Common Mistakes to Avoid When Resampling Images
Resampling is important for adjusting the image size or pixel dimensions in Photoshop. If not handled with care, it can often go awry.
This section highlights common pitfalls and how to sidestep them for optimal results.
Ignoring Aspect Ratio
One frequent error in resizing the images involves neglecting the aspect ratio, which can lead to distorted visuals.
Ensure the ‘Constrain Proportions‘ option in the image size dialog box is checked to maintain the original aspect ratio.
Disregarding this can deform your subjects and objects, dramatically altering the intended presentation of your image.
Overusing Sharpen Filters
Sharpening an image after increasing its size to enhance clarity is tempting, but overdoing it can create unwanted noise and artificiality.
If you find yourself repeatedly enhancing sharpness, consider using more advanced techniques, such as those explained in our guide on smart objects in Photoshop, which offer non-destructive edits.
Choosing the Wrong Resample Method for Your Needs
Choosing an inappropriate resample image method impacts your final image’s quality and appropriateness. Understanding the resample Photoshop definition is important to selecting the right method for your project.
For graphics with sharp edges, such as text or logos, ‘Nearest Neighbor’ preserves hard lines better than other methods.
Conversely, ‘Bicubic Smoother’ is preferable for photographs as it enhances details subtly.
Matching the method to your needs is pivotal.
Details about each are available under various settings discussed in our comprehensive guide on types of filters in Photoshop, enhancing understanding beyond mere adjustments through simple dialog boxes.
These important tips should be acknowledged and integrated into your workflow when executing tasks such as resizing layers.
This will make you far more likely to achieve desired outcomes without compromising quality.
Frequently Asked Questions
What does resampling do in Photoshop?
Resampling in Photoshop changes the image’s pixel dimension, altering its size without changing its physical print dimensions.
This process can enhance the quality of the image for various purposes, ensuring the number of pixels per inch matches the intended use, web or print, without losing important image data.
What is the purpose of resampling an image?
Resampling changes the total number of pixels in the image, which are displayed as Width and Height in pixels in the Image Size dialog.
When you increase the number of pixels in this part of the dialog box (upsampling), the application adds data to the image.
What is the difference between resample and resize?
Resizing changes the document size of an image, altering its print size but not affecting the pixel dimensions or file size.
On the other hand, resampling alters the number of pixels and can change the file size and image quality, affecting either the pixel dimensions or only the resolution.
Which Photoshop resample is best?
For general resizing: Bicubic or Bicubic Automatic tend to offer a good balance between quality and speed.
When upscaling: Consider Preserve Details or Bicubic Smoother for retaining details.
For downscaling: Bicubic Sharper might help maintain sharpness.
Understanding the resample Photoshop definition can significantly enhance the quality of images for digital and print media.
For instance, I once had a project where I needed to enlarge a client’s photo for a large banner. When resized, the image initially lost clarity.
However, I achieved a sharp and detailed output that exceeded the client’s expectations by selecting the “Bicubic Smoother” resampling method and fine-tuning the pixel dimensions.
If you want to learn more about how to improve your Photoshop skills, check out our Photoshop Course. For even more photo-editing tips, our Lightroom Course is also available.
To get started with Photoshop or Lightroom, you can download Photoshop or Photoshop Lightroom to elevate your photo editing projects today.
If this article has helped you, then Like and Share it with your friends
$2,061.00Original price was: $2,061.00.$1,061.00Current price is: $1,061.00. 27584
Download Your Free Guide Now!
Discover the secrets of photography with our printable guide! Master essential techniques like aperture, shutter speed, and ISO to create stunning images. Get your free printable PDF now and start turning your snapshots into masterpieces!