Reflection in Photoshop: Enhance Your Images with Mirror Effects
Reflection in Photoshop: Enhance Your Images with Mirror Effects
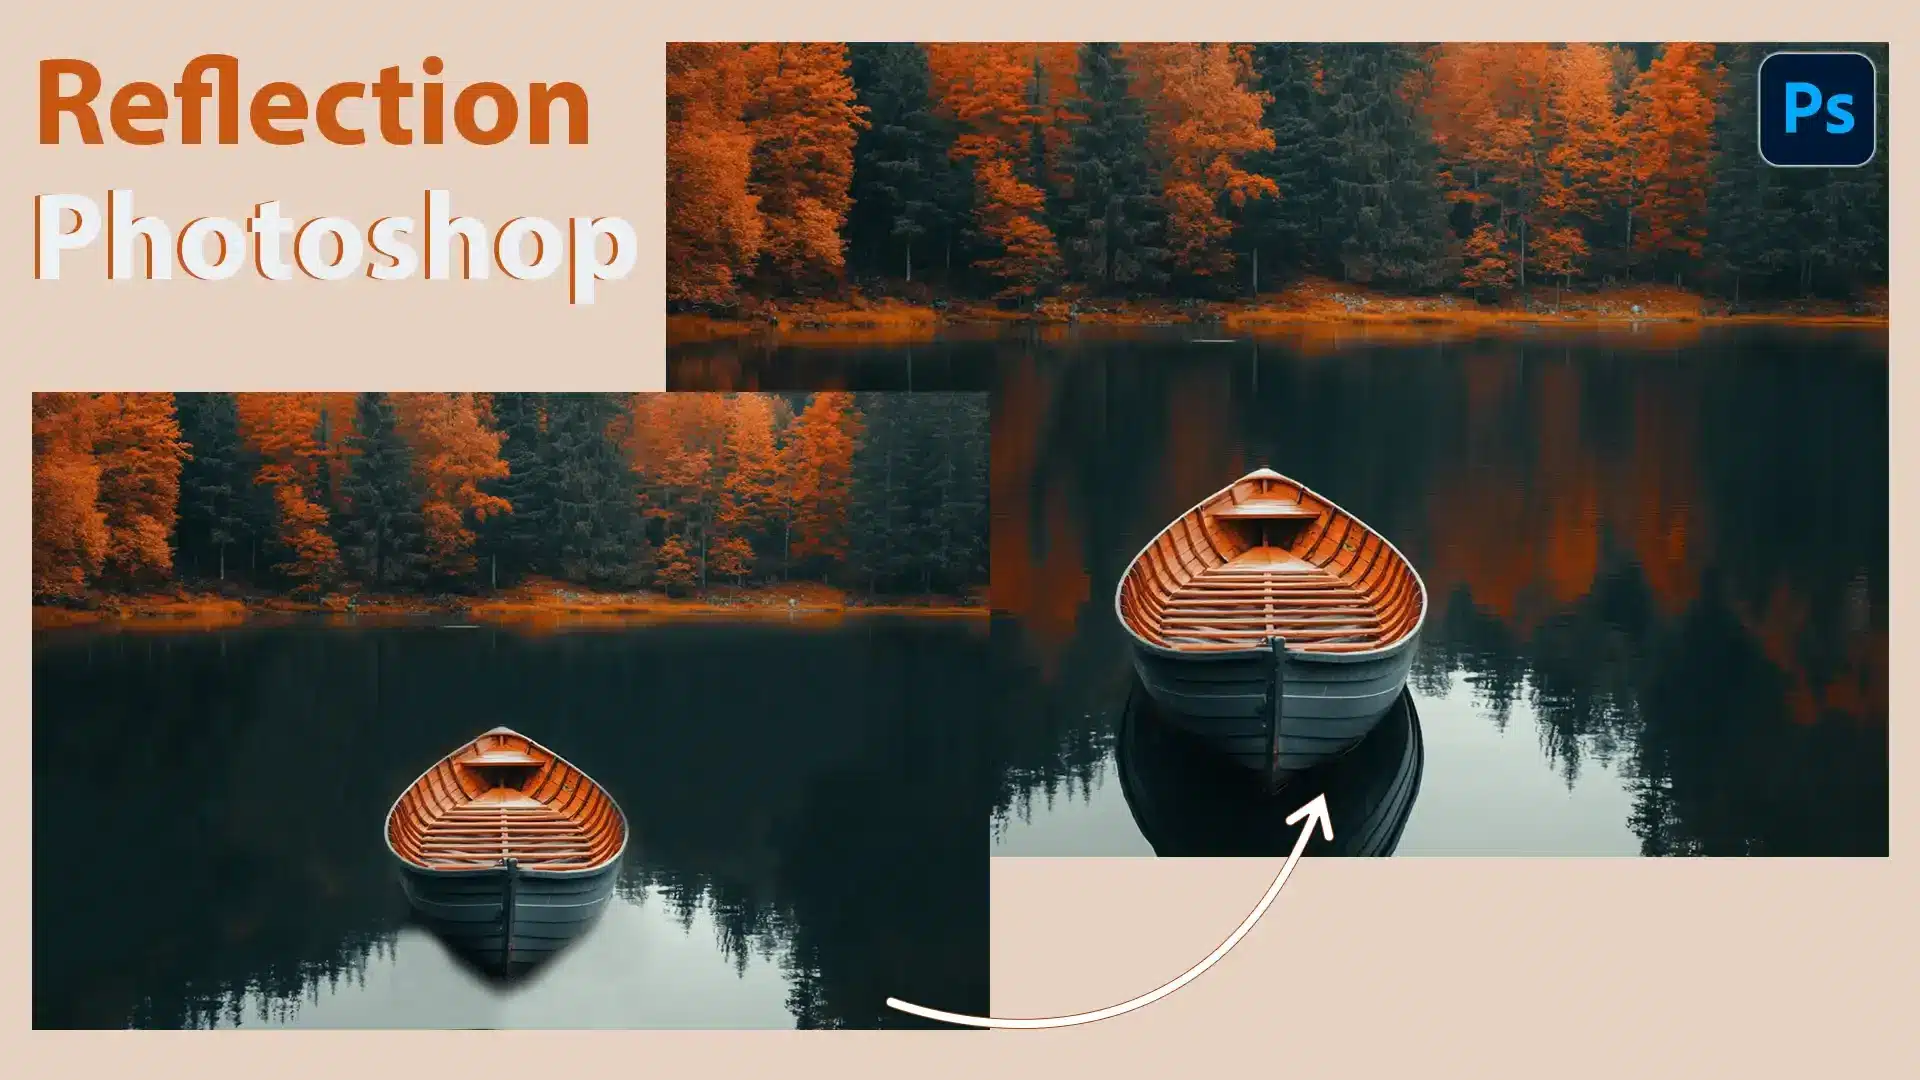
Reflection Photoshop techniques can dramatically enhance your images, adding depth and intrigue that captivate viewers. Have you ever wondered how professionals create those stunning mirror-like effects that make photos stand out?
Many photographers and designers strive to master this skill, and I’m here to guide you through it in this tutorial. Imagine your images with perfect reflections, elevating your creative projects and catching the eye of your audience.
By the end of this article, you’ll not only understand the magic behind reflection Photoshop techniques but also feel confident in applying them to your own work. Let me take you on this creative journey, simplifying complex processes into easy, actionable steps.
Table of Contents
Understanding Reflection Photoshop
Photoshop reflection can significantly enhance your image, adding depth and interest. In this tutorial, we will explore this technique and provide an example of how a reflection can enhance the visual storytelling of your photo.
Why Use Reflection Photoshop in Your Photos?
Reflections can transform your photos into something more engaging. They establish depth, add interest, and often convey a sense of realism.
Discovering how to use a reflection Photoshop can level up your photography skills. You might be surprised at how a simple reflection can change the story an image tells.
To create a stunning reflection in your image, follow these straightforward steps:
Create a Reflection Layer
Start with a duplicate of your image. This duplicate is your “reflection layer.” With the layers panel open, locate your new layer. Then, activate the free transform tool by pressing Ctrl + T.
Vertical Flip
Initiate a vertical flip. This step gives you the flipped layer needed for reflection effects. Picture water surfaces, glassy lakes, or polished floors where your original image casts its reflection.
Remember to use the shift key to ensure precision while flipping. It keeps your flipped layer aligned perfectly.
Blend with Gradient Tool
To blend your reflection smoothly, employ a gradient tool. Pick the gradient tool from your toolbar. Drag across your image to gradually blur the hard edges, simulating a perfect reflection.
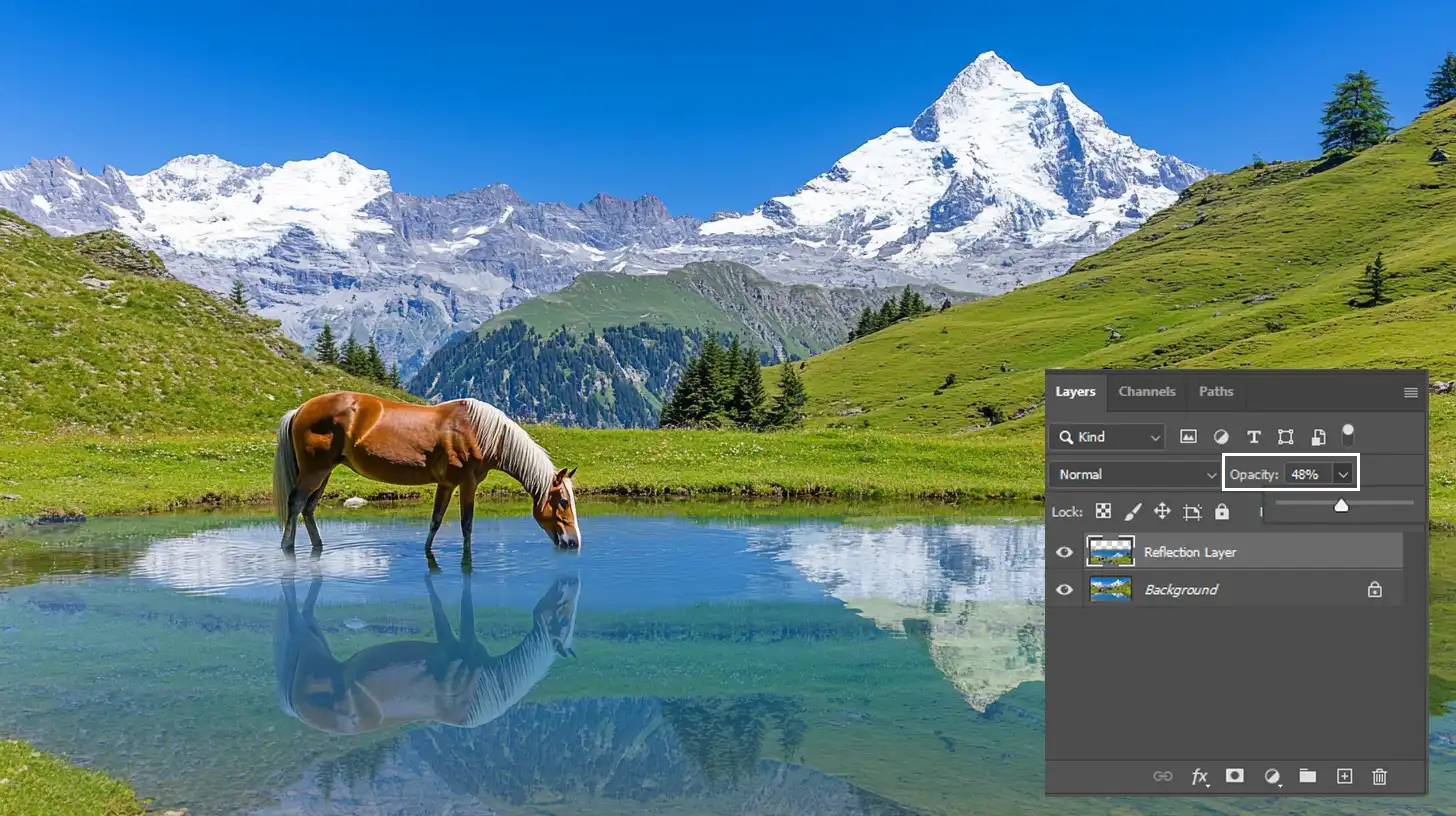
Adjust Opacity
Take charge of the opacity slider and adjust the reflection layer’s transparency. Less creates a more subtle, mystical reflection. More, on the other hand, makes the reflection bolder and clearer. Play around until you find the right balance that suits your image’s story.
Refine with Layer Mask
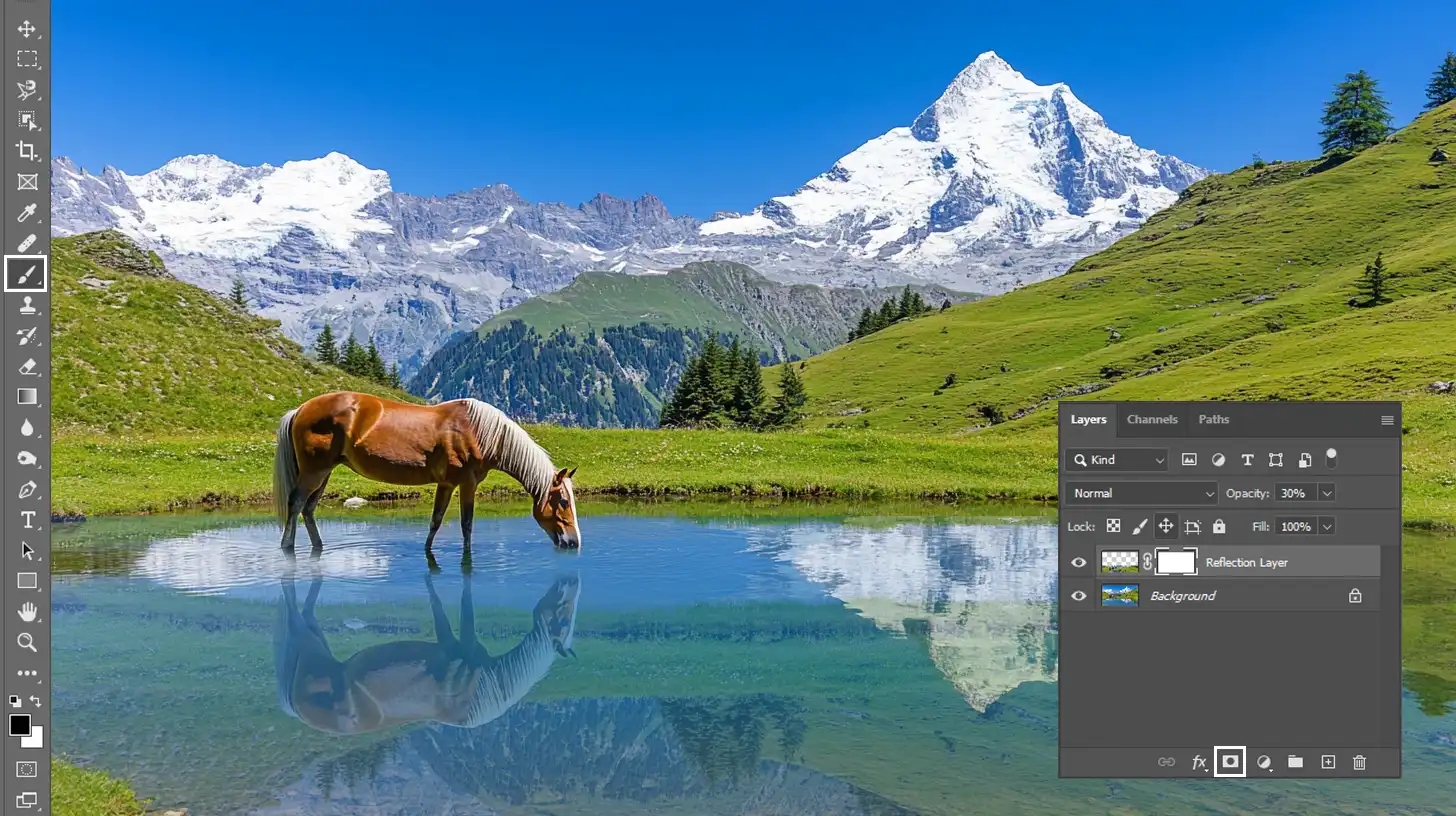
Sometimes, it takes more than flipping and blending to get the reflection you desire. Add a layer mask to your mirror layer to refine details such as edges.
The white masking layer thumbnail appears in the layers panel once activated. Use a brush tool to paint black over the parts you want to hide.
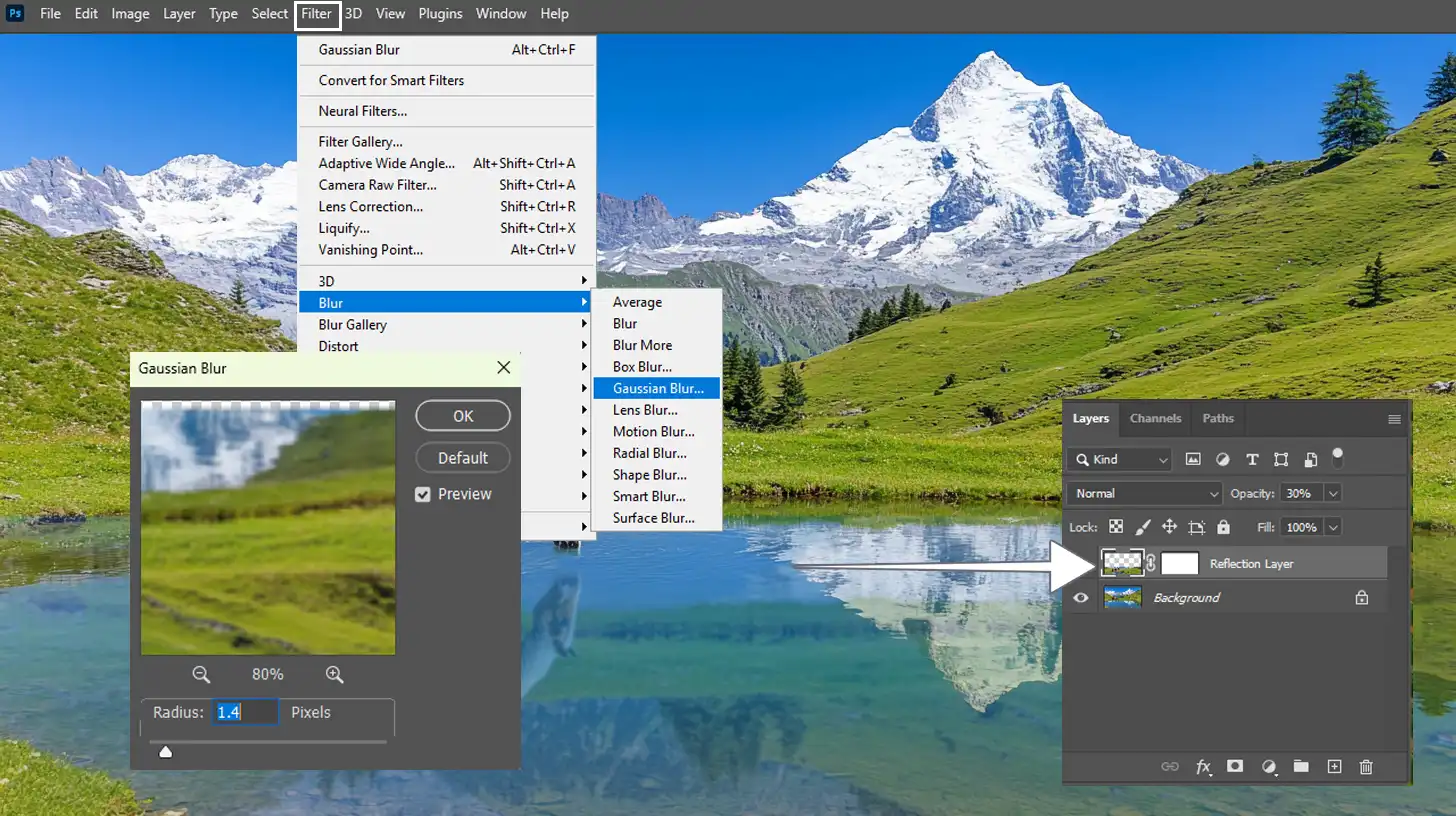
Add Blur for Realism
For a realistic reflection, add a touch of blur. Focus especially on distortion. It mimics how reflections aren’t always clear due to surface imperfections or environmental factors.
Pro Tip: Use multiple layers when creating complex reflections. It gives you better control over each element and can lead to more intricate and lifelike final images.
Setting Up Your Layers Panel
The layers panel in Photoshop is an important tool for anyone venturing into the realm of digital photography, especially when working on projects involving reflection Photoshop techniques.
Understanding it through this tutorial allows you to work efficiently and creatively. Don’t be intimidated!
Navigating the Layers Panel
When you first open your layers panel, it may appear overwhelming, but let’s simplify it:
Each layer represents a distinct element or effect within your composition. Imagine it as stacking various sheets, where each sheet contains its own piece of the puzzle.
To access different actions for an overlay, simply right-click on it. Basic operations include:
Selecting, hiding, and locking layers. Hiding an overlay helps concentrate on specific sections of your image.
Locking ensures it remains protected from accidental edits.
To add a new layer, click on the "new layer" icon. Simple as that.
When you want to rearrange, just drag and drop to change the order.
Organizing Layers for Better Workflow
A cluttered panel can hinder workflow. Here’s how to keep it organized:
Label every overlay appropriately. Naming them 'Layer 1', 'Layer 2'...will have your future self regretting it!
Group related layers. If you're working on a multi-layered project, like using the content-aware fill in Photoshop, drag related elements into a single group. This keeps your panel tidy and minimizes misclick errors.
Incorporate masks to streamline your edits. A layer mask offers non-destructive editing. Think of it as a flexible eraser. You decide, with precision, which parts of a layer remain visible.
Use the gradient tool to achieve smooth transitions. It’s like magic: blend with the gradient for natural, fluid transitions.
Pro Tip: Add a slight blur to reflections using the blur tool! It gives reflections that give a natural look, as if viewing a pond or river. Reflections too crisp might appear a bit unnatural!
Remember these tips as you work on organizing your layers and background in Photoshop.
Creating a Reflection with Layer Mask
Adding a reflection can enhance your designs, creating a sense of depth and realism, particularly through Photoshop reflection techniques. We’ll explore how to effectively use masking layers to achieve stunning reflections in your artwork.
Using the Masking Layer Effectively
First up, load your chosen image. You’ve picked one, right? Now, create a “new layer“. Think of this as your canvas for the reflection. Make sure your image is looking its best and that your background is simple. Now, select the “layer mask” option.
When using the mask, remember it’s like a highly effective eraser. This effect allows tweaking without causing permanent damage. How? It simply lets you hide parts of a layer.
Adjusting the White Layer Mask Thumbnail
Notice that tiny white thumbnail appearing next to your “new layer“? That’s your masking layer in action. Here comes the fun part: the gradient tool. This helps blend the reflection smoothly into the existing image. Click on your thumbnail to adjust it.
Using the blob-like brush, you dictate how much or little of your image reflects. Just make sure you paint with black to keep it subtle.
Would you like a visual example? Picture water ripples. You don’t want stark lines; you want gentle transitions beneath your main image. Use darker shades of gray for a stronger reflection. Keep it light.
Pro Tip: When crafting a reflection in Photoshop, don’t forget to occasionally adjust the screen’s brightness.
By doing so, you’ll catch any odd shadows or harsh lines you might’ve missed. And remember these Photoshop mirror layer tips to enhance your reflection effects.
Remember to “save” your creative masterpiece. Wouldn’t want all that brushing and gradient-fiddling to vanish into thin air now, would we?
For those interested in expanding their editing skills, consider exploring the difference between Photoshop and Lightroom to understand which tool suits your needs best.
Additionally, mastering Photoshop shortcuts can significantly speed up your workflow and enhance your editing efficiency.
Fine-Tuning with the Opacity Slider
This powerful tool allows you to adjust the transparency of layers in your design, which is especially useful when working with reflection Photoshop techniques.
This section will guide you through the process of using it effectively to achieve the perfect balance in your projects.
The following table outlines important elements and their significance in achieving perfect reflections and enhancing your overall work in Photoshop.
Aspect
Overview
Using the Opacity Slider
Learn how to adjust layer transparency to achieve the desired visual impact in your designs.
Finding the Right Balance
Discover the sweet spot for reflection transparency to make your image look realistic and engaging.
Steps to Adjust Opacity
Follow the steps to easily use the opacity slider for effective adjustments in Photoshop.
Pro Tips for Reflection
Utilize multiple layers and master gradient techniques to enhance your reflections and overall edits.
Mastering the Opacity Slider
Understanding how to manipulate the opacity slider can greatly enhance your design work. In this section, we’ll outline the steps to effectively adjust layer transparency and achieve the desired visual impact.
Steps to Use the Opacity Slider
Adjust the layer transparency using the opacity slider. Follow these steps to see the effect.
Open your image in Photoshop.
Locate the slider in the layers panel on the right.
Just give it a little drag, and you'll see how things change. Need more transparency? Slide it left. Want things more solid? Slide it right.
Achieving the Perfect Reflection Transparency
Now, achieving that perfect reflection means finding the sweet spot with transparency. You don’t want your reflection to be too bold or too faint, right?
Let’s say you’re putting an object on a water background. You want it to look like it’s both there and not there.
Pro Tip: Start around 50% opacity and adjust as you need. Then, paste your reflected image below the object layer and then work your magic with the opacity slider. After you’re satisfied, save your settings so you can easily paste them onto similar projects.
Always check your work on a larger screen before calling it done. Sometimes, what looks good on a small screen might surprise you when projected.
Last Steps and Exporting
As we wrap up this tutorial on creating a reflection in Photoshop, it’s time to focus on the final detail. This section will highlight a technique to enhance your reflection, along with an example to ensure your image is polished and ready for export.
Adding Final Details
Alright, let’s dive into the finishing details for your masterpiece! It’s like the last dab of paint on a canvas. You need this part to make your creation pop.
In reflection Photoshop, ensure symmetry by polishing any uneven edges, maybe throwing in a shadow for depth. You might also want to explore the patch tool in Photoshop to seamlessly blend areas.
Adjust the contrast subtly to make the subject stand out against the background. Consider using smart filters in Photoshop for non-destructive edits.
Always take a step back (or zoom out) and look at your work from a distance to catch things that are not so obvious up close.
Consider using guidelines as a reference to maintain balance and proportion.
Exporting Your Image with Reflections
Now that you’re happy with the details, it’s time to save your hard work.
Open the 'File' menu, point to 'Export', and choose your desired format.
Remember, each format serves a different purpose:
JPEG is great for sharing online.
PNG is ideal for images with transparency.
TIFF is best for high quality if your computer can handle it.
Make sure your image has the appropriate dimensions for its display location, whether it’s on a website or social media.
Additionally, saving in multiple formats is a wise decision.
Pro Tip: Always keep a copy of your original work. You never know when you’ll need to go back to it. For further refinement, consider how to sharpen photos in Lightroom, as it can significantly enhance the clarity of your images.
Using “reflection Photoshop” has truly transformed my creative process. Whether I’m editing landscapes or portraits, the ability to manipulate reflections adds depth and realism to my work.
The tools in Photoshop allowed me to experiment and push my boundariesin photography, leading to more captivating images. This tutorial has provided valuable insights into creating stunning reflections that can elevate your projects.
If you’re eager to take your photography skills to the next level, I encourage you to check out my Photoshop Course and Lightroom course. They provided clear, step-by-step guidance that helped me refine my techniques and deepen my understanding of digital editing.
Don’t forget to explore Adobe’s tools as well. You can learn more about Adobe Photoshop and Adobe Photoshop Lightroom for even more resources. Remember, the journey of learning never stops, and every moment spent honing your skills is worthwhile.
If this article has helped you, then Like and Share it with your friends
$2,061.00Original price was: $2,061.00.$1,061.00Current price is: $1,061.00. 27583
Download Your Free Guide Now!
Discover the secrets of photography with our printable guide! Master essential techniques like aperture, shutter speed, and ISO to create stunning images. Get your free printable PDF now and start turning your snapshots into masterpieces!