Photoshop Preferences: Customizing for Optimal Performance
Photoshop Preferences: Customizing for Optimal Performance
Unlocking the full potential of your creative projects starts with mastering Photoshop preferences.
Whether you’re a seasoned designer or just starting out, understanding how to optimize these settings can make a world of difference in your workflow.
Have you ever wondered why your tools don’t behave the way you expect or why your projects take longer to render?
Imagine the ease of navigating through your tasks seamlessly without the constant frustration of unexpected glitches.
In this article, I’ll guide you through the significant Photoshop preferences that can elevate your efficiency and creativity. Stay with me, and let’s make Photoshop work for you, not the other way around.
Table of Contents
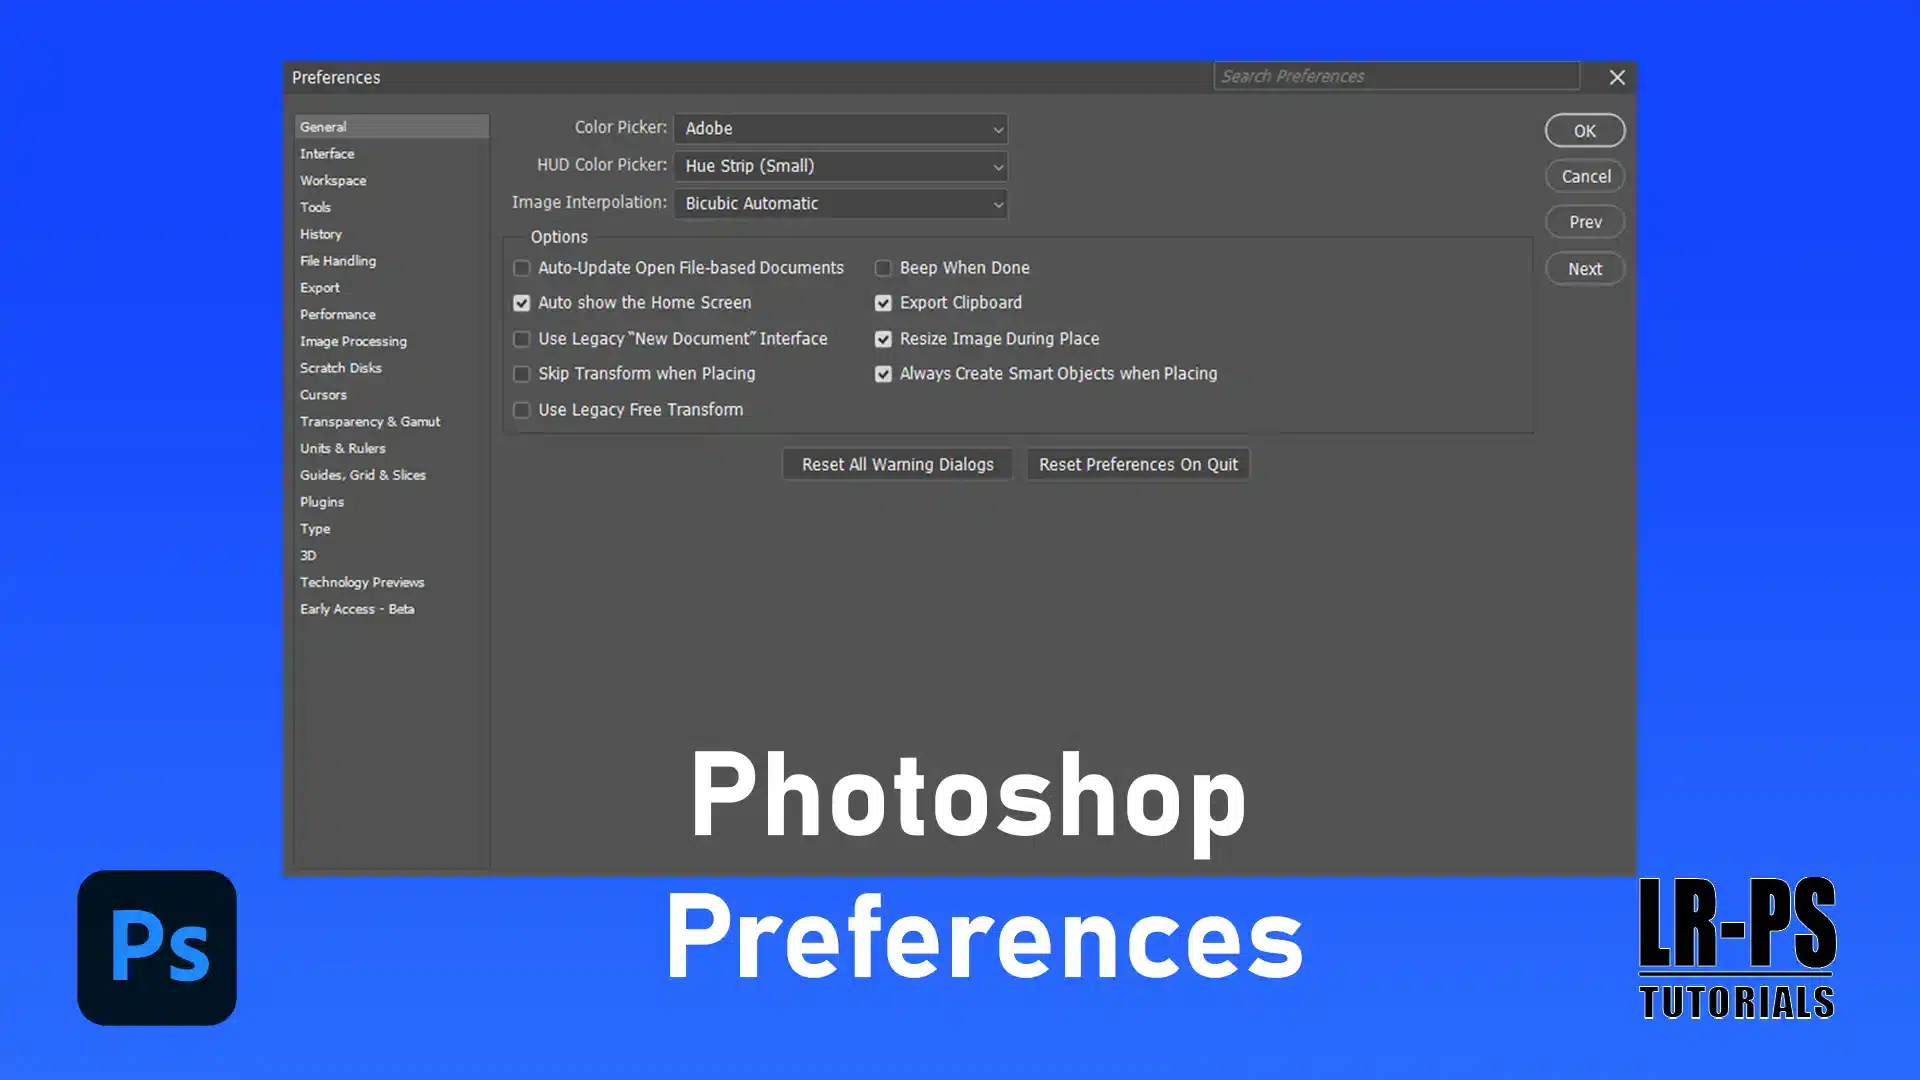
Accessing the Photoshop Preferences Dialog Box
Here’s your step-by-step guide to mastering the Preferences Dialog Box in Photoshop. This knowledge is important for tailoring your workflow, ensuring you work smoothly and efficiently.
Make sure that you have the right image resolution before you start editing it through the preferences dialog box.
Now, let’s dive in.
Opening the Preferences Dialog Box
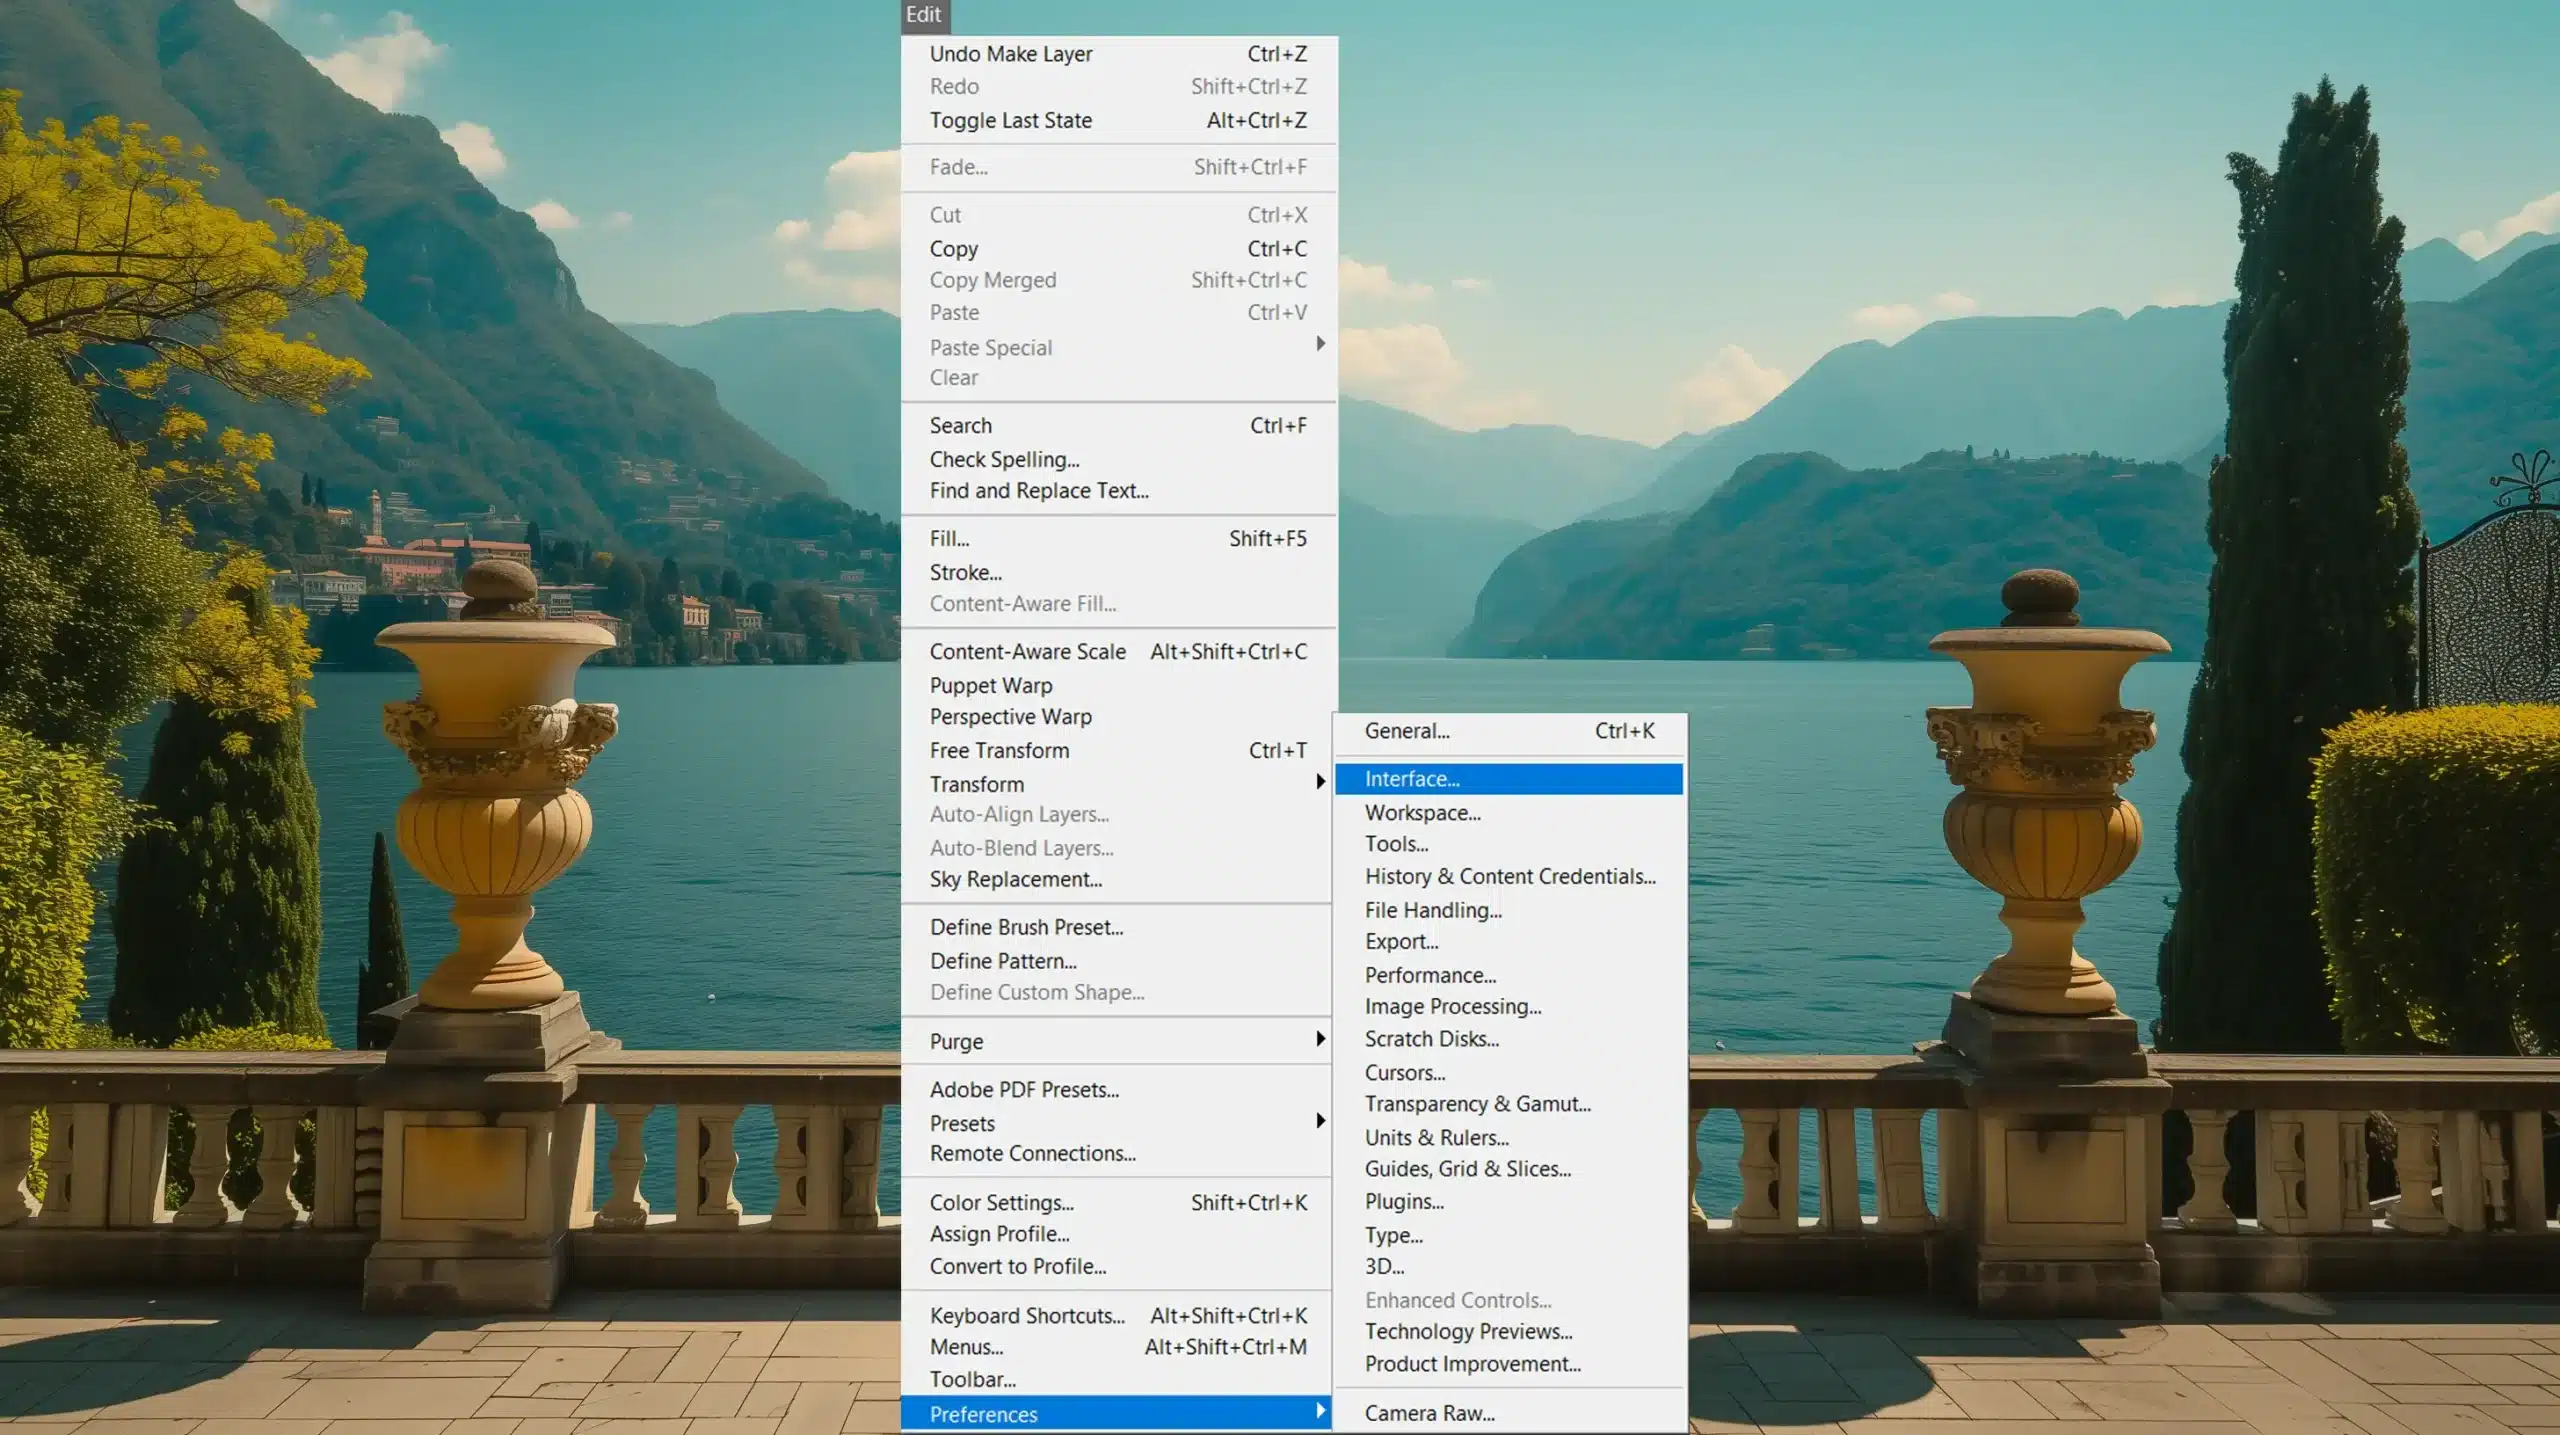
To start, you need to open Photoshop. Once open, follow these steps:
Go to the Edit menu on the menu bar (Windows) or Photoshop menu (Mac).
Select Preferences at the bottom of the dropdown list.
Choose the specific preference category you want to adjust.
You now access the Preferences Dialog Box. These steps might differ slightly based on the entire Adobe Photoshop version settings you’re using but generally, it’s straightforward.
Navigating the Photoshop Preferences Dialog Box
Inside the Preferences Dialog Box, you’ll find various sections:
General - General settings, including interface and performance preference.
File Handling - Modify files handling preferences and the saving behavior.
Interface - Customize how Photoshop looks and behaves.
Cursors - Personalize your cursors, including the brush tool cursor.
Transparency & Gamut - Adjust transparency and gamut settings.
Units & Rulers - Set measurement units and rulers.
Guides, Grid & Slices - Customize guides, grids, and slices.
Plug-Ins & Scratch Disk - Manage plug-ins and scratch disks.
Understanding these areas helps in optimizing your software according to your needs. Much like organizing a workspace, fine-tuning settings can boost productivity.
Pro Tip: Always restart Photoshop after changing important settings in the Preferences Dialog Box.
For those diving into the world of Photoshop preferences, altering default settings can enhance your workflow. I’ll guide you through the categories one by one.
General Preferences
When you open Photoshop, the first step is to access Photoshop preferences. Navigate to the menu bar, then select ‘Preferences’ from the drop-down menu.
Inside, the general preferences section affects various features like the interface behavior and tool settings.
First, adjust the 'History Log' if you want to keep track of your progress.
Modify the 'Export Clipboard' to improve performance if necessary.
Manage file handling options that dictate how files save and load by default.
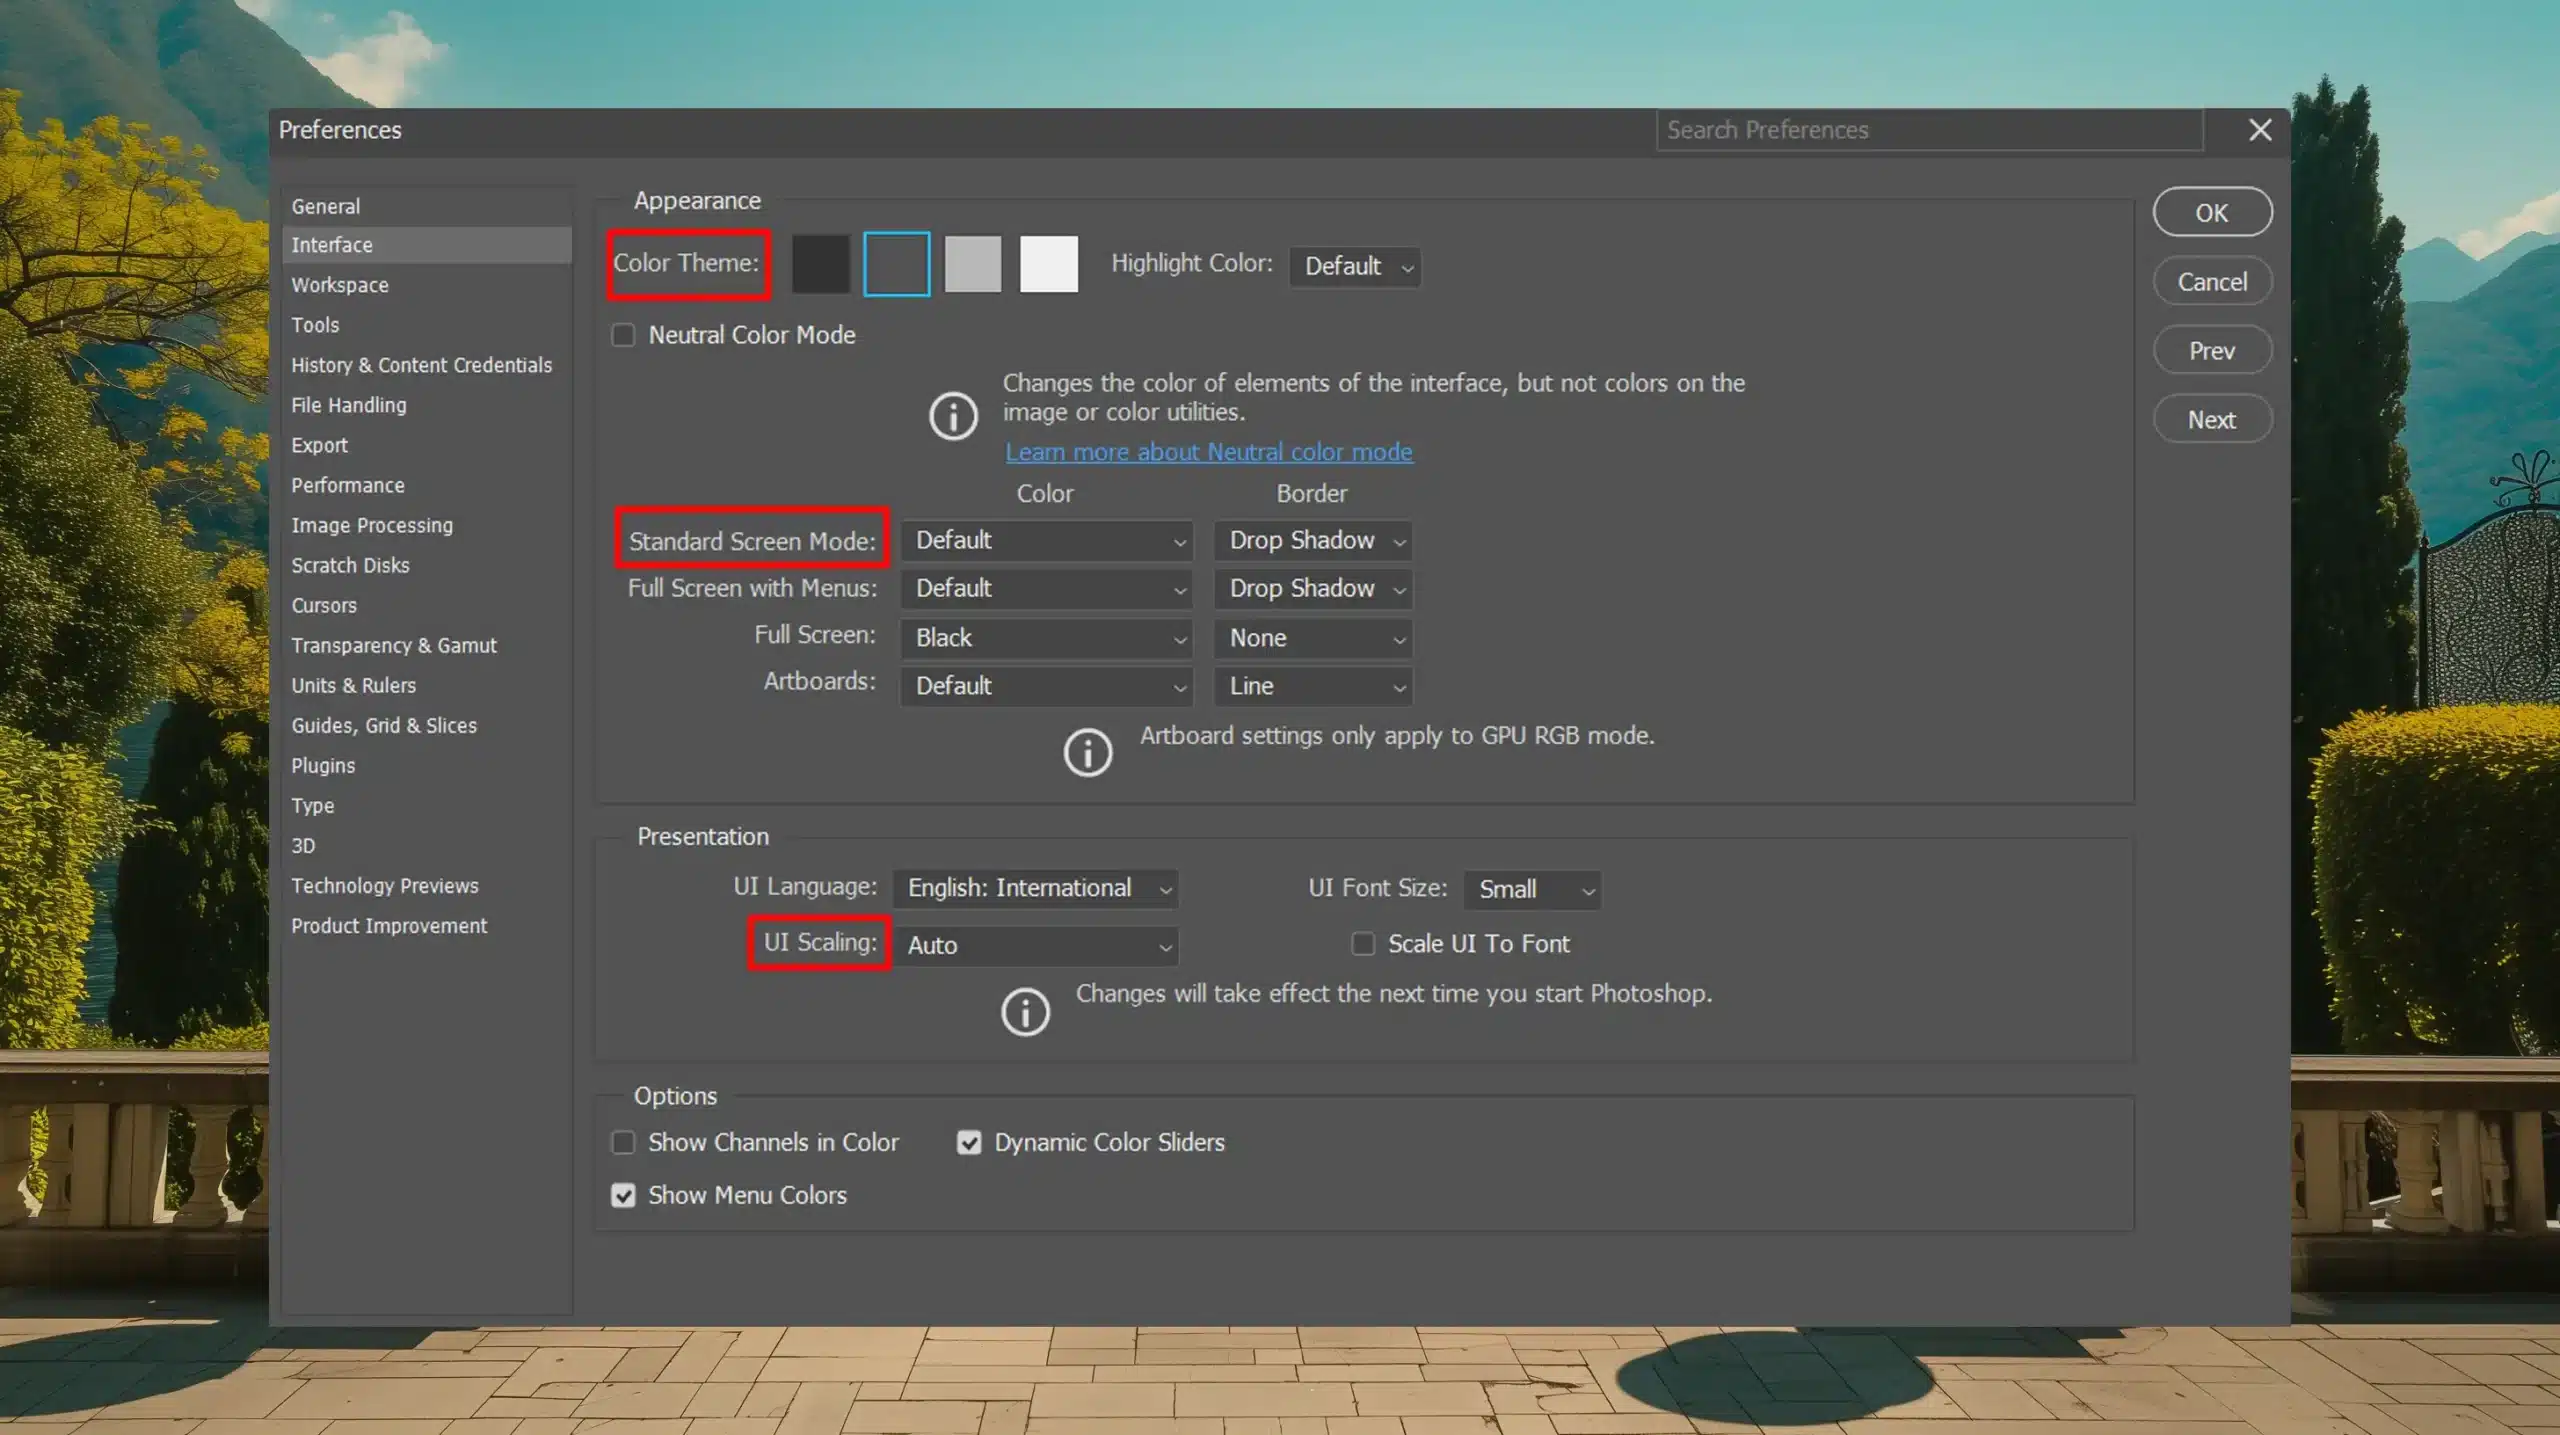
Interface Photoshop Preferences
Here, you customize the look and feel of Photoshop itself. Make sure your user experience is as comfortable as possible. For older users, a simple visual setup might be best.
Interface Color: Adjust the theme from dark to light for better visibility.
Screen Mode: Set the workspace to standard or full-screen mode.
UI Scaling: Change the scale to accommodate your screen size and resolution.
Performance Preferences
Configuring these settings ensures Photoshop utilizes your computer’s memory efficiently. You want smooth functioning without slowdowns.
Important Performance Settings:
Memory Utilization: Allocate more or less memory to Photoshop based on your computer’s capacity.
Scratch Disk: Choose the fastest available disk to store your temporary project files.
Graphics Processor: Enable this option to use hardware acceleration for better performance.
File Handling Preferences
Tailor how Photoshop deals with files for smoother operations. Set parameters that influence how your work is saved and accessed.
Saving: Turn on “Automatically Save Recovery Information” to avoid losing unsaved work during unexpected shutdowns.
Opening: Direct Photoshop to prefer certain file formats when opening a new project.
Exporting: Configure the export settings to maintain high-quality output.
Pro Tip: Always remember to regularly save your preference settings. It ensures that when you quit Photoshop and restart it, your customized settings remain intact. Make sure to understand how the autosave feature works to make your workflow easier.
Regular backups of the preferences file can save you from unforeseen issues.
Keeping an updated preferences file ensures that you can quickly restore your settings if problems arise.
Always maintain a backup of your preferences file to avoid losing your customized configurations. Also, knowing how to zoom in on your project can help you check details and ensure everything is as you prefer.
Moreover, customizing default settings for Photoshop preferences and knowing how to install Lightroom presets can further enhance your editing workflow and results
Additionally, knowing how to use essential tools in Photoshop, such as the content-aware fill and patch tool, along with Lightroom shortcuts, can significantly streamline your editing process.
How to Reset Photoshop Preferences
Resetting preferences in Adobe Photoshop can solve many issues. Whether tools are behaving oddly or the interface looks different, resetting may help. So, how do you do this right?
When to Reset Preferences
Reset preferences when changes you don’t remember making disrupt your workflow. If tools start acting funny or default settings aren’t working like they used to, it’s time for a reset. This ensures a fresh start, wiping away any unnoticed adjustments.
Steps to Reset Preferences
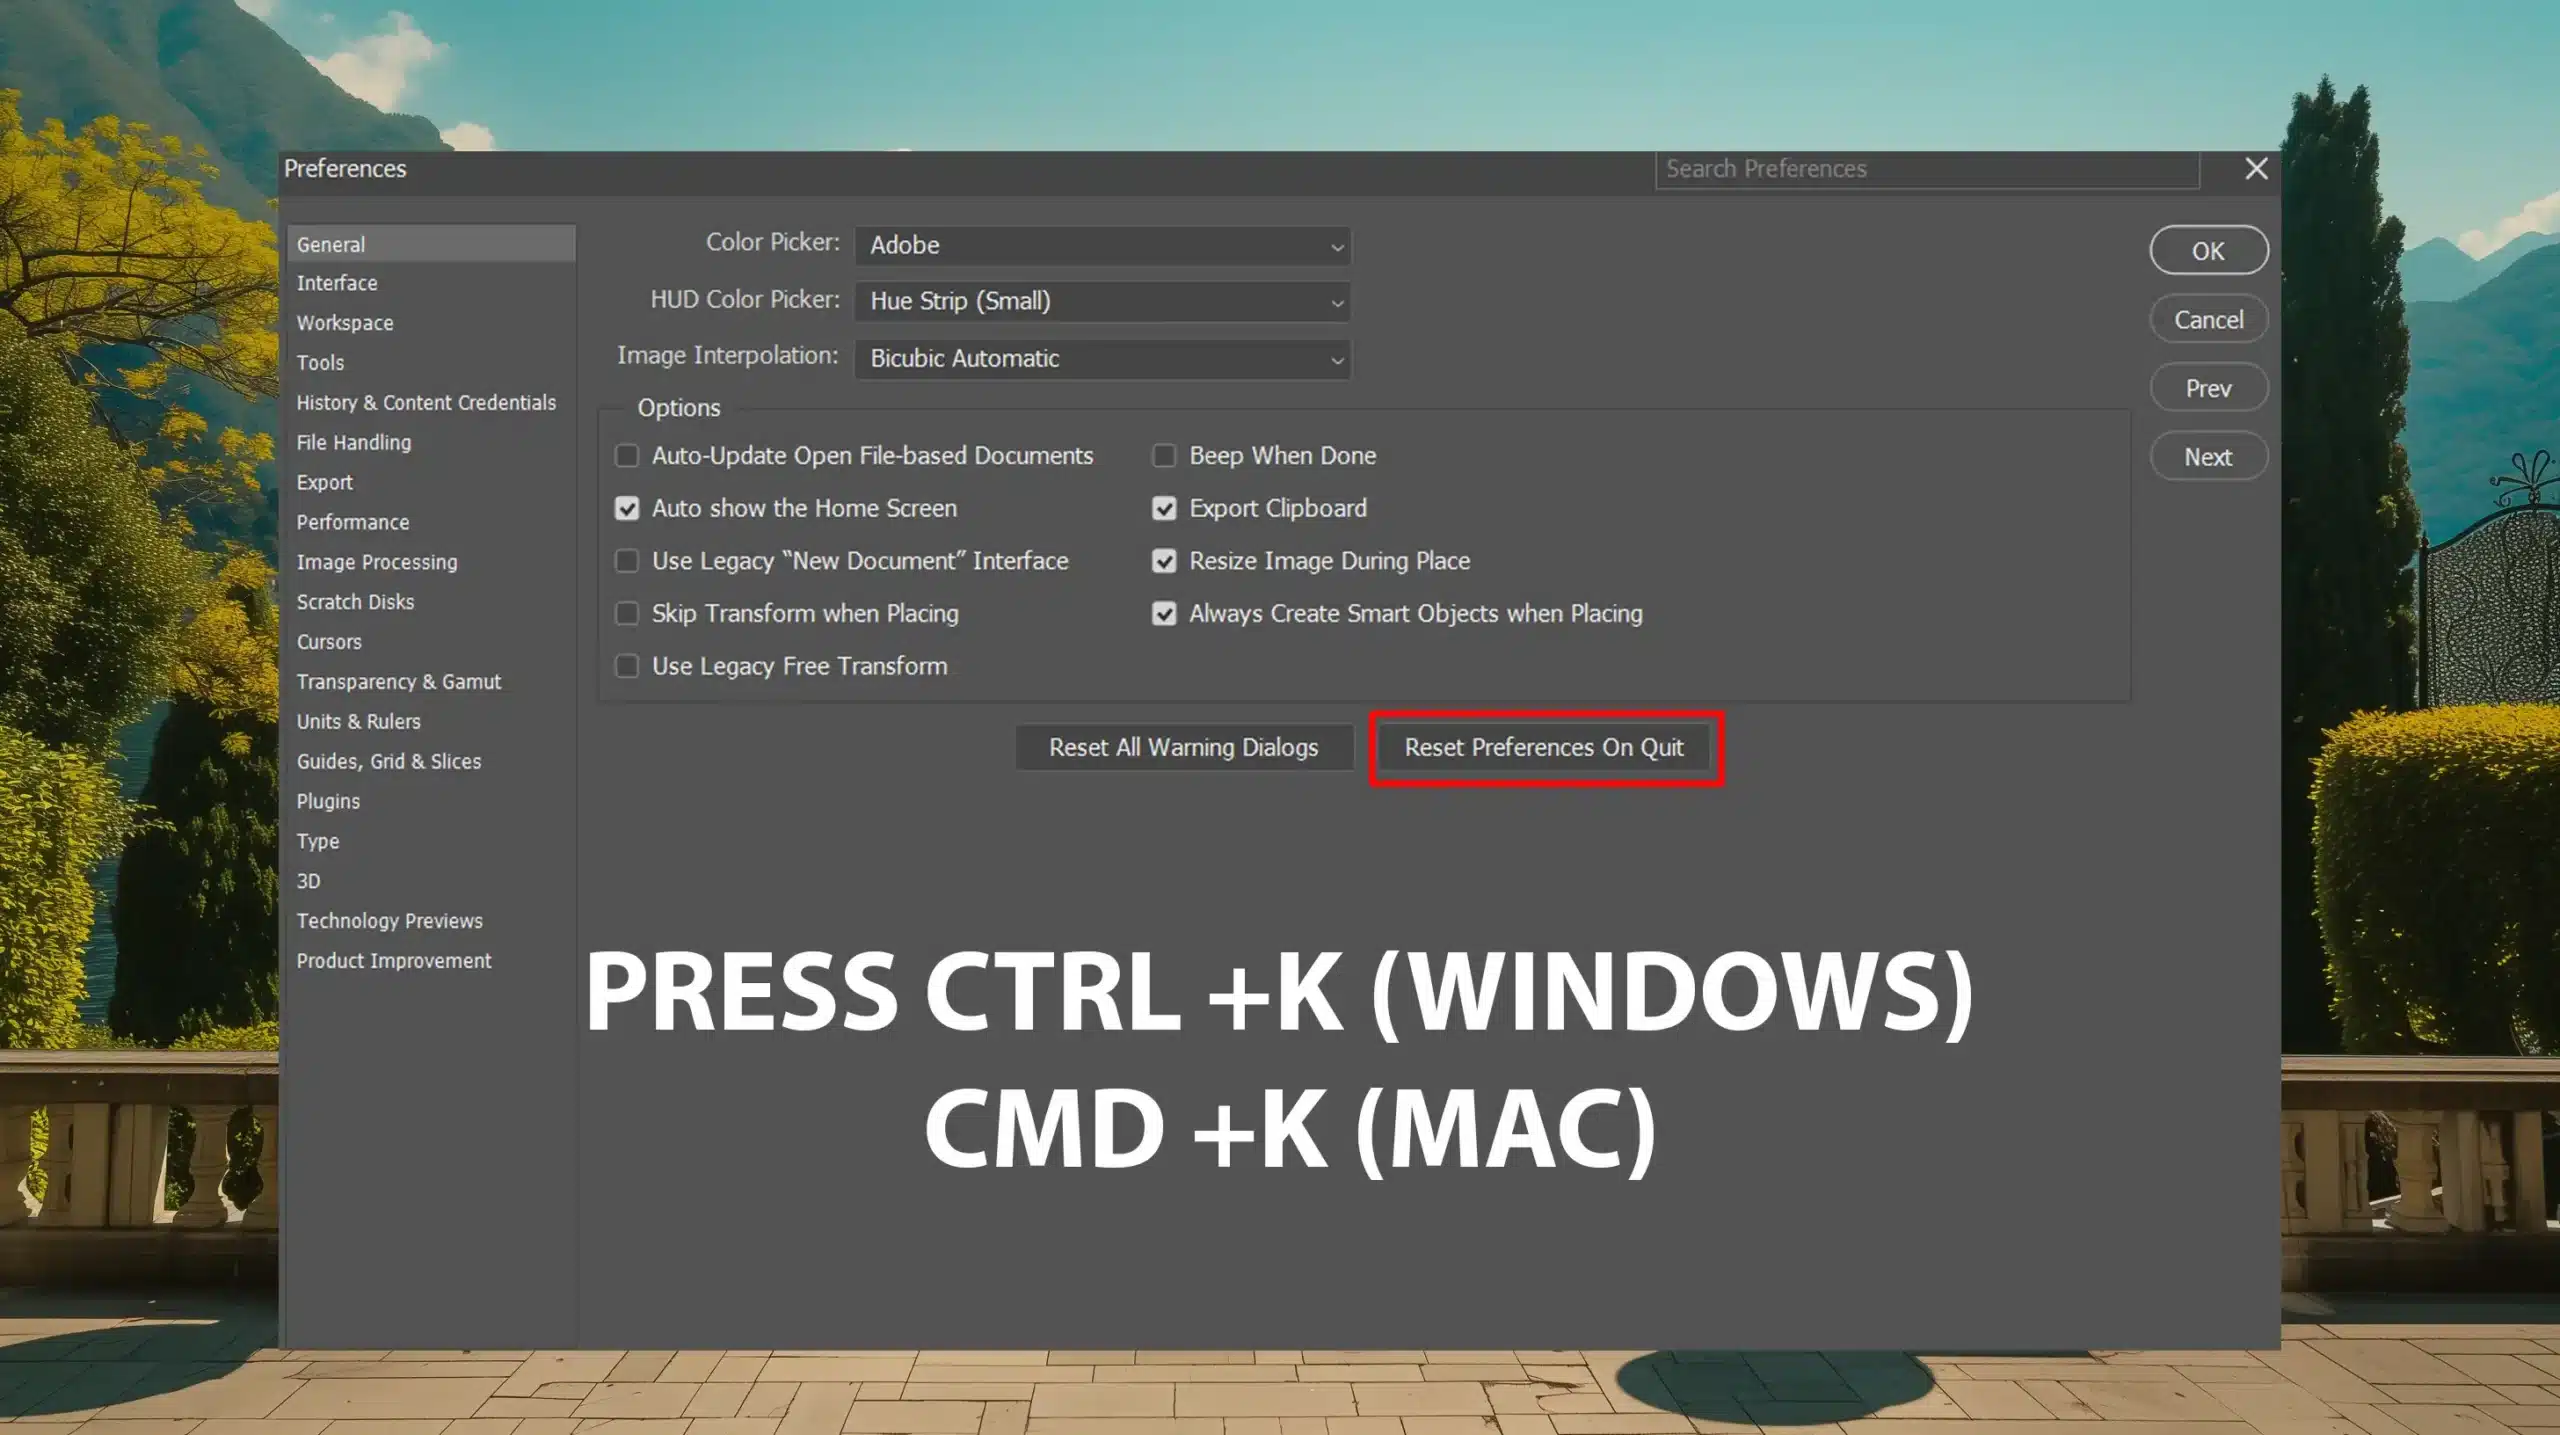
To reset preferences:
Press Ctrl + K (PC) or CMD + K (Mac)
Click on "Reset Preferences on Quit" in the "General" tab and press OK to confirm
Press OK to close the Preferences window
Then, Restart Photoshop
This action resets everything to its default settings. It’s like starting with a clean slate.
Troubleshooting Photoshop Preferences After Reset
Sometimes, issues persist even after you reset your preferences. Start by checking the preferences window. Verify the changes to ensure they are applied.
If problems continue, you might need to check your Photoshop preferences folder for corrupted files. Within the Photoshop preferences folder, look for any files that might be causing issues and back up your existing preferences file.
If necessary, replace corrupted files with fresh copies from a new installation. Ensuring that your Photoshop preferences folder contains only functional files can resolve persistent issues.
After replacing the files, restart Photoshop and verify that the preferences are correctly loaded. This helps maintain a stable environment and avoids recurring problems related to corrupted preferences.
When you reset preferences, it’s important to ensure the reset actually takes effect. Sometimes, resetting preferences might not solve the issue immediately, so you may need to reset preferences again to be sure.
If you find that the problem still exists, don’t hesitate to reset preferences one more time to ensure all settings are correctly restored.
Restart Photoshop to Apply the Changes
After resetting preferences, you always need to restart Photoshop.
How to Restart Photoshop
Quit Photoshop completely. Then, open Photoshop again to ensure all settings apply correctly. Without doing this, some changes might not take effect.
Verifying Changes After Restart
After restarting, double-check your settings. Look at the preferences file for verification. Confirm that your adjustments are set to your liking.
Make sure tools like Content-Aware Fill function correctly. This step guarantees that no significant settings remain altered.
It’s important to review the preferences file again to ensure all settings are properly configured, and nothing was missed.
Pro Tip: Regularly backup your preferences file to avoid repeating manual adjustments. Use this habit to save time and patience.
By keeping a backup of your preferences file, you can quickly restore settings if needed. By following these steps, you can ensure smoother, more efficient use of Adobe Photoshop.
Remember, don’t hesitate to reset preferences when needed, and always keep your preferences file backed up.
If issues arise, having a backup of your preferences file will make the troubleshooting process much easier. Additionally, updating Photoshop regularly can help prevent issues and ensure you have the latest features and fixes.
Advanced Tips for Managing Photoshop Preferences
Managing your Photoshop preferences ensures smoother and more personalized use. Here, we dive into important tips for effective management.
Here’s a comparison of fundamental tips for managing Photoshop preferences effectively. These tips will help you optimize your workflow and maintain a smooth editing process.
Aspect
Overview
Backing Up Your Preferences
Create backups of your preferences file to preserve custom settings like keyboard shortcuts and color settings. Copy the preferences file to a secure location before making significant changes or installing a new Adobe Photoshop version.
Restoring Preferences from Backup
If you experience problems or after a system reset, restore your backed-up preferences by copying the backup file back into the original settings folder and reopening Photoshop.
Optimizing Preferences for Performance
Enhance performance by adjusting settings such as Cache Levels, Memory Utilization, and Scratch Disk to ensure smoother photo editing processes.
Updating Your System and Software
Regularly update your operating system and Adobe Photoshop version to minimize compatibility issues and maximize performance.
Backing Up Your Preferences
Creating backups of your preferences file is straightforward. This action preserves your custom settings, such as a keyboard shortcut and color settings.
Launch Photoshop and go to the menu bar.
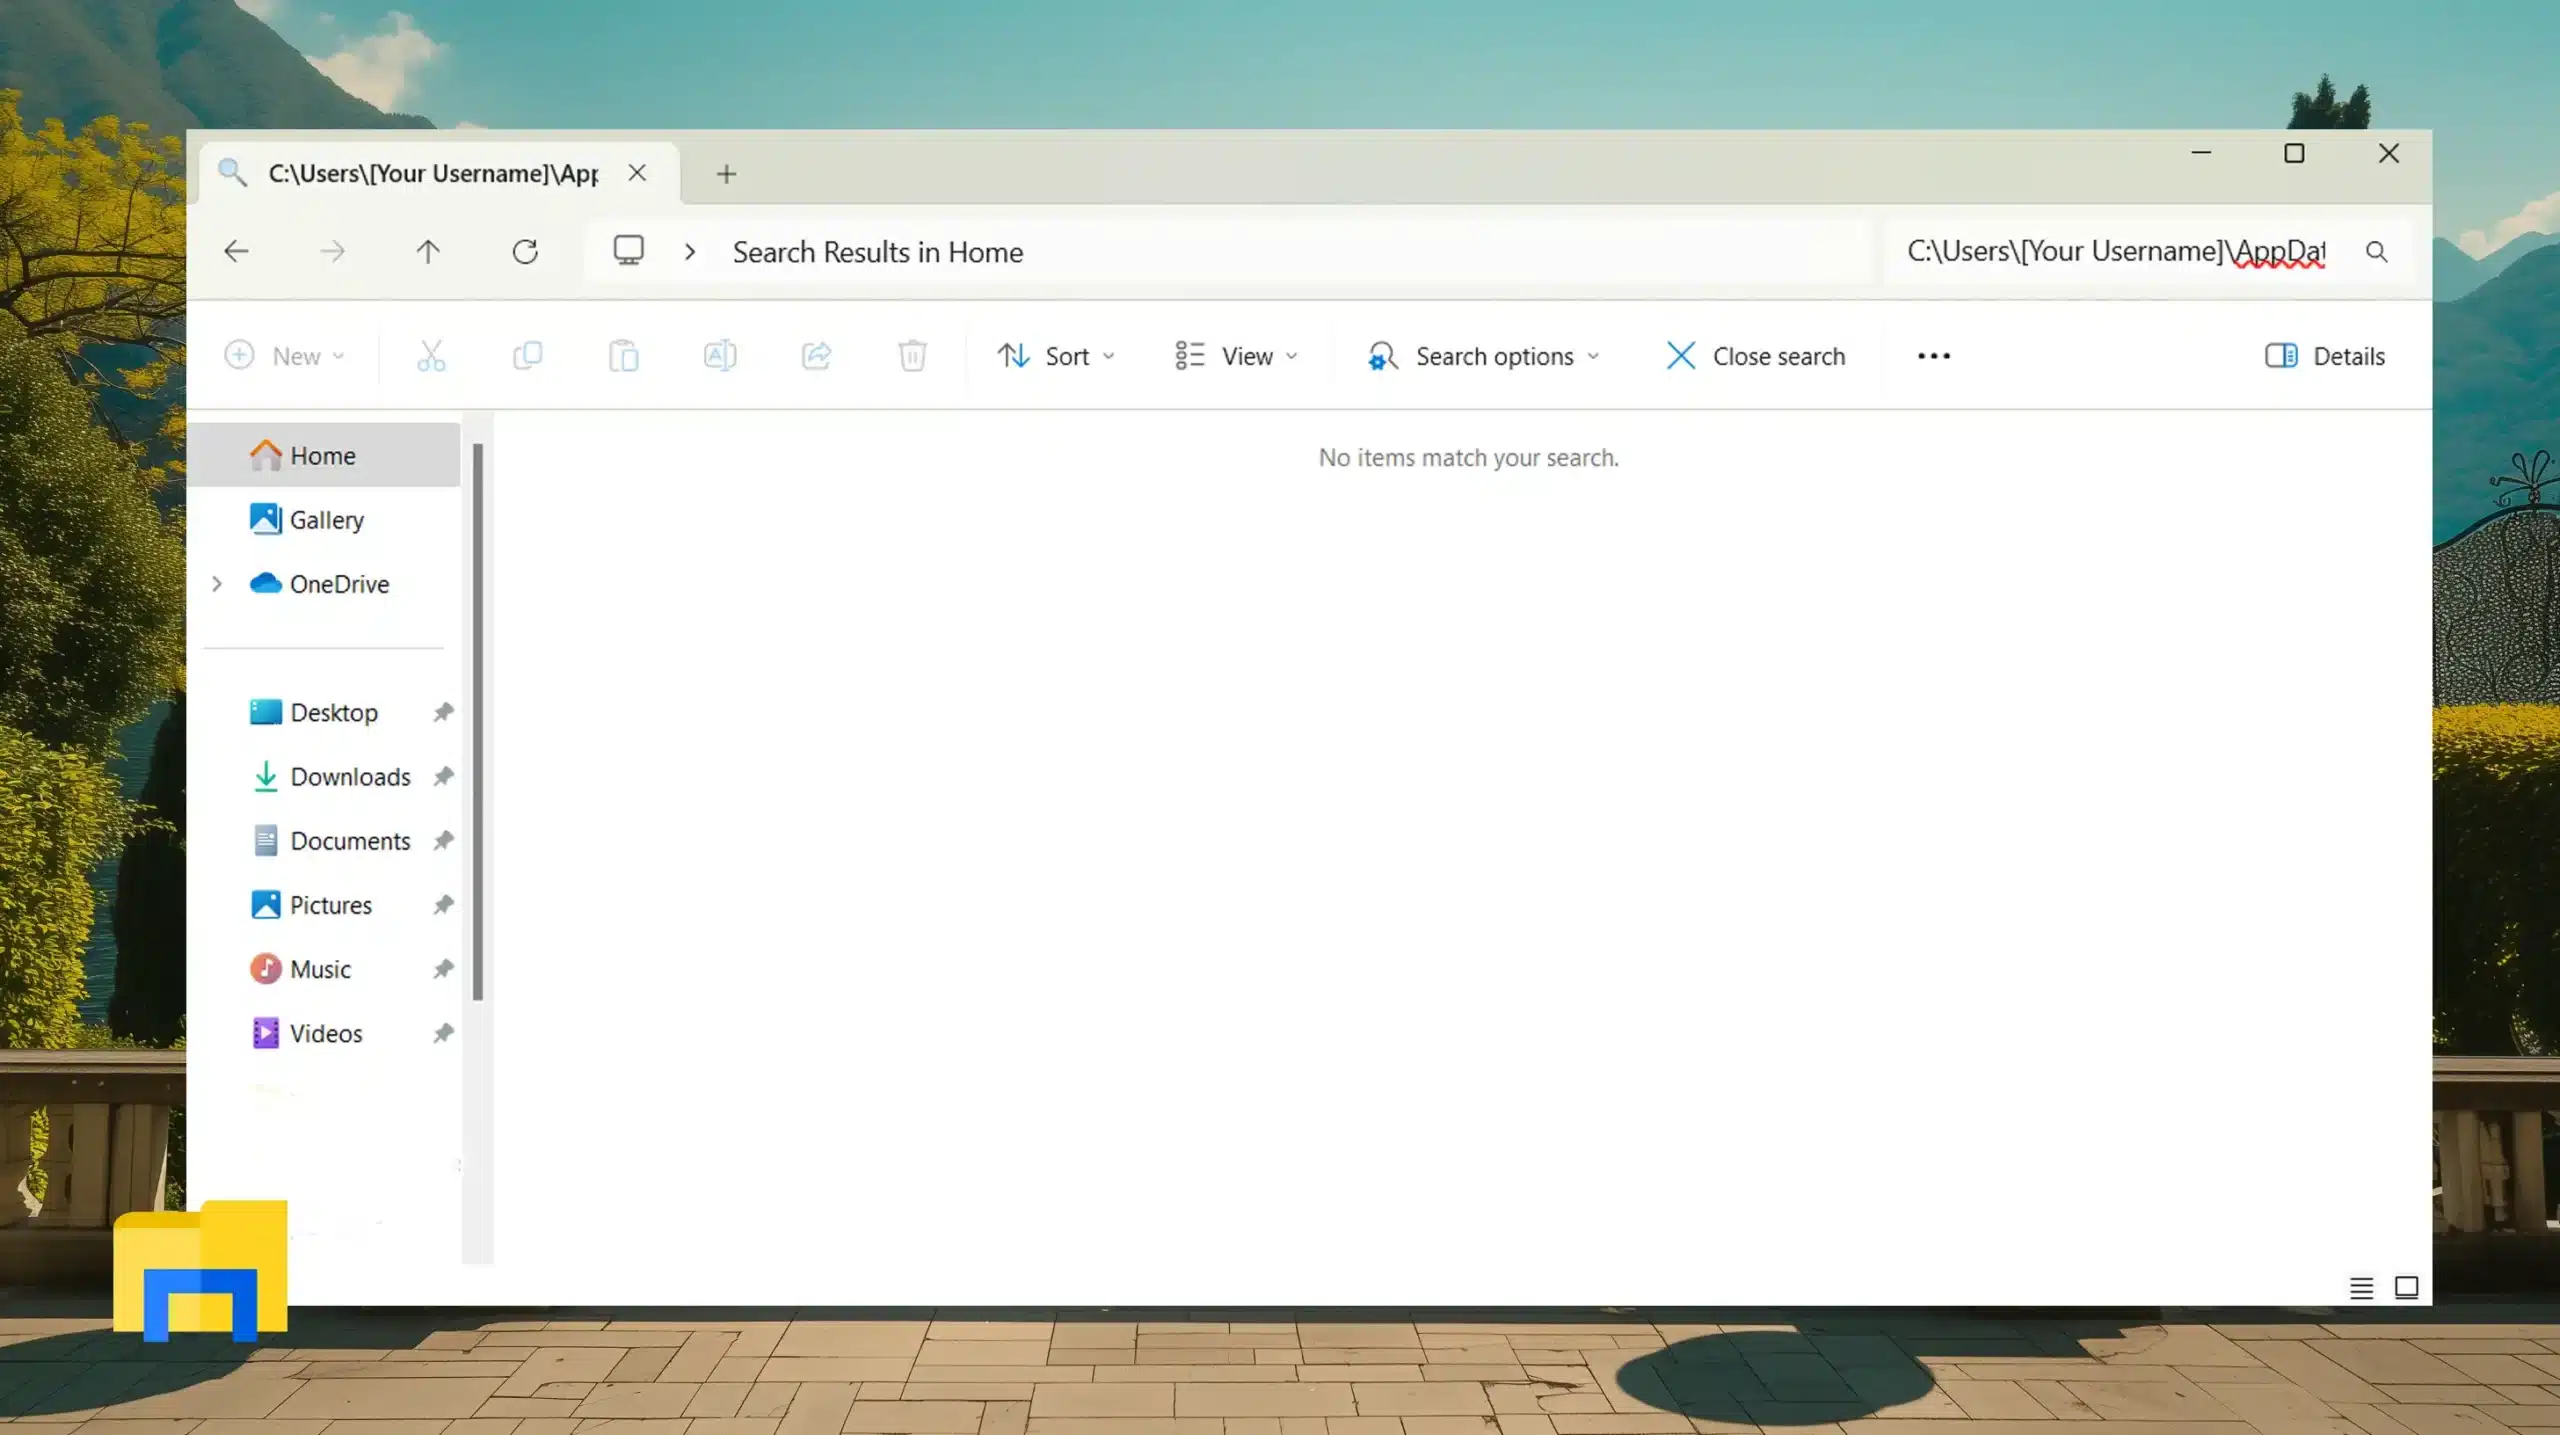
Locate the preferences file in the Fire explorer folder of your operating system. Open File Explorer by clicking the folder icon in your taskbar or pressing Windows Key + E.
In File Explorer, type or paste the following path into the address bar and press Enter.
Copy this file to a secure location. This step is important before making significant changes or installing a new Adobe Photoshop version.
Restoring Preferences from Backup
Restoring your backed-up preferences is simple if you experience problems or after a system reset.
Quit Photoshop completely.
Copy the backup of your preferences file.
Paste it back into the original settings folder.
Reopen Photoshop to see the restored settings.
It ensures you maintain your customized workspace without reconfiguring your setup.
Optimizing Preferences for Performance
Enhancing performance through setting adjustments is practical. Consider these pointers:
Cache Levels: Go to Edit > Preferences > Performance. Set Cache Levels based on your workflow.
Memory utilization: Adjust the amount of RAM allotted to Photoshop. More RAM dedicated to the program boosts performance.
Scratch Disk: Define it if you have multiple hard drives. Choose a fast drive with ample space to store temporary files.
These tweaks ensure better handling of resources, thereby facilitating a smoother photo editing process.
Pro Tip: Always update your operating system and Adobe Photoshop version. It minimizes compatibility issues and maximizes performance.
Practice these tips to see the difference yourself. Remember, consistent practice improves proficiency. Go ahead, test these tweaks, and optimize your workflow today!
Common Issues and Solutions for Photoshop Preferences
If you’re like many, dealing with hiccups in Adobe Photoshop’s preferences can eat up your time and patience. Let’s tackle some of these pesky issues together.
Photoshop Preferences Not Saving
Has this happened to you? You adjust your settings, close the program, and when you reopen Photoshop, the preferences are back to default. This common problem frustrates many users.
Solution for Not Saving Preferences:
When you open Photoshop, go to Edit > Preferences > General. Verify if “Use Legacy ‘New Document'” Interface” is checked. If it is, uncheck it. Also, always ensure that you use the latest Adobe Photoshop version settings.
Preferences Causing Crashes
Crashes make you want to pull your hair out, don’t they? If your preferences cause crashes, here’s what you should do:
Solution for Causing Crashes:
First, you might need to reset your Photoshop preferences. To do this, hold down Ctrl+Alt+Shift (Windows) or Cmd+Option+Shift (Mac) immediately after you launch Photoshop. This action will prompt Photoshop to reset its preferences file.
Before proceeding, save your preferences file to a safe location - usually found in the Photoshop preferences folder. It’s important to back up your preferences file so you can restore it if needed. Also, check the Adobe Photoshop version settings to ensure compatibility with your current preferences file. Preferences Resetting Automatically
If resetting preferences doesn’t resolve the issue, consider deleting the preferences file from Photoshop’s preferences folder and restarting Photoshop.
You may need to reconfigure your Adobe Photoshop version settings to suit your needs.
Keeping your preferences file and Adobe Photoshop version settings up to date will help avoid future crashes.
Automatic resets can feel as if your hard work is being erased in front of you. Here’s a fix:
Solution:
Check for updates. Sometimes, Adobe Photoshop releases patches that fix these issues.
If it persists, consider creating a backup of your entire Adobe Photoshop version settings. Every time you launch Photoshop, load your preferred settings from the backup folder. This ensures consistency every time you open Photoshop.
Pro Tip: Save time by creating custom keyboard shortcuts to access essential Photoshop preferences quickly. This makes your workflow smoother and more efficient.
Photoshop preferences has truly transformed my workflow. By customizing the settings to suit my needs, I’ve been able to work more efficiently and creatively.
Adjusting these settings has helped streamline my editing process and focus on bringing my artistic vision to life.
If you’re looking to enhance your skills, I highly recommend checking out these valuable resources: Photoshop course and Lightroom course. Embracing these tools and tips has made a significant difference in my projects, and I believe they can do the same for you.
For the best experience, make sure to use Photoshop and Lightroom for all your photo editing needs. These tools have helped me improve my work, and I’m confident they’ll help you too.
If this article has helped you, then Like and Share it with your friends
$2,061.00Original price was: $2,061.00.$1,061.00Current price is: $1,061.00. 27584
Download Your Free Guide Now!
Discover the secrets of photography with our printable guide! Master essential techniques like aperture, shutter speed, and ISO to create stunning images. Get your free printable PDF now and start turning your snapshots into masterpieces!