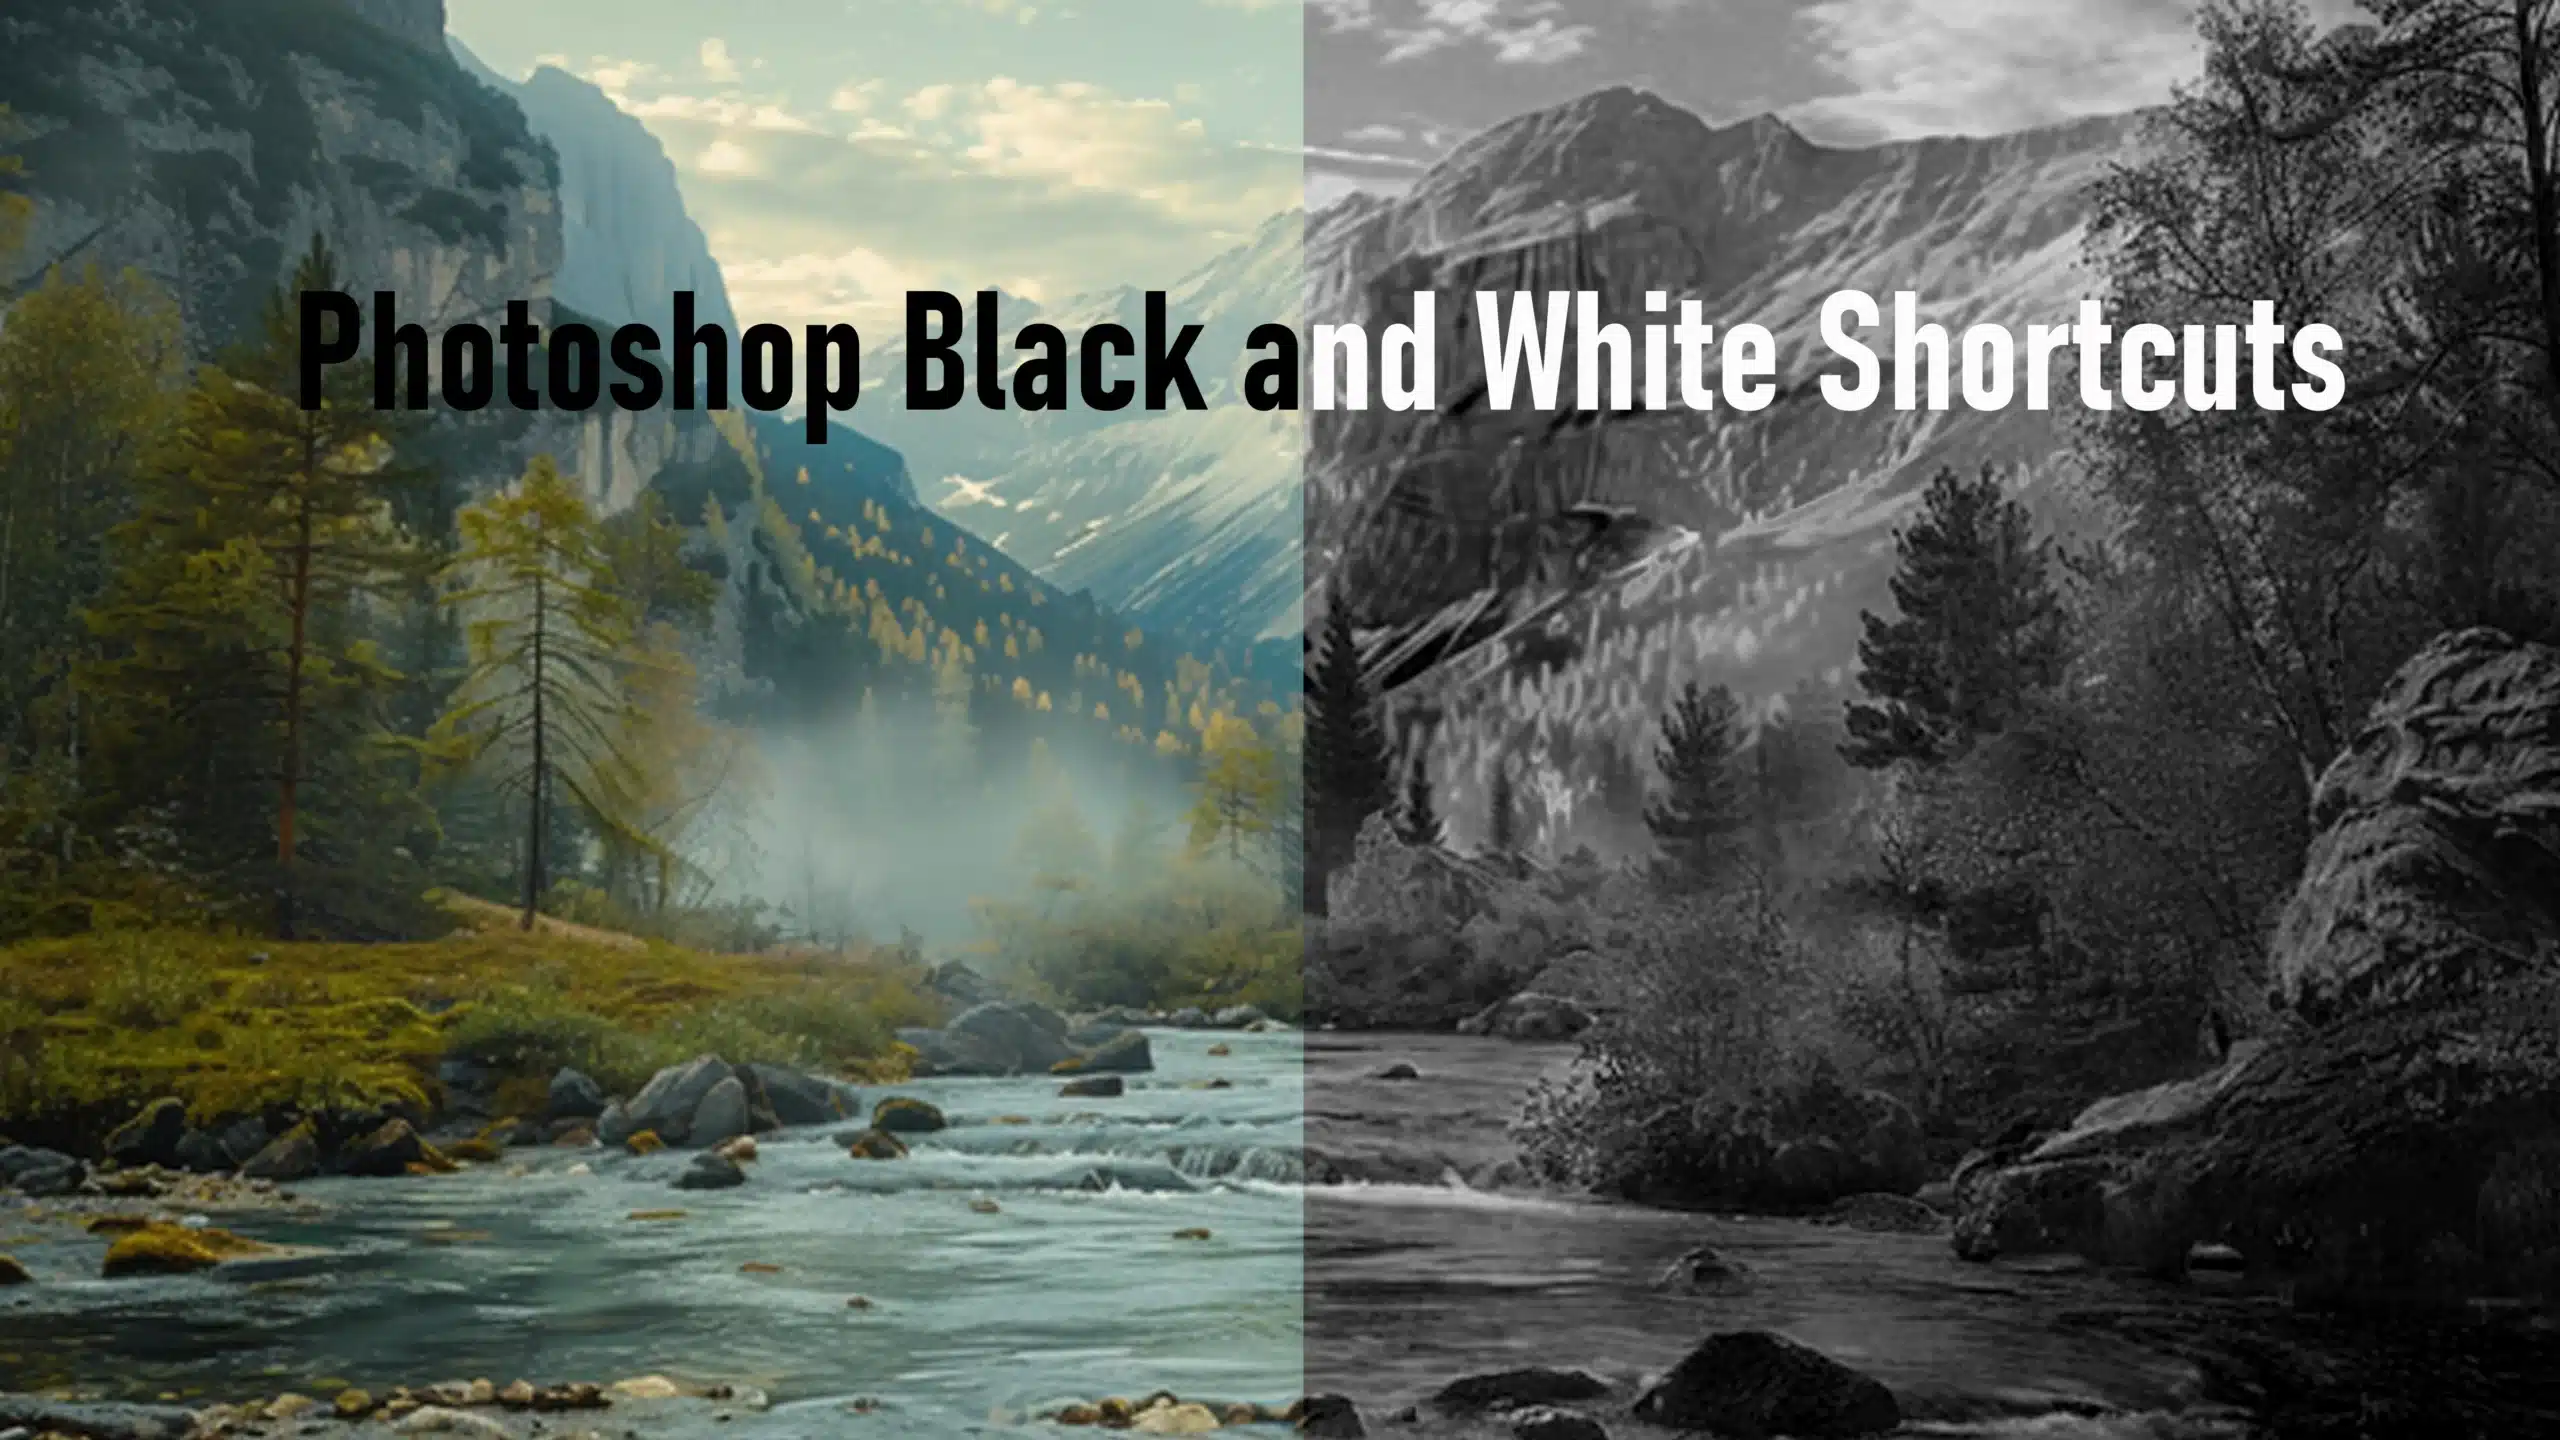
Photoshop Black and White Shortcut: Simplify Editing
Photoshop Black and White Shortcut: Simplify Editing
When I first discovered the Photoshop black and white keyboard shortcut, it revolutionized my editing process.
Imagine transforming your color photos into striking black and white masterpieces with just a few clicks.
This guide will walk you through the steps, making it easier than ever to achieve professional results.
Let’s dive right in!
Table of Contents
How to Use Photoshop Black and White Shortcut
Turning a color photo to black and white is easy in Adobe Photoshop.
You don’t need to be a pro to make cool black and white pictures.
Why Convert to Black and White?
Black and white photos highlight textures, shapes, and emotions.
They give your pictures a classic look. Plus, they never go out of style!
More detailed control can be achieved for your photo adjustments, by exploring techniques like adjusting white balance, which can significantly impact the final look of your black and white images.
Quick Conversion using Black and White Shortcut in Photoshop
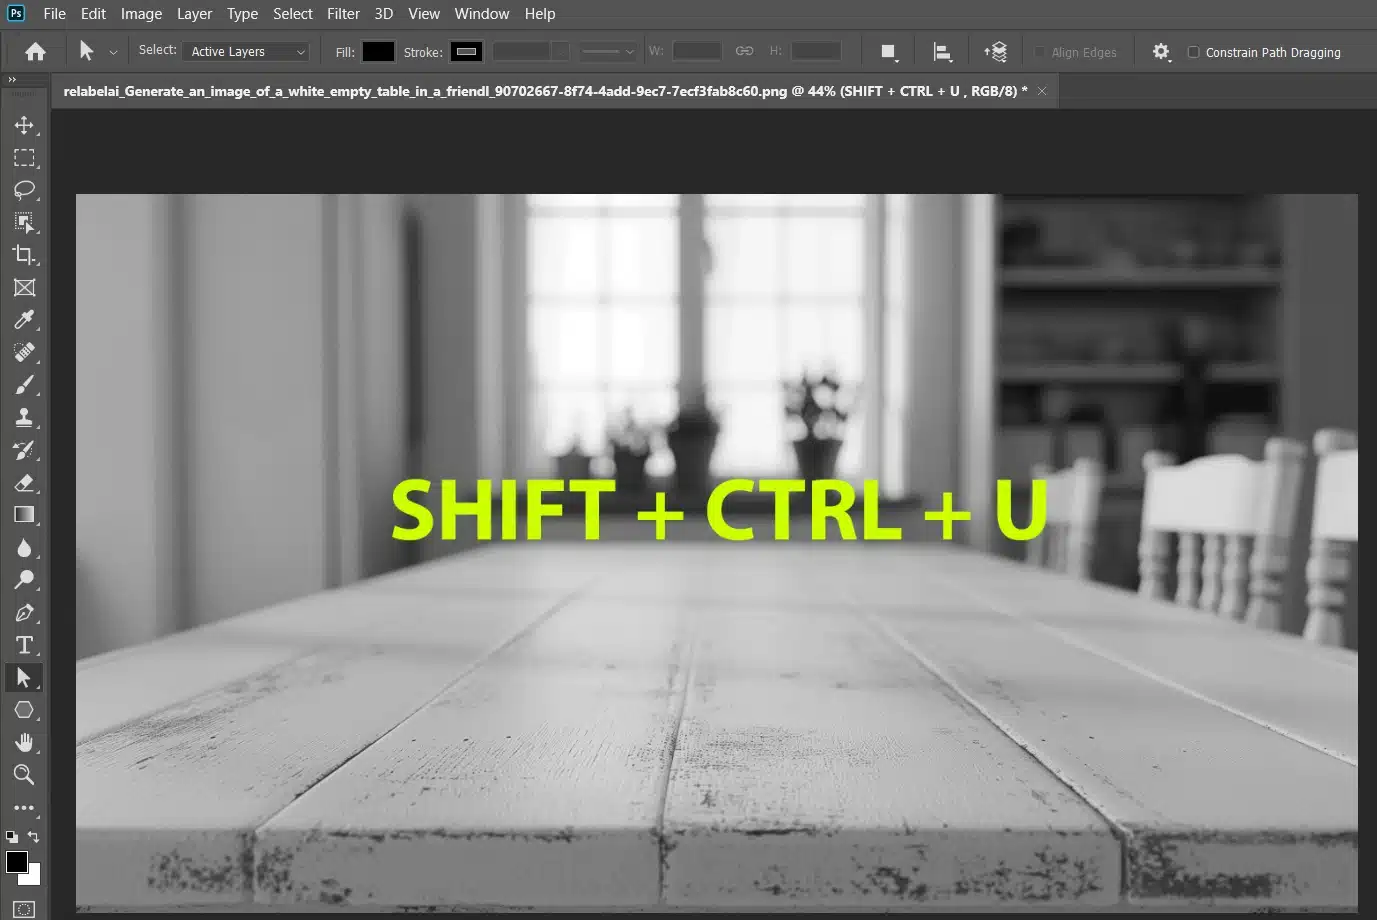
Ready to start? Press Shift + Ctrl + U to quickly change your color photo to grayscale.
This shortcut desaturates the image, giving you a basic black and white version.
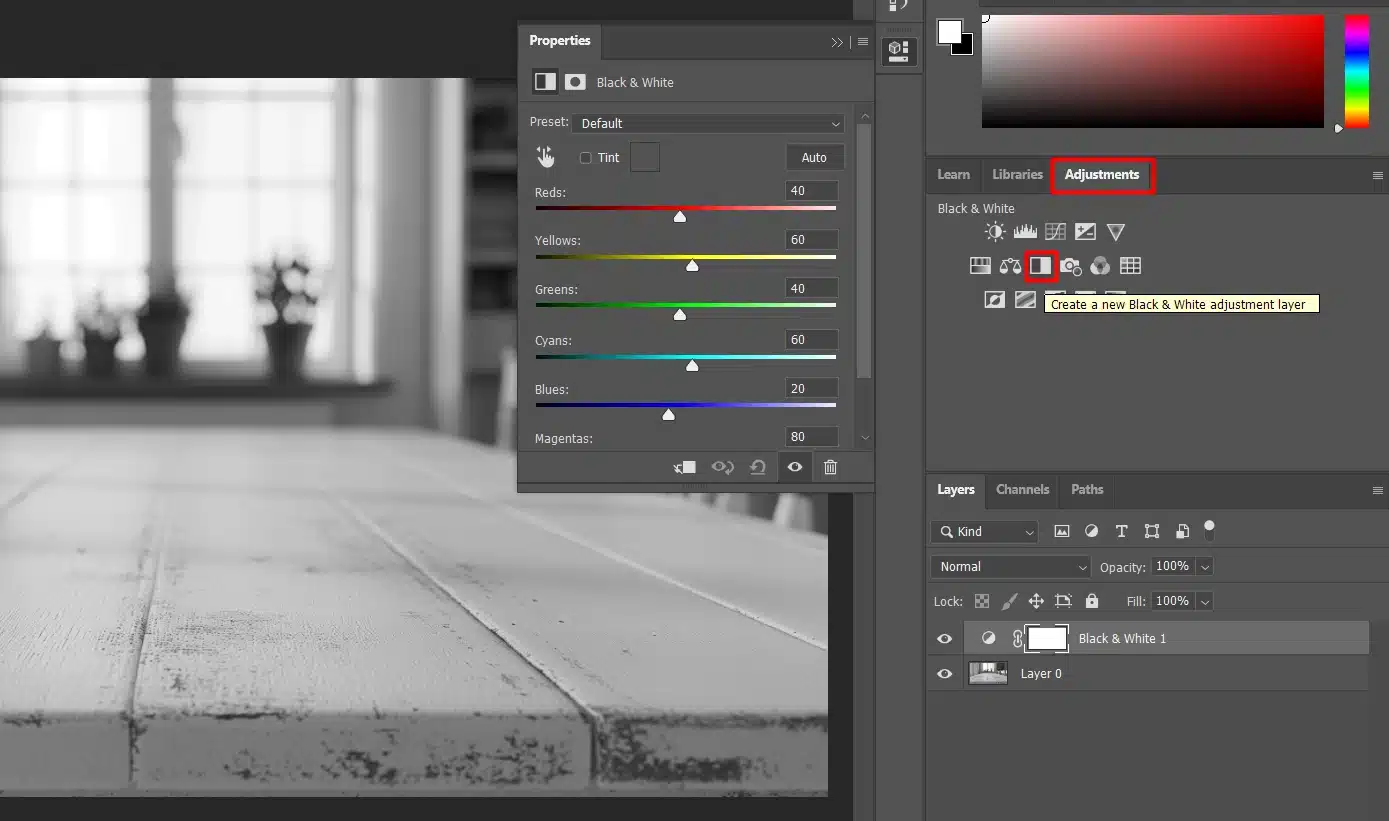
Creating a Black and White Adjustment Layer
Want more control? Follow these steps:
Go to the Layers panel.
Click on the New Adjustment Layer button.
Select Black & White from the menu.
This adds an adjustment layer, letting you fine-tune the conversion.
Pro Tip: Learn the new layer shortcut to make your workflow even easier.
Fine-tuning Your Image
Use the sliders in the adjustment layer to tweak how different colors turn into black and white.
Adjust until you’re happy with the result.
Using Gradient Map for Black and White Conversion
Try this method for a different look:
Go to the Adjustments panel.
Select Gradient Map.
Pick the black to white gradient.
This can emphasize contrasts in your photo.
Pro Tip: Always keep your original color photos. This way, you can try different methods without losing the original.
Alternative Methods for
Photoshop Black and White Shortcut Conversion
While using the Photoshop black and white shortcut is quick and easy, there are several other methods you can use to convert your photos to black and white. Each method offers different levels of control and results.
The table below compares these alternative methods, highlighting their key features and control levels.
Method
Description
Control Level
Adjustment Layers
Convert using black and white adjustment layers.
High
Grayscale Mode
Change image mode to grayscale.
Low
Desaturation
Remove color using desaturation shortcut (Shift + Ctrl + U).
Medium
Gradient Map
Apply a black to white gradient for conversion.
High
Using Adjustment Layers
Adjustment layers in Photoshop are great for converting images to black and white. To create one:
Open your image in Photoshop.
Click on the New Adjustment Layer button in the Layers palette.
Select Black & White from the menu.
Adjust the red, yellow, green, cyan, blue, and magenta sliders to see how each color affects your black and white image. This method lets you control different parts of the grayscale image.
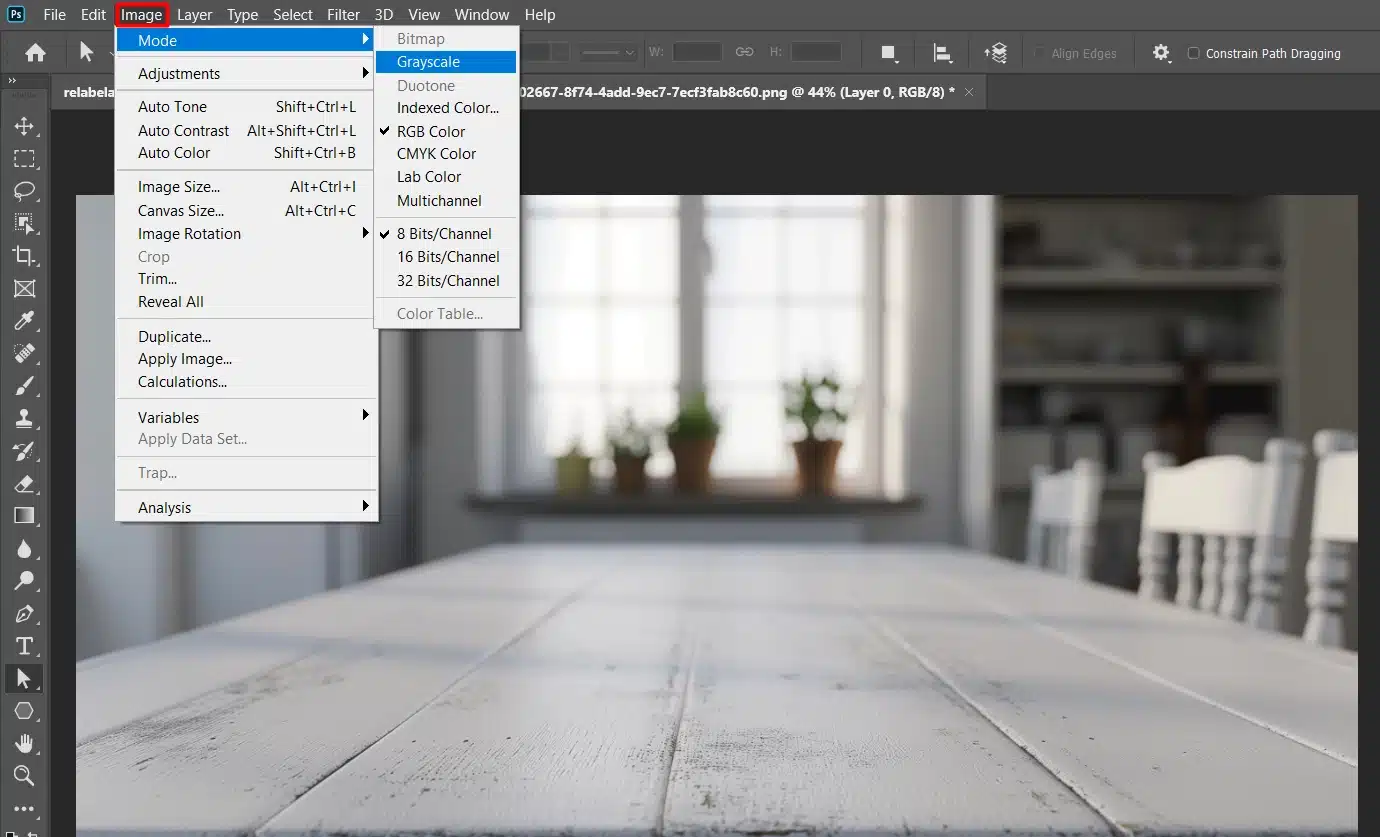
Using Grayscale Mode Shortcut for Black and White in Photoshop
You can also use grayscale mode to convert an image to black and white. Here’s how:
Open your color photo in Photoshop.
Click Image > Mode > Grayscale in the menu bar.
This removes all color, leaving a pure black and white image. While quick, this method doesn’t offer much control.
Using Desaturation with a Black and White Shortcut in Photoshop
Desaturation is another fast way to go black and white. Follow these steps:
This method is effective but doesn’t allow control over individual color channels. It’s good for quick conversions or when working on many images.
Pro Tip: Keep your original color image separate from your black and white conversions. This way, you can try different methods without losing the original.
For more advanced editing, consider learning how to use the patch tool or exploring the differences between Photoshop vs. GIMP.
Enhancing Black and White Photos with Adjustment Layers
Black and white photography can be incredibly striking and dramatic, but achieving the perfect balance of tones requires careful editing. Adjustment layers in Photoshop offer a powerful, non-destructive way to enhance black and white photos.
Using a White Adjustment Layer and Black and White Conversions
Enhancing black and white photos can be significantly improved by using a white adjustment layer.
This layer allows for precise control over brightness and contrast.
Incorporating black and whiteconversions helps to fine-tune how colors translate into grayscale, adding depth and detail to your images.
Start by adding a white adjustment layer to balance exposure and contrast.
Follow this with a black and white layer to manage color translation to grayscale. Always work with a duplicate of the background layer to preserve the original image.
By using a white adjustment layer and multiple black and white conversions, you can achieve more refined and professional monochrome photos.
To gain more control over your photography, learning how to use manual mode is beneficial. Mastering manual mode allows you to adjust settings like exposure, aperture, and ISO, which can significantly improve the quality of your photos before you convert them to black and white in Photoshop.
Tips for Better Black and White Photos
Creating stunning black and white photos involves more than just removing color. Here are some essential tips to help you produce compelling black and white images:
Adjusting Contrast
Adjusting contrast is a fundamental step in enhancing black and white photos. It helps to define the tonal range and bring out details in your images.
Initial Adjustments
First, adjust the contrast to make the elements in your photo stand out.
In Adobe Photoshop, use a white adjustment layer for better control.
Find this option in the layers palette.
Grayscale Conversion
Next, try grayscale conversion.
To convert your image, go to Image > Mode > Grayscale.
Keep your original color image intact by using layers.
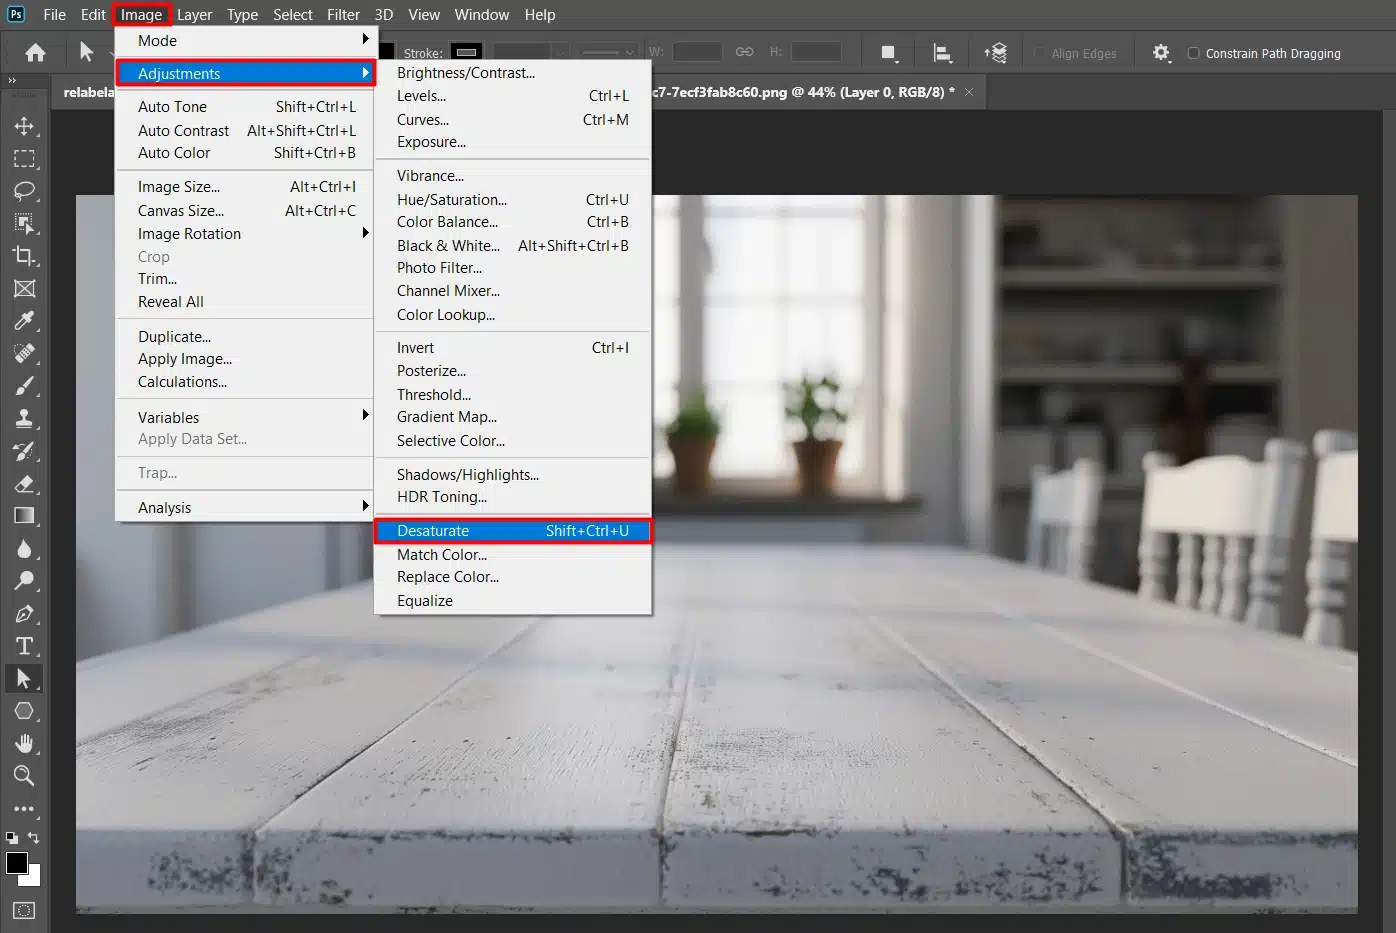
Desaturate Adjustment with Shortcut for Black and White in Photoshop
A desaturate adjustment is another method.
Choose Image > Adjustments > Desaturate, or press Shift + Ctrl + U to remove color.
Compare results to see which looks best for your final image.
Pro Tip: The keyboard shortcut for desaturation saves time.
For those interested in advanced techniques, learning to color an image can provide a deeper understanding of color manipulation before converting to black and white.
Using Filters
Filters can significantly enhance black and white photos by adding depth, texture, and a unique visual style. In digital photography, filters are versatile tools that can be applied during post-processing to achieve various effects.
Adding Drama
Filters add drama to black and white images.
Try a black and white adjustment layer.
This lets you tweak individual colors after converting your image.
For example, darken the sky or lighten foliage to add depth.
To add an interesting twist to your black and white photos, consider exploring how to colorize black and white photos for a creative effect.
Grayscale Specific Filters
You can also use filters specific to grayscale images.
Find these filter options in the adjustment layer menu.
Shooting in RAW and using Lightroom’s black and white filters gives more control.
Pro Tip: Always duplicate the background layer before making adjustments to work non-destructively.
Advanced Techniques for Black and White Shortcut in Photoshop
Using Lightroom
For more advanced control, consider reading through these tips for Lightroom editing for your black and white edits. Lightroom offers a variety of tools and shortcuts that can speed up your workflow. You can also use the essential tools to fine-tune your images.
Combining Photoshop and Lightroom
Combining the power of Photoshop and Lightroom can yield the best results. Use Lightroom for initial adjustments and then move to Photoshop for more detailed edits. This combination allows for greater flexibility and control over your final image.
Pro Tip: Utilize Lightroom Training resources to master these techniques and improve your black and white photography skills.
Understanding the importance of white balance in photography can enhance your black and white conversions by ensuring proper tonal balance and contrast.
Frequently Asked Questions (FAQs)
How to black and white in Photoshop?
Open your image in Photoshop.
Go to the 'Image' menu at the top of the screen.
Select 'Adjustments' from the dropdown.
Click on 'Black & White'.
Adjust the settings to your liking and click 'OK' to apply.
How Do You Toggle Black and White in Photoshop?
Here are the necessary steps to toggle the black and white shortcut on and off in Photosohp:
Open the image in Photoshop.
Press Ctrl+Shift+U (Windows) or Cmd+Shift+U (Mac) to desaturate the image, removing the color.
To switch back to color, you must undo the action by pressing Ctrl+Z (Windows) or Cmd+Z (Mac) or using the history panel to step back before the desaturation.
How to Grayscale in Photoshop?
Open your image in Photoshop.
Navigate to 'Image'> 'Mode'.
Select 'Grayscale'.
When prompted, confirm that you want to discard other color information.
What is Ctrl Alt G in Photoshop?
Ctrl+Alt+G (Windows) or Cmd+Option+G (Mac) is the shortcut for creating a clipping mask in Photoshop.
This shortcut allows you to clip one layer onto the mask of the layer below, restricting the visibility of the top layer to the non-transparent portions of the bottom layer.
$2,061.00Original price was: $2,061.00.$1,061.00Current price is: $1,061.00. 27584
Download Your Free Guide Now!
Discover the secrets of photography with our printable guide! Master essential techniques like aperture, shutter speed, and ISO to create stunning images. Get your free printable PDF now and start turning your snapshots into masterpieces!